 blenderVfxMaster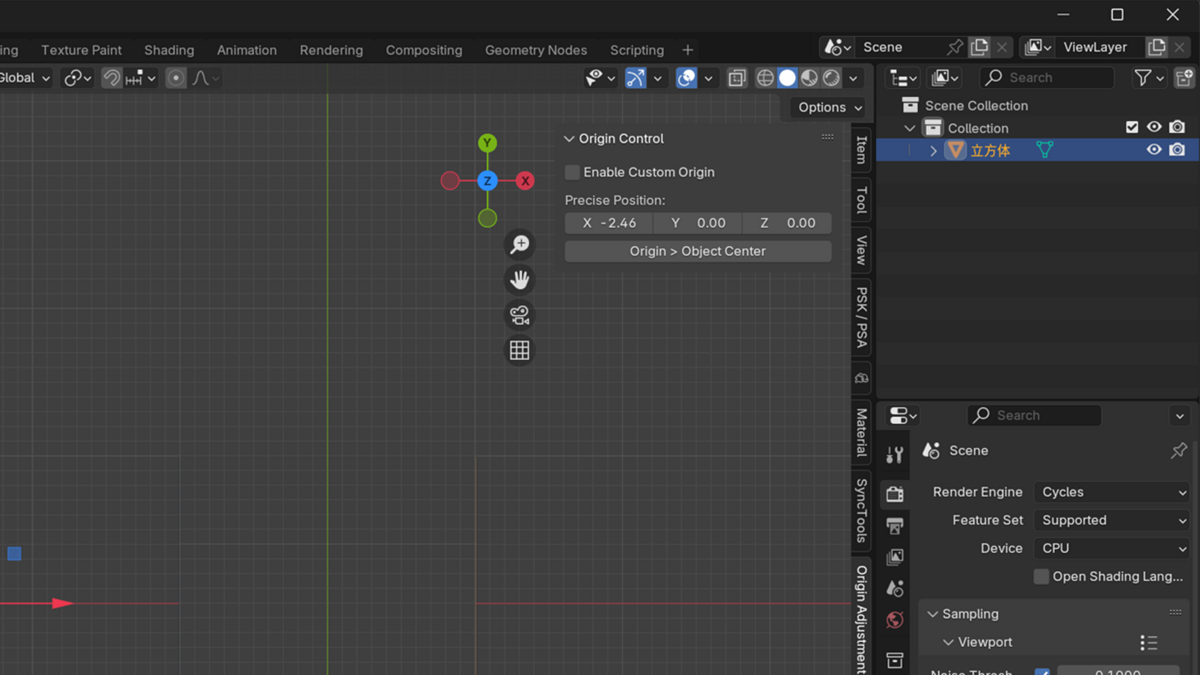
Origin Adjustment
If an object rotates around the wrong point, its origin probably needs moving. Origin Adjustment gives you viewport controls to drag, centre or snap that origin, choose a coordinate space, and save settings you use often.
Cover illustration. The screenshots and previews below are labelled separately.
See where the pivot moves
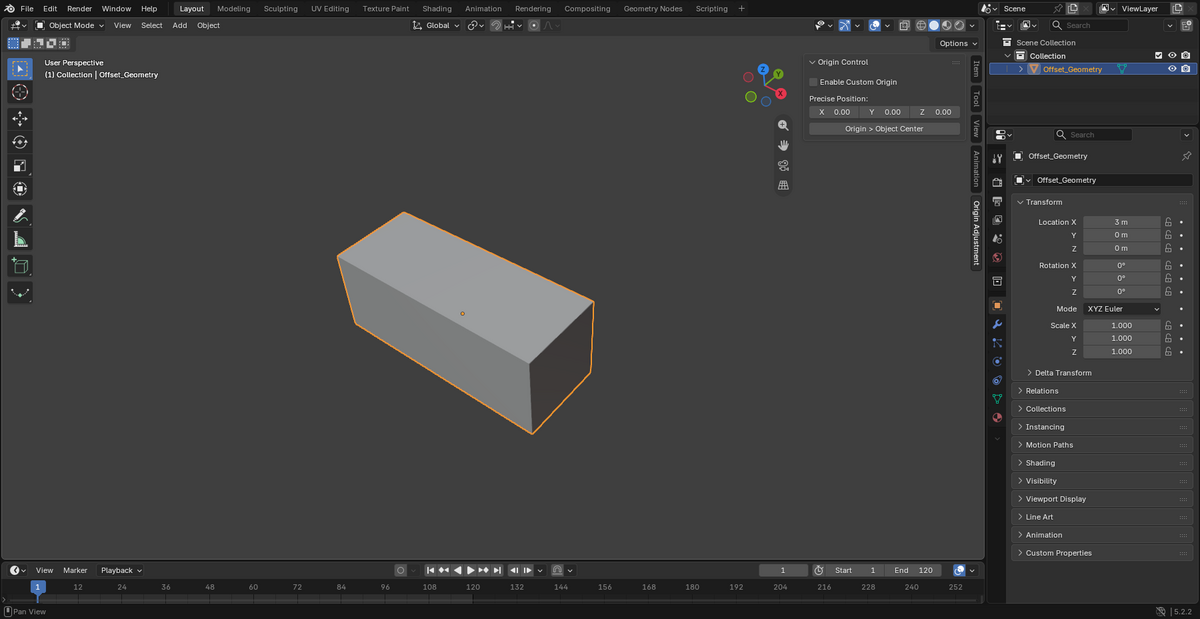
The useful result here is where the origin ends up—not a different render.
RESULT · View full size ↗
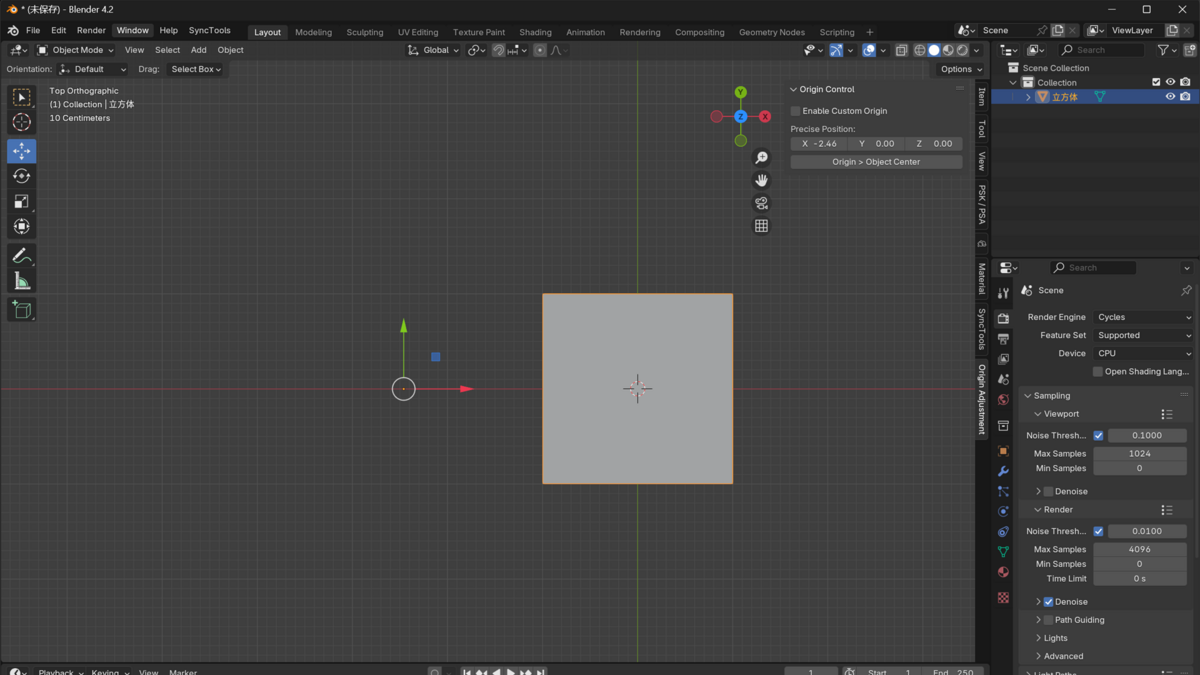
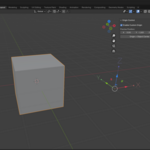
Moving the origin to the object centre
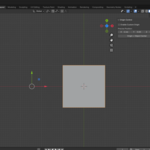
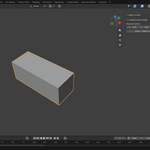
This offset-geometry example shows the object and the controls used to centre its origin. The origin moved from (0, 0, 0) to (3, 0, 0).
Ways to place the origin
Here’s what you can do with it.
Move the origin with the mouse
Use modal dragging to place the origin in the viewport. You can watch the object and pivot together instead of working only with coordinate values.
Centre it or snap it to a surface
Use Origin to Object Center when the pivot belongs at the geometric centre. For other placements, the surface-snap tools let you place it against the geometry.
Choose the coordinate space
Work in World, Local or Custom Reference space. Pick the reference you need before changing the origin’s position or rotation.
Enter a precise rotation
Use axis-by-axis rotation values when the pivot needs a particular orientation. Transformation controls are available alongside the positioning tools.
Reuse your settings
Save common origin operations as presets. The gizmo helps you see the current origin while you work; check the result after applying a preset.
See a centre operation in action
In the offset-geometry example below, Origin to Object Center moved the origin from (0, 0, 0) to (3, 0, 0). That example shows this operation, rather than testing every origin tool.
The tools in Blender
CONTROLS · View full size ↗
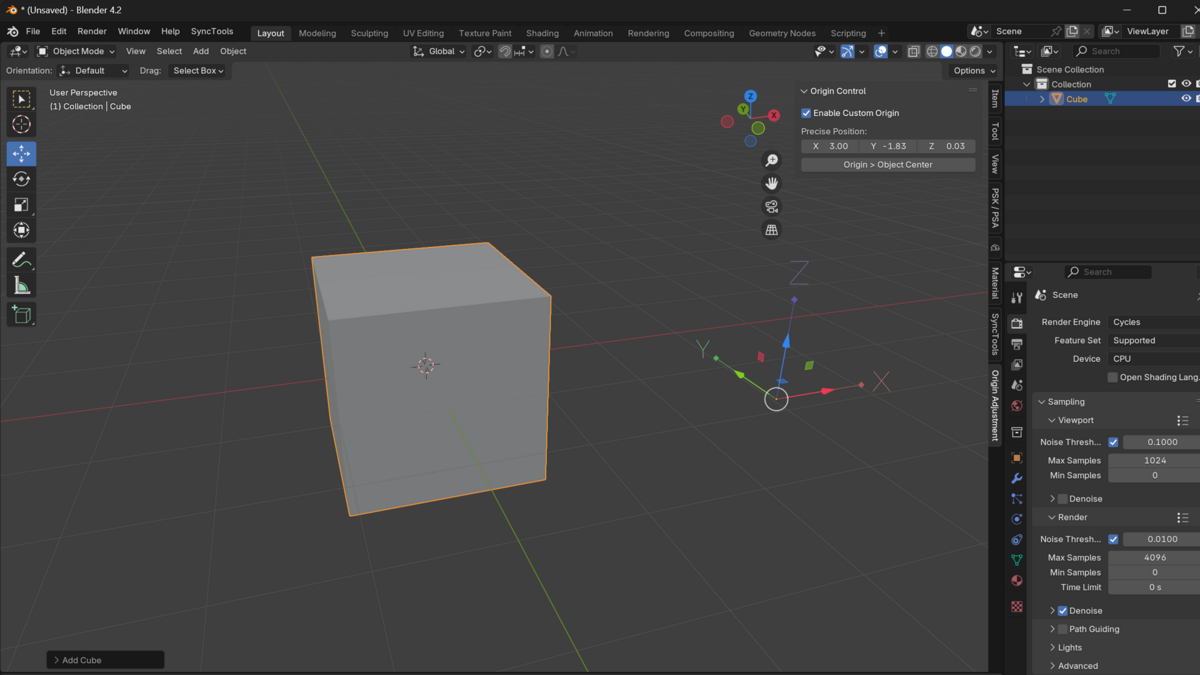
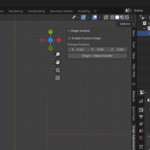
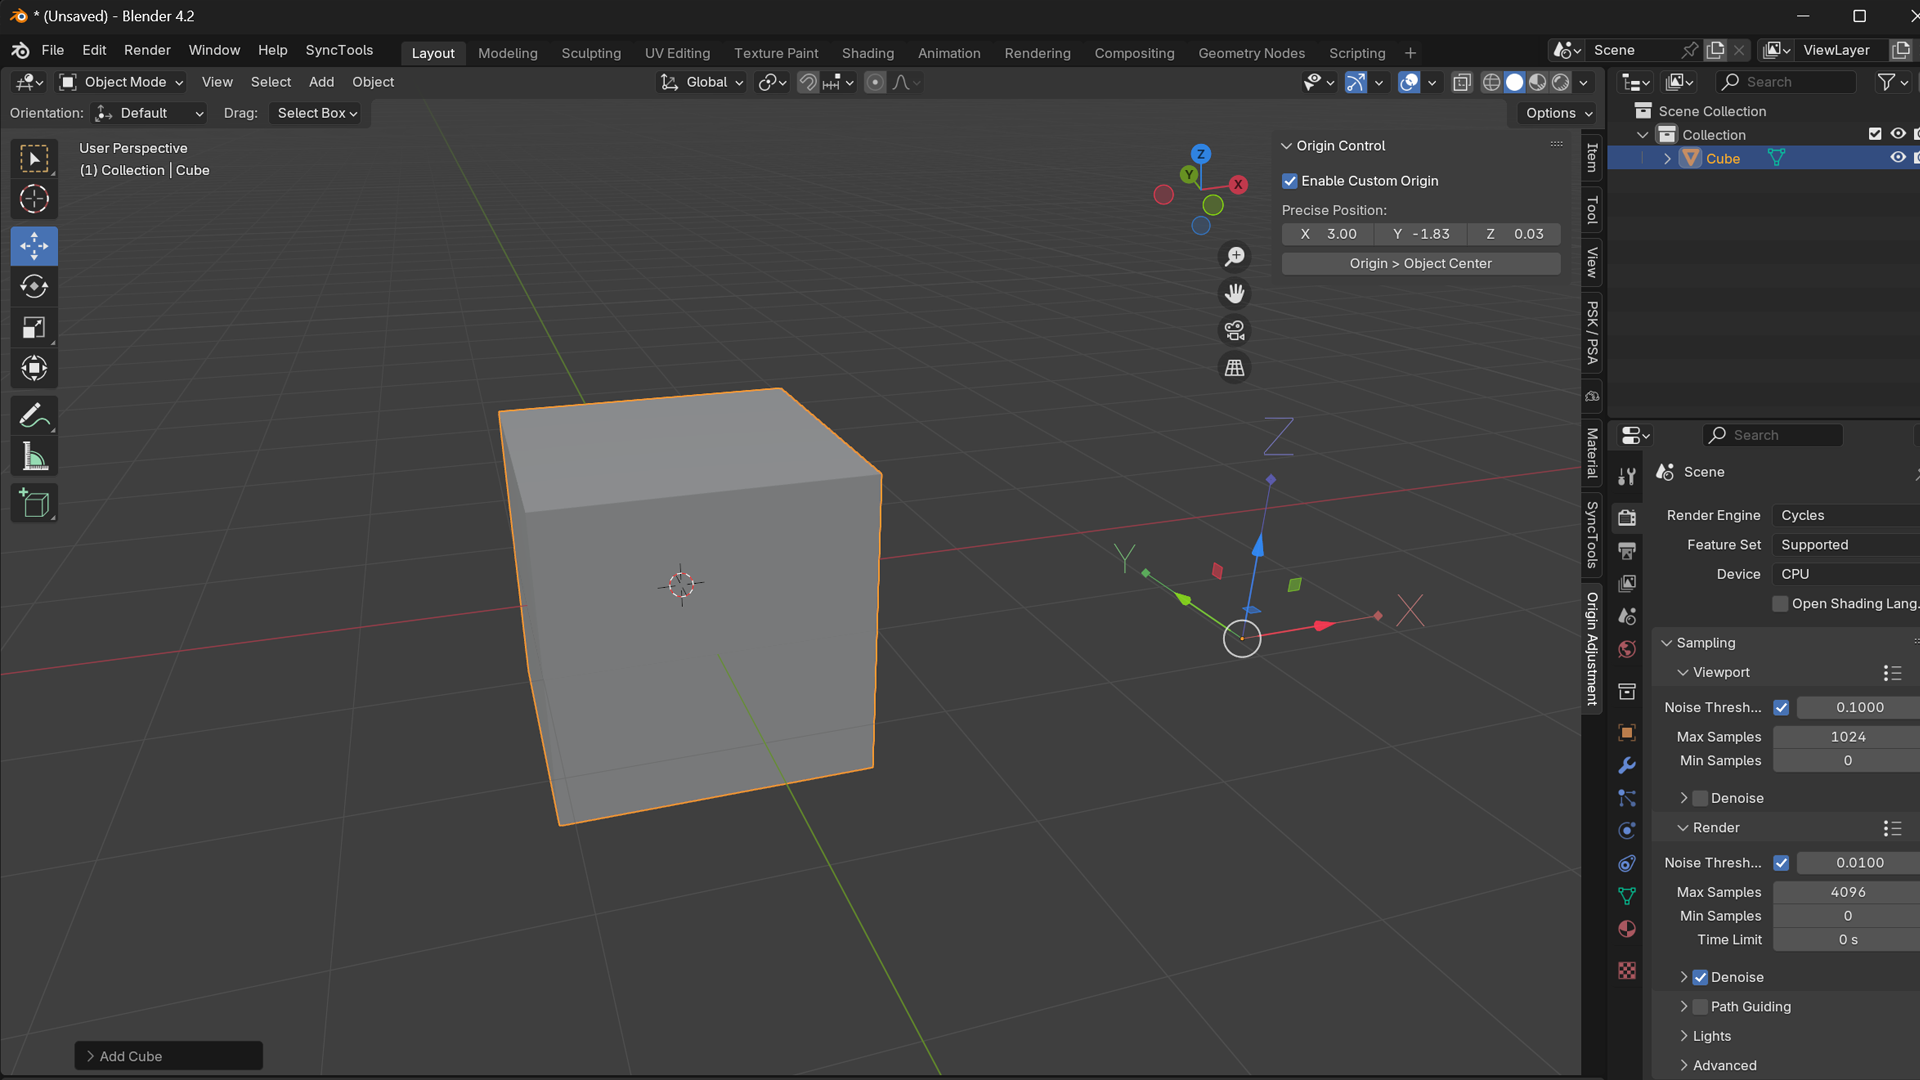
Adjusting the origin in the viewport
The origin tools sit beside the mesh, so you can see the pivot in the same view as the object you’re changing.
BLENDER PREFERENCES · View full size ↗
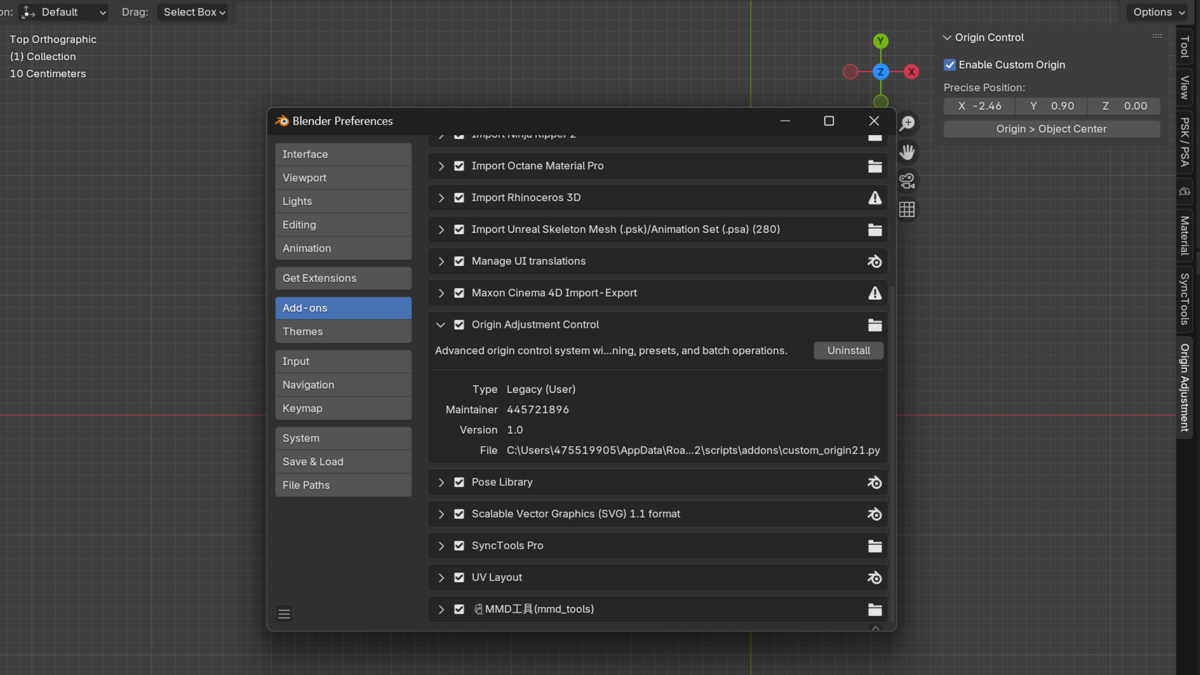
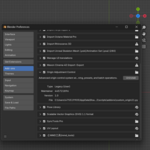
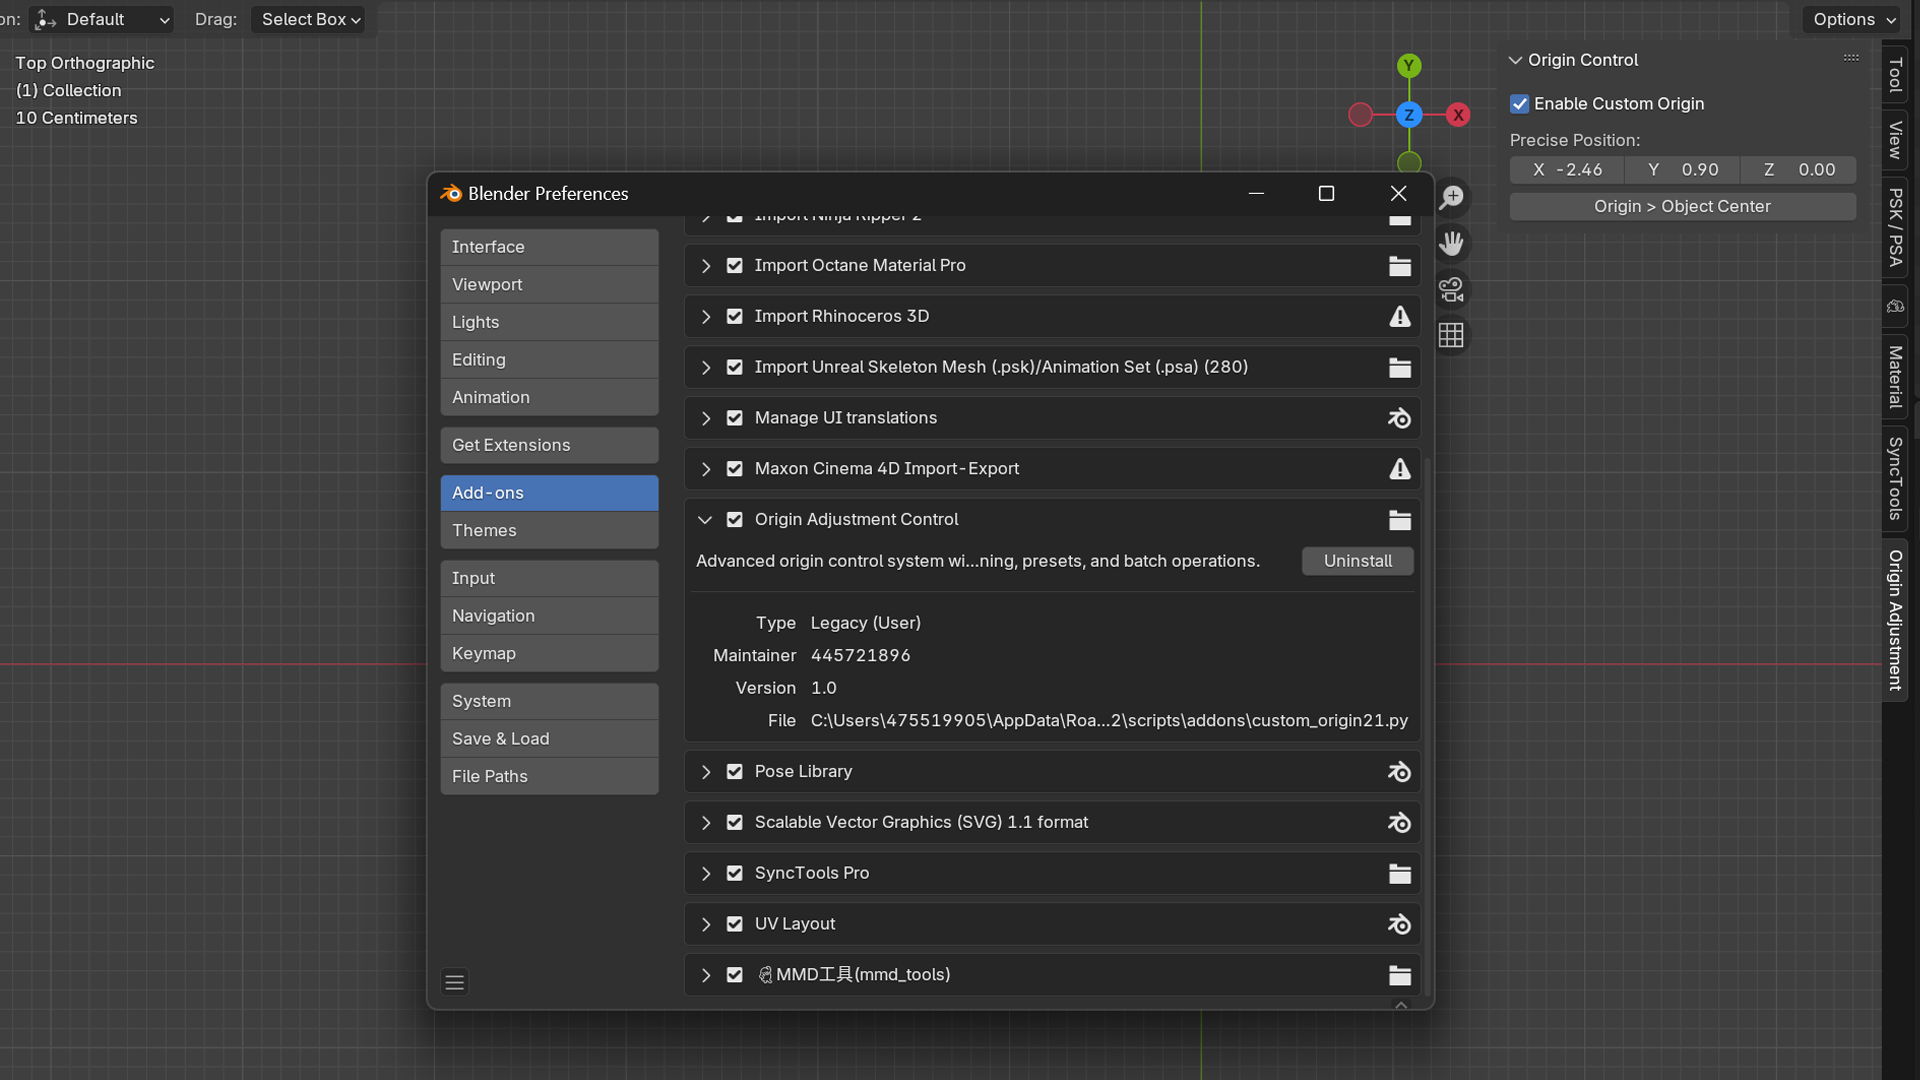
The add-on in Preferences
This image shows Blender Preferences and the installed add-on. The viewport examples above show the origin operations.
Place an origin in a few steps
-
01
Select the object and find its current origin.
-
02
Choose a coordinate space and positioning tool.
-
03
Drag, centre or snap the origin.
-
04
Check the pivot, transforms and any parented objects.
-
05
Save a preset if you’ll want the same setup again.
Compatibility and a quick caution
- Blender 3.0 or newer.
- Mesh, Curve, Surface and Font objects.
- Windows, macOS and Linux.
- Save a copy before changing origins in an existing rig or animation.
What happens when I move an origin?
You change the reference point used for the object’s transforms. Check rotation and other dependent operations after moving it.
Can I use it on an animated or rigged object?
Work on a saved copy first. Changes to the origin can affect transforms, parenting and animation.