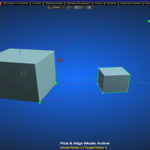
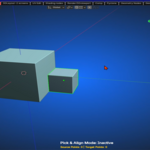
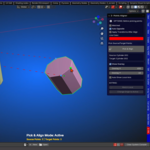
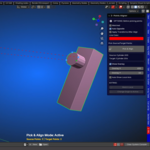
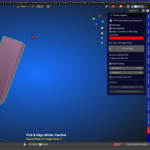
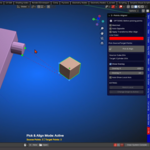
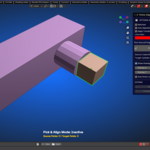
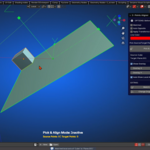
3-Points Aligner Add-on for Blender 4.0 to 4.4 use '3_points_aligner_V1'
For Blender 4.5 use '3_points_aligner_V1_1'
For Blender 5.0 use '3_points_aligner_V1_1'
Aligning your Mesh objects using 3 points.
First, select your options if needed.
OPTIONS:

- The first is the 'Matched' option.
When enabled, your source object will be scaled to the target object.
Unchecked, your object will be just aligned to the target object.
- The second one, is the 'Auto opposite' option.
Use this, when you need to align cylindrical objects.
- The third option 'Apply Transforms': if enabled, will set your scale of the source object, to 1 when the alignment is completed.
And you have the option, to change the color of the visible connecting lines.
Now, just, active select your source mesh object.
You do not need to select a target object at the same time.
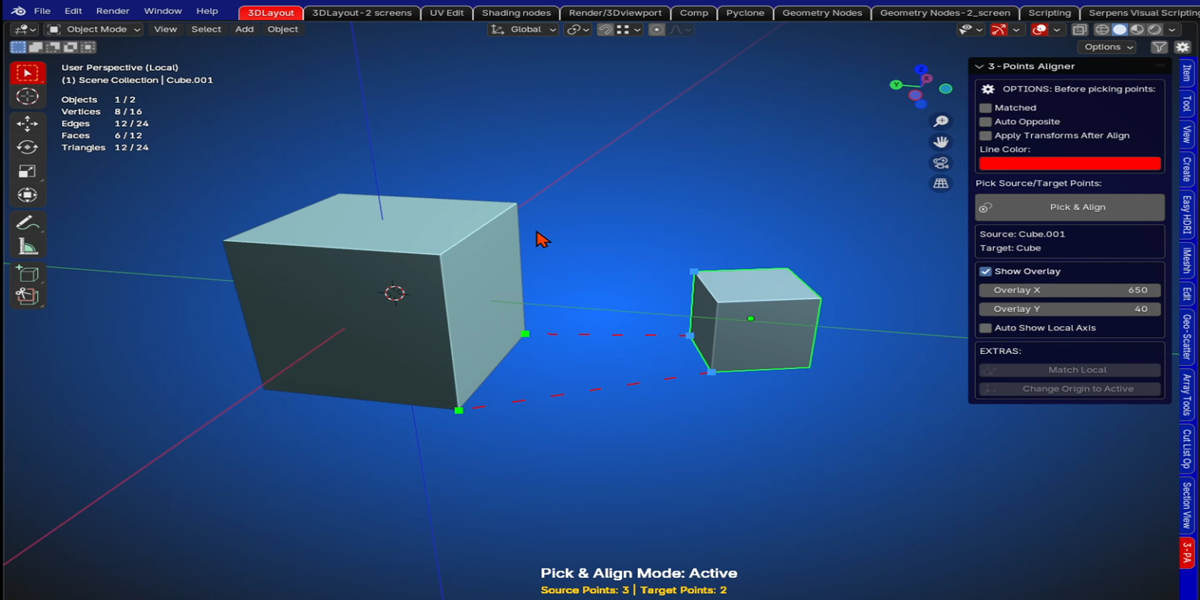
Press the 'pick and align' button to start picking your first source point.
Or use your short key, that you have picked in the preferences of the add-on.
Now you hover over to the object you want to align to.
The target point, will snap to the nearest corner where you point it to.
Press the left mouse button to pick the target point.
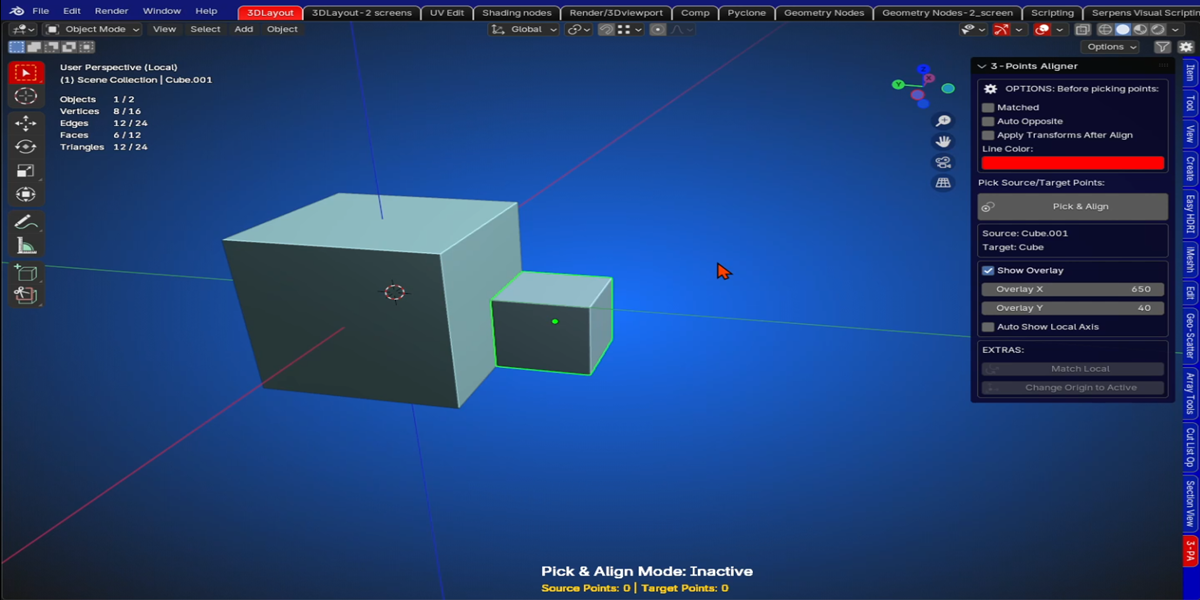
Do this two more times and your source object will be aligned.

For aligning objects, that have a diameter, there is the 'Auto opposite' option created for.
You select a point on your source objects diameter, and automatically the opposite point is added.
Do the same for your target object.
Next, you just pick the last source and target point, and the objects are aligned.
The 'Auto opposite option' is needed, when you want the source object, match the target objects diameter.
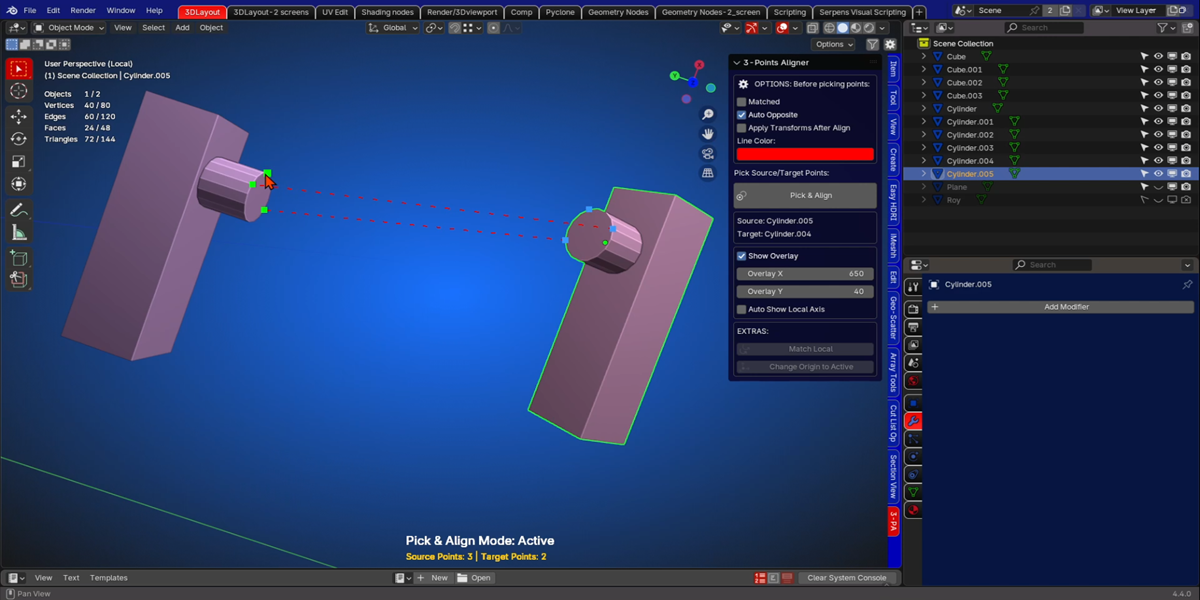
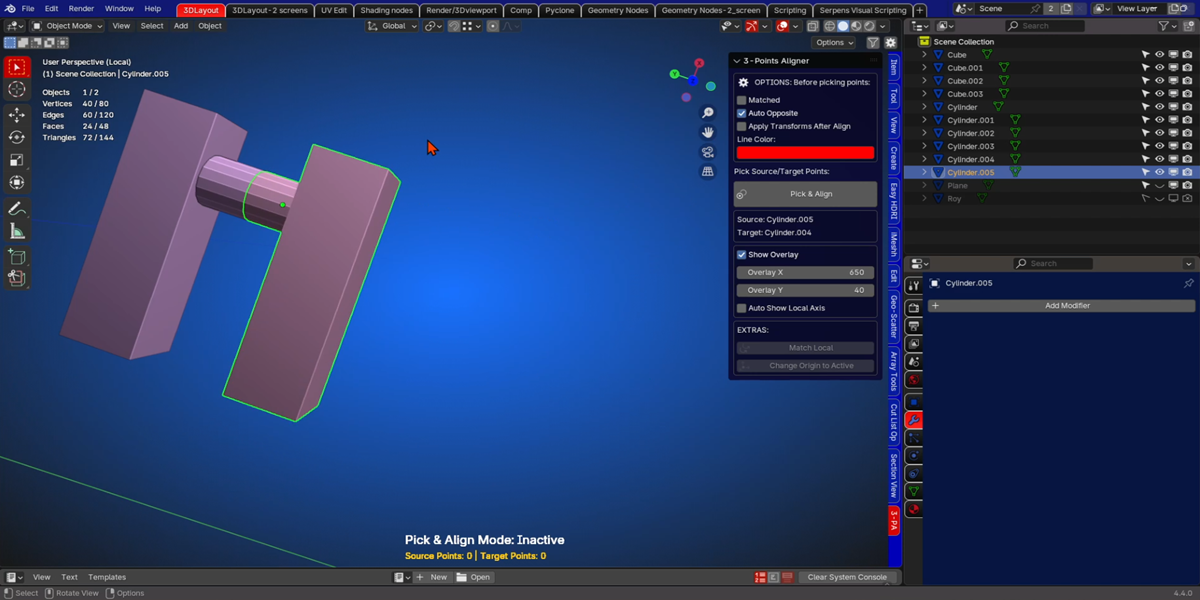
And especially for the objects that have cylindrical parts, and where the origin is not centered.
Otherwise you can just use the normal 3 points manner without checking options.


There is an overlay that shows if the tool is active.
It also shows the count of the picked points on the source and target object.
And of course, you can move the overlay out of the way, to wherever you want.
This by using the x and y sliders.
I have also included, the 'Auto show local axis'.
So when you like to move your object after alignment, you see the direction to move in local space.
The axes appear when selecting an object

Extras:
- The 'Match Local' button: If you select a source and a target object, the source object will rotate to match the local axis of the active object.
- The 'Change origin to active' button: Will rotate the origin of the source object to match the rotation of the target active object.

Changelog V1.0:
- Initial release
Changelog V1.1:
- For Blender version 4.5+
 KVD
KVD