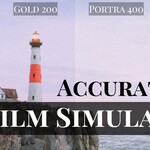
Accurate Film Simulation - Portra 400, Ektar 100, Gold 200
 Edin Spiegel


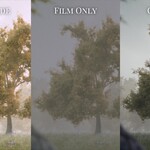
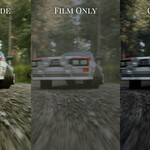
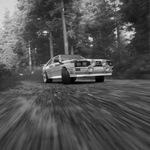
Compositor Node Group
Append the Node Group into your Project, connect your render to the image input, and the result to the composite output.
Select which film you want by checking its checkbox, and keeping the others unchecked.
Adjust the level of noise, by sliding the noise Slider.
You can Tweak the Exposure of the Scene before it goes into the Film Simulation by Tweaking the Exposure Slider.
Then Just Render.
Note: I have found some small differences between applying the effect to pngs / jpgs etc... vs just the raw render output or openexr - the differences are really really small - but I thought I should mention it.
Geometry Nodes Based Film Simulation
Open the FilmSimulation - GeometryNodes.blend File.
Then Select the Object "FilmSimulation"
Go to the Modifiers Tab, and in the FilmSimulation Modifier, open your Image or Image Sequence
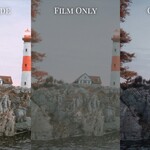
Adjust the Exposure-Scene Input to change the brightness of the scene - which is going to be Simulated f.e: Portra 400 Brighter Parts of the image tend to be more orangish and darker parts more greenish
Adjust Render Resolution to Adjust the "Resolution" of the Film Stock - Less Resolution = Lower Quality Film f.e 16mm or 8mm film - if you keep it high or increase it, it will be more of a 35mm film.
In the Film Stock Input you can Select your desired Film Stock.
Lastly adjust the Render Resolution,
and finally just Render your image / animation.
If your computer Struggles to Render the Film Simulation, you can increase the tiles, duplicate the FIlm Simulation the same amount as tiles you have, - then increase the tile index for each tile.
Finally you'll have to place each tile in its own render layer, and combine all of them, by multiplying all layers together in the compositor - not very practical, I know, but if you have a low spec system - or want to render some insane Render Resolutions - its a good option to have.
Have questions about this product?
Login to message
| Sales | 300+ |
| Rating | 2 ratings |
| Dev Fund Contributor | |
| Published | about 1 year ago |
| Blender Version | 4.5 - 5.0 |
| Render Engine Used | Cycles |
| License | Royalty Free |
