Advanced Waterfall Geometry Nodes — Water, Foam & Mist
 3D Tudor
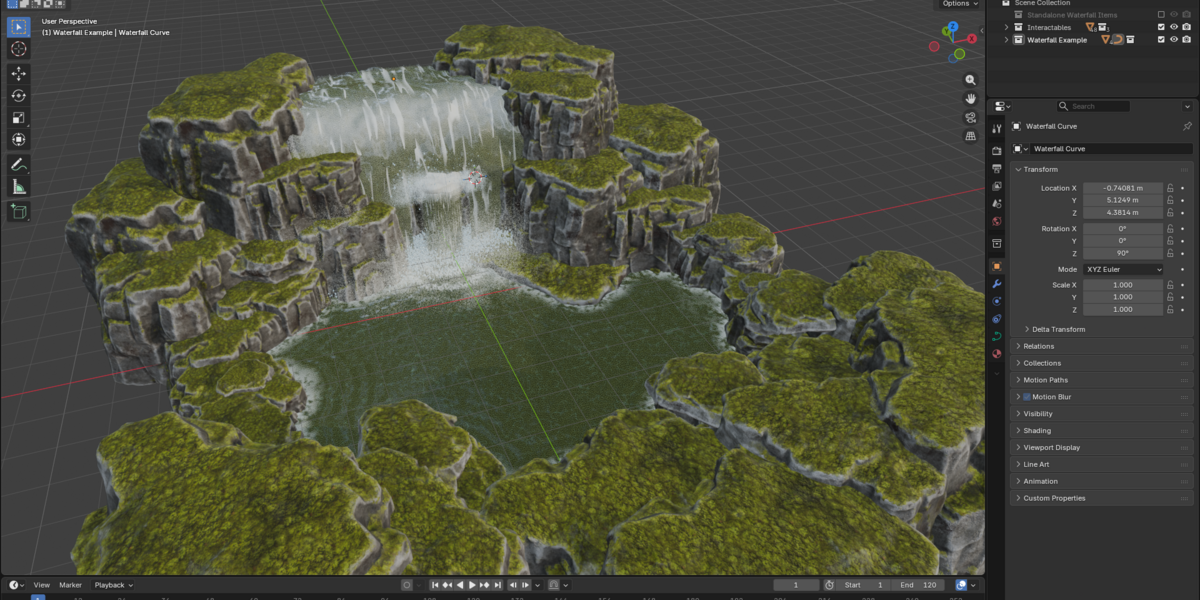
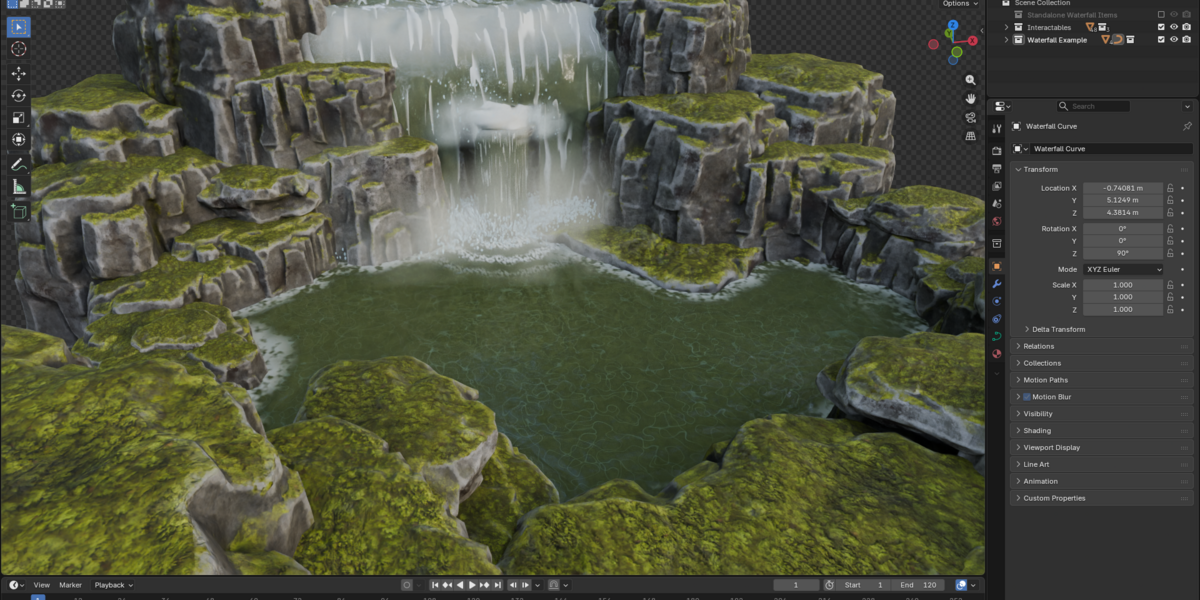
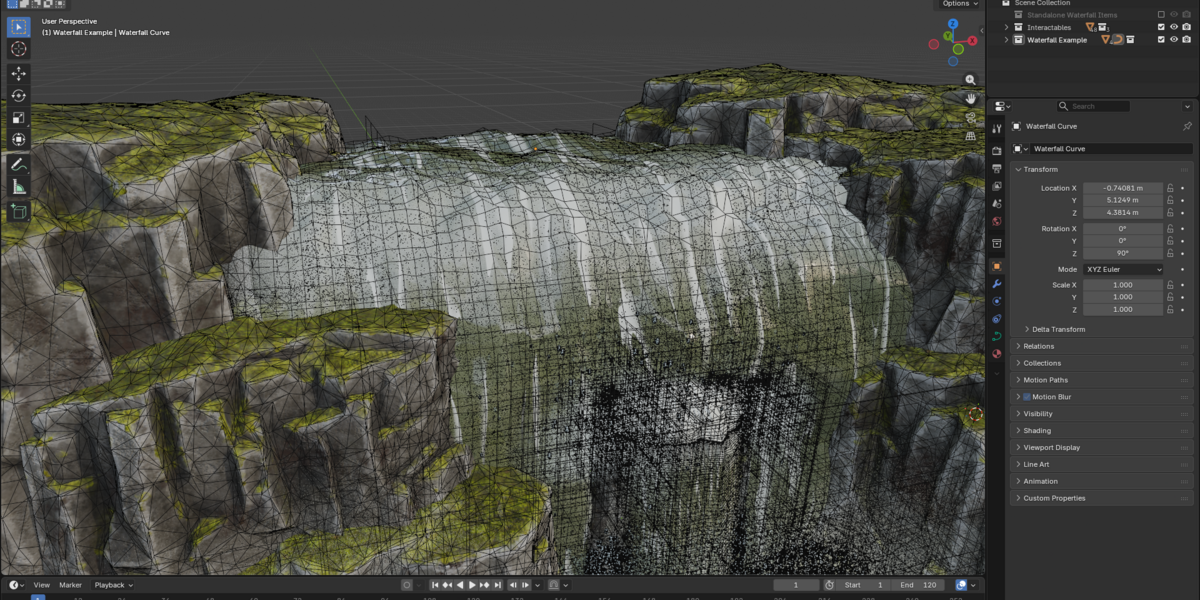

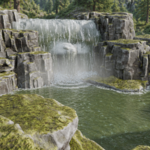
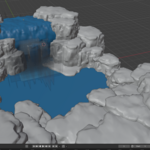
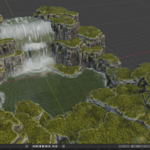
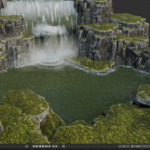
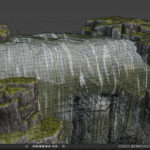
Getting started with Advanced Waterfall
- Extract Blender and Guide. Open the supplied project in Blender 5.2.2 LTS and save a working copy.
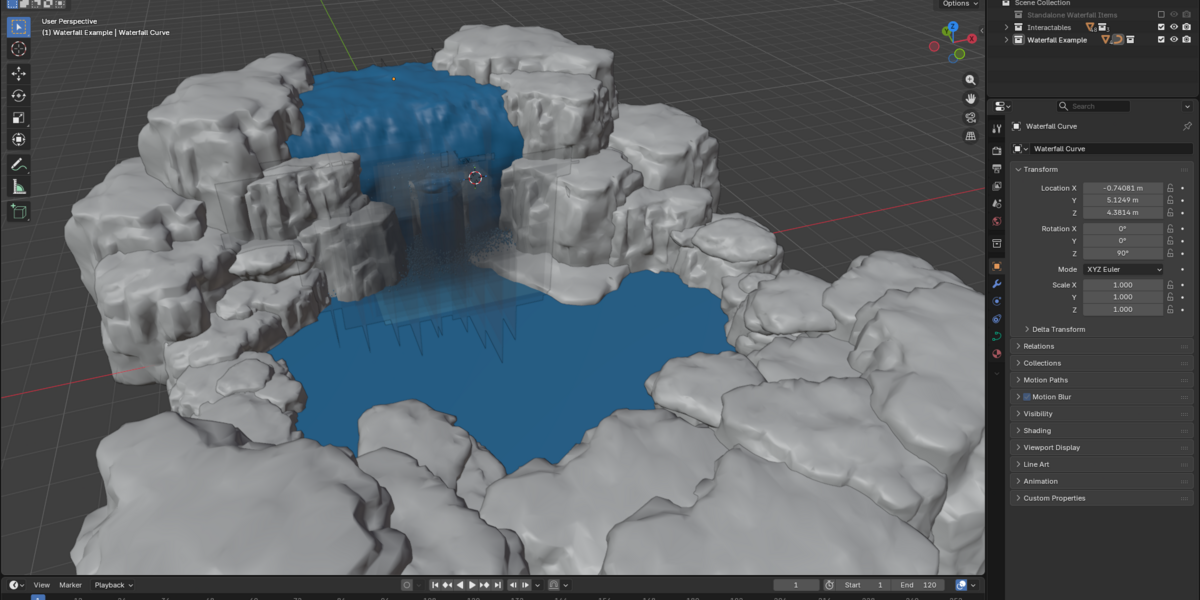
- Select an example waterfall or water-surface object and inspect its Geometry Nodes modifier. Follow the corresponding silent recording alongside the written guide.
- For clean imports, make Standalone Waterfall Items available in the Outliner. Copy or append the required object into your own scene with its dependencies.
- Edit the waterfall curve and Overall Width. Use curve-point radius for local width changes; check Reverse Direction if the flow runs the wrong way.
- Assign suitable interaction collections. Keep water and emitters out of their own target collections.
- Adjust the receiving water separately: wave normals, shallow/deep appearance and contact foam. Place standalone splash rings and splash/fog objects where needed.
- Match Loop Frames for a shared cycle. The documented default loop is 240 frames; the example timeline is 120. Review your chosen full range before rendering.
Download contents
The native Blender project includes the example, standalone systems and packed image resources. The separate Silent Demonstrations ZIP contains four control recordings and two short previews. All six videos are silent.
Practical limits
This is a geometry and shader workflow, not physical liquid simulation. Mist is card-based and caustic patterns are an artistic surface effect. Blender-dependent effects do not transfer as a complete system through static FBX or OBJ export. Earlier Blender versions have not been verified.
For heavier scenes, use solid view while arranging objects and reduce viewport detail where appropriate. Review target collections when adding transparent third-party objects.
Support: 3D Tudor Discord community.
-
$24.99
For personal, non-commercial projects by the purchaser. Includes the complete Blender project, written guide and all six silent demonstrations.
-
$49.99
For commercial and client projects by the purchaser. Includes the same complete Blender project, written guide and all six silent demonstrations.
Have questions about this product?
Login to message
| Dev Fund Contributor | |
| Published | 3 days ago |
| Blender Version | 5.2 |
| License | Royalty Free |
Discover more products like this
curve environment foam geometry nodes procedural Water mist animation splash waterfall