 LarkLab
Documentation · Anime Eye Shader Pack · by LarkLab
USER GUIDE
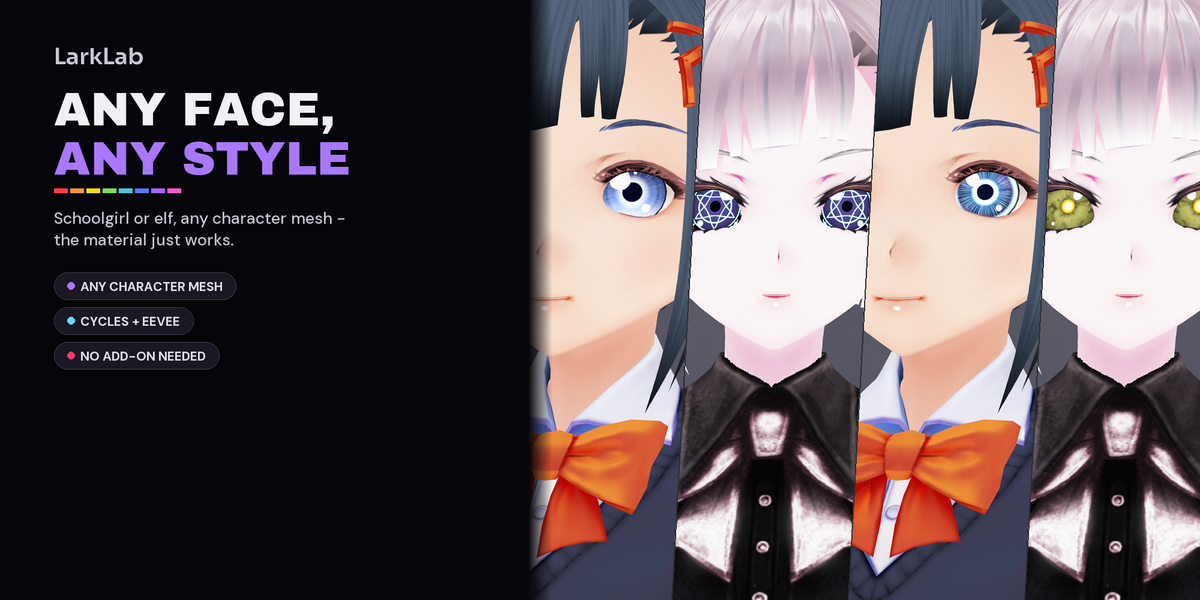
Everything you need to get the 49 eye materials onto your characters and make them your own. The pack is a single .blend asset library: no add-on, no textures, nothing to install.
| You need | Blender 4.2 or newer |
| You get | Power_Eye_Material_Pack.blend: 49 asset-marked materials |
| Engines | Cycles and Eevee |
|
01 / 06 Setup ADD THE LIBRARY. |
OPTION A · PERMANENT LIBRARY (RECOMMENDED)
1 |
Save the .blend somewhere permanent For example a folder called Asset Libraries in your documents. Blender reads it from there every time. |
2 |
Register the folder Edit › Preferences › File Paths › Asset Libraries › +, then pick that folder. |
3 |
Set Import Method to Append In the same row, choose Append (or Append Reuse Data). The material then lives in your scene file and keeps working if you move the library. |
OPTION B · QUICK LOOK
Open the .blend directly, switch any editor to the Asset Browser and choose Current File in the library menu at the top left.
|
02 / 06 Apply PICK. DRAG. DONE. |
1 |
Open the Asset Browser Choose your library from the menu at the top left. All 49 materials show with their own sphere preview. |
2 |
Select the eye mesh Any sphere or custom eyeball. For one-mesh faces (VRM / VRoid), select the face and find the iris material slot. |
3 |
Drag the material on Drop a thumbnail onto the mesh in the viewport. It replaces the material slot under the cursor, so on a combined face mesh drop it right onto the iris. |
|
03 / 06 Fit MAKE IT SIT RIGHT. |
All settings live on the one group node in the Shading tab. Change the sockets there; you never need to open the group itself.
| Iris Size · Iris Height | Overall size and vertical stretch of the iris |
| Tilt | Rotates the iris shape for slanted, cat-like eyes |
| Look Left/Right · Look Up/Down | Moves the iris across the eye. Keyframe these to animate the gaze |
| UV Scale · UV Center X/Y · UV Aspect | Fine placement when Use UV is on |
| Lid Shadow Size · Strength | Soft shadow from the upper lid across the top of the iris |
| Seed | Re-rolls the random detail (fibres, sparkles, mottling) without changing the look |
|
04 / 06 Controls STYLE IT YOUR WAY. |
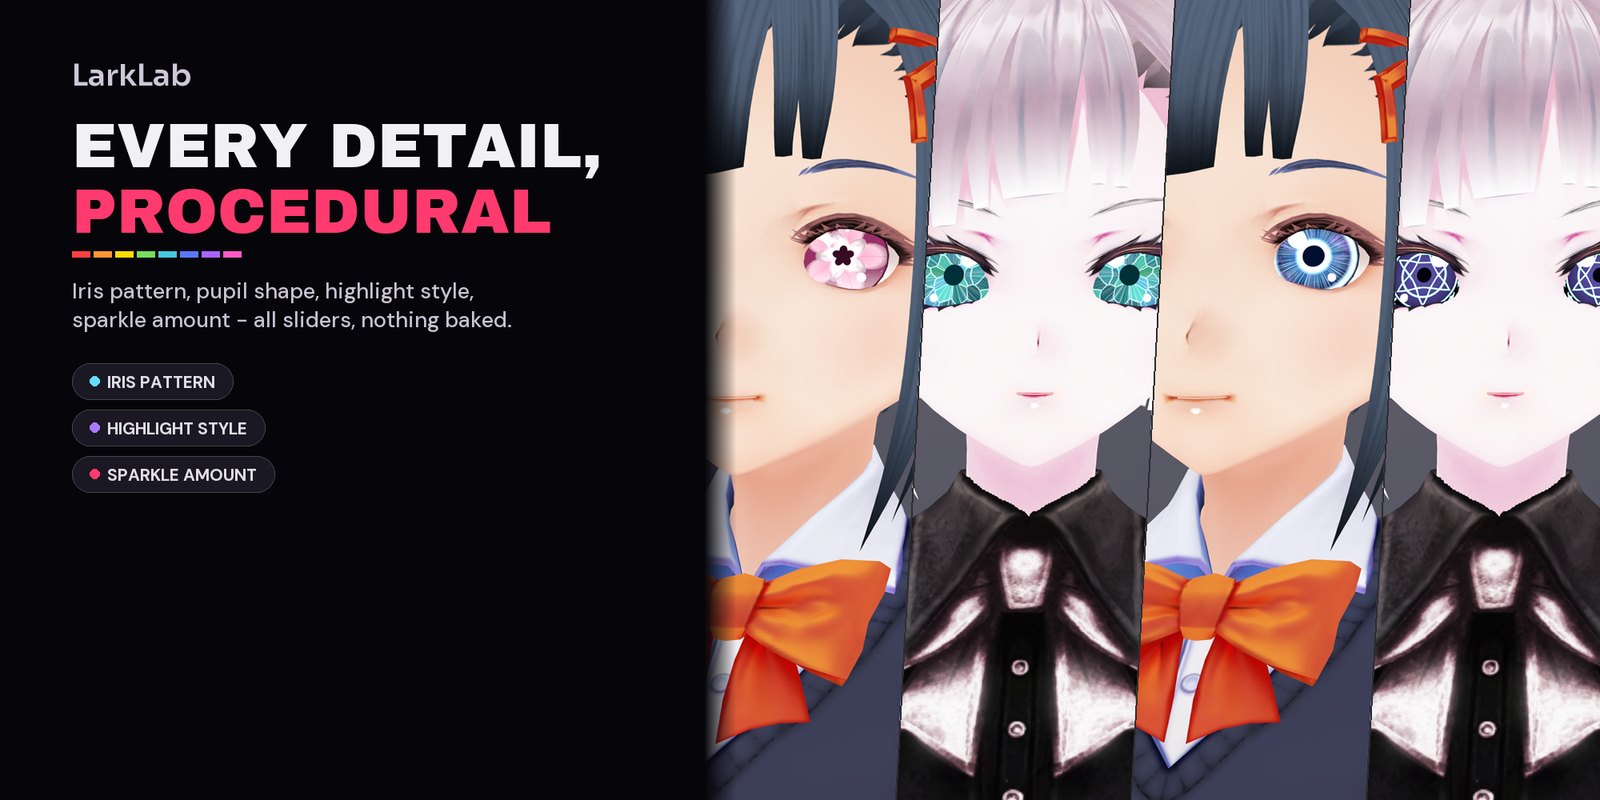
Every preset is the same node group with different values, so you can turn any preset into any other look. The main groups of sockets:
PUPIL
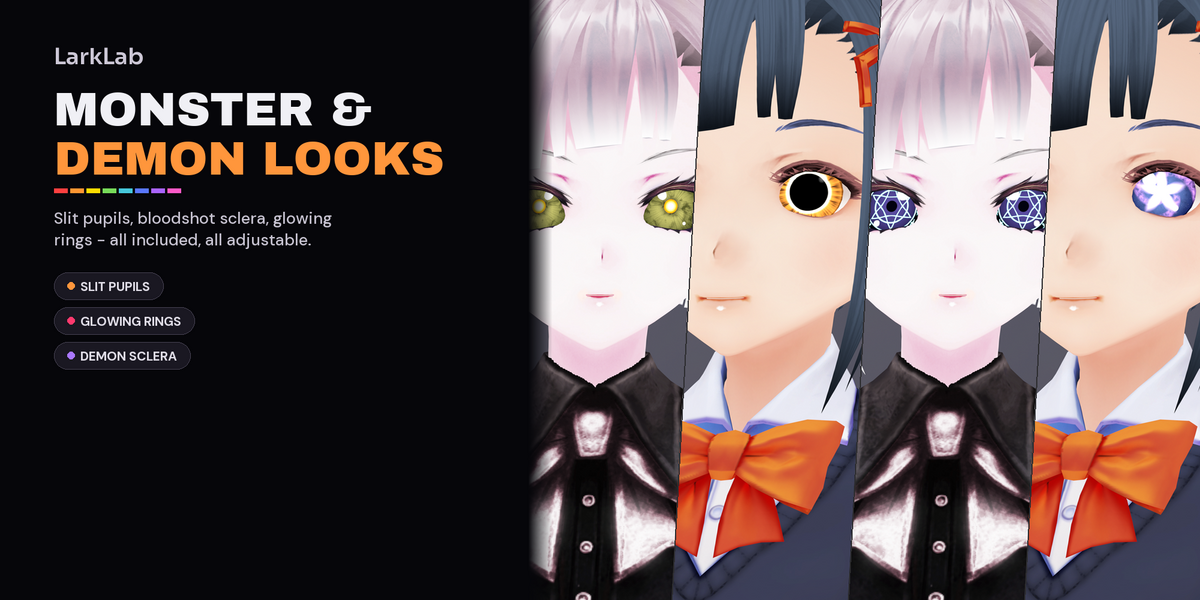
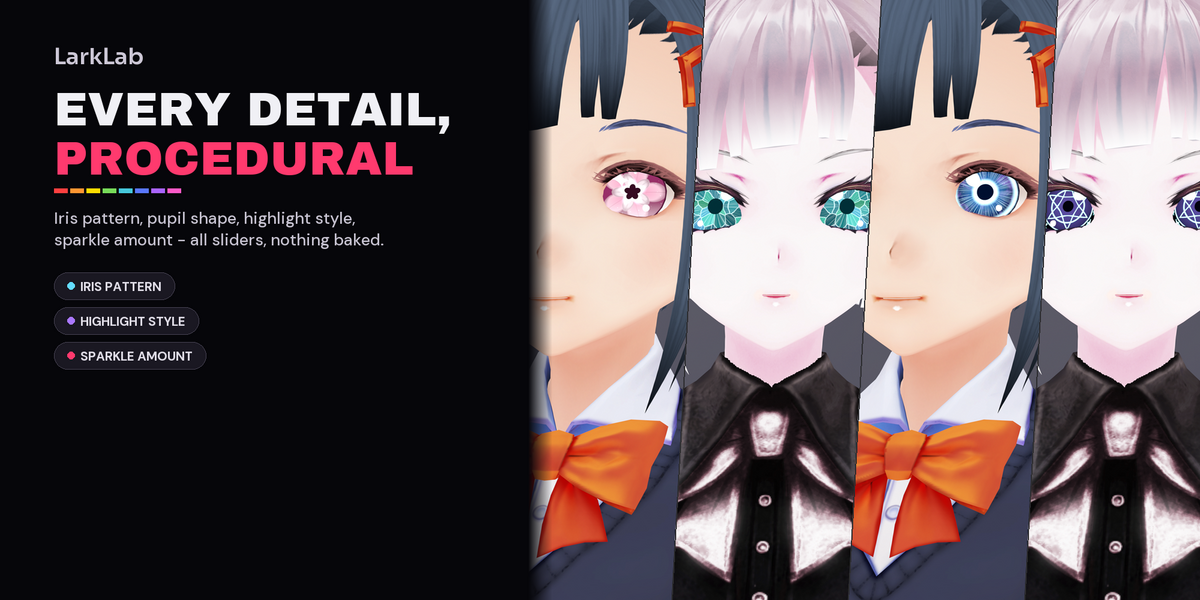
| Pupil Shape | 12 shapes, including round, slit, heart, star, diamond, flower, crescent and cross |
| Pupil Size · Slit Width | Size, and how narrow slit pupils get |
| Pupil Offset X/Y · Rotation | Move or turn the pupil inside the iris |
| Pupil Glow · Pupil Ring · Ring Gap | Glowing pupil and an outer ring around it |
HIGHLIGHTS & SPARKLES
| Highlight Style | Switches between the anime highlight shapes |
| Main / Second / Dot (X, Y, Size) | Position and size of the three highlights |
| Highlight Amount · Softness · Glow | Strength and edge of the shine |
| Sparkle Amount · Density · Size · Shape | The sparkle field over the iris |
| Lower Glow | Soft light pooling at the bottom of the iris |
COLOUR
| Iris Top · Iris Bottom · Accent | The three colours every palette is built from |
| Pupil Color · Outline Color · Highlight Color | Pupil, iris rim and shine |
| Dual Color · Dual Tone · Dual Angle | Heterochromia-style split colour |
| Rainbow Shift · Brightness · Saturation | Global colour adjustments |
| Power Glow | Emission strength of the iris pattern |
SCLERA
| Sclera Color · Tint · Tint Amount | The white of the eye |
| Sclera Darkness · Dark Sclera Color | Fade to black sclera for demon looks |
| Vein Amount · Color · Density · Width · Reach | Bloodshot veins |
SURFACE & MOTION
| Toon Amount | Higher values give flatter, cel-shaded colour |
| Gloss · Roughness · Iris Metallic | Wet look and reflections |
| Iris Depth · Bump Strength | Parallax depth and surface relief |
| Phase · Pupil Pulse · Glow Pulse · Iris Spin | Animation: keyframe Phase over time to drive the pulsing and spinning |
|
05 / 06 Rendering MAKE IT GLOW. |
The materials look the same in Cycles and Eevee. Glowing presets emit light, but the soft bloom around them is a compositing effect:
1 |
Open the Compositing tab Tick Use Nodes if it is off. |
2 |
Add a Glare node Shift A › Filter › Glare, between Render Layers and Composite. Set it to Bloom or Fog Glow. |
3 |
Tune the threshold Lower Threshold until only the glowing parts bloom. |
|
06 / 06 Troubleshooting IF SOMETHING LOOKS OFF. |
| Pink material | The library moved or was renamed. Set Import Method to Append and re-apply |
| Iris looks stretched | Lower Iris Height, or with Use UV on adjust UV Aspect |
| Iris is tiny or huge | Change Iris Size (sphere mode) or UV Scale (UV mode) |
| Both eyes look the same way | Expected. Gaze sockets are per material; duplicate the material for independent eyes |
| No glow | Add the Glare node (section 05) and check you are in Rendered view |
| Assets not listed | Check the library path in Preferences and pick the library in the Asset Browser menu |
Still stuck? Send a message through Superhive and include your Blender version and a screenshot of the Shading tab. Anime Eye Shader Pack by LarkLab.
Have questions about this product?
Login to message
| Published | about 5 hours ago |
| Blender Version | 4.2 - 5.2 |
| Render Engine Used | Cycles, Eevee |
| License | Royalty Free |