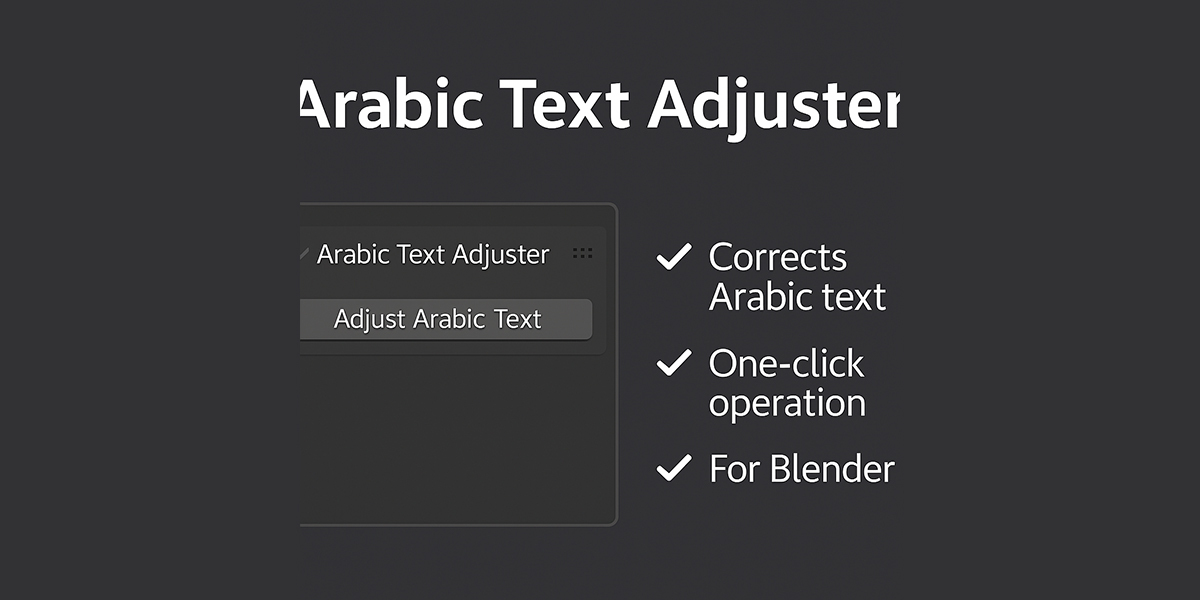
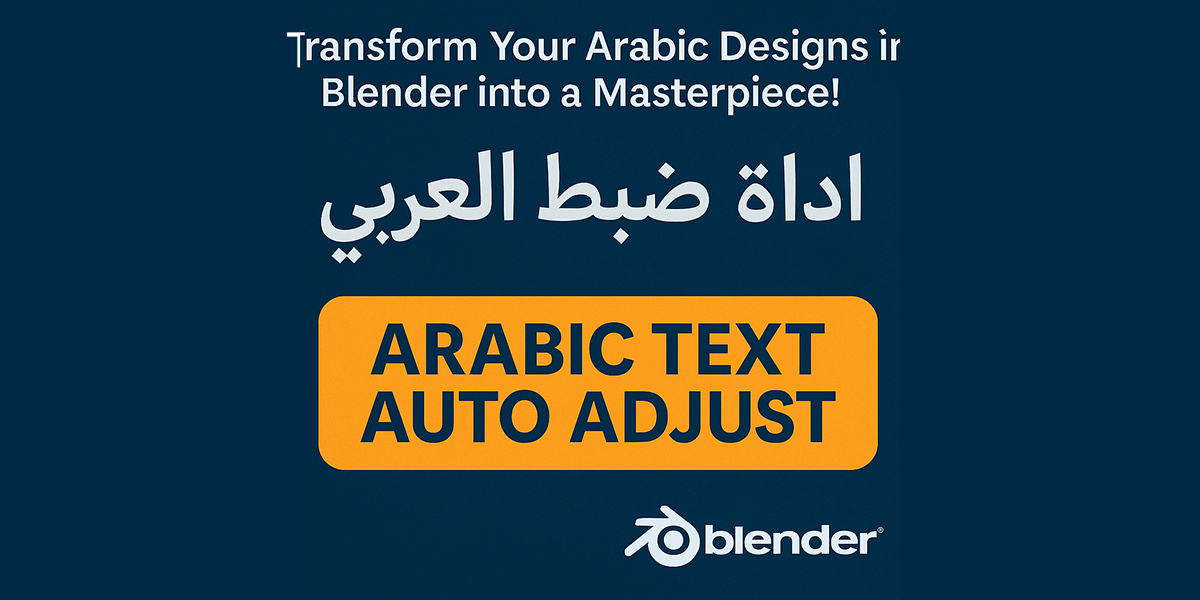
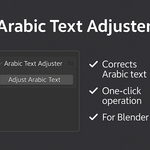
Arabic Text Auto Adjust
 Basem ALi Deeb


📦 How to Use the Arabic Text Auto Adjust Add-on in Blender
✅ Step 1: Download the Add-on
-
Download the
.zipfile for the add-on (e.g.,arabic_text_auto_install.zip). -
Do not unzip the file — you'll install it directly as a ZIP in Blender.
⚙️ Step 2: Install the Add-on in Blender
-
Open Blender.
-
Go to:
Edit > Preferences > Add-ons. -
Click the Install button (top-right).
-
Select the
.zipfile you downloaded. -
After installation, enable the add-on by checking the box next to:
Arabic Text Auto Adjust.
🌐 Important: Internet Connection Required on First Use
On your first time using the add-on, make sure your device is connected to the internet.
This allows the add-on to automatically download the required libraries:
-
arabic_reshaper -
python-bidi
Without them, the text adjustment won't function correctly.
🖋️ Step 3: How to Use It
-
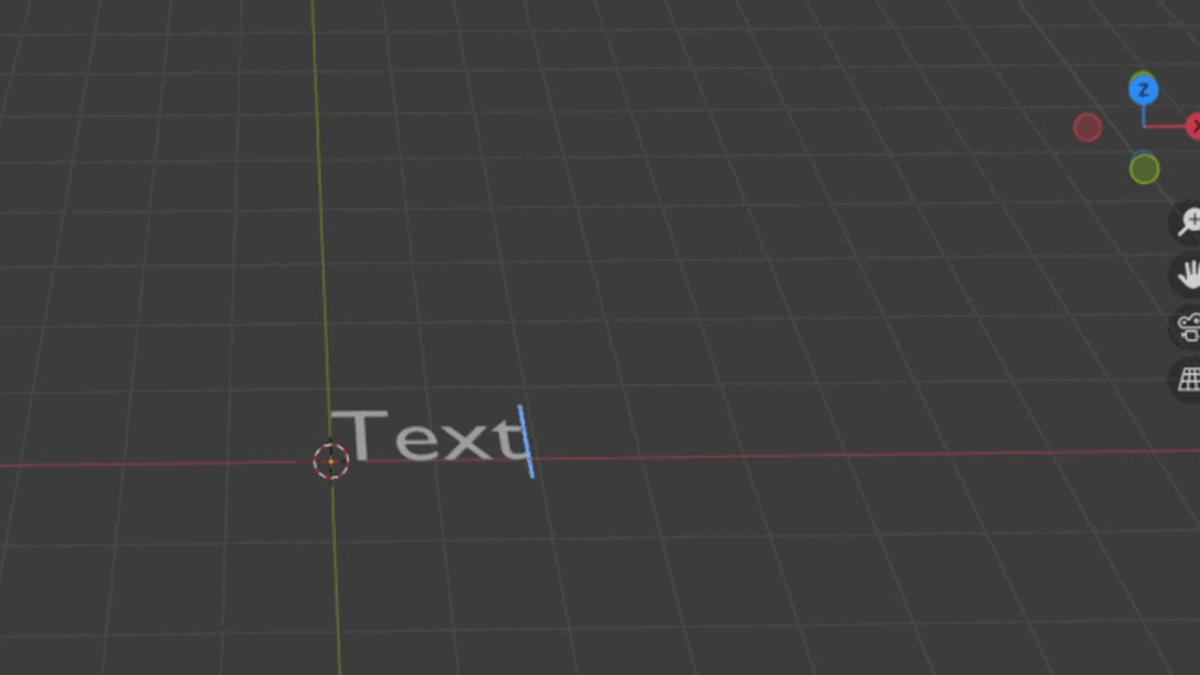
Add a new text object in Blender:
Shift + A > Text -
Select the text object in your scene.
-
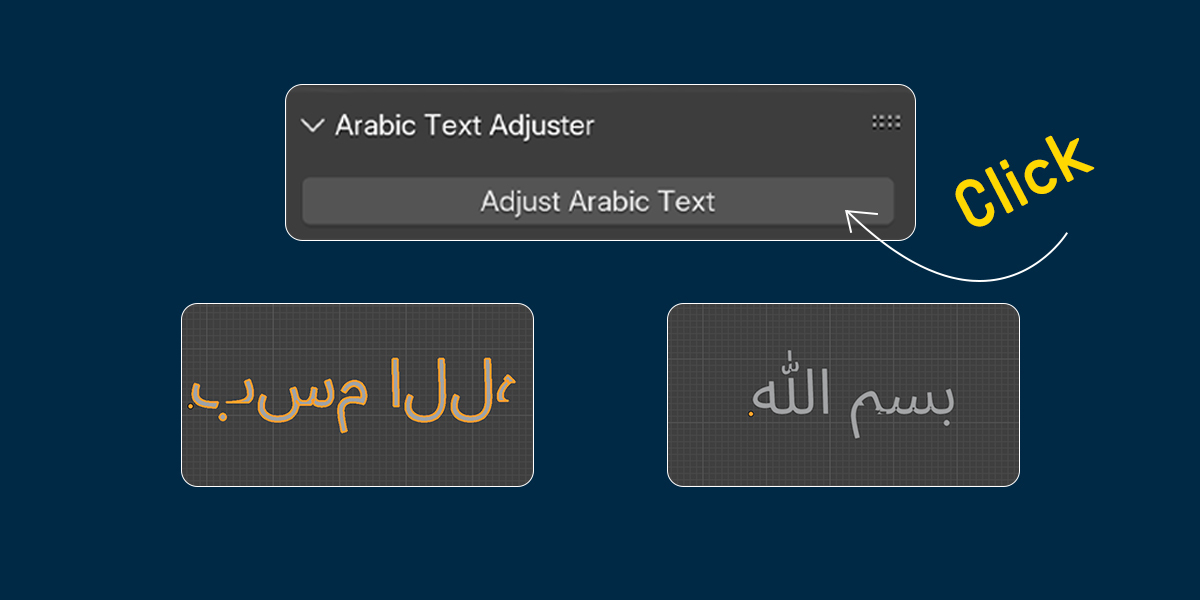
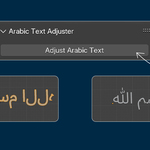
With the text selected, go to:
Object > Adjust Arabic Text
Or use the shortcut if configured. -
The add-on will:
-
Automatically reshape Arabic letters to connect properly.
-
Set the text direction from right to left.
-
✨ The Result
Perfect Arabic typography in Blender! No broken letters, no reversed text — just clean, connected, right-to-left Arabic text ready for your 3D projects.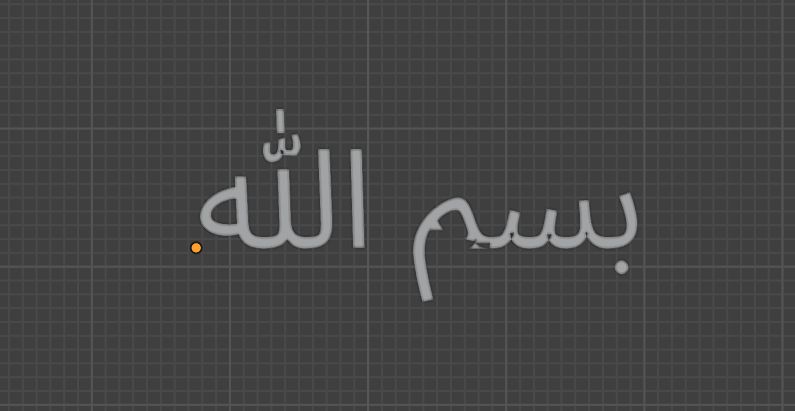
Have questions about this product?
Login to message
| Published | 9 days ago |
| Software Version | 4.4, 4.3 |
| Extension Type | N/A |
| Render Engine Used | Cycles, Eevee |
| License | Creative Commons |
Discover more products like this
Blender Add-on Arabic Blender plugin 3D typography Arabic right-to-left Arabic font text reshaper Arabic support blender text RTL Arabic text