 Shuhan

System Requirements
This plugin requires Blender 3.5 or newer versions. Ensure your Blender software meets this requirement before installation and use to avoid compatibility issues.
Core Features
- Supports array operations for a single object or multiple objects within a collection.
- Provides three flexible array methods: Straight Array, Circular Array, and Curve Array.
- Easy-to-use control options: Adjust counts, rotation, scales, circular radius (for Circular Array), or random seed (for collection instances) with simple panel settings.
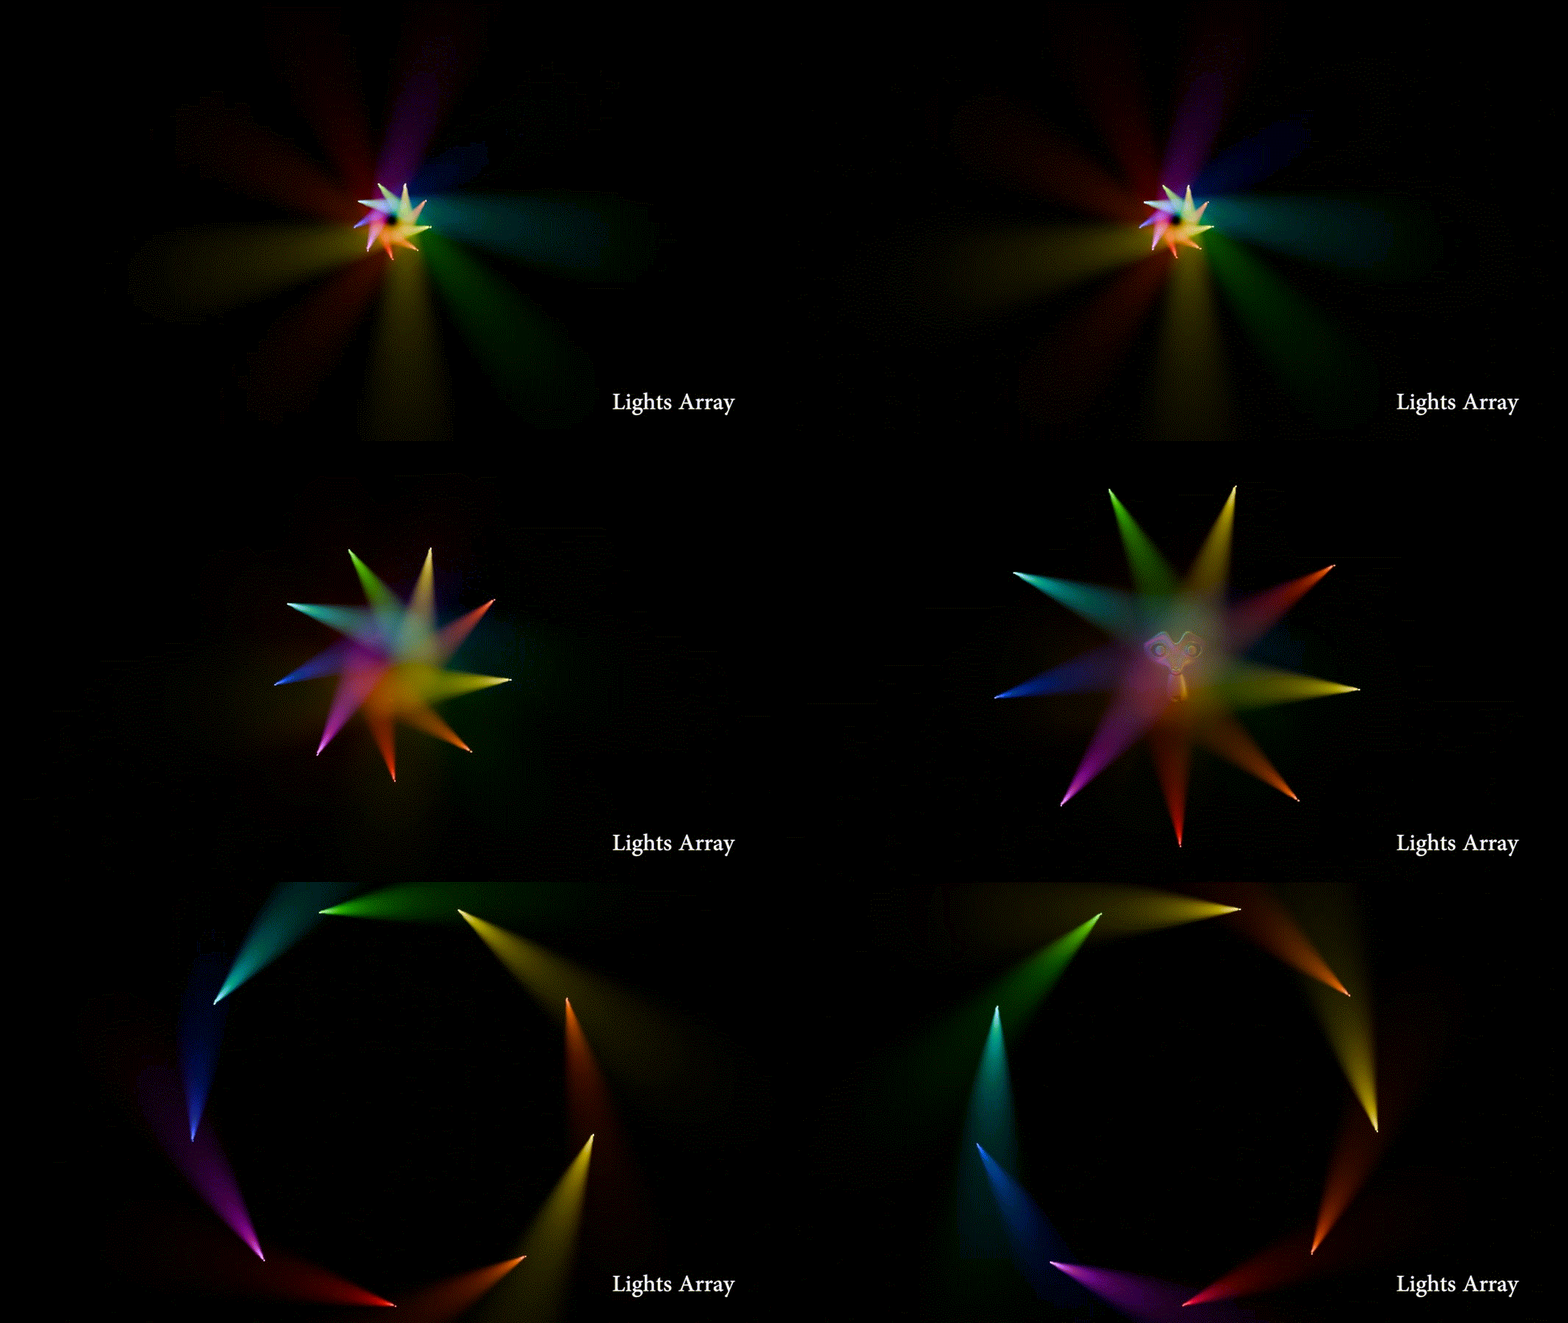
- Versatile compatibility: Lights, texts, and curves can also be arrayed using the plugin.
Usage Guide
The plugin’s operation varies slightly based on the target (single editable mesh object vs. multiple objects/lights/texts/curves). Follow the steps below for each scenario.
Scenario 1: Single Object (Editable Mesh)
For a single editable mesh object, you can choose any of the three array methods. All control parameters are available in the corresponding plugin panels.
1.1 Straight Array
Use the Array-Simple panel to adjust the following parameters and create a straight array:
- Count: Number of arrayed instances.
- Distance: Spacing between each instance in the straight array.
- Rotation: Rotation angle of each instance.
- Scale: Size of each arrayed instance.
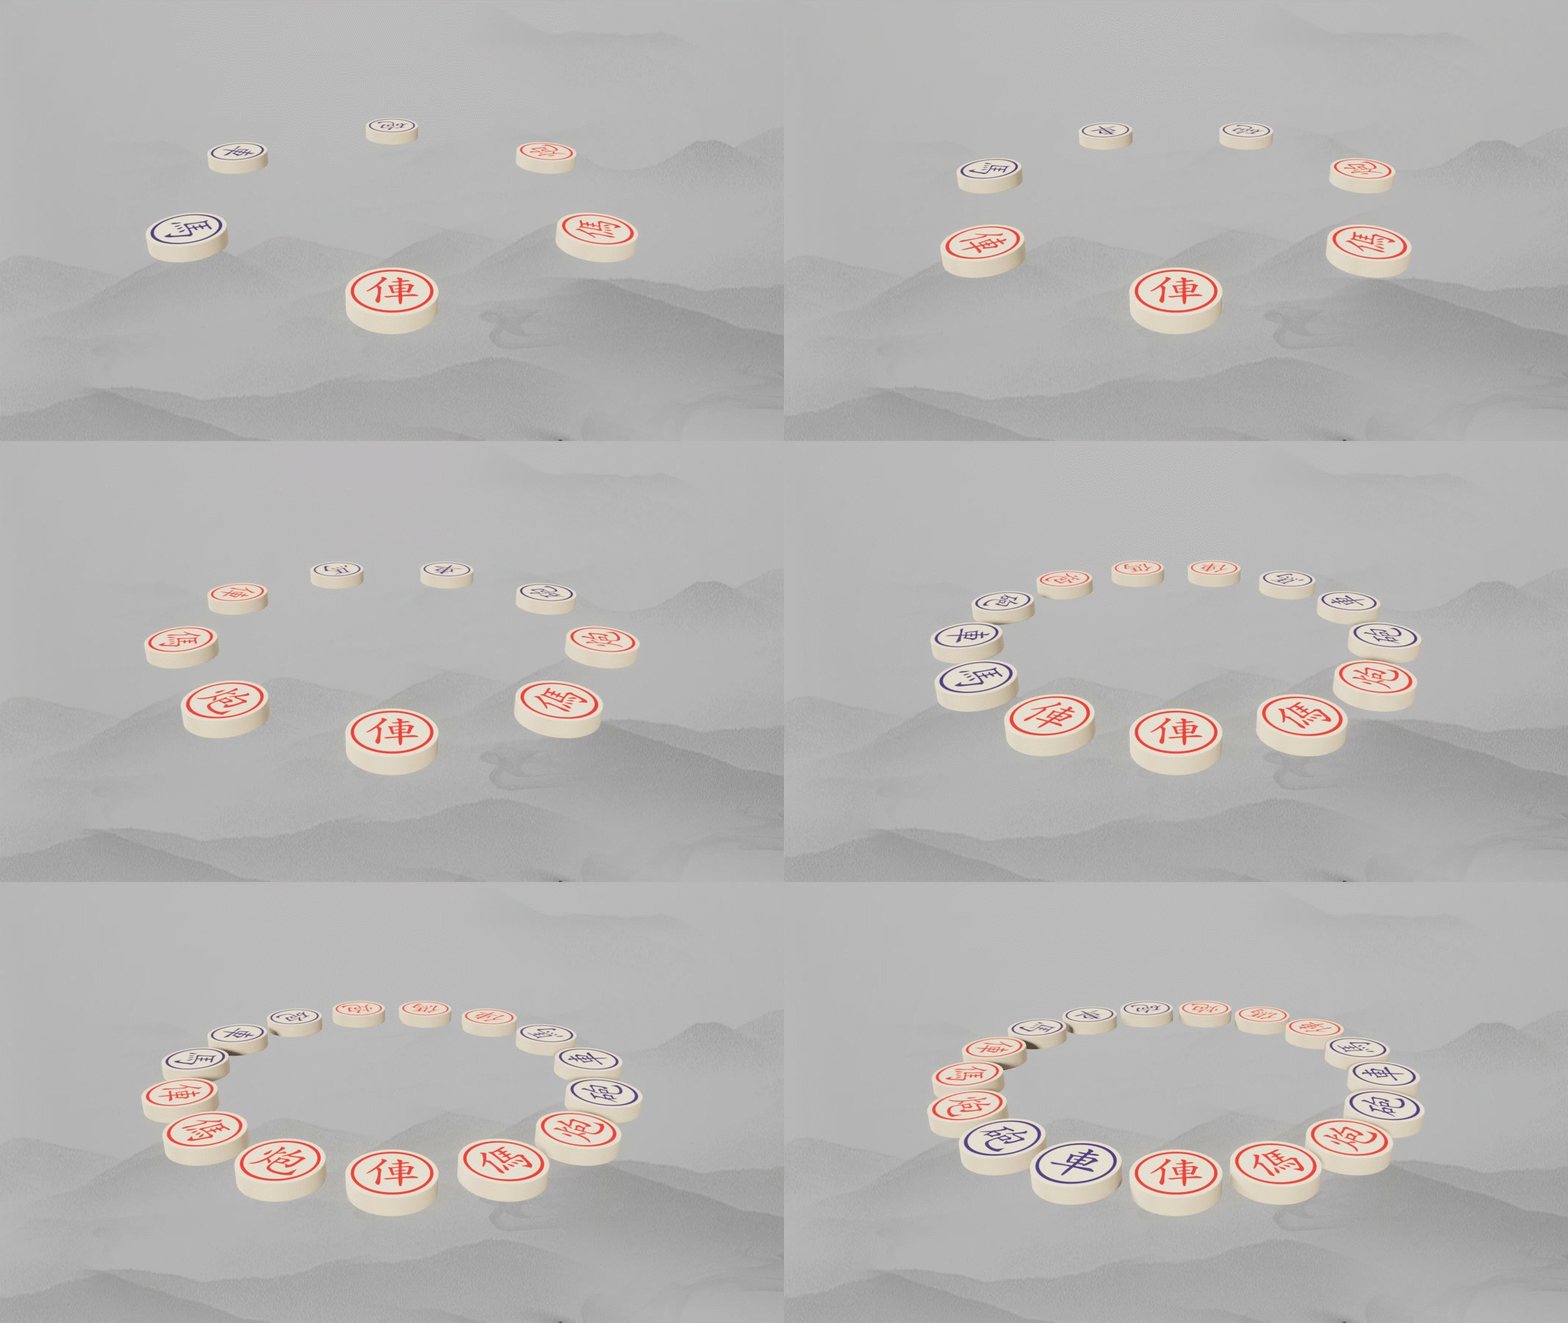
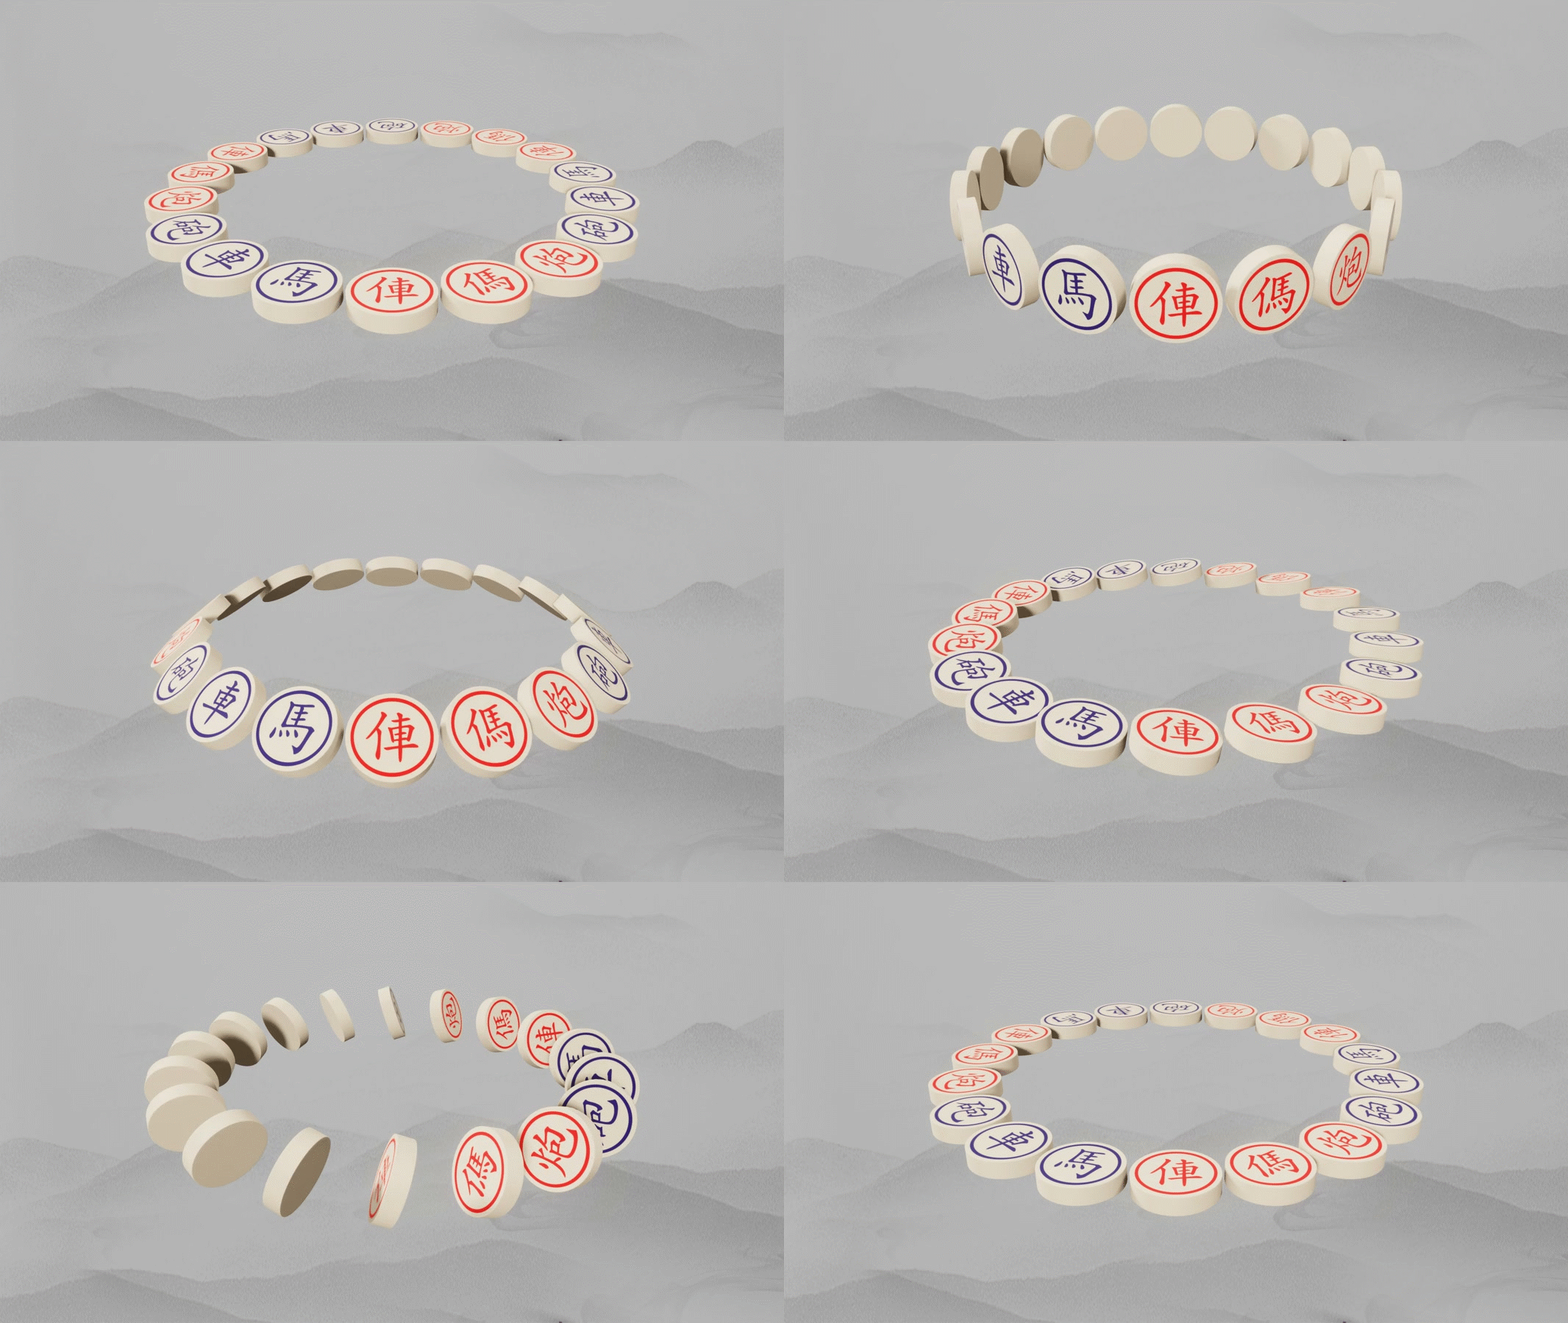
1.2 Circular Array
Follow these steps to create a circular array:
- Select the circular center: Choose either the 3D Cursor or the object itself as the center point.
- Set the align axis to determine the direction of the circular array.
-
Adjust parameters in the Array-Circular panel:
- Count: Number of instances in the circular array.
- Radius: Radius of the circular path.
- Rotation: Rotation of each instance along the circular path.
- Scale: Size of each arrayed instance.
1.3 Curve Array
Use a curve as the path for the array with these steps:
- Select a curve object to serve as the array path.
-
Bend control:
- If checked: The arrayed objects will bend along the curve’s shape.
- If unchecked: You can choose whether to use the curve’s direction. A object carrier will be automatically created to prevent deformation of the original object.
-
Adjust parameters in the Array-Curve panel:
- Fit type: How the instances fit along the curve (e.g., fit to curve length).
- Distance: Spacing between instances along the curve.
- Rotation: Rotation of each instance relative to the curve.
- Scale: Size of each arrayed instance.
Scenario 2: Multiple Objects, Lights, Texts, or Curves
For multiple objects, or non-mesh objects (lights, texts, curves), you must use a collection to manage the targets. Follow these steps:
- Create a new collection and drag all target objects into this collection.
- In the plugin panel, switch Target Type to Collection, then select the newly created collection as the target.
After completing the above setup, choose one of the three array methods below:
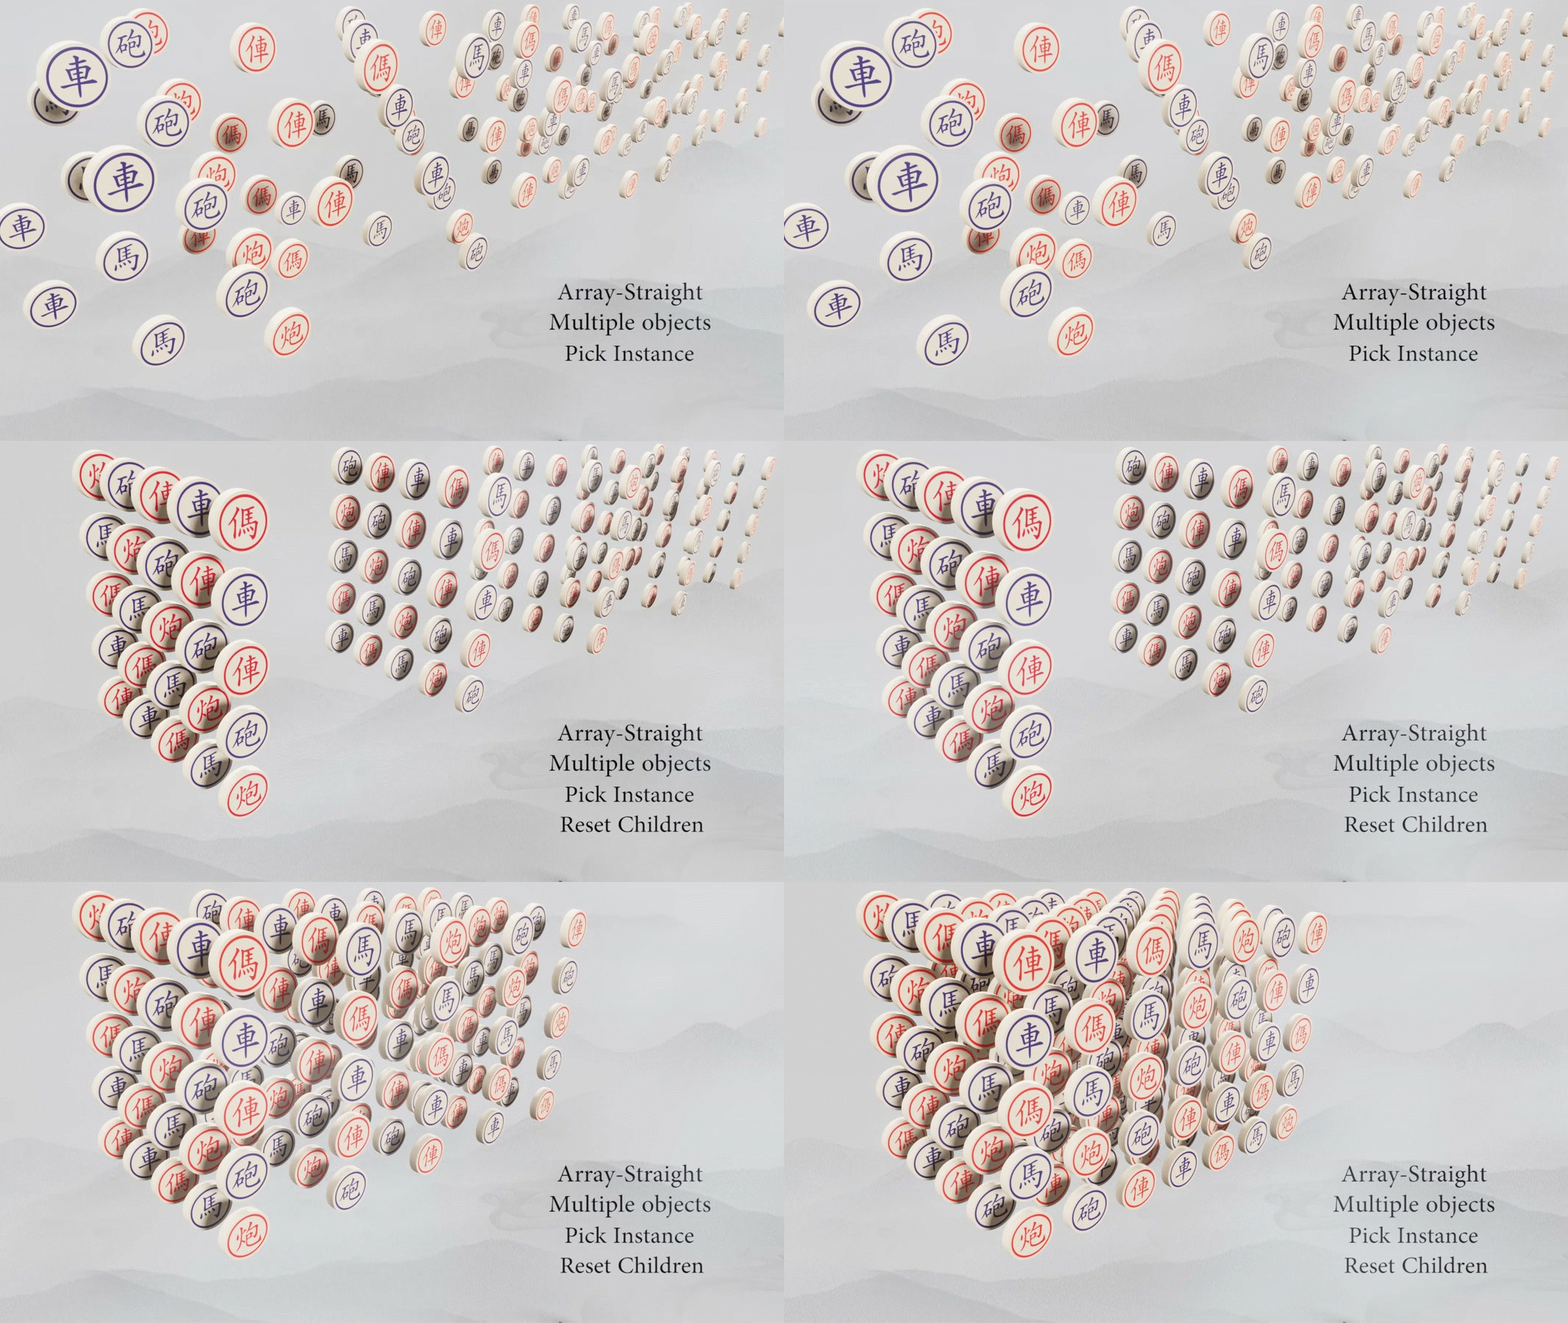
2.1 Straight Array (Collection)
- Select a reference object: Its location will be used as the starting point of the array.
- Choose between Instance or Reset Children for the collection (based on your needs).
- Adjust parameters in the Array-Simple panel: Count, Distance, Rotation, Scale.
- Random variation (optional): Check Random and adjust the seed to add randomness to the arrayed instances.
- Important note: Before clicking the check mark to apply modifiers, confirm that all objects in the collection are editable meshes (if you need to apply modifiers).
2.2 Circular Array (Collection)
- The 3D Cursor’s location will be used as the circular center (fixed setting for collection circular array).
- Select a reference object: Its location will be used as the starting point of the circular array.
- Choose between Instance orReset Children for the collection.
- Set the align axis to determine the circular direction.
- Adjust parameters in the Array-Circular panel: Count, Radius, Rotation, Scale.
- Random variation (optional): Check Random and adjust the seed for random instance placement.
- Important note: Before applying modifiers (check mark button), confirm that all objects in the collection are editable meshes.
2.3 Curve Array (Collection)
- Select a curve object to serve as the array path.
- Curve direction control: Choose whether to use the curve’s direction. A object carrier will be created to avoid object deformation.
- Choose between Instance or Reset Children for the collection.
- Set the align axis as needed.
- Adjust parameters in theArray-Curve panel: Fit type, Distance, Rotation, Scale.
- Random variation (optional): Check Random and adjust the seed to add randomness to the array.
- Important note: Before applying modifiers (check mark button), confirm that all objects in the collection are editable meshes.
Limitations
- Multiple objects array: All target objects must be placed in the same collection. Use Target Type: Collection to start the array operation.
- Non-mesh objects (lights, texts, curves): These cannot be arrayed as single objects. You must create a new collection, add these objects to it, and then use Target Type: Collection.
- Collection array modifier application: When clicking the check mark to apply the "ARR.GN" modifier, if the collection contains non-editable mesh objects (e.g., lights, texts, curves), the modifier will not be applied (these objects cannot be realized as instances). However, you can still render the project normally while keeping the "ARR.GN" modifier enabled.
Notes
Always confirm the object type (editable mesh or non-mesh) before applying modifiers to avoid operation failures. For best results, test the array parameters with a small number of instances first, then adjust to your desired effect.
$5
Have questions about this product?
Login to message
