Audio Importer
 GhostVertex
Installation
Download the correct version of the
add-on for your blender version. The Blender version is always in the
name of the add-on. If you cannot find your blender version, simply use
the next lower version. For example, if you are using blender 4.4, but
you can only find blender 4.3 in the downloads, this means that no
updates were necessary for blender 4.4 and you can use the version for
4.3 for blender 4.4.
Leave the .zip file as it is. Do not unpack it!
Now you can simply put the .zip file into your open blender window. Confirm that you want to install it and that's it.
Here you can see it: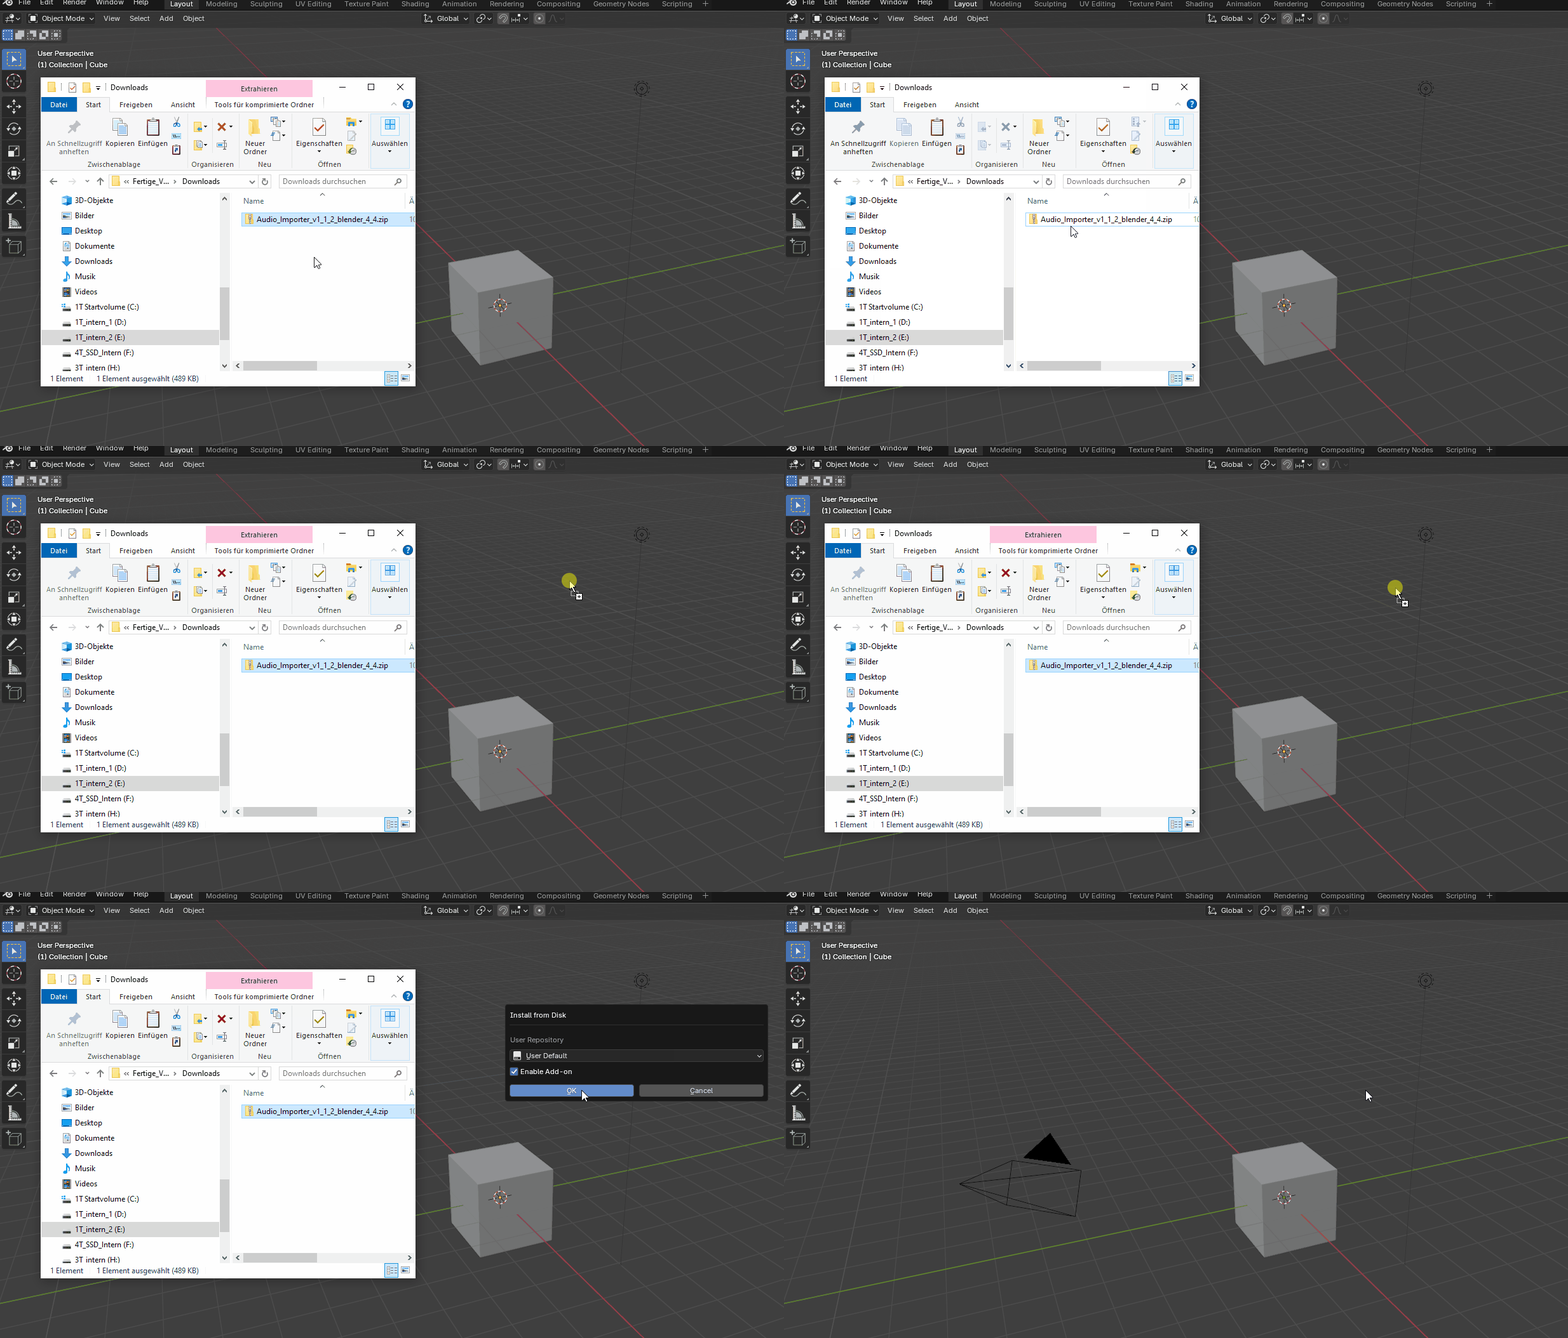
Uninstall
To uninstall the add-on, follow the steps in the following image: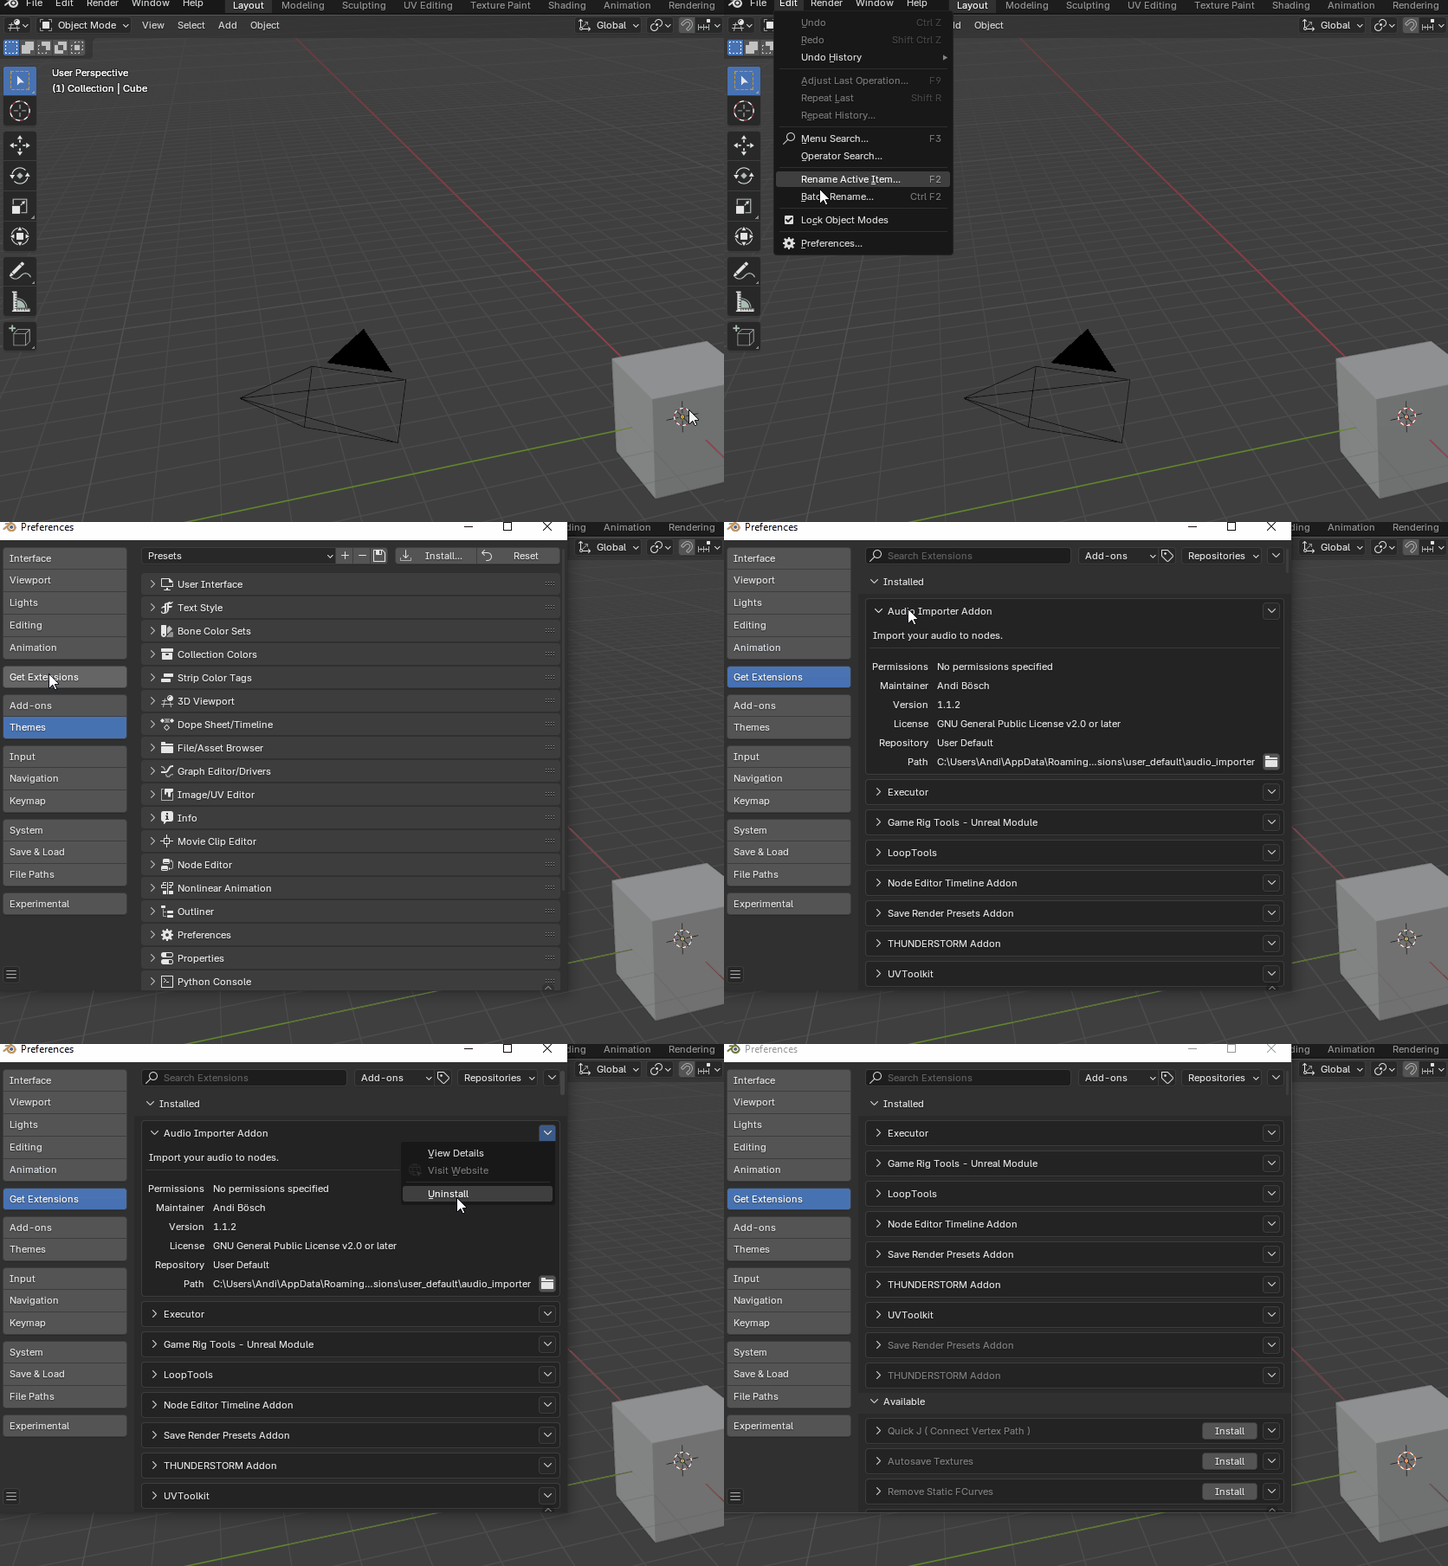
Upgrade
If
you want to install a new version of the add-on, uninstall the add-on
first, restart blender and then install the new version of your add-on.
It
is very important that you restart blender, otherwise there may be
problems and crashes because various things are still saved in blender.
Using Audio Importer
You can find Audio Importer in the N-Menu of the Geometry Nodes Node Editor:
- Select an object
- Add Geometry Nodes
Now you can use Audio Importer.
You
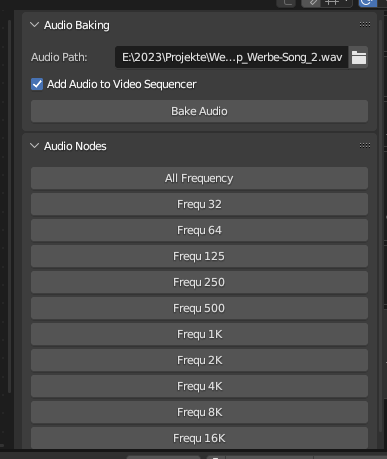
can enter the path to your sound file, press "Bake Audio"
and the following will be executed automatically:
- 10 frequencies
are baked
- Frequency nodes are generated
- The
All_Frequency_VJ_Trip node will be attached to your mouse cursor. If
the node already exists in your node tree, the node is left where it
is.
- Your audio file will be added to the sequencer if you
checked the checkbox.
The
start frame is your scene start frame. The end frame is automatically
adjusted to the length of the audio file.
You
can only bake one track in a Blender file. The baked tracks are
overwritten each time they are baked again.
If you would like to
have a different starting point for your sound file, you can change
the start frame of your scene and bake the file again. This is the
only way to move the baked tracks.
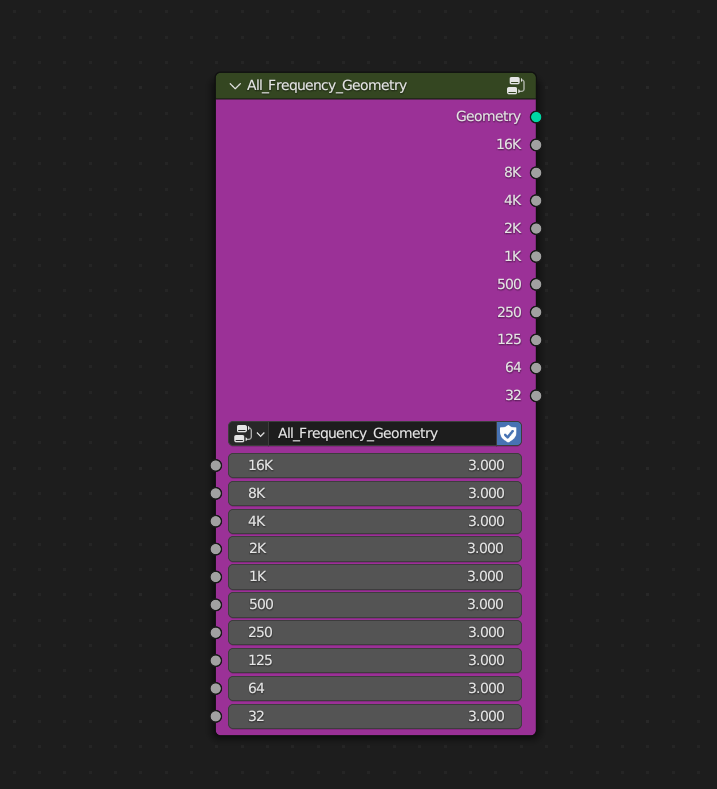
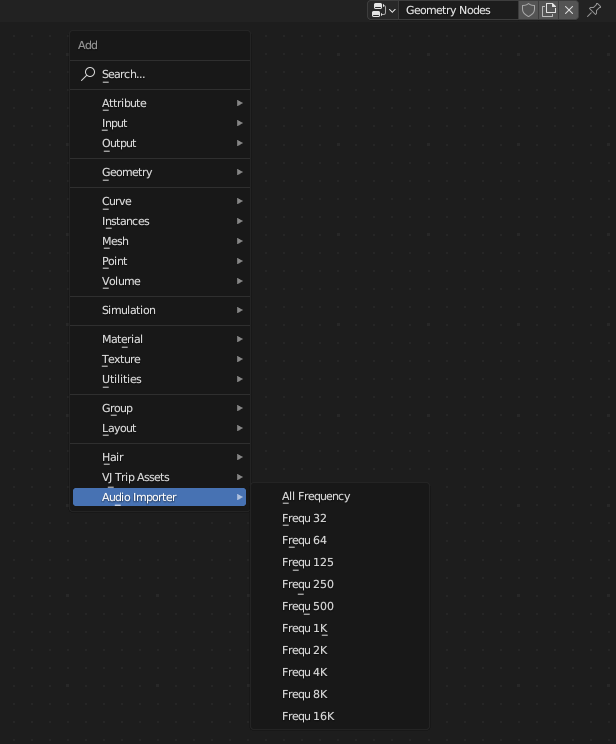
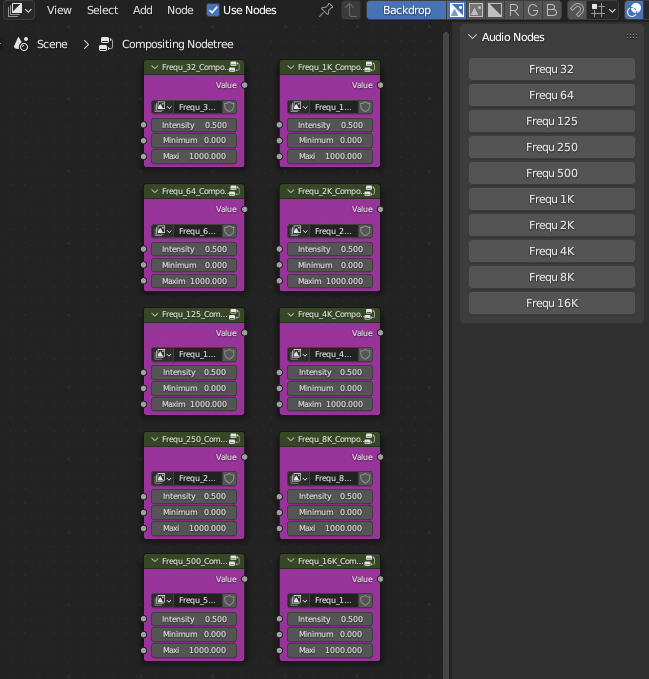
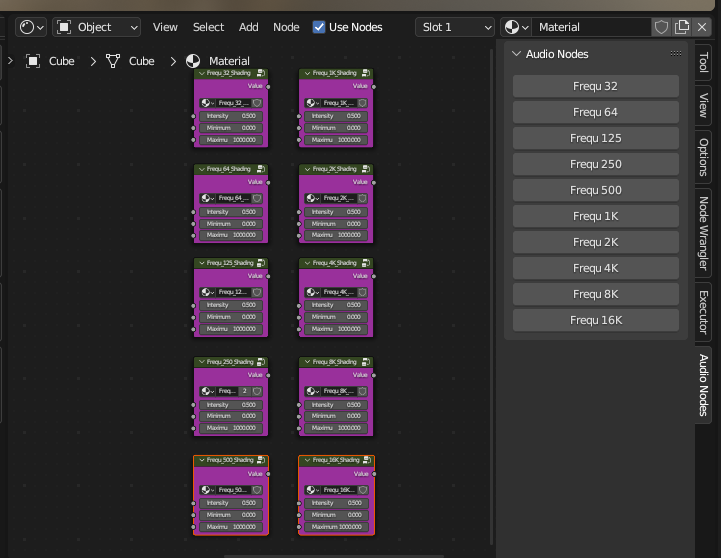
The frequency nodes can be added via the Panel Menu or the Add Menu. Because All Frequency Node is only available in the Geometry Nodes. All other frequencies are available in Shading, World Shading and Compositing.
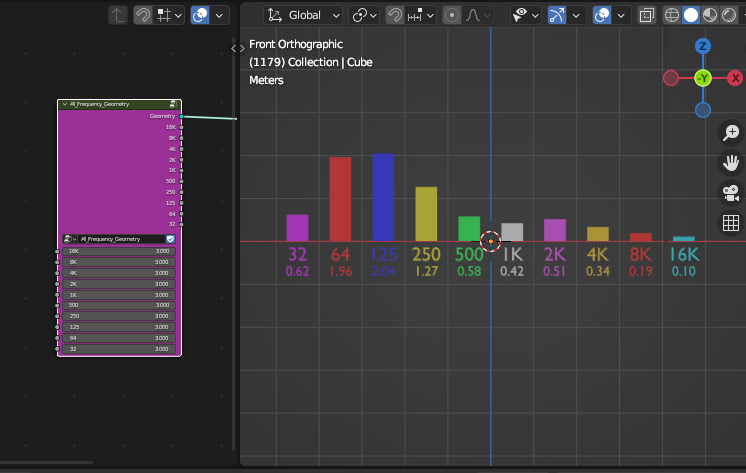
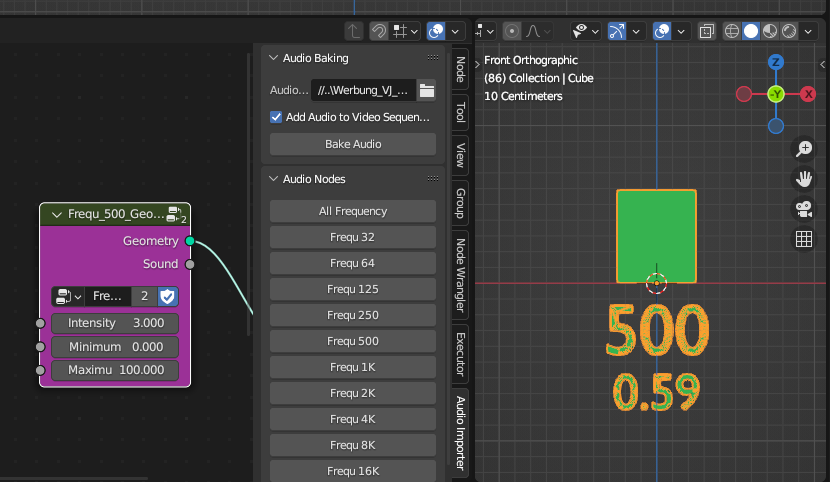
The frequencies are visible by linking the nodes in the Geometry Nodes to the output of the Geometry Nodes. The frequencies are placed at the position 0,0,0 of the world coordinates.
Important: The geometry output is only for illustration of how strong the frequencies are. What is used to influence settings is always the sound (value) output.

The
difference from the individual frequencies to the All Frequency Node
is that the individual frequencies have a minimum and maximum as
additional settings. This allows you to adjust the sound to any
situation.
The All Frequency Node only has the strength of the
signals.
How strong the sound is in each case can be seen from the extrusion of the columns and from the numbers which indicate the exact numerical value of the sound at the bottom of the columns.

You can find the frequency nodes in the Audio Importer panel, or in the Add menu of each node editor.
The
reason why the frequency visualizations are on there and not just in
front of the camera, which might make more sense, is that I can't know
what kind of camera settings someone is making. Just click 1 on your
keyboard in the 3D View window and you'll see the frequencies
beautifully. Or click on the -Y symbol in the 3D View window in the
upper right corner.
The
individual frequencies can influence everything. For example, the brightness of an emission shader.
Discover more products like this
baking bfcm23 import Audio-Import sound spring24 Music Sound Baking Bake Audio Sound-Import Audio-Baking audio