 Cg doctor
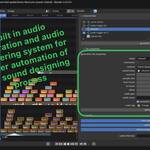
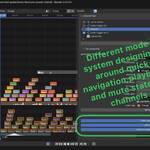
Audio Oven plus
Turn animated mesh data into sound, and keep your Video Sequencer organised while you do it.
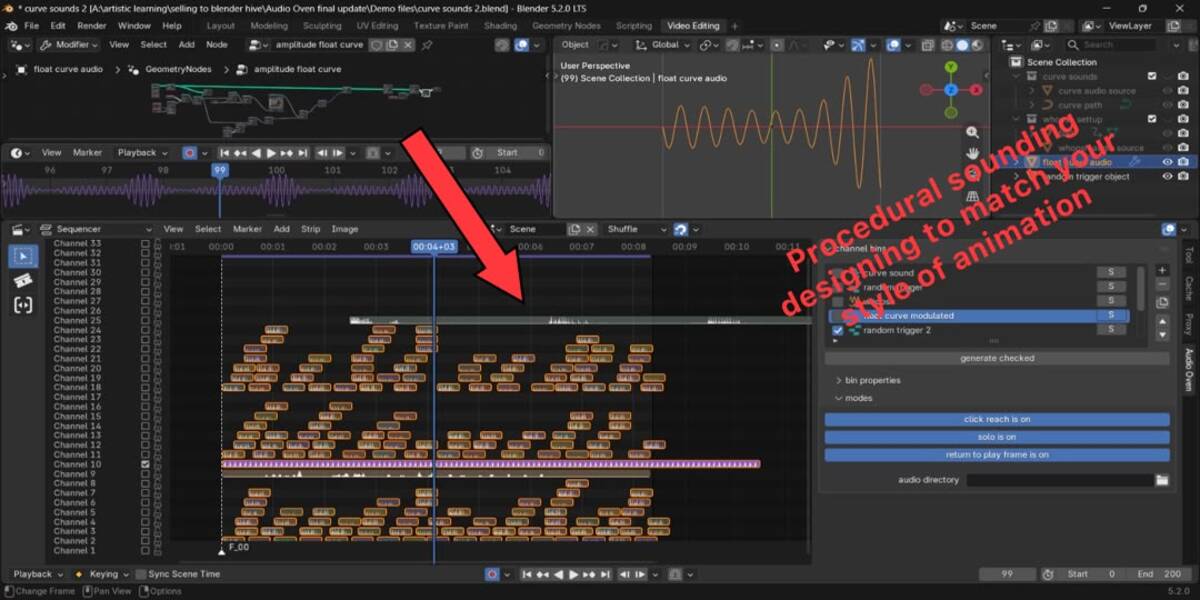
Audio Oven plus lets you make sound the same way you make animation: with data. Describe sound with ordinary mesh attributes (usually created in Geometry Nodes) and Audio Oven plus will either play a sound file at the exact moments your animation fires or build a brand-new audio file from your animation. The results land in the Video Sequencer as normal sound strips, ready to edit, mix and render.
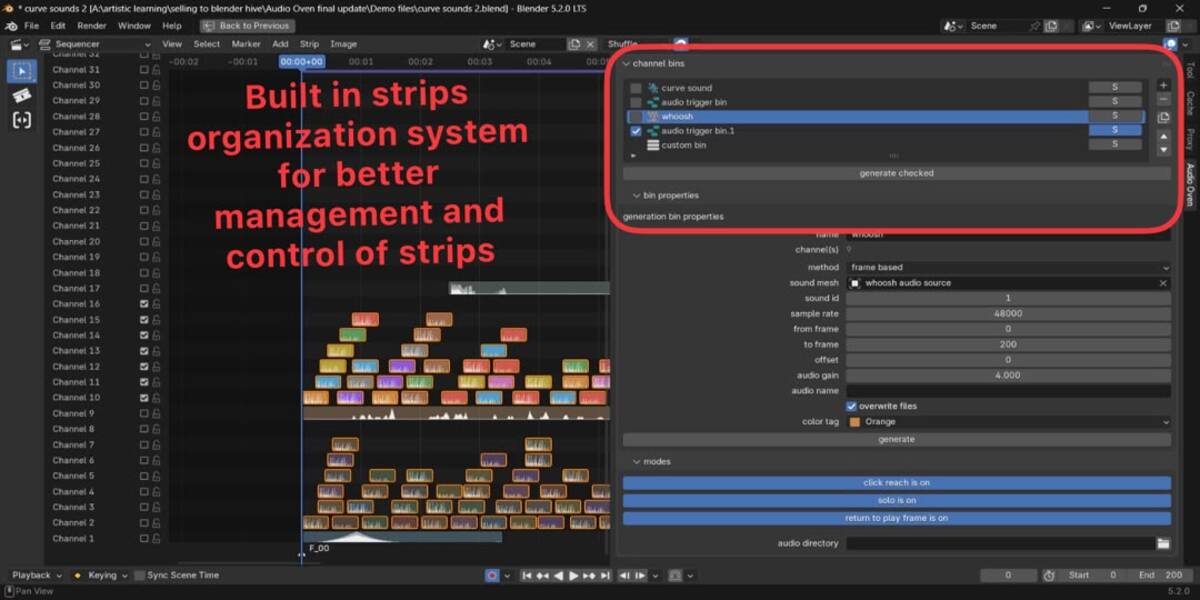
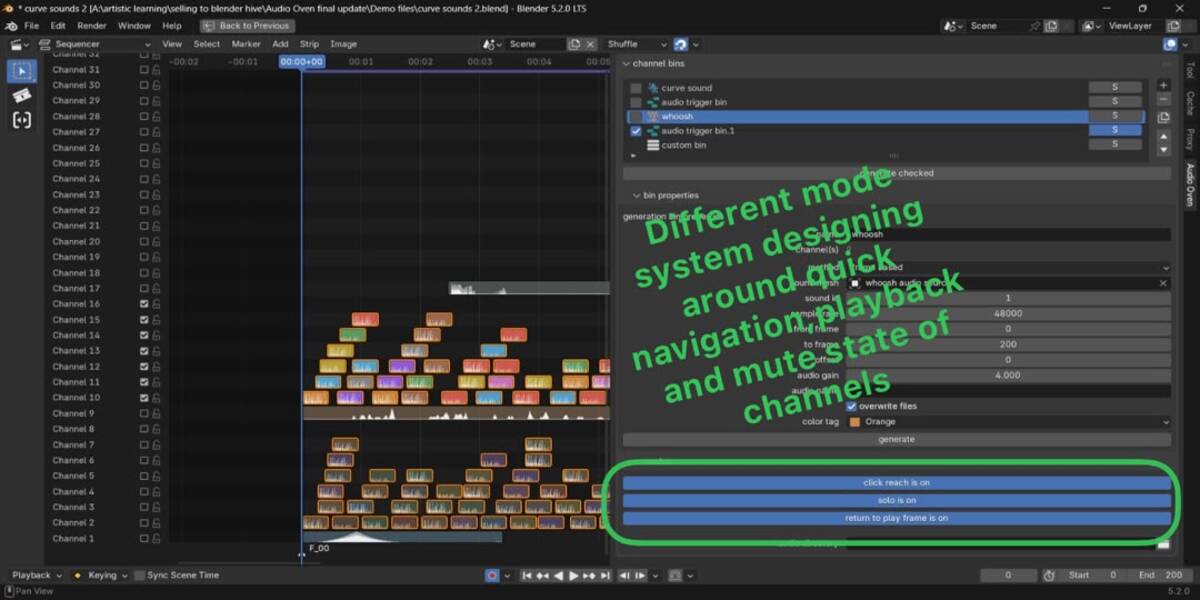
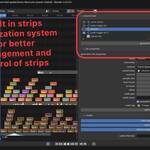
Everything is organised in bins: named blocks of sequencer channels that stack neatly from channel 1 upwards, so your project stays tidy no matter how many sounds you generate.
What you can do with it
- Trigger sounds from animation. Footsteps, collisions, sparks, UI beeps: every time a point of your mesh fires, a sound strip appears on the exact frame.
- Generate audio from mesh data. Build tones, chords, sweeps and drones, repeating waveforms, or write raw audio samples straight from your geometry.
- Organise the sequencer with bins. Add, rename, duplicate, reorder and remove bins. Strips travel with their bin.
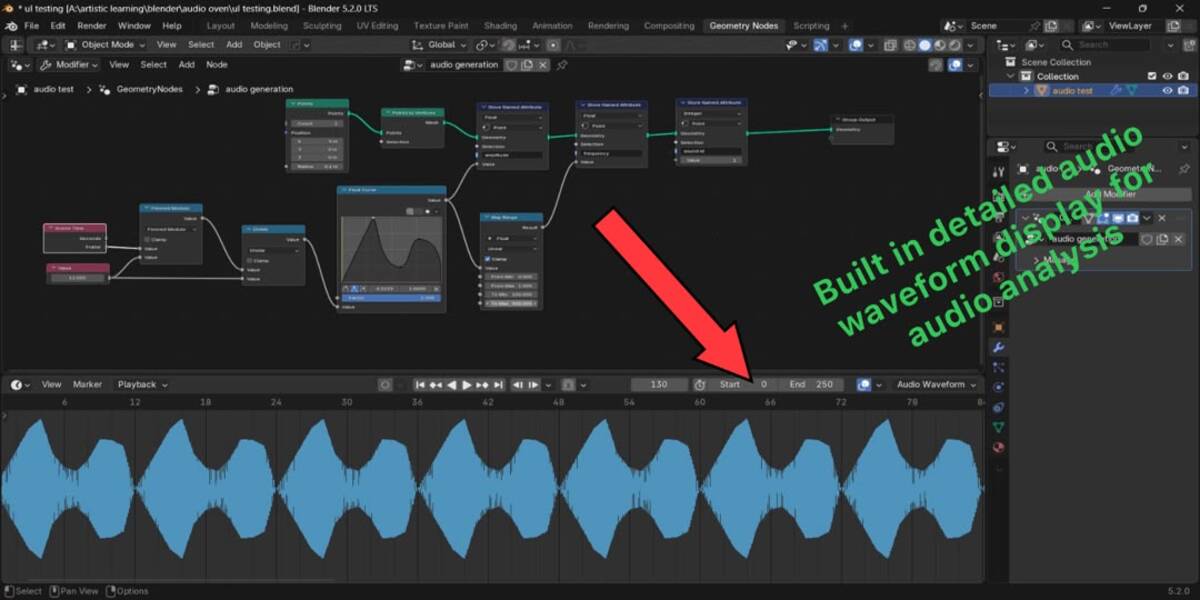
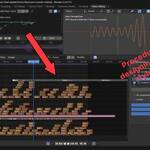
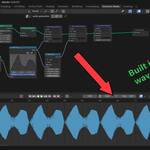
- See the sound while you animate. Draw waveforms in the Dope Sheet, Graph Editor and NLA Editor so you can place keyframes right on the beat.
- Work where you already are. The panels are in the 3D Viewport, the Geometry Node Editor and the Video Sequencer sidebars.
How it works in three steps
1. Make the data. Create point attributes on your mesh, for example with a Store Named Attribute node in Geometry Nodes.
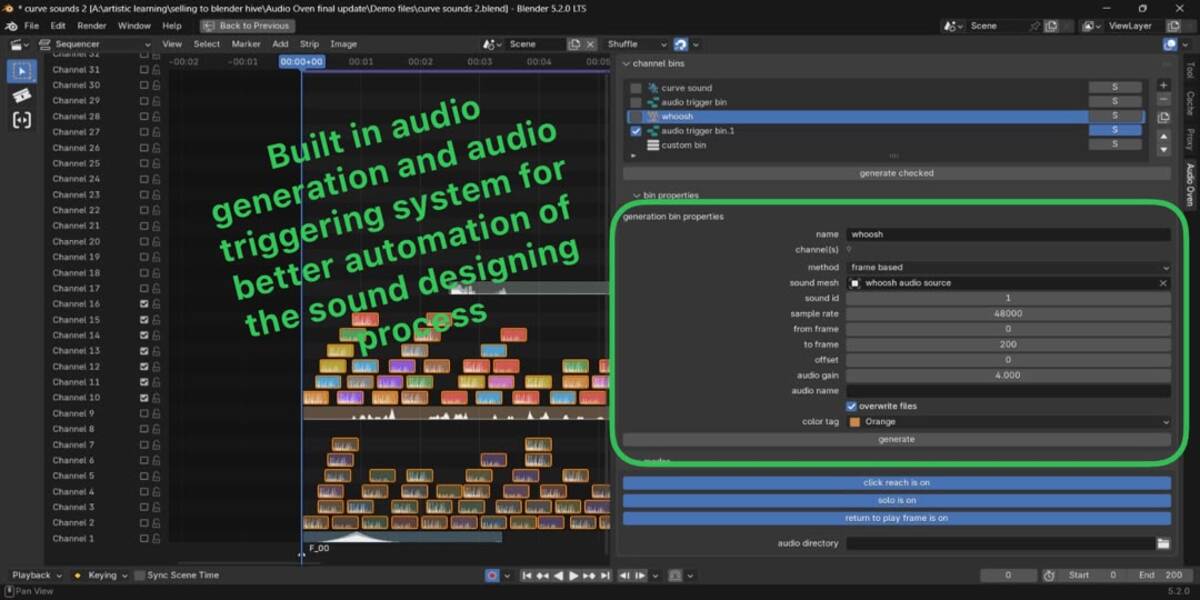
2. Add a bin. Press + and choose a bin type: audio trigger bin, audio generation bin or custom bin.
3. Press generate. Strips appear on the bin's own channels. Change your animation, press generate again, and the strips are updated.
The three bin types
| Bin | What it does | Channels |
|---|---|---|
| Audio trigger bin | Plays one sound file every time points of a mesh fire. Several channels let sounds overlap. | 2 by default, you choose |
| Audio generation bin | Writes a new WAV file from mesh data and places it on the sequencer. Three methods (below). | 1 |
| Custom bin | Reserves channels for your own strips (music, dialogue, effects). Nothing to generate. | 2 by default, you choose |
Audio trigger bins
Pick a sound file and a trigger mesh. Audio Oven plus steps through the scene's frame range and adds a sound strip for every point that fires.
Mesh attributes (Point domain):
| Attribute | Type | Required | Meaning |
|---|---|---|---|
trigger id |
Integer | Yes | A point fires when its value equals the bin's trigger id. One mesh can drive many bins. |
volume |
Float 0 to 1 | No | Volume of that point's sound. |
color tag |
Integer 1 to 9 | No | Color tag of that point's strip. |
Settings: audio file, trigger mesh, trigger id, default volume, default color tag (or None), start trim, maximum frame duration, channel count.
Smart channel handling. Each sound takes the lowest free channel in the bin and frees it again when the sound ends. Give the bin more channels to allow more sounds at once.
Extract from active strip. Select a sound strip in the sequencer and one click copies its audio file, volume, color tag, trim and duration into the bin.
Audio generation bins: three methods
All methods create a mono, 16-bit WAV file and place it on the bin's channel.
Frame based: tones, chords, sweeps, drones
Every point with the chosen sound id is a sine oscillator whose loudness, pitch and phase can change on every frame. Values are blended smoothly between frames and the oscillators are mixed together.
| Attribute | Type | Required | Meaning |
|---|---|---|---|
sound id |
Integer | Yes | Selects the oscillators of this bin |
amplitude |
Float | Yes | Loudness, -1 to 1 |
frequency |
Float | Yes | Pitch in Hz (20 to 20,000) |
phase offset |
Float | No | Shifts the wave start (radians) |
Settings: sample rate (from 32,000 Hz), from frame, to frame, offset (strip is placed at from frame + offset), audio gain.
Pattern based: repeating waveforms, clicks, buzzes, custom timbres
A short pattern of values is repeated to fill the time you choose, with optional silence at the start.
| Attribute | Type | Required | Meaning |
|---|---|---|---|
pattern id |
Integer | Yes | Selects the pattern points |
sample amplitude |
Float | Yes | The pattern's sample values |
Settings: sample rate, time taken (seconds), silence samples at the start, frame insert.
Tip: the pitch you hear is the sample rate divided by the number of points in the pattern.
Sample writing: total control
The values of many points per frame become raw audio samples, frame after frame. The sample rate is worked out for you (scene fps multiplied by the number of points).
| Attribute | Type | Required | Meaning |
|---|---|---|---|
sample id |
Integer | Yes | Selects the points that are written |
sample amplitude |
Float | Yes | The sample values |
Settings: from frame, to frame, offset.
Shared by all methods: audio name, overwrite files on/off, strip color tag (including None).
Worked examples
Impact sounds for a bouncing ball
Store a trigger id of 1 on the frame the ball touches the floor (0 on all other frames). Add an audio trigger bin, choose a thud sound, set the maximum frame duration to the sound's length, and press generate. A thud strip appears on every bounce, overlapping on the bin's channels when needed.
A rising tone
Make a mesh with one point. Store sound id 1, amplitude 0.8 and an animated frequency from 220 Hz to 880 Hz. Add an audio generation bin with the frame based method, set the frame range and a sample rate of 48000, and press generate. You get a smooth tone gliding up from 220 Hz to 880 Hz, placed on the sequencer.
A 1000 Hz tone from 48 points
Store 48 points with pattern id 1 and sample amplitude = sin(2π × index ÷ 48). Choose the pattern based method with sample rate 48000 and press generate: 48000 ÷ 48 = a 1000 Hz tone.
Organise your sequencer with bins
- Bins take channels from channel 1 upwards in list order. The first bin in the list owns the lowest channels.
- Add a bin and the bins above it move up, with their strips.
- Move a bin up or down and its strips go with it.
- Duplicate a bin with all its settings.
- Remove a bin and its strips are kept, not deleted.
- Change a bin's channel count and everything above it adjusts. If a bin can't shrink because its remaining channels hold strips, you get a clear message and nothing changes.
- Rename bins by double-clicking. Names are always unique.
- Check bins and press generate checked to generate many at once, or generate just the active bin.
Modes
- Click reach: click a bin and the Video Sequencer view jumps to its channels and strips, with a brief highlight.
- Solo: hear only the bins whose S button is on. Turn it off and your mute states return exactly as they were.
- Return to play frame: stopping playback jumps the playhead back to where playback started. Ideal for listening to the same passage again and again.
Waveform display
See the sound behind your keyframes. In the Dope Sheet, Graph Editor and NLA Editor, turn on the waveform and choose a sequencer channel. The waveform follows strip position and trim, animated strip volume, and shows muted strips fainter. You can also color waveforms by the strips' color tags. Adjustable height, with a one-click refresh.
Keyboard shortcut
Hover over the 3D Viewport, Video Sequencer or Geometry Node Editor and press Ctrl + Alt + Q to generate the active bin, exactly like the generate button in the bin properties. You can change the key in Preferences → Keymap by searching for generate active bin. (In the 3D Viewport, Blender uses this key for Quad View by default.)
Built to be safe and predictable
- Folder checks before any work. Audio Oven plus checks that your audio folder exists and can be written to. If you chose a folder on a USB or network drive that has been disconnected, you get a clear message and nothing is written anywhere else.
-
Overwrite files on or off. Off means nothing is ever overwritten; new files are saved as
name(1),name(2)and so on. - Automatic level control. If the result would go past full scale, the audio is scaled back to fit, so it never distorts.
- Plain-language messages in the status bar and in a red box under the bin list tell you exactly what is missing or wrong.
- Everything is saved in your .blend file: bins, settings and modes.
- Undo supported on every action.
- No extra software. Audio Oven plus uses only Blender's own Python modules and NumPy, which ships with Blender.
Where the audio goes
Generated files are standard mono 16-bit PCM WAV files you can open in any audio editor. Leave the audio directory empty to use a folder named (audios) next to your saved .blend file, or choose any existing folder.
Requirements and compatibility
- Blender 3.2 to 5.2
- Windows, macOS and Linux
- Geometry Nodes (or any other way to create mesh attributes) for the data
- No external dependencies
Installation
Blender 3.2 to 4.1: Edit → Preferences → Add-ons → Install... → choose the .zip → enable Audio Oven plus.
Blender 4.2 and newer: Edit → Preferences → Get Extensions → drop-down menu (top right) → Install from Disk... → choose the .zip → make sure Audio Oven plus is enabled in the Add-ons tab.
Then open the sidebar (N) in the 3D Viewport, Geometry Node Editor or Video Sequencer and choose the Audio Oven tab.
Frequently asked questions
Can I use my own sound files with trigger bins?
Yes. Any sound file Blender can read works.
Is the generated audio stereo?
Generated files are mono. You can pan and mix them in the sequencer.
Will it change my animation?
No. It steps through frames to read your attributes, then returns to the frame you were on.
Will it delete my own strips?
Generating a bin replaces the strips on that bin's own channels only. Keep your own strips in a custom bin or above the bins and they stay untouched.
Do I need to know Geometry Nodes?
You need a way to create named point attributes on a mesh. Geometry Nodes is the most common one, with a Store Named Attribute node.
Can one mesh drive several bins?
Yes. Each bin has its own id, so one mesh can drive as many bins as you like.
What is the minimum sample rate?
32,000 Hz. The default is 48,000 Hz.
Is it licensed under the GPL?
Yes, GNU General Public License version 3 or later.
Audio Oven plus: make your animation sing.
Have questions about this product?
Login to message
| Blender Extension Compatible | Yes |
| Published | about 4 hours ago |
| Blender Version | 3.2 - 5.2 |
| Extension Type | Add-on |
| Render Engine Used | Cycles |
| License | GPL |

Discover more products like this
waveform procedural audio automate-sound design geometry nodes vse sound effects audio trigger animation sound video sequencer sound design audio sequencer audio generation