 Mamba CG



How to Use Auto Render Pro
Auto Render Pro lets you batch render multiple .blend files with ease, using your selected Blender version. Here’s a step-by-step guide:
Step 1: Install the Add-on
Open Blender.
Go to
Edit → Preferences → Add-ons.Click Install, and select the file
quick_render_queue_crossplatform.py.Enable the checkbox next to Auto Render Pro.
Step 2: Open the Panel
Open any 3D Viewport.
Press
Nto open the right-hand Sidebar.Go to the Auto Render Pro tab.
Step 3: Add .blend Files
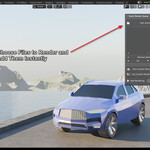
Click "Add .blend Files".
Select one or more Blender files to include in your render queue.
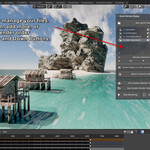
The files will appear in a list where you can organize or remove them.
Step 4: Choose a Scene (Optional)
Select a file in the list.
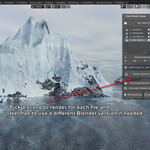
Click "Select a Scene to Render" to load available scenes from that
.blendfile.Pick the scene you want to render. If skipped, Blender will use the default scene.
Step 5: Set a Custom Output Folder (Optional)
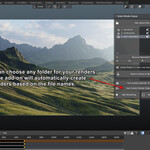
Enable "Use Custom Render Output Folder".
Choose a base folder. Each project will render into its own subfolder inside it.
Step 6: Choose a Blender Version (Optional)
Click "Pick Another Blender to Render".
Select a specific Blender executable if you're not using the default version.
Step 7: Generate the Render Script
Click "Generate .bat" or "Generate .sh", depending on your operating system.
A script will be saved to the selected location with all the commands needed to render your queue.
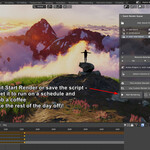
Step 8: Start Rendering
-
Click "Start Rendering" to:
Automatically generate the script if not already created.
Launch it in a terminal window for immediate execution.
Platform Behavior
| Operating System | Script Type | Launch Method |
|---|---|---|
| Windows | .bat |
Command Prompt |
| macOS | .sh |
Terminal |
| Linux | .sh |
Gnome Terminal, xterm, etc. |
Additional Tips
Use the Up and Down buttons to reorder your queue.
All render settings are pulled directly from each
.blendfile.Useful for nightly renders, review queues, or automating studio workflows.
Have questions about this product?
Login to message
| Blender Extension Compatible | Yes |
| Sales | 20+ |
| Published | 10 months ago |
| Blender Version | 4.0 - 5.0 |
| Extension Type | Add-on |
| Render Engine Used | Cycles, Eevee |
| License | GPL |