AutoReel – One-Click Product Reels
 Alternative Pack
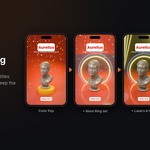
AutoReel documentation
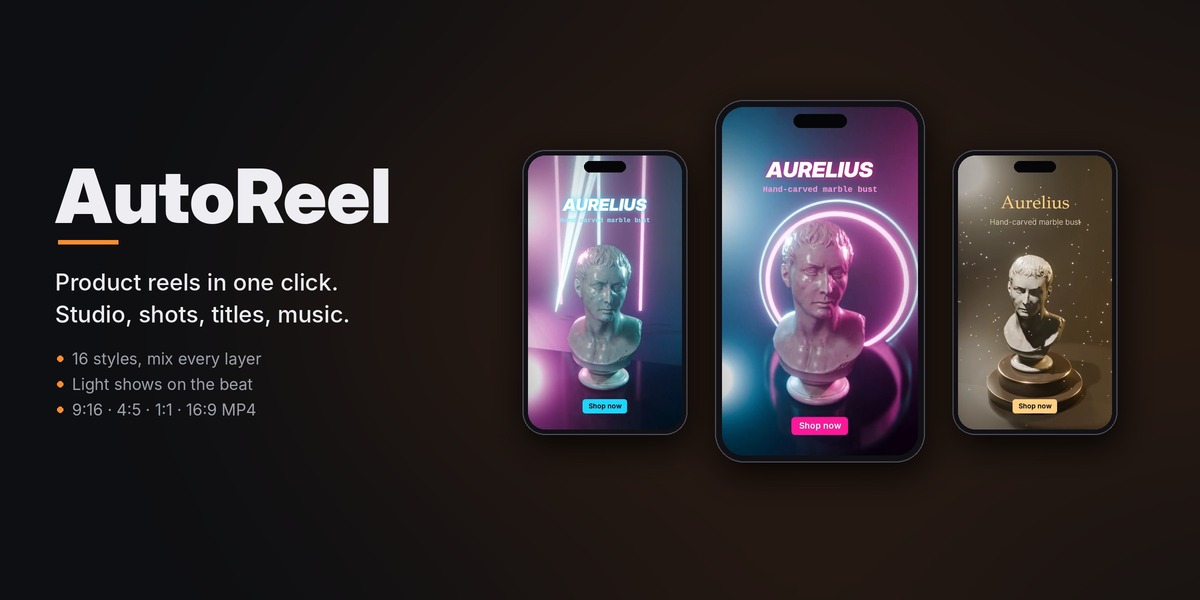
AutoReel turns any object into a finished product reel. You select your product, pick a style and click Make Reel: AutoReel builds the studio set, the lights, the light show, the object animation and the camera shots, cuts them on the beat of an original music track, adds your titles and sound effects and renders an MP4 for Reels, TikTok, Shorts, Instagram or YouTube. This page explains every button.
1. Installation
- Download autoreel-1.0.0.zip. Do not unzip it.
- In Blender open Edit > Preferences > Get Extensions.
- Click the small arrow in the top right corner and choose Install from Disk…
- Pick the zip file. AutoReel is enabled automatically.
- In the 3D Viewport press N to open the sidebar and click the AutoReel tab.
AutoReel needs Blender 4.2 or newer. It renders with EEVEE: the scene is switched to EEVEE while the reel exists, and Remove switches it back.
2. Your first reel
- Select your product. Several selected objects are filmed together as one product.
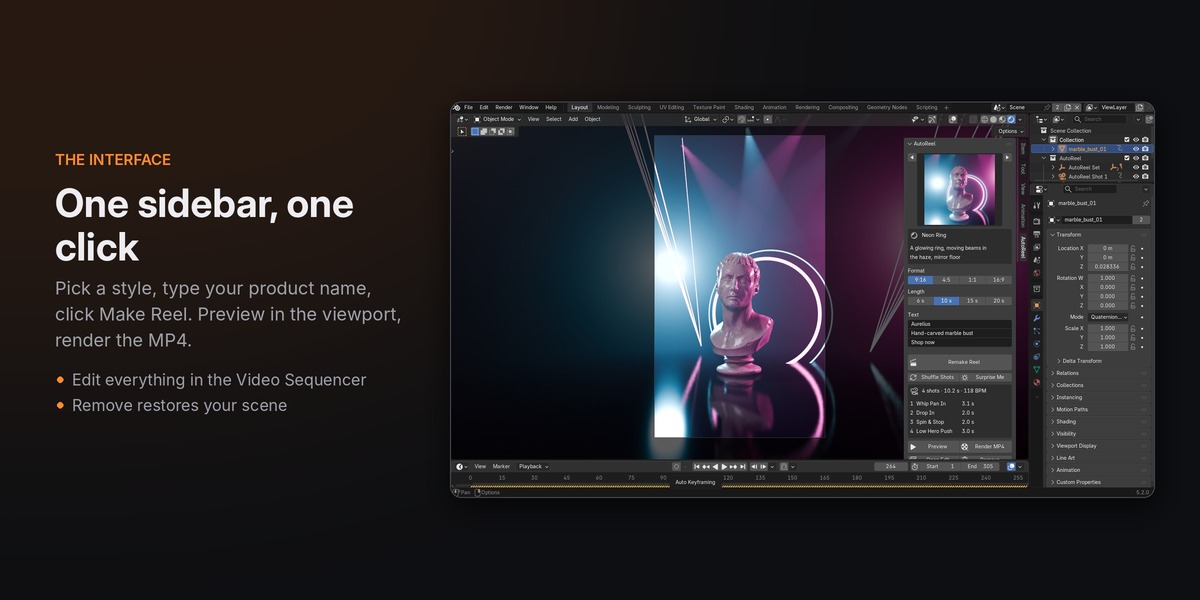
- Pick a style in the big preview at the top of the panel. The arrows next to it go to the previous and next style.
- Choose the Format (9:16, 4:5, 1:1 or 16:9) and the Length (6, 10, 15 or 20 seconds).
- Type the product name. The tagline and the call to action are optional.
- Click Make Reel. After a few seconds the viewport shows the reel through the first shot camera.
- Click Preview to play it in the viewport with the music.
- Click Render MP4. The video is saved next to your .blend file (chapter 9).
Your product is not modified: the set, lights and cameras are new objects in an AutoReel collection, and the entrance and idle animation are added as delta transforms, so the object's own location, rotation, scale and keyframes stay as they are. Remove deletes everything AutoReel made and restores the scene settings.
3. The main panel
| Style | The look of the reel: set, lights, light show, atmosphere, camera moves, finish, titles and music. The text box under the preview describes the selected style. |
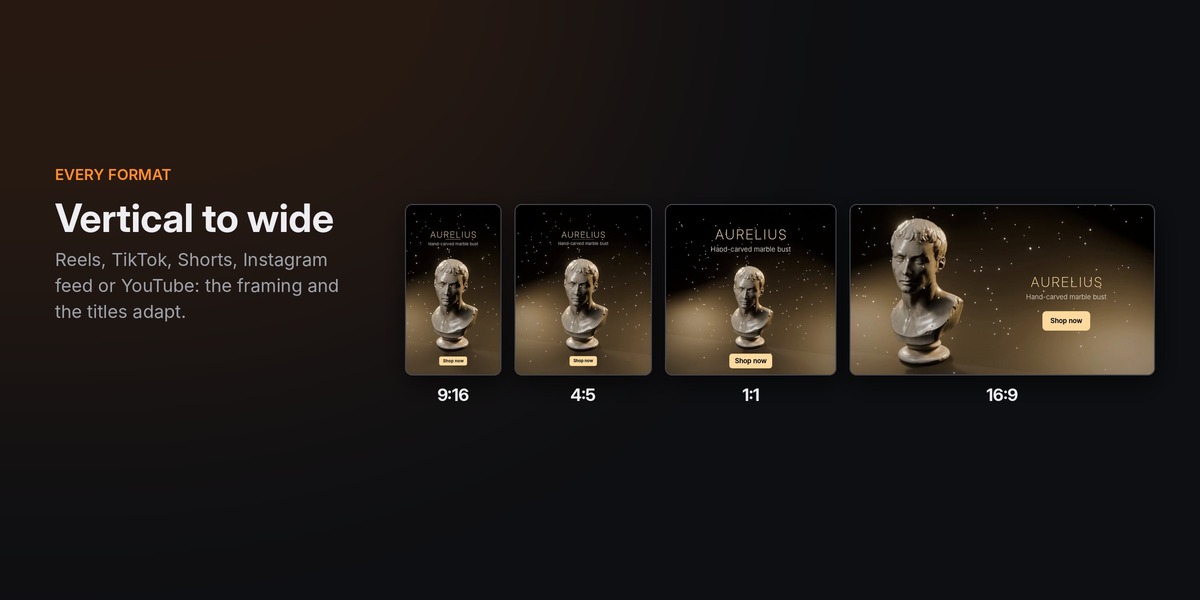
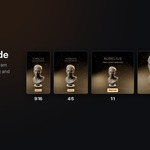
| Format | 9:16 (1080×1920, Reels, TikTok, Shorts, Stories), 4:5 (1080×1350, Instagram feed), 1:1 (1080×1080, feed posts), 16:9 (1920×1080, YouTube, website). The camera framing and the title layout adapt to the format. |
| Length | 6 s (3 shots), 10 s (4 shots), 15 s (5 shots) or 20 s (6 shots). The cuts land on the beat, so the final length can differ by a fraction of a second. |
| Text | Product name, tagline and call to action (for example "Shop now"), shown at the end of the reel. Leave them empty for a reel without titles. |
| Make Reel | Builds the reel. After the first build the button reads Remake Reel. When you change a setting it turns red and reads Update Reel: click it to rebuild with the new settings. |
| Shuffle Shots | Same look, a new set of shots and a new take of the music. |
| Surprise Me | A random style with a random remix of some of its layers. Click it several times to explore ideas. |
| Shot list | The shots of the reel with their camera move and duration, and the tempo of the music. |
| Preview | Plays the reel in the viewport through the shot cameras, with the music. The viewport switches to Rendered shading. The titles and the 2D finishing effects are only visible in the edit and in the render. |
| Render MP4 | Renders the finished reel (chapter 9). |
| Open Edit | Switches to the edit scene in the Video Sequencer (chapter 10). |
| Remove | Deletes the set, lights, cameras, animation, edit and generated images, and restores the render settings, world and color management of your scene. |
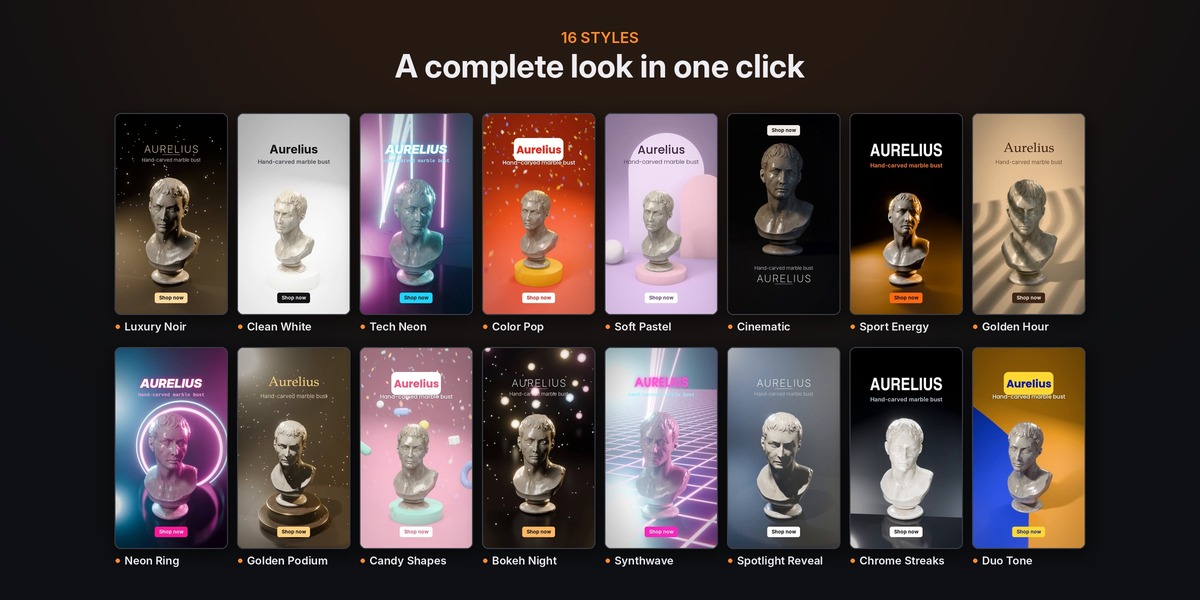
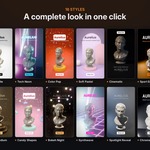
4. The 16 styles
- Luxury Noir: Black set, gold rims, glitter dust, slow elegant moves.
- Clean White: Bright white studio and podium, crisp e-commerce moves.
- Tech Neon: Neon bars chasing the beat, lasers, haze, fast cuts.
- Color Pop: Saturated color, a bold podium and a confetti finale.
- Soft Pastel: Pastel arches and podium, dreamy light leaks.
- Cinematic: Light shafts through a window, haze, film grain.
- Sport Energy: Hard light, strobe hits, speed ramps and slam titles.
- Golden Hour: Warm sun through window blinds, a lifestyle feel.
- Neon Ring: A glowing ring, moving beams in the haze, mirror floor.
- Golden Podium: Gold podium under a spotlight beam, glitter in the air.
- Candy Shapes: Glossy pastel shapes floating around a podium.
- Bokeh Night: Dreamy out-of-focus lights behind the product.
- Synthwave: Retro neon grid, striped sun, lasers and haze.
- Spotlight Reveal: Darkness, then a spotlight reveals the product on the beat.
- Chrome Streaks: Light strips gliding over the product, mirror floor.
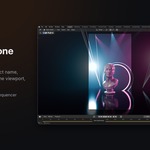
- Duo Tone: Bold two-color split set, hard graphic shadow.
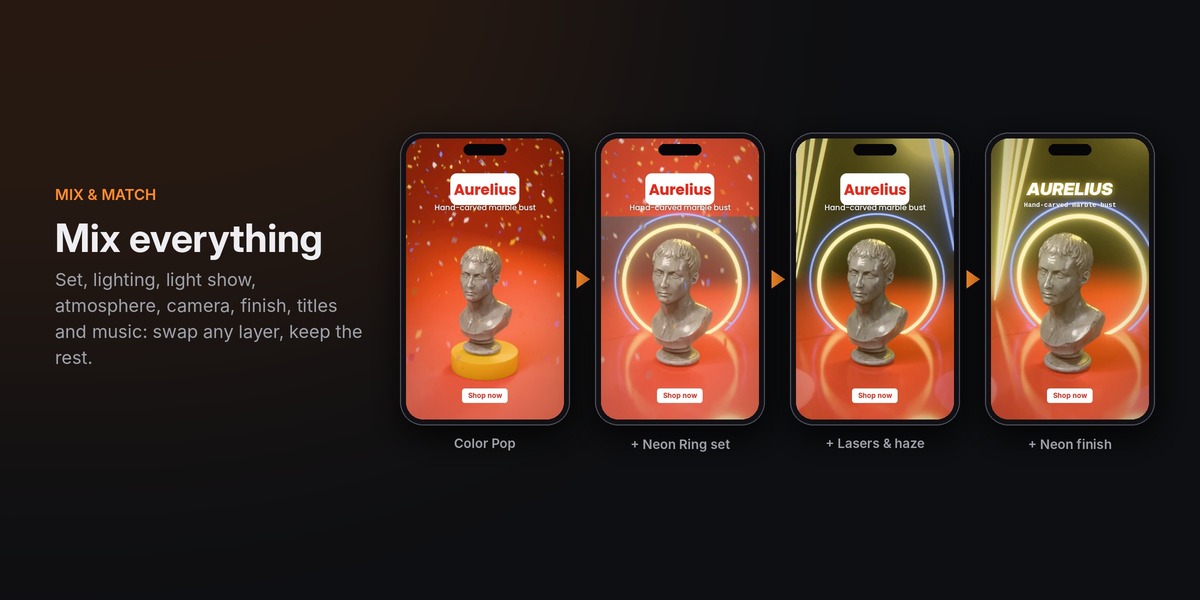
5. Mix & Match
Every style is made of layers. In the Mix & Match panel you can replace any layer with the one of another style. Style Default keeps the choice of the style, shown under the menu. Click Update Reel after a change.
Set, the scenography:
- Seamless Studio: An infinite cyclorama in the backdrop color.
- Podium: The product on a round podium in a seamless studio.
- Golden Podium: A two-tier gold-trimmed podium in a dark studio.
- Arches: Soft arches and a podium, the trendy pastel product set.
- Floating Shapes: Glossy shapes floating around a podium.
- Neon Ring: A glowing ring behind the product over a mirror floor.
- Light Bars: Vertical neon bars that chase the beat, mirror floor.
- Bokeh Lights: A field of out-of-focus lights in the dark.
- Window Blinds: Sunlight through blinds paints soft stripes.
- Window Rays: Light shafts through a window frame (best with haze).
- Retro Grid: Scrolling neon grid, gradient sky and a striped sun.
- Black Stage: Pure black space with a dark floor, made for spotlights.
- Glossy Black: Dark glossy studio with a mirror floor.
- Duo Tone: A bold two-color split backdrop.
Lighting:
- Soft Studio: Large soft key, fill and rim. Gentle shadows.
- Low Key: Dark and moody: small key and strong accent rims.
- Neon Rims: Two colored rims in the accent colors, cool key.
- Hard Light: Hard key and punchy accent rims.
- Golden Sun: Low warm sun with crisp shadows.
- Window Light: Sun from behind through a window, cool fill.
- Top Spot: A single spotlight from above, faint rims.
- Cinematic: Warm key, cool fill, bright rim.
- Bright Pop: Bright key and fill with an accent rim.
- Crisp Shadow: One hard key that casts a graphic shadow, soft fill.
- Dark Glossy: Dim key and rims, made for moving light strips.
Light Show, animated on the beat:
- Lasers: Laser fans behind the product that sweep on the beat.
- Moving Beams: Moving-head spotlights sweeping through the haze on the beat.
- Lasers + Beams: The full concert show.
- Strobe Hits: White strobe flashes on the big beats.
- Light Strips: Long softbox strips gliding over the product, car-commercial style.
- Spotlight Reveal: Darkness, then a spotlight snaps on the product on the beat.
Atmosphere:
- Haze: Light haze: visible light beams and depth.
- Glitter Dust: Tiny glowing particles floating in the air.
- Haze + Dust: Haze with floating glitter.
- Confetti: A confetti burst when the title lands.
Camera, the family of camera moves used for the shots:
- Elegant: Slow, graceful moves with a long lens and soft background blur.
- Product: Clean e-commerce moves that show the whole product.
- Energetic: Fast pushes, whips and crash zooms with speed ramps on every cut.
- Cinematic: Crane and jib moves, dolly zooms and handheld texture.
- 360 Showcase: Orbits, helixes and rising arcs around the product.
- Playful: Bouncy pops, zoom punches and spins.
- Detail Close-ups: Macro passes over the details, then the full hero.
Finish, the post effects (bloom and chromatic fringe are rendered with the 3D frames, vignette, grain, light leaks and flashes are added in the edit):
- Clean: A barely visible vignette.
- Glow: Soft bloom on highlights and a vignette.
- Neon: Strong bloom, chromatic fringe and a vignette.
- Film: Grain, vignette, light leaks and subtle bloom.
- Punchy: Flashes on the cuts, bloom and chromatic fringe.
- Dreamy: Big soft bloom and pastel light leaks.
Titles: see chapter 7.
Entrance, how the product appears in the first shot:
- Drop & Bounce: Falls in from above and bounces to a stop.
- Pop: Scales up from nothing with a little overshoot.
- Elegant Spin: Floats down while turning into place.
- Slide In: Slides in from the side and settles.
- Spin Drop: Spins fast while dropping into place.
- None: The object is already in place.
Idle, what the product does during the other shots:
- Turntable: Slowly turns on itself.
- Float: Hovers gently up and down.
- None: Stays still.
Front: the side of your model that faces the camera in the hero shot. Most models face -Y (Blender's front view). If the reel shows the back of your product, try the other axes.
Variation: a number that changes the choice of shots. Shuffle Shots increases it for you.
Reset Mix: every layer back to Style Default.
6. Colors
Each style has an accent color, a second accent color and a backdrop color. Tick Accent, Accent 2 or Backdrop to replace them with your brand colors: lights, neon props, lasers, titles and the set follow. Reset Colors goes back to the style's colors. Picking another style also loads its colors.
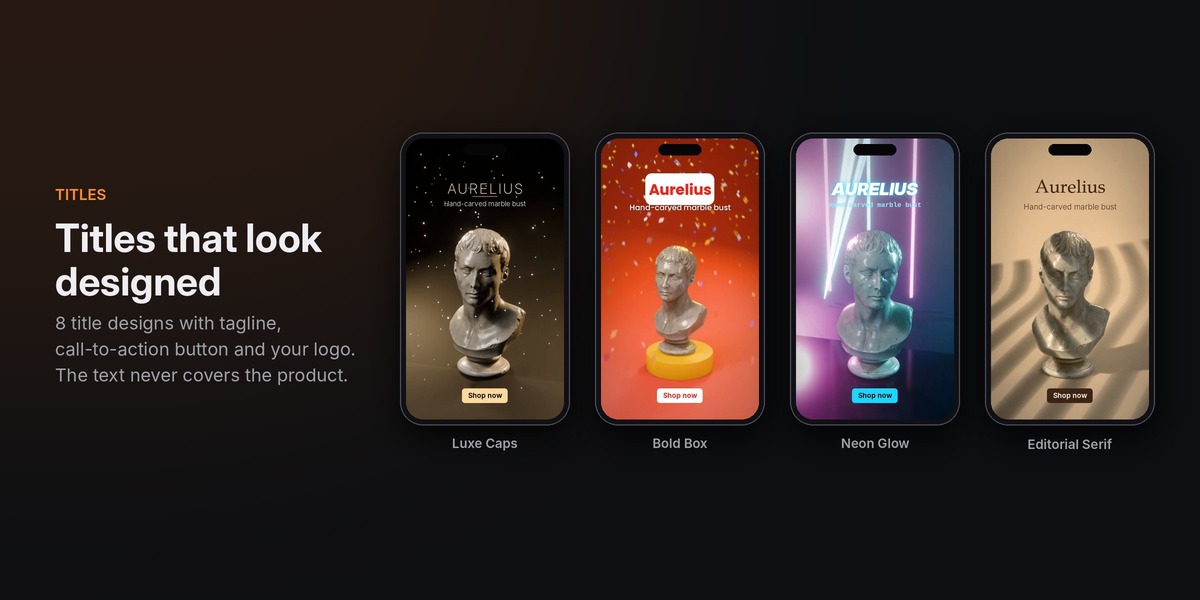
7. Titles & Logo
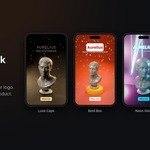
- Titles: the title design. Minimal, Luxe Caps, Editorial Serif, Bold Box, Neon Glow, Impact, Retro, Soft. Each design has its own fonts, layout and animation (rise, pop, slam or scale).
- Title, Tagline, Call to Action: the same fields as in the main panel. The call to action is drawn as a button.
- Text Size: scales all the text.
- Logo: a PNG with transparency, placed with the title.
The title lands on the last shot. The camera of that shot leaves room for the text, so the product is not covered. In 16:9 the text goes to the side of the product.
The fonts are included with AutoReel (Inter, Poppins, Lora, Liberation Mono, TeX Gyre), so the titles look the same on every computer. Their licenses are in the fonts folder of the extension.
8. Music & Sound
- Built-in: an original track generated by AutoReel on your computer for each reel. You can use it in commercial videos. Track picks the groove, Tempo sets the BPM (0 uses the groove's own tempo).
- My Music: your own music file (mp3, wav, ogg, flac…). AutoReel detects the tempo and cuts on the beat. If the detected tempo is wrong, tick Tempo and type the BPM. Make sure you have the rights to the music you use.
- None: no music. The cuts follow an internal tempo.
- Music volume, Effects on or off and their volume. The effects are whooshes on the cuts, an impact when the title lands and risers.
The built-in tracks:
- Velvet: Slow deep house with soft chords.
- Bright: Clean upbeat pop groove.
- Pulse: Driving minor-key tech house.
- Party: Energetic four-on-the-floor pop.
- Dreamy: Swinging lo-fi with warm pads.
- Epic: Slow cinematic build.
- Rush: Fast aggressive beat.
- Sunny: Warm feel-good groove.
- Night Drive: Dark synth groove with arpeggios.
- Royal: Majestic slow groove with big chords.
- Bubblegum: Bouncy bright pop.
- Lo-Fi: Chill swing beat with vinyl crackle.
- Synthwave: 80s retro drive.
- Trap: Half-time trap with rolling hats and 808.
The generated audio files are written to an AutoReel_audio folder next to your .blend file (or to the system temporary folder if the file is not saved yet).
9. Output and rendering
- Quality: Final renders at full resolution. Draft renders at half resolution for a fast check.
- Output: the MP4 file to write. Empty: AutoReel_<style>.mp4 next to the .blend file (in your home folder if the file is not saved yet).
Render MP4 renders in two passes: first the shots with the full studio look, then the titles, effects and sound on top. The render window shows both passes. The video is H.264 with AAC audio at 30 fps, ready to upload. Rendering time depends on your GPU, the style and the length: a 10 s vertical reel takes a few minutes on a recent graphics card. Styles with haze take longer.
If you changed a setting after making the reel, click Update Reel before rendering.
10. Fine-tuning in the Video Sequencer
The reel is a normal Blender edit in a second scene called AutoReel Edit: one strip per shot, the titles as text strips, the overlays, the music and the sound effects. Click Open Edit to switch to it, then change one of your editors (for example the timeline) to the Video Sequencer. You can move cuts, change the text or the colors of the titles, change volumes or add your own strips. The AutoReel tab of the Sequencer sidebar has Back to 3D Scene and Render MP4.
Changes made in the edit are replaced when you click Update Reel or Shuffle Shots, so do the fine-tuning last.
11. What AutoReel changes, and Remove
- New objects (set, lights, cameras, light show, particles) in an AutoReel collection, and a new world.
- Render settings of the scene: resolution, frame rate (30 fps), frame range, EEVEE settings, color management (AgX with a look for dark sets, Khronos PBR Neutral for bright sets) and the camera.
- Compositor nodes for bloom and chromatic fringe (on Blender 4.x only when the scene does not use the compositor already).
- Delta transform animation on your product.
- The AutoReel Edit scene, and generated images for the overlays in an AutoReel_fx folder next to the .blend file.
Remove deletes everything in this list and restores the previous settings. The delta transforms of your product are reset to zero.
12. Tips
- Apply the scale of your product (Ctrl+A) if it was scaled a lot: AutoReel works at any size, but applied transforms give the most predictable framing.
- Products of any size work: the set, lights and effects scale with the product.
- Use Draft and a 6 s length to try ideas quickly, then render the final version.
- Glass, metal and glossy materials look best with the dark styles (Luxury Noir, Chrome Streaks, Neon Ring, Spotlight Reveal).
- Keep the tagline short: one line looks best in vertical formats.
13. Troubleshooting
- "Select the object you want to film": select your product in the viewport (it must not be an object made by AutoReel) and click Make Reel again.
- The reel shows the back of my product: change Front in Mix & Match and click Update Reel.
- The preview is slow: the viewport plays in Rendered shading with haze, particles and bloom, which is heavy on some graphics cards. The render is not affected: it always has every frame. Switch the viewport to Material Preview while you work.
- The titles do not show in the viewport: that is expected, they are part of the edit. They appear in the render and in the Video Sequencer.
- Render MP4 is greyed out: make a reel first, or wait for the current render to finish.
Anything else: write to us with the Contact the creator button on this page.
Have questions about this product?
Login to message
| Blender Extension Compatible | Yes |
| Dev Fund Contributor | |
| Published | about 1 hour ago |
| Blender Version | 4.2 - 5.2 |
| Extension Type | Add-on |
| Render Engine Used | Eevee |
| License | GPL |
Discover more products like this
camera animation motion graphics Lighting turntable presets video tiktok product-visualization social-media Reels product animation instagram