 Skava

AvatarForge
v1.0.0 · Blender 4.2 LTS and later (tested on 4.2.9 and 5.2.2) · Unity 6 (tested; the scripts use no Unity 6-only calls, but 2022.3 was not tested) · Windows / macOS / Linux
1. What it does
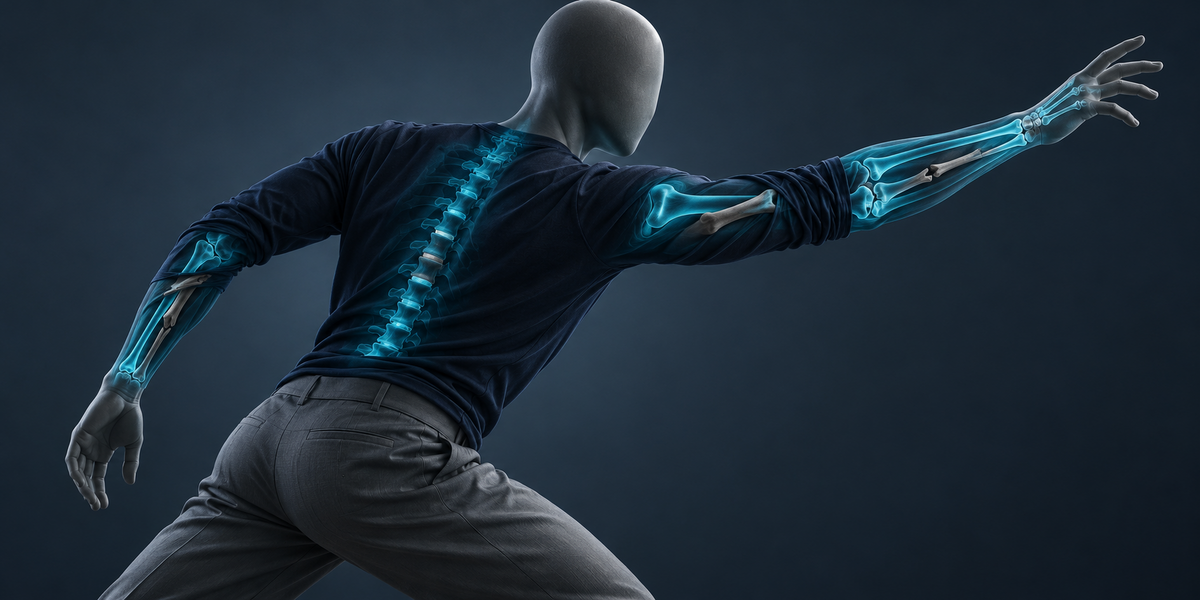
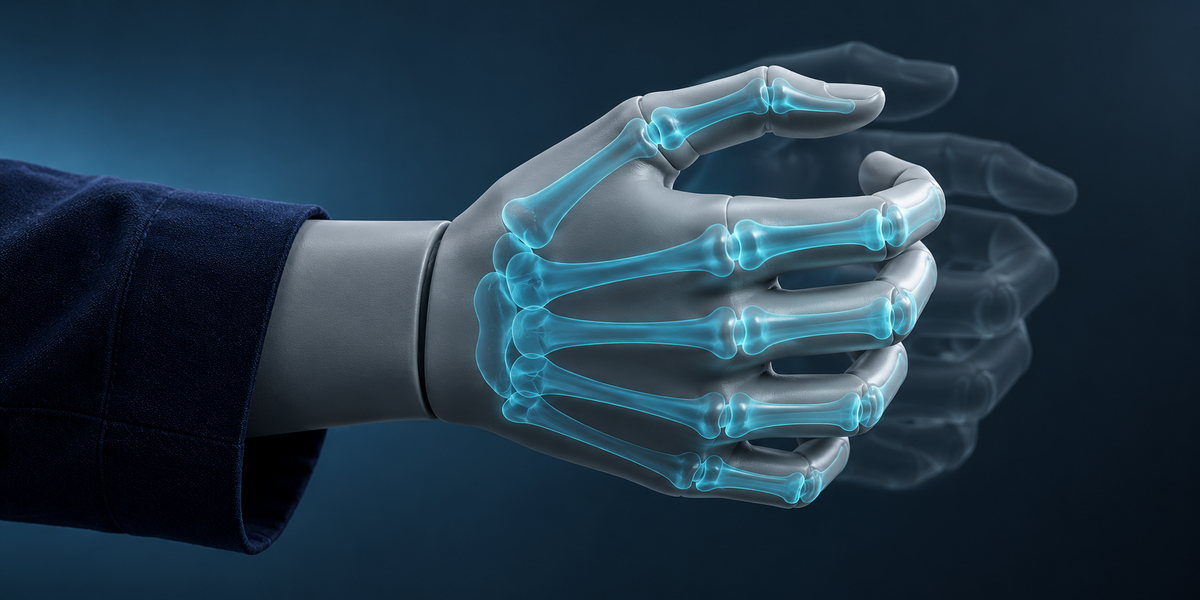
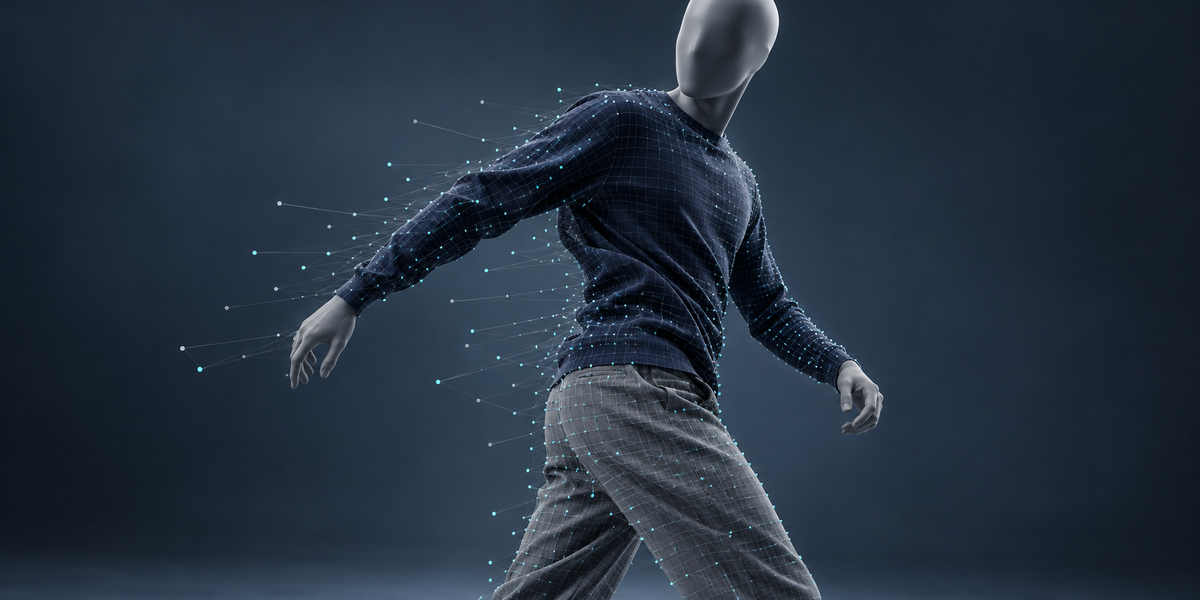
Unity's Humanoid avatar retargets animation through a fixed body: one bone per slot, a few muscles per joint. Whatever does not fit is lost. Bones without a slot — twist bones, in-between spine and neck bones, metacarpals — stay in their rest pose. Finger bones keep only their curl (and a spread at the base). The twist along the upper and lower arm and leg is shared out by Unity's own rule. Bones that the animation moves, not only turns, stop moving unless Translation DoF is on. AvatarForge maps the bones correctly, says in Blender what would be lost, and in Unity learns from your own animations how the lost bones follow the avatar, so the AvatarForgeRig component can put them back on any Humanoid animation.
2. Installing
Edit, Preferences, Add-ons, the arrow in the top right corner, Install from Disk, pick the zip, tick the checkbox. The panel is in the 3D Viewport sidebar (N), tab AvatarForge.
3. Quick start
- Select the character's armature (or a mesh skinned to it) and press the eyedropper.
- Map Bones. Check the slots; change any by hand (Fingers shows the finger slots).
- Check Rig. Errors (what Unity would refuse) must be fixed; the list below them is what a Humanoid would lose.
- Choose a folder and press Export for Unity: <armature>.avatarforge.json, an AvatarForge folder with three scripts and, with Also Export FBX on, the character as FBX with its actions.
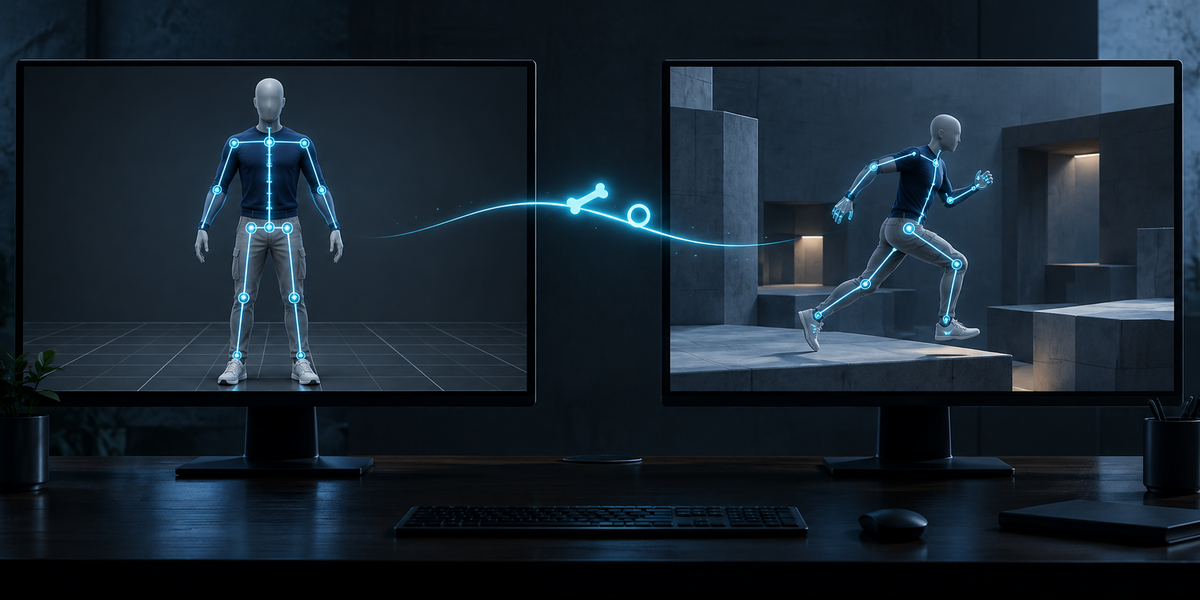
- In Unity, copy the folder into Assets (the AvatarForge scripts only once per project: for the next character untick Unity Scripts), select the FBX and choose Tools > AvatarForge > Set Up Selected Model. It takes from seconds to a few minutes, depending on the number of clips.
- Add AvatarForgeRig to the character's GameObject (next to the Animator) and assign <name>_AvatarForge.asset.
4. In Blender
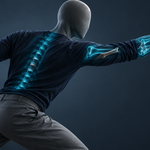
- Map Bones — fills the Humanoid slots from the bone names of UE5 (pelvis, spine_01, thigh_l…), Mixamo (mixamorig:Hips…), CMU/BVH (Hips, LowerBack, LeftUpLeg…), Rigify (DEF-spine…) and most names that say Left/Right. The bones between the hips and the neck are spread over Spine, Chest and UpperChest, the upper chest being the bone the shoulders hang from. A finger takes its first three bones after a metacarpal. Slots marked * are the ones Unity requires.
- Check Rig — reads every action of the rig, pose by pose as Blender evaluates it (constraints and drivers included). Errors: a required slot empty; a slot that does not hang below the slot it belongs to (for example a Rigify rig, whose deform bones are not parented to each other — Unity's Humanoid needs a deform-only hierarchy); one bone in two slots. Notes: bones the animations move (Translation DoF is then switched on in Unity), bones that are scaled (a Humanoid clip drops bone scale), and every deforming bone without a slot with the largest angle it turns from its rest pose and an estimate of how far its skin would be off (angle × the lever its weighted skin hangs on; a chain of such bones, each carrying the next, can be off more).
- Export for Unity — the mapping file, the scripts (once per Unity project: a second copy stops Unity compiling) and the FBX through Blender's own exporter. An action whose channels do not all belong to the armature is named in a warning (Blender's exporter leaves it out); an armature that follows a control rig gets no FBX — export your own baked FBX; the mapping file is written either way.
5. In Unity
- Set Up Selected Model — sets the model to Humanoid with your mapping and Translation DoF when needed. If Unity cannot build the avatar, or anything stops the setup, the import settings are put back. It needs at least two whole clips; clips you trimmed, mirrored or offset in Unity, and takes that are not this character's actions, are left out and named. Optimize Game Objects must be off.
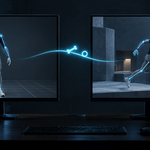
- Learning — a temporary Generic copy of the model, without animation compression, gives the animation as it is in Blender; the Humanoid model gives what the Animator makes of it. For each lost bone and each finger bone, its rotation is learned as a function of the two avatar bones next to it; for each upper/lower arm and leg, the missing twist about its own axis. A correction is kept only if, learned without a clip, it brings that clip closer to the original and no clip gets worse.
- The report — for every clip, the skin against the original animation (relative to the hips), worst frame and typical (median) frame, Unity's Humanoid → with AvatarForge, the corrections learned from the other clips. Which corrections to keep is decided on all your clips, so the numbers say how it does on animation like yours; a correction that made any clip worse on the skin is left out and named. The report is saved in the profile.
- AvatarForgeRig — runs after the Animator (execution order 10000). It turns the lost bones and the limb twists, keeping the world rotation of every avatar bone below. A limb twist moves no joint. An in-between bone (a spine bone under the chest, a metacarpal) moves the joints above it in the chain, the way your animation does; Keep Avatar Joints leaves those out, so every avatar joint stays exactly where the Animator and its IK put it. The rig does nothing on a frame the Animator did not pose (paused, culled, disabled), never turns a bone further than your animations did, and puts the bones back to their rest pose when it is switched off. Weight blends it in and out. Something else that writes the limb bones after the Animator (a ragdoll, your own IK in LateUpdate) should run after the rig.
6. Measured
All in Unity 6 with the shipped scripts, the mapping and FBX exported by the add-on.
- CMU motion capture (subject 86, 15 clips of everyday and sports motion, a skeleton with a simple skin): typical frame 33.8 → 16.6 mm, better on all 15 clips, each measured with the corrections learned from the other 14. The worst frame of every clip is the calibration T-pose at its start, 126 → 120–126 mm.
- UE5 mannequin (4 clips): typical frame idle 70.5 → 43.3 mm, walk 61.8 → 37.9 mm, attacks 54.8 → 47.7 and 58.2 → 58.0 mm; no clip worse. With only four clips, one correction (a spine bone) was left out because it made a clip worse.
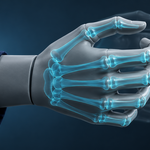
- Mapping — Unity's automatic avatar put the mannequin's fingers one bone off (metacarpal as proximal; the last finger bone without a slot), up to 67° wrong at the thumb; AvatarForge maps _01/_02/_03.
- Runtime — with an Animator playing, applying the rig again without an Animator update changes nothing (0.000°). Another character's Humanoid clips (CMU on the mannequin, the mannequin's on CMU) were played through the rig: no bone became invalid and none turned past the range of the character's own clips; how close they come to an original cannot be measured, as there is none.
7. Limits
- It learns from your clips: the more and the more varied, the more it can correct. With a handful of clips it keeps only what helps every one of them; the report says how much that is. It needs at least two clips.
- The measurements are on the character's own clips. On other animations the rig applies what it learned, within the range your clips showed.
- It does not make a Humanoid exact. What remains is what the avatar's muscles cannot express and the learned rules cannot predict; the report shows it per clip.
- Unity in this version. The mapping file is plain JSON.
- Rigs whose deform bones are not parented to each other (Rigify as generated) must be converted to a deform-only hierarchy first; Check Rig says so.
- The FBX goes through Blender's exporter; animation on a control rig must be baked onto the deform armature first.
8. Changelog
v1.0.0 — first release.
Have questions about this product?
Login to message
| Published | 9 days ago |
| Blender Version | 4.2 - 5.2 |
| Extension Type | N/A |
| License | GPL |
Discover more products like this
rigging animation bone mapping retargeting twist bones Export avatar unity game ready character mecanim humanoid