 Azerilo


You will get a zip file. extract the zip file and you can install each add-on inside it separately.
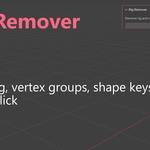
Rig Remover:
Working with this add-on is very easy:
· Open the add-on panel from the sidebar.
· Select all parts of the model with select hierarchy in the outliner and click Remove Rigs button. Done.
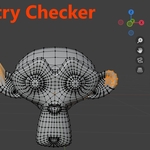
Symmetry Checker:
·
In the 3D Viewport,
press N to
open the Sidebar.
· Navigate to the “Symmetry Checker” tab.
Checking for Symmetry:
1. Select the Mesh Object you want to analyze.
2. In the Sidebar, under Check Symmetry:
§
Axis: Choose the
axis to check (X, Y, or Z).
§
Threshold: Set
the maximum distance allowed between mirrored vertex pairs. (Default: 0.01)
3. Click “Check Symmetry”.
Results:
It will highlight the asymmetrical vertices
Symmetrizing the Mesh:
To fix detected asymmetry:
4. In the Symmetrize Mesh section:
§ Direction: Choose the direction you want to mirror.
§
Example: -X to +X mirrors the -X side onto +X.
5. Click “Symmetrize Mesh”.
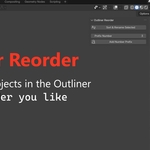
Outliner Reorder:
Watch the following video to learn how to work with this add-on:
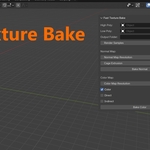
Fast Texture Bake:
How to Bake a Normal Map
1. Assign the High Poly and Low Poly objects.
2. Set the normal map resolution.
3. Choose the output folder.
4. Click Bake Normal.
5. The addon will:
o Apply transforms.
o Create a non-color image.
o Set up the normal map in the shader.
o Bake using Cycles.
o
Save the result to normal.png.
How to Bake a Diffuse (Color) Map
1. Assign the High Poly and Low Poly objects.
2. Set the color map resolution.
3. Select baking components: Color, Direct, Indirect.
4. Choose the output folder.
5. Click Bake Color .
6. The addon will:
o Apply transforms.
o Create and link a color texture node.
o Bake the selected components.
o
Save the result to color.png.
Smart Outliner:
How to Use
Automatic Behavior
Once installed and enabled:
· Smart Outliner will automatically start working when you start Blender.
· Whenever you select an object in the 3D Viewport , the Outliner will scroll to it automatically.
Manual Control (Optional)
You can also control the addon manually via the UI panel:
Location:
o
Go to 3D Viewport >
Sidebar (press N)
> Smart Outliner tab.
Buttons:
o Start Auto Sync: Manually starts syncing
o Stop Auto Sync: Stops the syncing
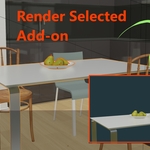
Render Selected:
· Select the mesh objects you want to render.
· In the Sidebar (`N`), under **Render Selected**, click **Render Selected Only**.
· Click **Restore Render Visibility** to revert changes.
· Click **Render All** to enable rendering for all objects in the scene
This addon disable render visibility of unselected meshes. It remember the render visibility status of all objects and easily you can revert them back to their previous state
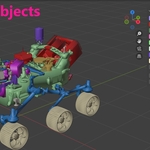
Colorize Objects:
After installing the add-on, restart Blender.
You can find the add-on panel in the 3D Viewport Sidebar,
under the "Colorize" tab.
This add-on assigns viewport colors — not materials.
These colors are only visible in the viewport and do
not appear in final renders.
To see the colors correctly:
1. Go to the Viewport Shading drop-down menu.
2. Set the Color mode to "Object".
3. Make sure you're in Solid shading mode.
Quick Start
1. Select some objects in your scene.
2. Click the "Assign Colors" button in the Colorize panel.
3. Each object will receive a color from the current color palette.
Color Palette Controls
§ The panel starts with a few default colors.
§ Click "Randomize Colors" to generate new random colors.
§ You can manually pick any color by clicking the color swatch.
§ Use "Add Color" to add a new color to the palette.
§ Use "Remove Last Color" to delete the most recently added color.
Uv Checker:
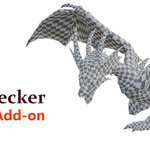
By pressing N you can activate the viewport sidebar and you will see UV Checker tab.
Select a mesh and in UV Checker panel click Assign Checker Material button. Go to the material preview mode to see the checker pattern on the object. you can change the scale of the checker by changing Checker Scale property.
Have questions about this product?
Login to message
| Published | 8 months ago |
| Blender Version | 3.6 - 5.0 |
| Extension Type | N/A |
| Render Engine Used | Cycles, Eevee |
| License | GPL |