 serge-m



Bevel Profiler 1.0
Watch the tutorial here:
Documentation
Quick Guide
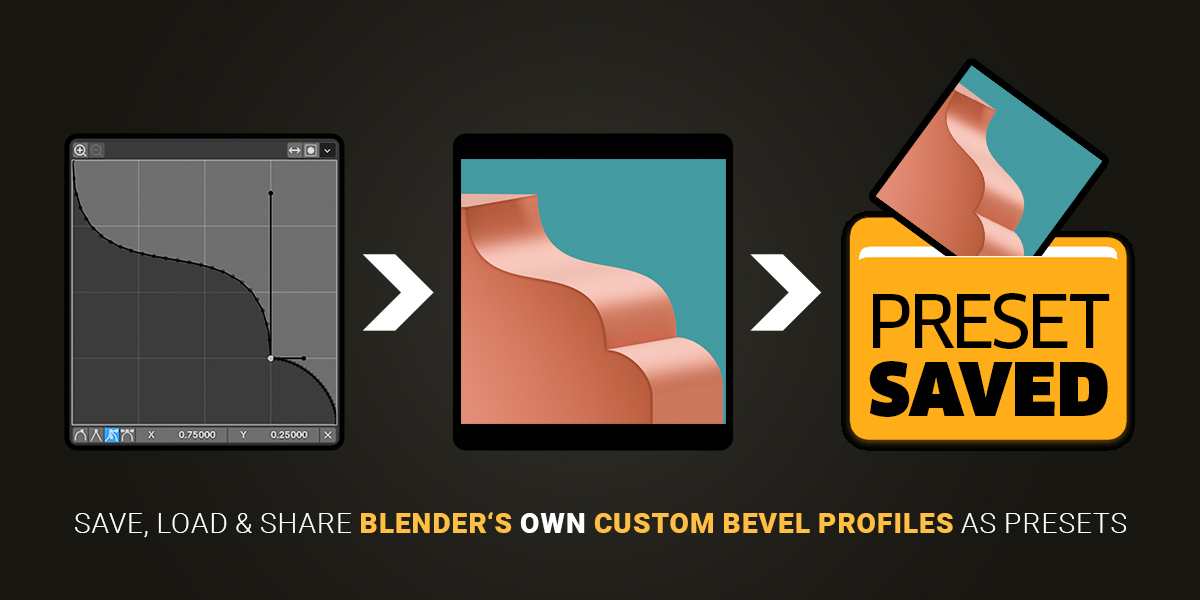
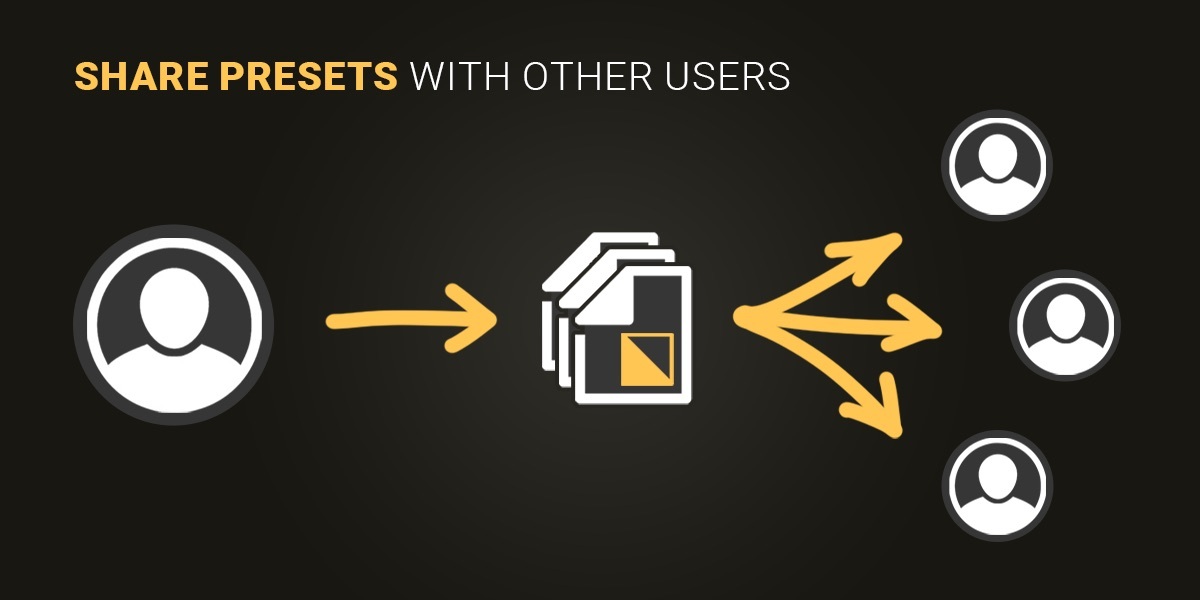
Bevel Profiler lets you save, preview, organize, apply, and share Blender's Custom Bevel Profiles. Presets can be used with a Bevel modifier in Object Mode and with Blender's Bevel Tool in Edit Mode.
Installation
Note: when updating from an older version, disable and uninstall the old version first, restart Blender, and then install the new package.
-
Use the zip-file „Bevel_Profiler_Addon_v1_0.zip“ which you need to install (don't unzip this file!).
„Bevel_Profiler_v1 Assets.zip“ can be unzipped. There you'll find the documentation, licence and the Presets.
Open Edit > Preferences > Add-ons.
Open the menu (Add-on Settings/little „Down Arrow") in the upper-right corner and choose „Install from Disk…"
Browse to the folder and select the „Bevel_Profiler_Addon_v1_0.zip“ file.
Enable the Add-on if Blender does not enable it automatically.
Once the Add-on is enabled, in Preferences make use of „Use Custom Directory“ (Checkbox) and choose a folder in which you put in the predefined Bevel_Profiler_Presets, which came with the zip package. Save the Preferences, to make the current preferences default.
In the 3D View, press N and open the Bevel Profiler tab.
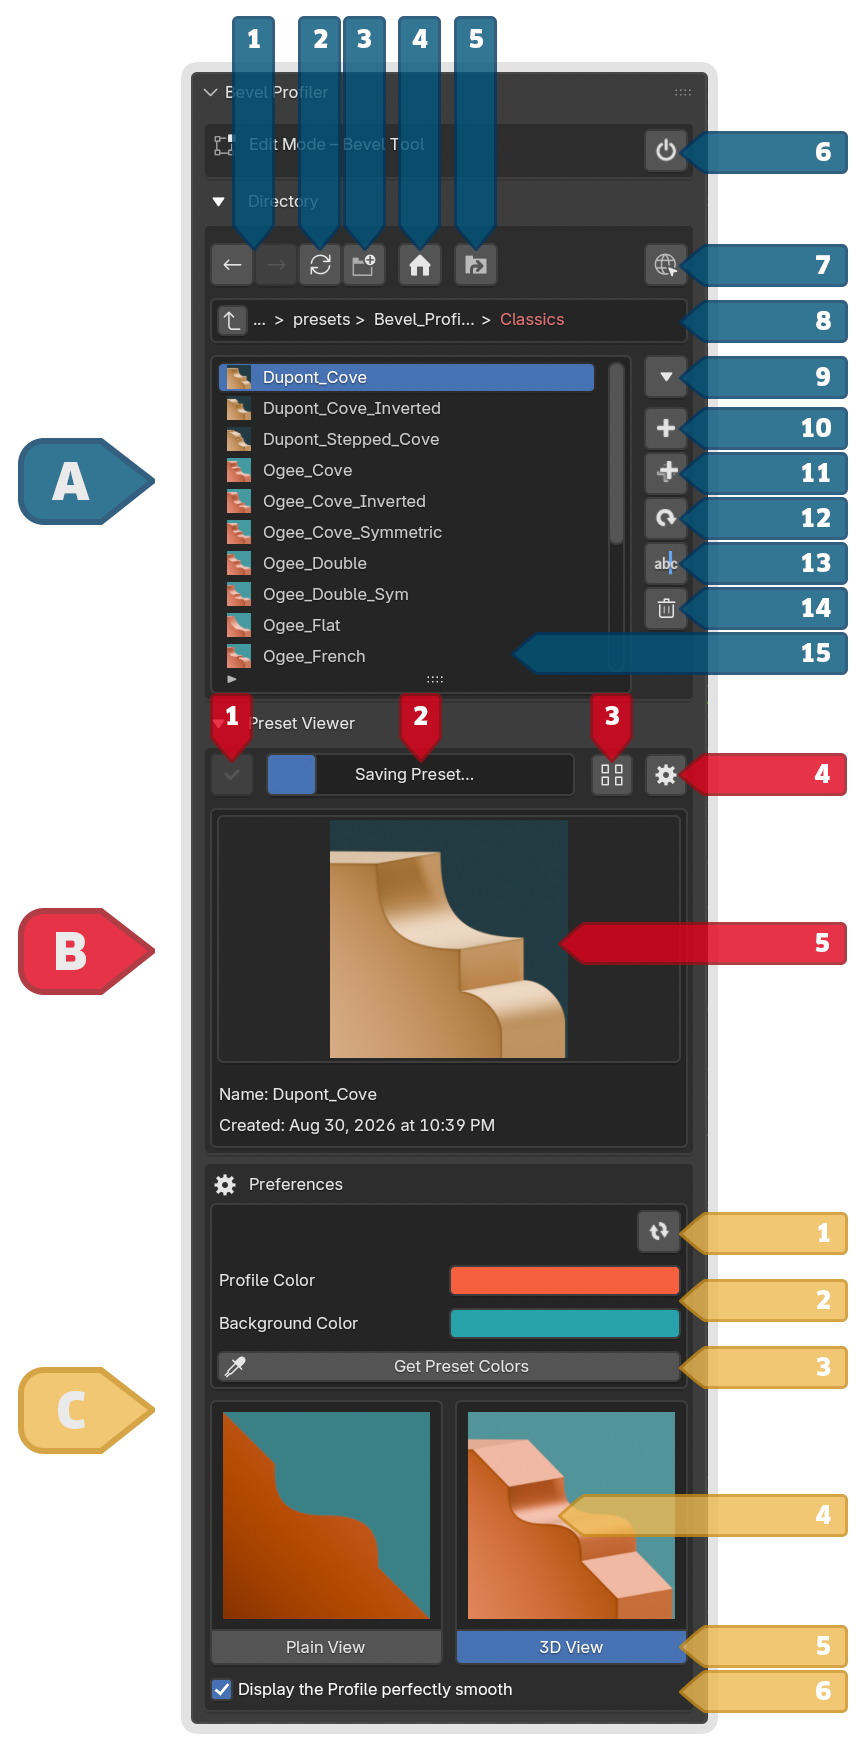
The interface is divided into three sections:
A - Directory and Preset Management
B - Preset Viewer
-
C - Thumbnail Preferences
Ultra Quick Start
Select the Default Cube in Object Mode and from within the Bevel Profiler Add-on choose any given Preset (the ones, that come with the installer) - you will immediately see the result.
Quick Start (in Object Mode)
Saving a profile
Select an object in Object Mode.
Add a Bevel modifier.
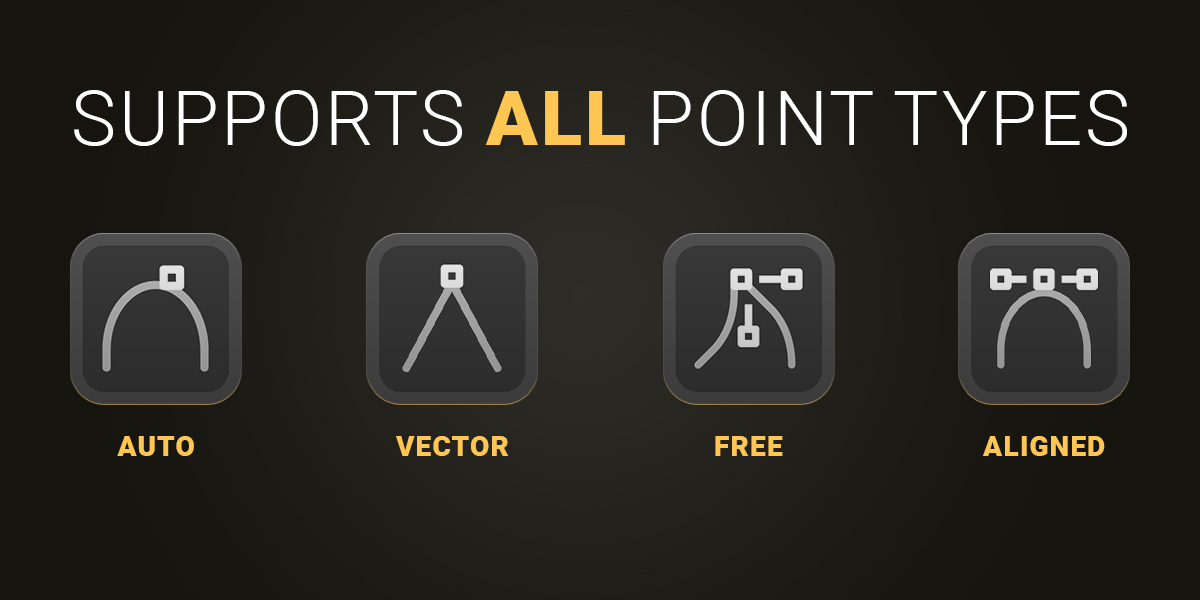
Set Profile Type to Custom and in there create your profile with any point type.
Open the N-Panel and in Bevel Profiler open or create the folder in the List View in which you want to save the preset.
Click Save Profile (A10), enter a name and confirm.
Bevel Profiler saves the profile and relevant Bevel settings, then renders a thumbnail in the background.
Applying a profile
Select the target object.
Click a preset in the List View (A15), or choose it from the Preset Viewer (B4).
You can choose between different bevel profiles in the List View or the Preset Viewer.
With the default settings, the preset is applied immediately. If the object has no Bevel modifier, Bevel Profiler can add one automatically (on by default in A9).
Quick Start (in Edit Mode)
Saving a profile
Select an object in Object Mode and switch to Edit Mode.
Select one or more edges or faces of this object.
-
Activate the Bevel Tool:

or use the shortcut Ctrl+B (Windows) | cmd+B (Mac)
Set Profile Type to Custom and create your profile with any point type.
In Bevel Profiler open or create the folder in the List View in which you want to save the preset.
Click Save Profile (A10), enter a name and confirm.
Also here: Bevel Profiler saves the profile and relevant Bevel settings, then renders a thumbnail in the background.
Applying a profile
In Edit Mode select one or more edges or faces of an object.
Click a preset in the List View (A15), or choose it from the Preset Viewer (B4).
The Bevel Tool is activated immediately, so that you can pull out the yellow gizmo with the mouse to adjust the Width and to see the applied Bevel Profile.
With the Bevel Tool still selected (active and not yet applied), you can choose between different bevel profiles in the List View or the Preset Viewer. The Custom Profile will be updated automatically on the object.
When leaving the Bevel Tool, the Preset is applied.
A - Directory and Preset Management
A1 - Previous / Next Folder
Moves backward or forward through your folder history. The buttons become available after you have navigated between folders.
A2 - Refresh
Reloads the folders, presets, and thumbnails in the current directory. Use it after copying or changing files outside Blender.
A3 - New Folder
Creates a subfolder inside the current directory. New presets are always saved in the folder that is currently open.
A4 - Home
Returns to the main Bevel Profiler preset directory. If a valid custom directory is enabled, Home returns to that location. You can define it in the Preferences „Use Custom Directory of the Add-on.
A5 - Open Folder
Opens the current preset folder in Finder (Mac), File Explorer (Windows), or your operating system's file browser. Use this to copy, back up, install, or share preset collections.
A6 - Edit Mode On/Off
This button appears when a mesh is in Edit Mode.
On: Bevel Profiler is active and can save profiles from and apply profiles to Blender's Bevel Tool.
Off: Bevel Profiler stops interacting with the Bevel Tool, resets it once to Blender's default settings, and collapses the add-on sections in Edit Mode. Its only there, if you don’t want to use Bevel Profiler.
A7 - Help and Documentation
Opens the official Bevel Profiler tutorial and documentation page.
A8 - Current Path / Parent Directory
Shows the current preset location.
Use the button on the left side of the path to move one folder level upward. Long paths are shortened to keep the interface readable.
A9 - Preset Behavior
Opens the behavior settings:
Auto-Add Bevel Modifier in Object Mode - creates a Bevel modifier automatically when required. Enabled by default.
Auto-Activate Bevel Tool in Edit Mode - activates Blender's Bevel Tool when a preset is applied. Enabled by default.
Only paste Custom Bevel Profile without Parameters - When active, in Object and Edit Mode, load only the custom curve and preserve the current bevel parameters. Disable to load the preset parameters as well.
Confirm Delete - asks before deleting a preset.
Confirm Update - asks before overwriting a preset with the current profile and colors.
Double-Click to Apply - changes the preset browser from immediate application to a select-first workflow.
When Double-Click to Apply is disabled, one click selects and applies a preset. When it is enabled, one click selects the preset only and a double-click applies it. In the Preset Viewer, use the Apply Selected Preset Button (B1) to apply the selection. I implemented this, if you prefer just a normal „one-click-behaviour“ ;)
A10 - Save Profile
Saves the current profile as a preset in the current folder. That’s the magic button !
In Object Mode, the active object must have a Bevel modifier. If the object has several Bevel modifiers, Bevel Profiler uses the active Bevel modifier; if none is active, it uses the first Bevel modifier.
In Edit Mode, Bevel Profiler saves the current Bevel Tool profile and its relevant settings.
If the chosen name already exists, Bevel Profiler asks before replacing it. After saving, the thumbnail is rendered in the background and progress appears in Section B.
A11 - Duplicate Preset
Creates a complete copy of the selected preset, including its stored colors and thumbnail. Copies are named Name Copy, Name Copy 2, and so on.
A12 - Update Preset
Replaces the selected preset with the current Object Mode modifier or Edit Mode Bevel Tool profile. Also the current thumbnail colors are stored and the thumbnail is rendered again.
Updating a preset keeps its name. If Confirm Update is enabled, Blender asks for confirmation first.
A13 - Rename Preset
Renames the selected preset and its matching thumbnail. If another preset already uses the new name, Bevel Profiler asks whether you want to replace it.
A14 - Delete Preset
Deletes the selected preset JSON file and its thumbnail. If Confirm Delete is enabled, Blender asks for confirmation first.
Deletion cannot be undone through Bevel Profiler, so keep backups of valuable preset collections.
A15 - Folder and Preset List
Displays folders first and presets below them in alphabetical order. Every preset has a small preview thumbnail.
Click a folder to open it.
Click a preset to select it.
With the default single-click behavior, selection also applies the preset.
With Double-Click to Apply enabled, double-click a preset to apply it.
If the mouse is over this section, you can also use the arrow (Up & Down) keys on your keyboard.
B - Preset Viewer
B1 - Apply Selected Preset
Applies the currently selected preset. This button is only available when Double-Click to Apply is enabled. In normal single-click mode, selecting a preset already applies it, so this button remains disabled.
B2 - Render Progress Bar
A temporary shared progress bar for displaying thumbnails and colour previews.
B3 - Thumbnail View Settings
Opens the display options for Thumbnail Size, which changes the grid size of the thumbnails in the visual selection window. You can set a default value for this in the preferences settings.
B4 - Open / Close Preferences
Opens or closes the Preferences Section with an animated DownSlide. The thumbnail color and style settings are located there.
B5 - Preview Thumbnail
Shows the currently selected preset. Clicking on the thumbnail opens the thumbnail browser, where you can select a preset in the same way as in the List View.
The selection is synchronized with the List View. The preset name and creation date are displayed below the preview when that information is available.
The Viewer header also displays progress while Bevel Profiler is:
Saving a preset.
Updating a preset.
Rendering a preset thumbnail.
Updating the Plain View and 3D View color previews while changing the colors.
C - Thumbnail Preferences
These settings control thumbnail appearance. They do not change the bevel on your model.
C1 - Swap Colors
Exchanges the Profile Color and Background Color.
C2 - Profile Color / Background Color
Sets the colors used for new or updated preset thumbnails.
After a color change, Bevel Profiler automatically renders updated previews. The progress indicator in the Viewer header displays that.
C3 - Get Preset Colors
Loads the stored Profile Color and Background Color from the selected preset. This is useful when you want to match or slightly adjust an existing preset's appearance.
The button is available only when a preset is selected.
C4 - Thumbnail Previews
Displays both possible thumbnail results:
The left preview shows Plain View.
The right preview shows 3D View.
The previews update automatically after color changes.
C5 - Plain View / 3D View Buttons
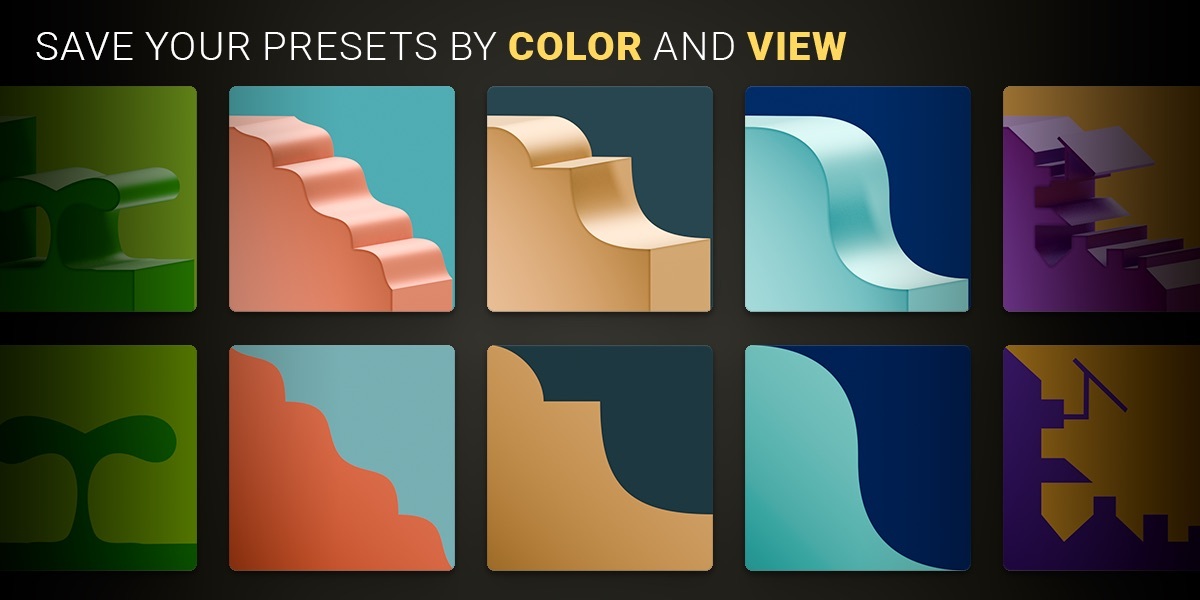
Selects the thumbnail style used when a preset is saved or updated. Just click either Plain View, to show the profile as a clear, flat 2D shape or 3D View, to show a shaded 3D example of the bevel.
Changing the style does not replace existing thumbnails automatically. Select the preset and use A12 - Update Preset to create a new thumbnail.
C6 - Display the Profile Perfectly Smooth
When enabled, Bevel Profiler uses a high-quality segment setting to display the profile smoothly.
When disabled, Bevel Profiler uses the current „Segments“ count in the Bevel Tool or the Bevel modifier. Meaning, you can choose between always smooth or your current real „Segments“ count, which can display the curve in low resolution.
Object Mode
In Object Mode, applying a preset changes a Bevel modifier on the active object immediately.
Bevel Profiler restores the Custom Profile together with compatible settings such as Width, Segments, offset and limit options, miter settings, Clamp Overlap, Harden Normals, and other stored Bevel properties.
If Auto-Add Bevel Modifier in Object Mode is enabled and the object has no Bevel modifier, a new one is created automatically. This can be very convenient.
Edit Mode
In Edit Mode, applying a preset configures Blender's Bevel Tool. It does not bevel the mesh by itself.
Enter Edit Mode on a mesh.
Select edges or faces and apply a preset.
Use Blender's Bevel Tool on the selected geometry.
If Auto-Activate Bevel Tool in Edit Mode is enabled, the tool is selected automatically. Bevel Profiler restores compatible tool settings, the Custom Profile, its handles, and the saved clipping state.
The following applies to both modes:
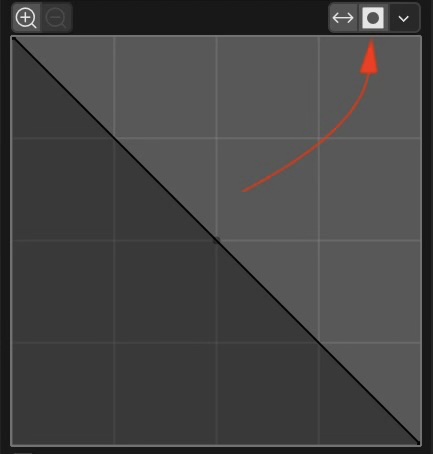
Clipping can cause points that lie outside the normal profile range to be moved unintentionally. If a profile looks different than expected, check Blender's Custom Profile clipping option.
If you want to move points out of the normal profile area, let the clipping option active (white) while saving the profile.
Preset Files and Sharing
Each preset consists of a JSON file and a matching PNG thumbnail:
My Presets/
├── My_Bevel_Edge_1.json
├── My_Bevel_Edge_2.json
└── Thumbnails/
├── My_Bevel_Edge_1.png
└── My_Bevel_Edge_2.png
The Thumbnails folder is hidden from the add-on's browser in the List View. To share a collection, include the JSON files AND the complete Thumbnails folder !
To install a collection manually:
Click Open Folder (A5).
Copy the supplied preset folder into that location.
Return to Blender and click Refresh (A2).
Presets created by users may be shared, given away, or sold at the creator's discretion, provided that the creator has the necessary rights to all included content.
Custom Preset Directory
The default preset location is inside Blender's user scripts directory:
SCRIPTS/presets/Bevel_Profiler_Presets
To use another location:
Open Blender Preferences.
Expand the Bevel Profiler Extension settings.
Enable Use Custom Directory.
Choose an existing folder.
Save the Preferences, to make the current preferences default.
Return to Bevel Profiler and click Home (A4).
If the selected folder does not exist or cannot be accessed, Bevel Profiler uses its default directory.
Quick Troubleshooting
The Bevel Profiler tab is missing
Make sure the Add-on is enabled, move the cursor over the 3D View, and press N.
“Already registered as a subclass” appears
Uninstall every older Bevel Profiler version, restart Blender, and install only one version.
No Bevel modifier was found
Enable Auto-Add in Preset Behavior (A9) or add a Bevel modifier manually.
A preset applies to the wrong modifier
Make the intended Bevel modifier active in the modifier stack.
Clicking a preset only selects it
Double-Click to Apply is enabled. Double-click the preset in List View or use Apply Selected Preset in the Preset Viewer (B1).
The thumbnail still uses the old colors
Select new colors for the Profile and Background (C2) and use Update Preset (A12) to update the selected preset. It will render its thumbnail again to the newly chosen colors.
The panel is disabled in Edit Mode
Use the On/Off button (A6) to enable Bevel Profiler for Blender's Bevel Tool.
A thumbnail is missing
Wait for rendering to finish, refresh the folder, and make sure the complete add-on package and its thumbnailer-blend-files are installed.
Bevel Profiler 1.0
Copyright (C) 2026 Serge Mustu (serge-m)
Have questions about this product?
Login to message
| Blender Extension Compatible | Yes |
| Published | about 4 hours ago |
| Blender Version | 4.5 - 5.2 |
| Extension Type | Add-on |
| License | GPL |