 Studio B⁴

Blitz Preview Render Add-on for Blender
Version 1.0
Copyright (c) 2025, Studio B4, LLC. All rights reserved.
Purpose
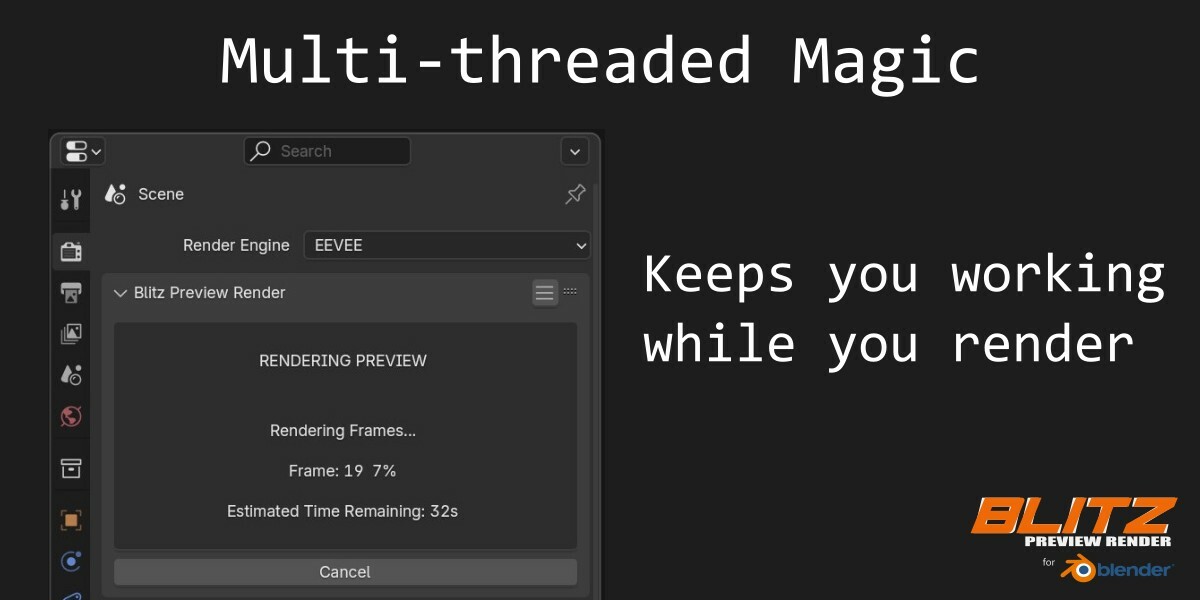
Super-fast animation preview renders. What is a preview render? A preview render is not the best quality, and it may not include every frame or feature, but it's rendered quickly and it plays at the perceived frame rate of your project, so you get an unhindered preview of the motion flow and camera movements at their actual playback speed. Think "Viewport Render on Steroids". A preview render is not intended to replace Blender's built in production render. It's perfect for those workstations that don't have the latest and greatest GPU performance to rely on, but useful even for those that do.
Compatibility
- Blender Versions: Compatible with Blender 4.0 and above. May work with 3.6.
- Render Engines: Supports Cycles, EEVEE Next, and Blender Workbench Render.
- Operating System: Windows, MacOS, Linux
Installation
- Download: Download the latest add-on zip file from where you purchased it.
- Install: Open Blender, go to Edit > Preferences > Add-ons. From the dropdown menu in the upper right, select Install from disk..., then choose the downloaded zip file.
- Enable: "Search for 'Blitz Preview Render' in the add-ons list, and check the box to enable it.
Once enabled, look for the interface in the Render Properties tab (see 'The Interface Panel' section of this document below).
Use case
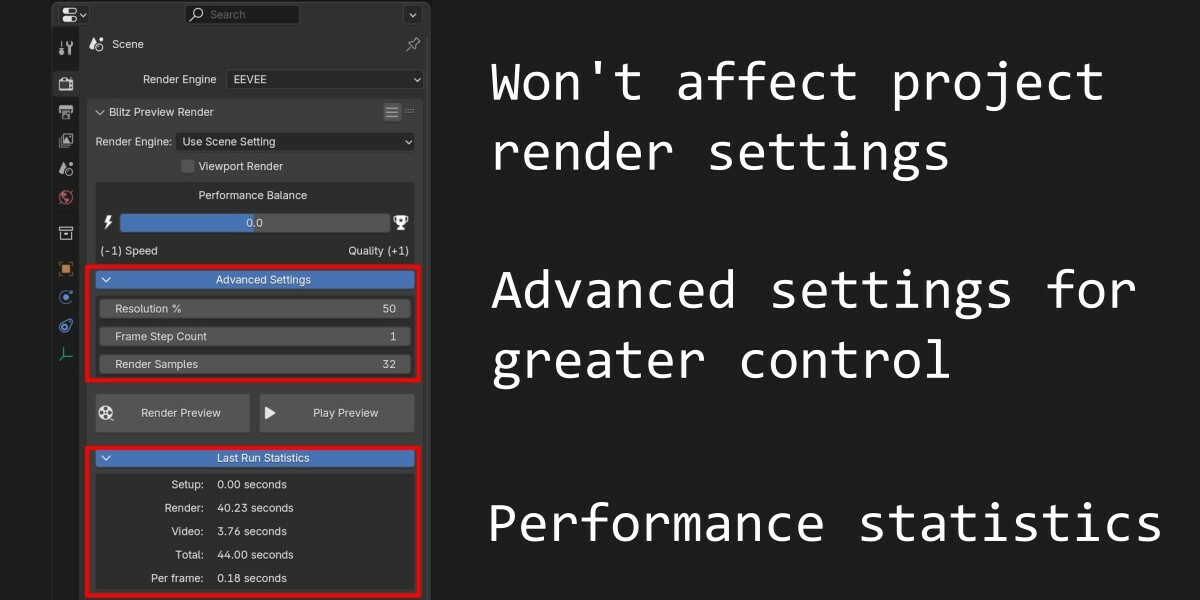
There are two primary ways to use the add-on, all controlled from the Blitz Preview Render panel in the Render Properties tab (not the N-Panel). You can keep things simple and just use the Performance Balance slider to control your output, which will adjust the necessary parameters for you, or you can use the advanced settings to control the specific values that will most impact render speed.
All settings are made independently of your project viewport and render settings, so when it's time for your final render, you won't have anything you need to worry about changing back or re-enabling.
How it works
Renders are done frame by frame in the folder //[project name].[scene name].temp_preview and then assembled by ffmpeg.
An audio track, if present, will be mixed down to //[project name].[scene name].temp_preview/audio.wav and included in your preview.
The Frames Per Second (FPS) of your scene settings multiplied by the total number of frames in the scene, will determine the length of the video playback no matter how many frames are included in your preview render.
Please note: In addition to the settings you can change through the user interface to affect render speed, a few other settings have been optimized for each particular render engine, so your preview render will never be quite the same as doing a full render. When the time comes for your final production render, you will still want to do a full render just as you always have.
The Interface Panel
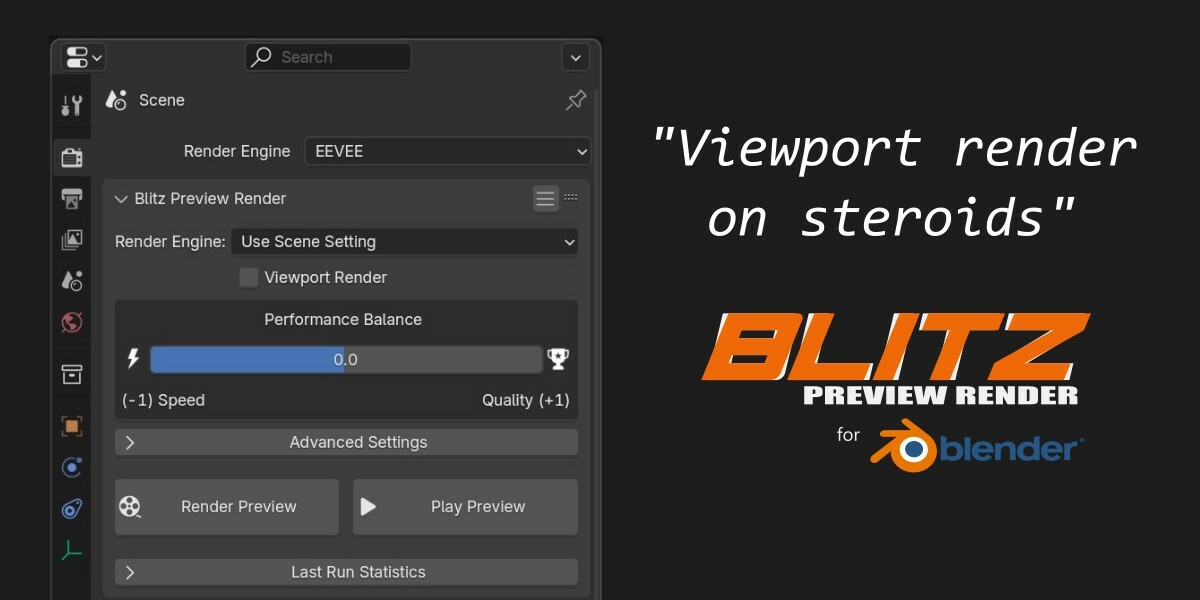
Where to Find It: The "Blitz Preview Render" panel is located in the Render Properties tab of the Properties Editor, not in the viewport N-Panel (the sidebar accessed with 'N') where you will often find other add-ons. To access it:
- Go to the Properties Editor (typically on the right side of the Blender interface).
- Click the Render Properties icon (looks like a camera) to view scene render settings.
- Scroll down to find the Blitz Preview Render panel.
This panel contains all the settings for adjusting your preview renders. These settings are independent of your standard render settings, so they won’t interfere with your final production renders.
Why It’s Not in the N-Panel: Blitz Preview Render is intended to augment the scene Render Properties and preserve a workflow aligned with Blender’s native rendering options, thus avoiding clutter in the N-Panel.
Render Engine
Choose between using the scene's default render engine or specifying one for preview rendering. You can leave the render engine set to Use Scene Setting to use whatever render engine you have selected for the scene, or you can select a particular render engine to use when generating the preview render.
Viewport Render
For maximum performance, you can not beat "viewport rendering". Viewport rendering uses the Blender viewport to render the scene, which saves a fair amount of overhead. When available, enabling this setting will use the viewport to render the scene.
CAUTION: When using viewport render, what you see in the viewport is what you get, so the gizmos (manipulation widgets for objects), overlays (like grid, axis), and other UI elements will be captured if they are turned on. If a camera is active, you will see the action from that camera, but if the active view is anything else, you will see the action from that point of view.
NOTE: Viewport Render is not available when using the Cycles render engine.
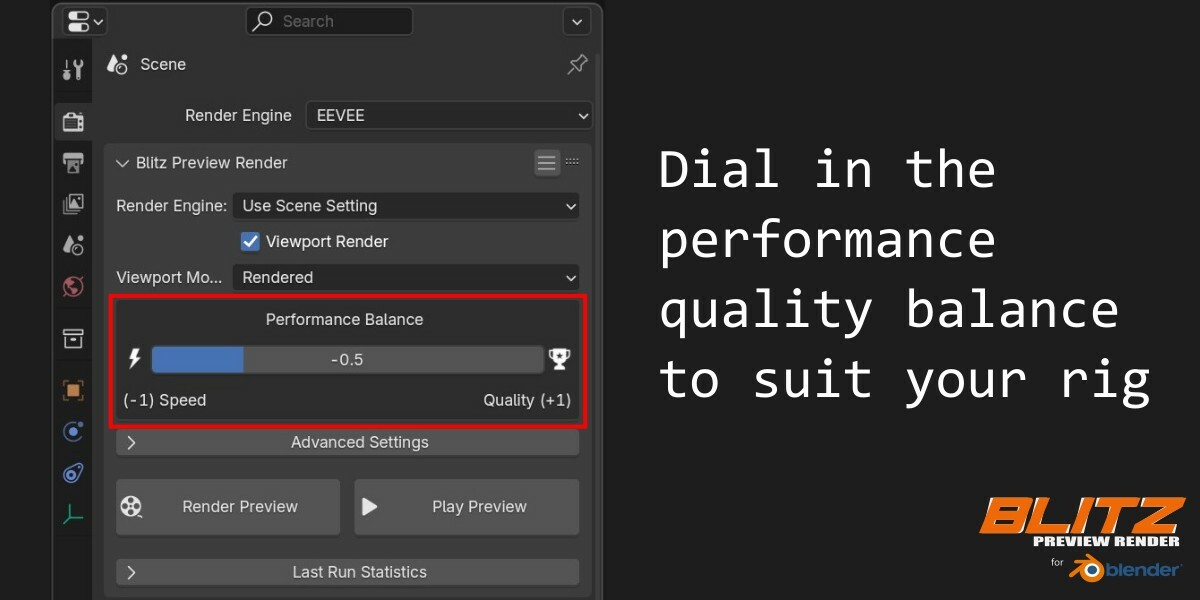
Performance Balance
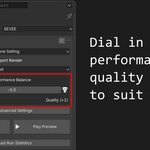
"Performance Balance" is a value from -1 to +1, where -1 is maximum speed with minimal quality, and +1 is maximum quality with minimum concern for speed. Adjust the slider or enter a value to quickly and easily adjust the render output.
You will find that each project has a slightly different Performance Balance setting that suits you for optimal preview renders, depending on the composition and complexity of the scene, as well as the render engine used. For best results, start with a "Performance Balance" setting of 0, and render a preview. If the performance is not to your liking, you can cancel the render, and further adjust the value accordingly.
Advanced Settings
- Resolution Percentage: Scales down the resolution for faster rendering at the cost of detail.
- Frame Step Count: Adjusts how many frames are skipped between renders. Lower values mean more frames rendered and smoother playback but slower render performance.
- Render Samples (EEVEE Only): Number of samples per pixel, with less being faster
- Max Samples (Cycles Only): Limits the maximum number of samples per pixel, which can reduce render time but increase noise.
- Light Bounces (Cycles Only): Controls the number of times light can bounce before being terminated, affecting both render time and quality. Less light bounces can significantly speed up preview rendering but at the cost of reduced lighting realism.
Render Preview Button
Pressing this button will kick off your preview render. Your preview render will be of the latest saved version of your Blender project, so you will be prompted to save your project if need be.
Play Preview Button
This button is only present if there is a rendered preview animation available to playback. Pressing this button will launch your systems default video player and play the most recent rendered preview video.
Interface Panel Menu
In the far right area of the Blitz Preview Render interface panel title bar, you will find the popup menu for:
- Clear Cache & Statistics: Clicking this will clear any previously rendered frames, and video, and reset the last rendered statistics
- View Readme...: Will display this readme file
- Support & Suggestions: Links to the contact form where you can submit comments and suggestions, and request support
- About Blitz Preview Render...: Links to the project home page
Menu Options
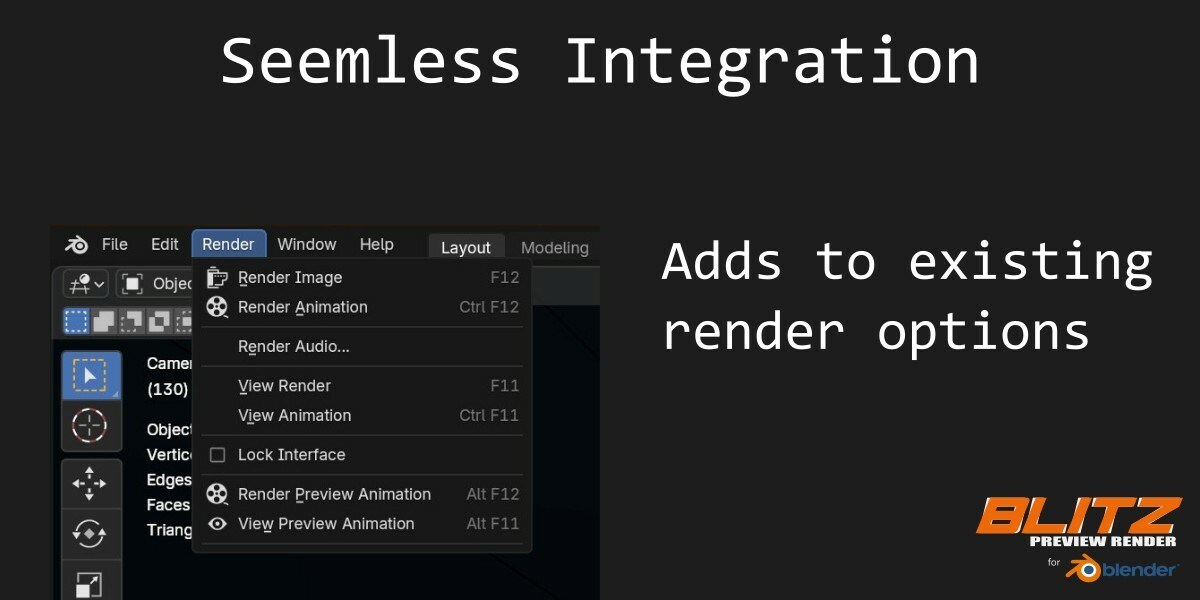
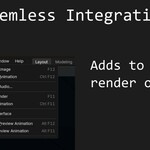
Two additional menu options are added to the Render menu.
Render Preview Animation kicks off a preview render, same as using the button from the interface panel.
View Preview Animation will load and play the last generated preview render using your system's default video player, same as using the button from the interface panel.
Performance Tips
These tips are not necessary to make the most of Blitz Preview Render; however, they may provide you with an extra boost of performance if you can implement them.
- Use lower resolution previews for complex scenes.
- Disable unnecessary elements in your scene before rendering a preview.
- Consider reducing the complexity of shaders or using simpler materials for preview purposes.
- Use proxies (lower resolution versions) for high-resolution textures or videos to reduce memory usage during previews.
- When using viewport render, what you see in the viewport is what you get, so the gizmos will be captured if they are turned on.
Documentation
Detailed documentation, including tutorials and visual guides, are currently in development. Check back for updates on our Project Home Page.Troubleshooting
- Render Not Starting: Ensure your Blender version is compatible with the add-on. Check if the necessary dependencies like FFmpeg are installed.
- Preview Quality Issues: Adjust the "Performance Balance" slider or check if your scene settings match the preview requirements.
Debug Mode
For the more adventurous, there may be times where you need to diagnose a problem with the add-on.
In Debug Mode, some experimental features may be enabled. There will be a bit of additional error logging and reporting. But most importantly, the secondary process for rendering will not be hidden, or automatically closed after render. The process will not continue until the secondary render window is closed. (This does not apply to background renders, IE Cycles)
From the Python Console (available under Window > Toggle System Console on Windows, under Scripting workspace in Blender, or via Alt + O on MacOS), you can update the following setting to put the add-on into a special "debug mode" designed to help in tracking down potential problems.
bpy.context.scene.blitzpreview.debugmode = True
Support
If you have purchased the Blitz Preview Render add-on for Blender from one of the reputable online Blender Marketplaces, you are entitled to the latest updates and support. Please direct your questions and any feedback to [email protected]
Feedback & Suggestions
If you encounter any issues or have suggestions about how the Blitz Preview Render add-on can be improved, we want to hear from you! Please contact us on X or email us at [email protected].
Change Log
- 2025-02-14: Initial release, version 1.0
Note: Future updates will be listed here in reverse chronological order.
License
This add-on is released under the GNU General Public License.
Disclaimer
Studio B4, LLC is not responsible for any damage or loss caused by the use of this add-on. Use at your own risk.
Project Links
Studio B4
Project Home Page
Blender Market Store
Blender Market Product
Have questions about this product?
Login to message
| Dev Fund Contributor | |
| Published | over 1 year ago |
| Blender Version | 4.3, 4.2, 4.1, 4.0 |
| Extension Type | N/A |
| License | GPL |