Brush Creator
 Ferasyahya


How to Use
-
Install the Add-on
Download the ZIP and install it in Blender via Edit → Preferences → Add-ons → Install.
Enable the add-on: Brush Creator.
-
Open the Brush Creator panel
Open the Brush Creator panel from the n-panel menu.
-
Choose the File Paths
-
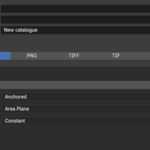
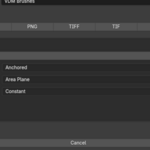
Select the folder containing your alpha images (You can select to recursively go through a file. Use with caution).
Select the main asset library (This needs to be defined under Asset Libraries in File Paths).
- Select the file types that you would like to search for in your folder.
-
-
Configure Brush Settings
Strength
Stroke Method (Dots, Drag Dot, Anchored, etc.)
Texture Mapping (Tiled, 3D, Stencil, Area Plane)
Falloff Curve
VDM toggle (for displacement-based brushes)
-
Run Batch Creation
Click Create Brushes.
Ensure that you do not close Blender while the brushes are being created.
-
Access Your Brushes
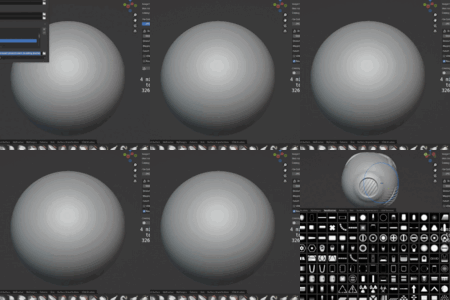
Once complete, your new brushes will appear in the Asset Browser under the catalogue you specified (ensure that you refresh your brushes first).
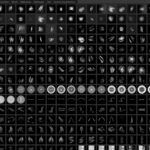
They’ll have custom icons generated from the source images for easy browsing.
The brushes will still be editable from the Asset Shelf for smaller changes such as meta data, preview images or deleting specific brushes.
