 sharktacos


Stylized Painterly Looks
Brushed Shading is a suite of shaders and tools for achieving painterly stylized looks in both EEEVEE and Cycles. NEW: Brushed Shading also now works in Maya!
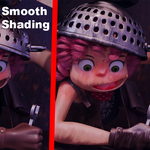
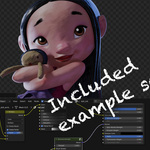
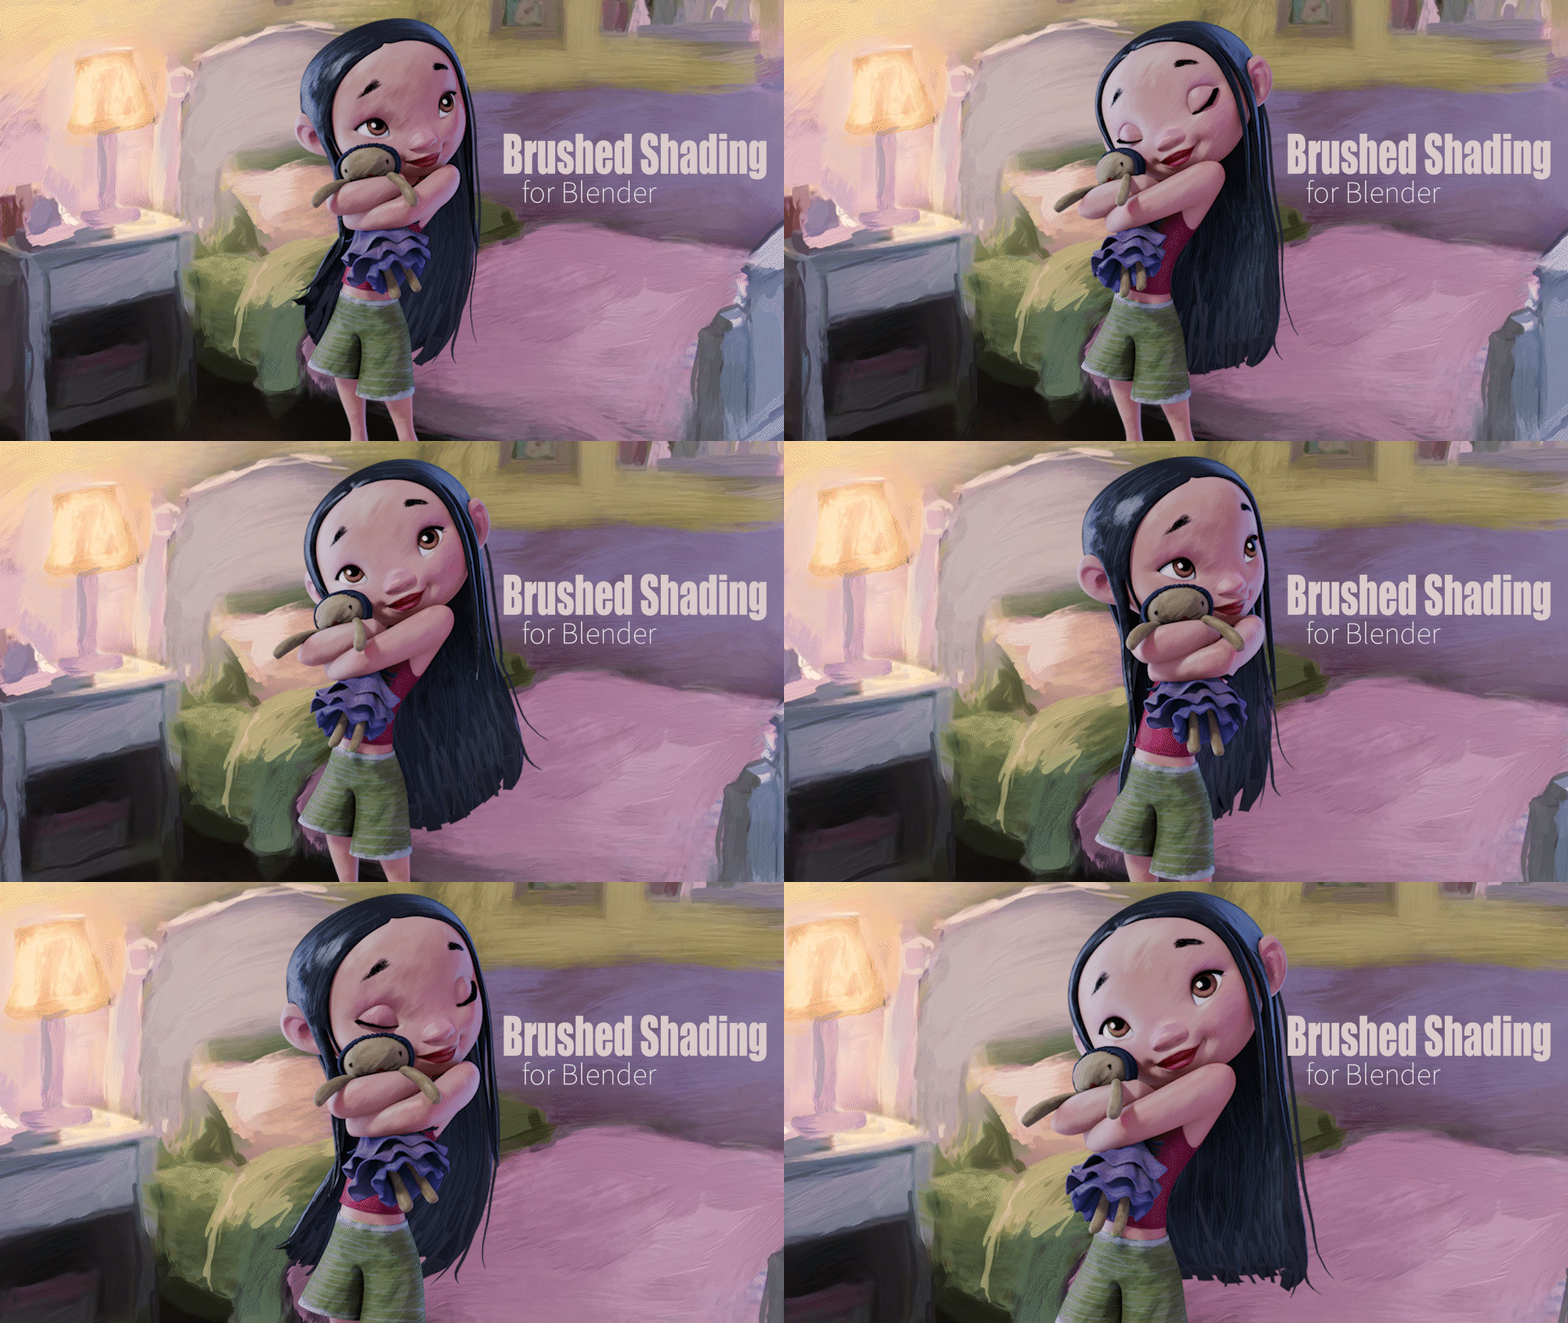
Brushed Shading turns regular smooth shading into the look of hand-painted brush strokes. Check out this before-and-after of applying Brushed Shading nodes to the Junk Shop Blender Splash Screen by Alex Travino.

How it works
This is done with a custom shader that changes regular smooth shading into “brush stroke shading” by bending the object normals through a hand-painted brush strokes map, emulating how an artist shades transitions from light to dark by painting brush strokes onto a canvas.

Material Asset Library
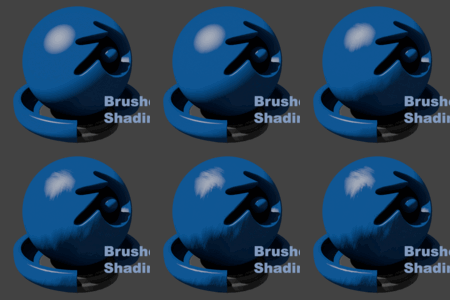
Because Brushed Shading works with hand-painted brush strokes, there are almost endless artistic looks you can achieve. The material library comes with several examples, including watercolor, oil paint, pastel, palette knife, and pencil sketch. You can also make your own custom brushes to get your own personal style.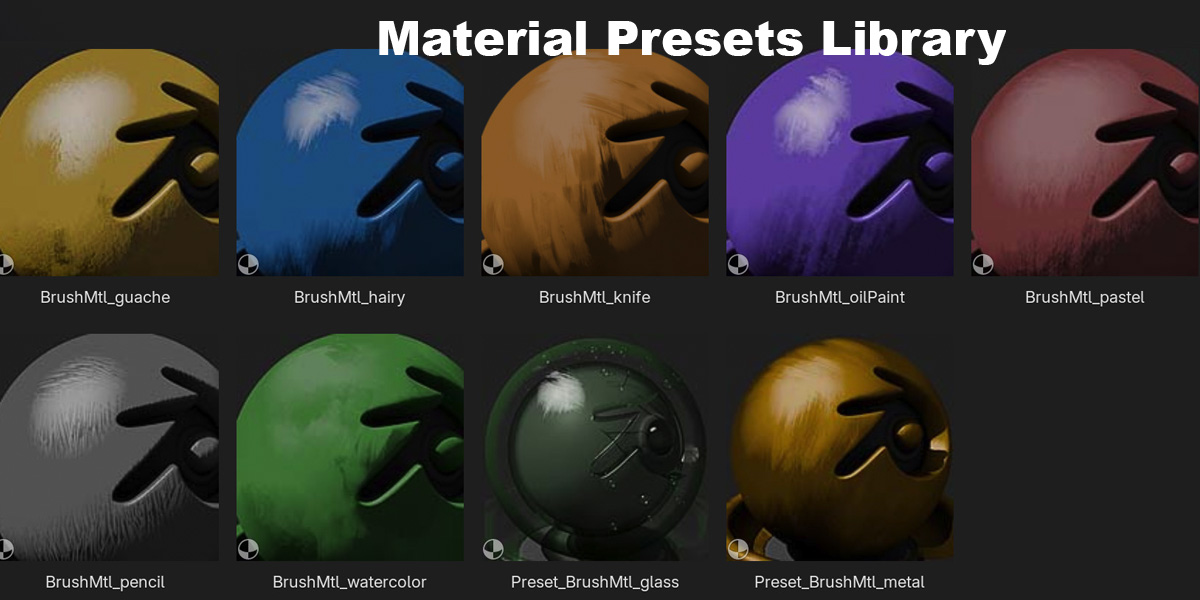
Shader Nodes
The Asset Library includes all the components you’ll need to build a Brushed Shading material node network. Each shader node is detailed below in the linked documentation pages.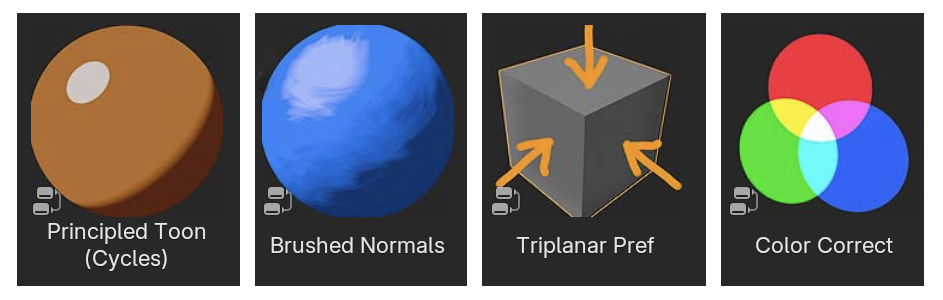
Principled Toon
Combines the Toon BSDF for both glossy and diffuse into the familiar structure of Blender’s Principled BSDF, or more properly, into the structure of an OpenPBR material. Includes controls for stylized metal and glass.
Brushed Normals
The main workhorse of the Brushed Shading workflow. Transforms regular smooth shading into brushed shading by rotating the object normals through the brush stroke map, mimicking how an artist paints strokes on a canvas to shade an object.
Triplanar Pref
Maps the Texture Coordinates for triplanar projection mapping into either object coordinates or into a Pref attribute of a Texture Reference Pose. See the Animation section below for details.
Color Correct
Utility node for color correction operations in the Shader Editor.
Pipeline Add-Ons / Tools
The following Add-Ons extend Blender’s functionality to make the Brushed Shading workflow possible in an animation production pipeline.
Asset Shader Transfer
Transfers shader bindings between two assets with parallel object hierarchies. Used, for example, to transfer all the materials from a lookdev asset onto its corresponding animated Alembic cache with a single click.
Texture Reference Pose
Adds a Texture Reference Pose modifier to the top of the modifier stack for selected meshes. See the Animation section below for details.
Animation
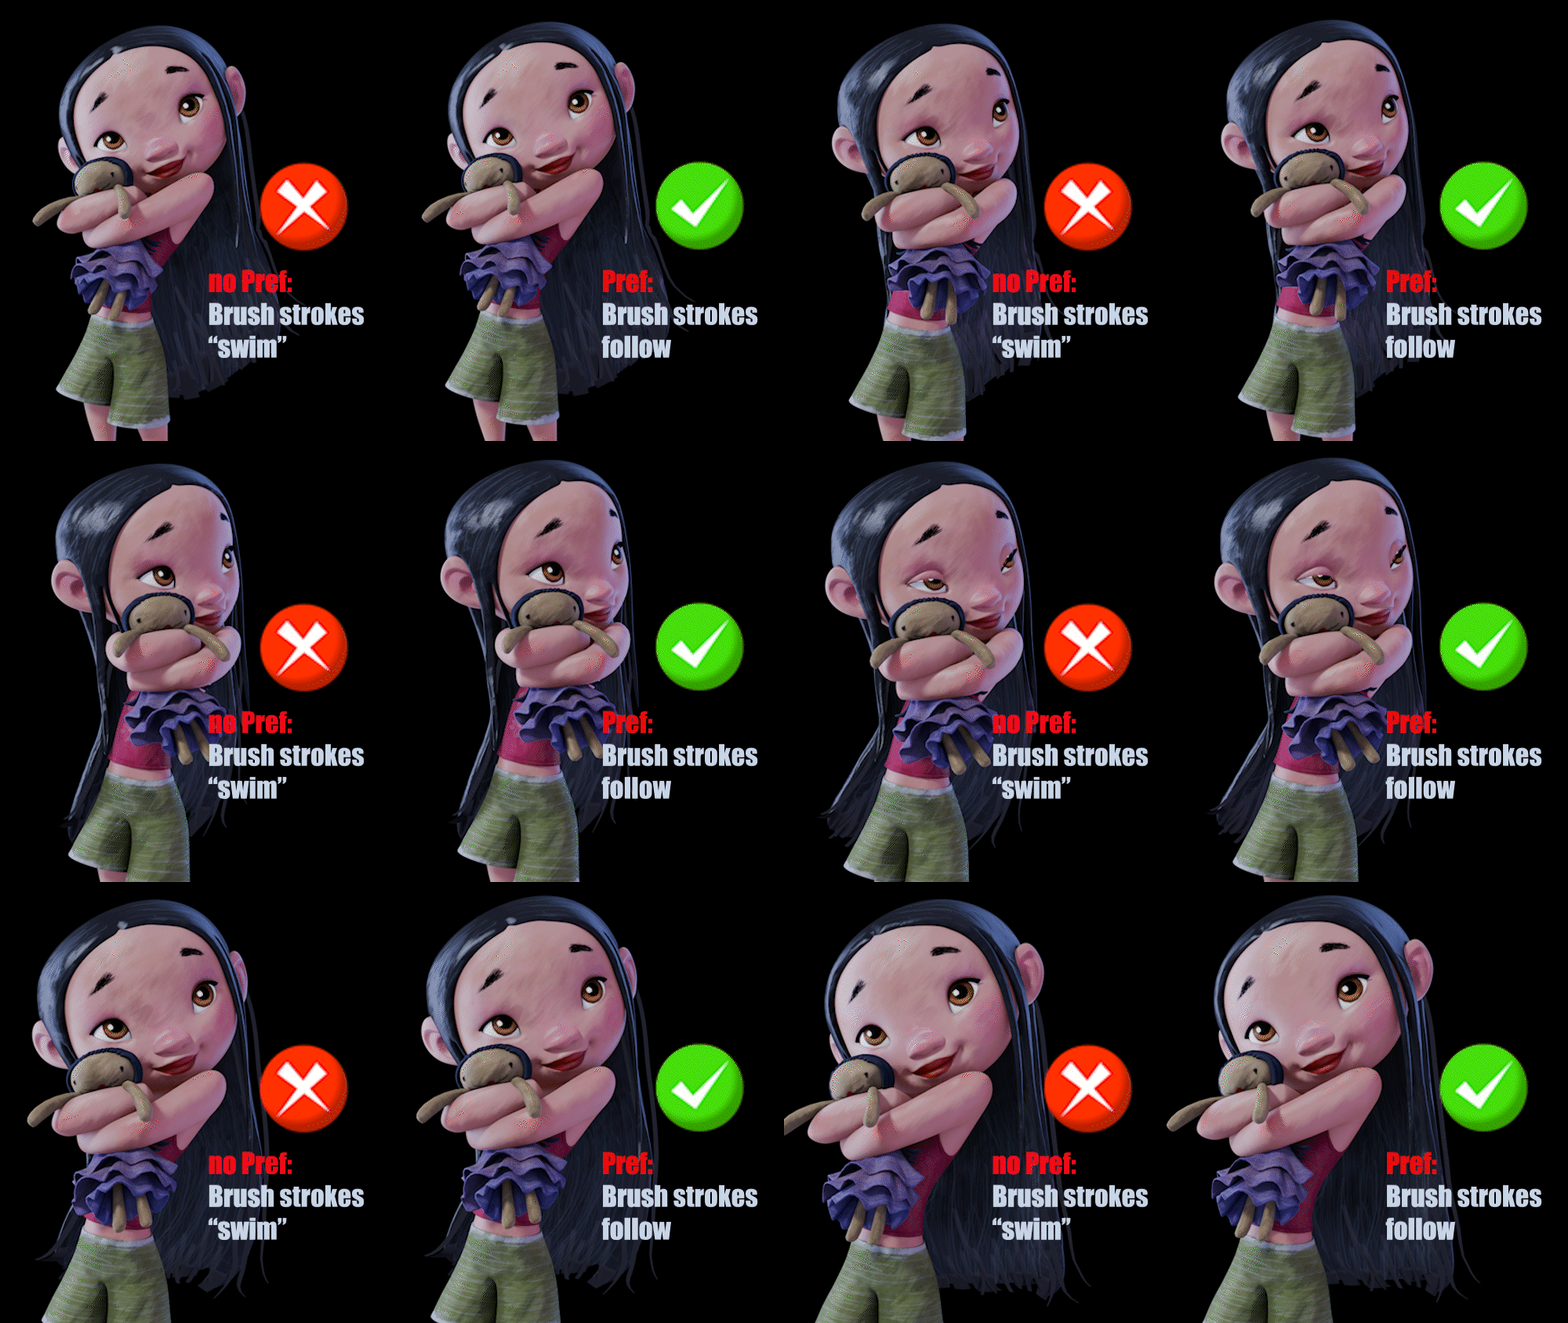
For NPR renders, we don’t want to have the brush strokes be UV mapped to the objects, because then their size will change as the object gets closer or farther away from the camera. That’s simply not how an artist determines their brush size on a painting. Instead, just as an artist paints the brush strokes on the canvas, we also want our brush strokes to be independent of the object's UVs.
We can do this using Triplanar or “Box” projections, but this presents a problem with animated characters: They will appear to “swim” through the brush strokes. Renderers like Arnold and Renderman have what is known as Pref attributes to make Triplanar maps “stick” to characters, but Blender does not have this currently. To fix this, Brushed Shading comes with an add-on function “Create Texture Reference” and a Triplanar Projection node with a Pref toggle to allow the brush strokes to follow an animated character. You can see the difference in the side-by-side comparison below. You'll find full details of how to use these tools in the demo video, and in the docs.
Supported Renders
Cycles
Brushed Shading has primarily been designed to work in Cycles so that it would be a viable workflow for studio animation production. A big factor here is that for NPR stylized rendering, much of the final-pixels look is happening in the comp. This is how they do things, both at Sony and at Fortiche. That workflow relies on splitting up the render components into AOVs. This is simple to do with the Toon BSDF in Cycles (which is what the Principled Toon material uses). However, in EEVEE it is a bit more challenging since toon shaders are often made by inputting a Shader to RGB node into the Emission.
EEVEE
All the material nodes will work with both Cycles and EEVEE, with one exception: The Principled Toon material, since it is based on Blender's Toon BSDF, which only works with Cycles. If you wish to render in EEVEE, you can connect the other Brushed Shading nodes into any other material.
Third Party Renders (VRay, Arnold, Renderman, etc.)
The Brushed Normals material node is also provided as an OSL shader, which can be used with other third-party renderers in Blender that support OSL (Open Shading Language).
Brushed Shading for Maya
A dedicated OSL shader for Maya (included in the full feature version) is provided with custom features designed specifically to work in Maya. See the demo video below for a full walk-through of how to use Brushed Shading in Maya, including setting up shader networks, and working with animated characters.
Example Files
An example .blend file is included with the wonderful FeiFei model by Leo Rezende. This includes Brushed Shading material node networks, as well as texture maps and lights.