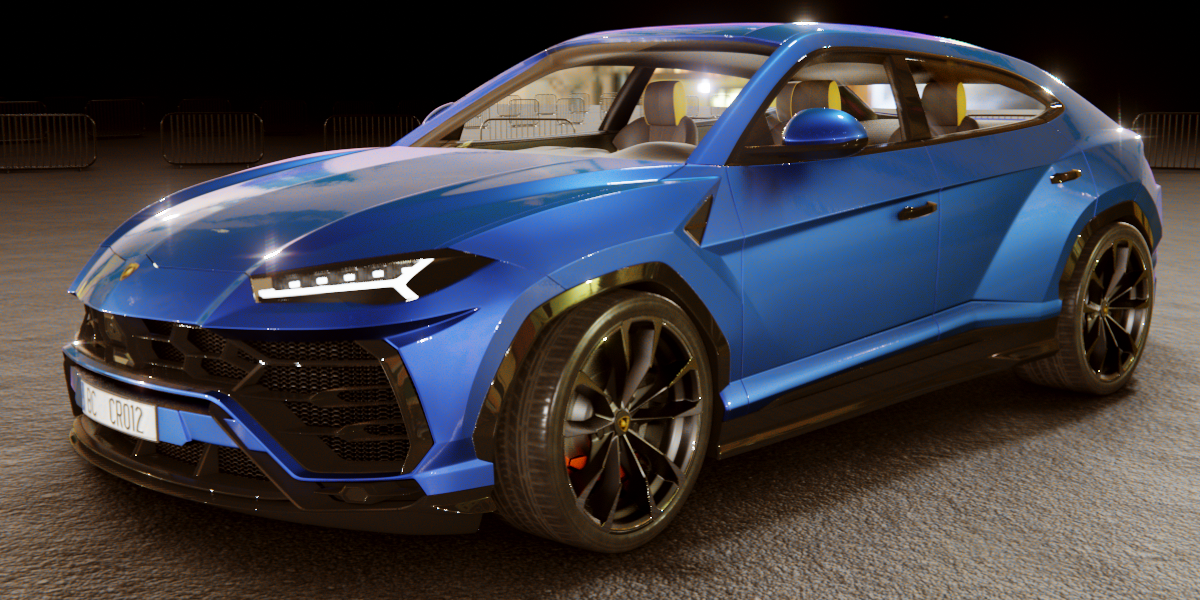
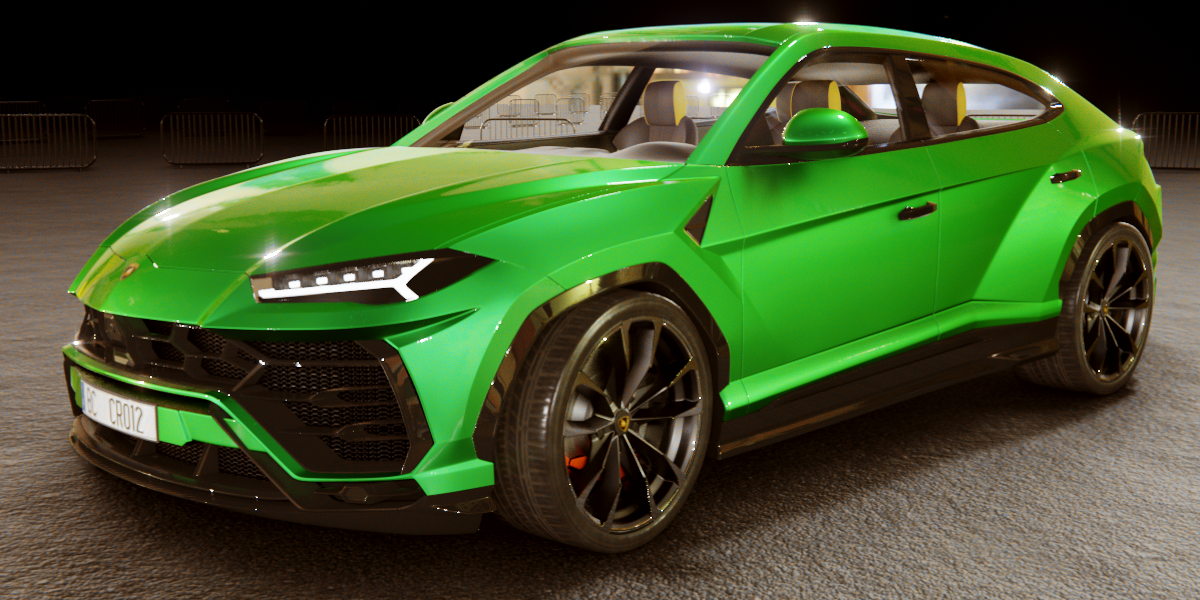
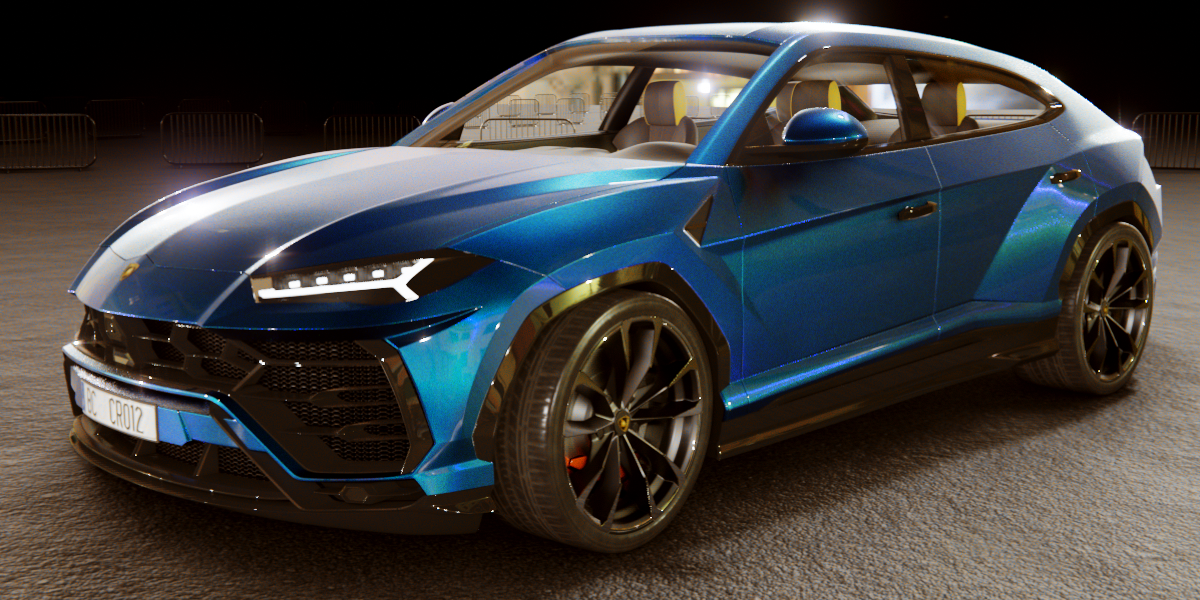
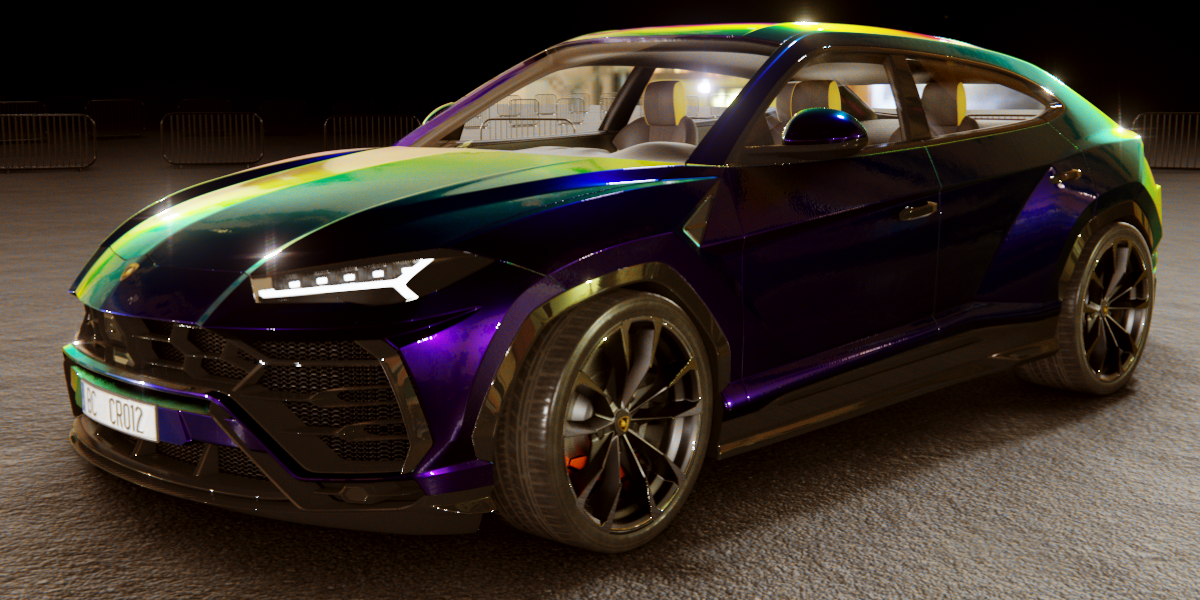
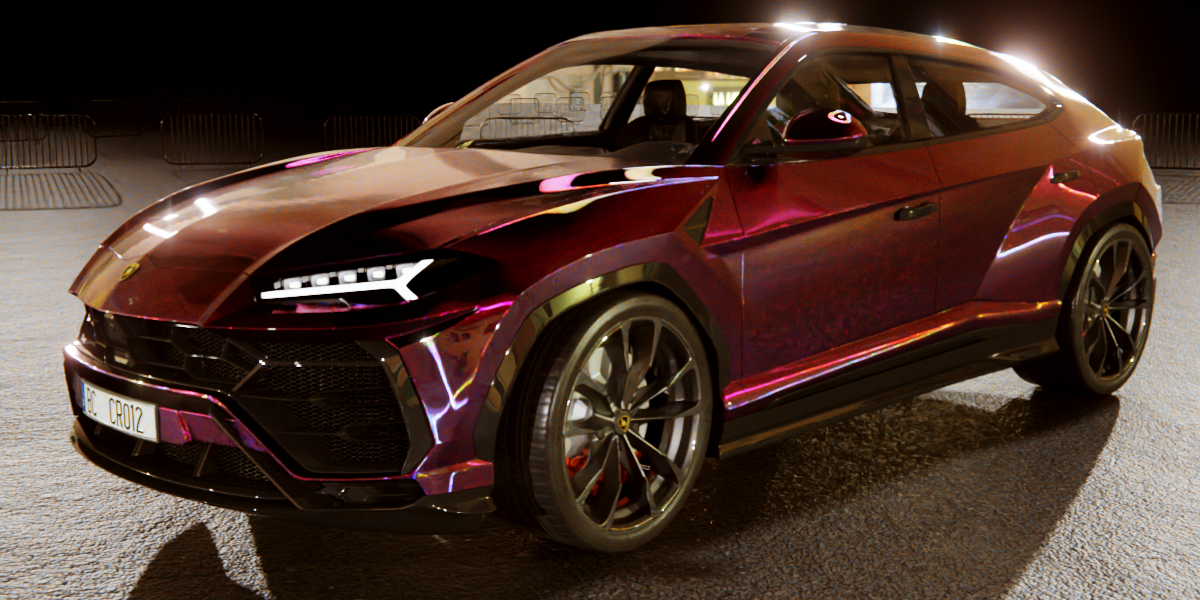
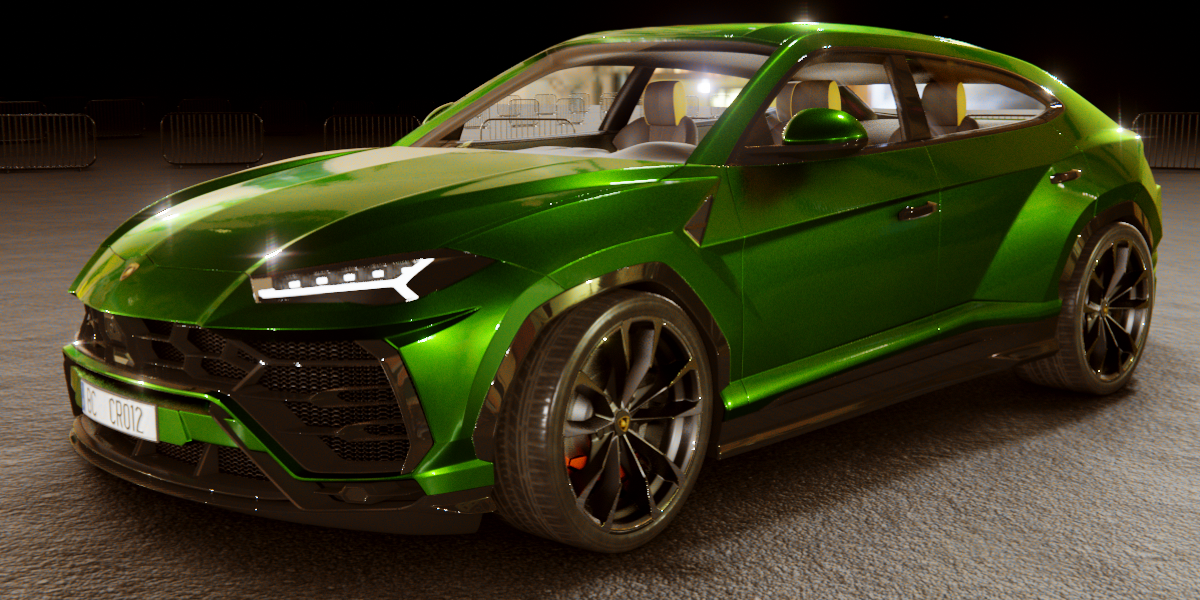
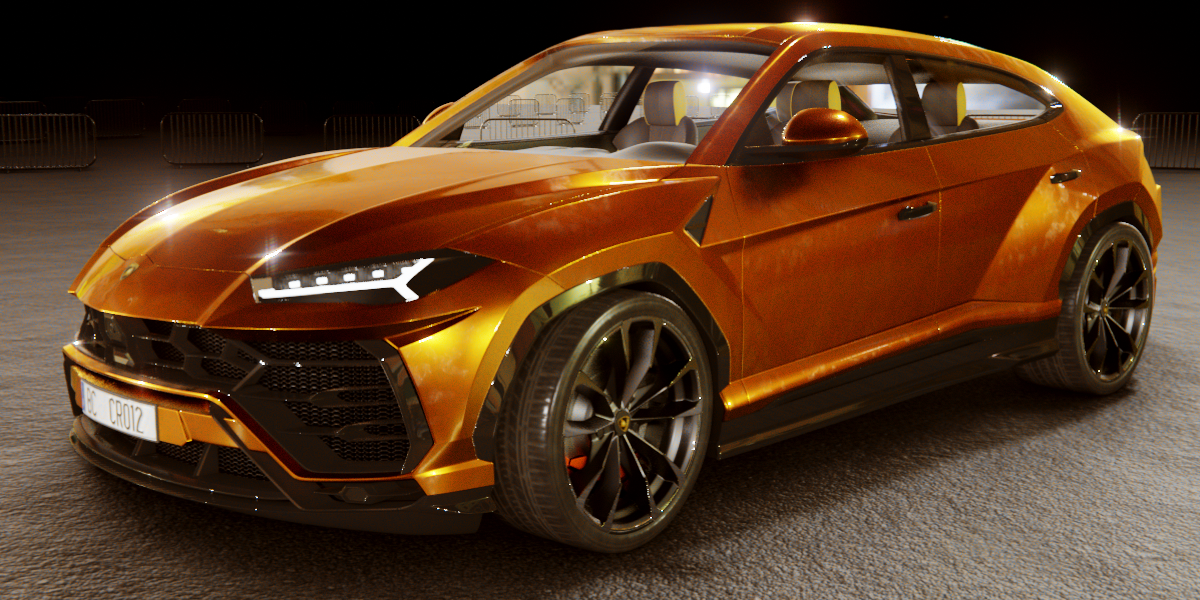
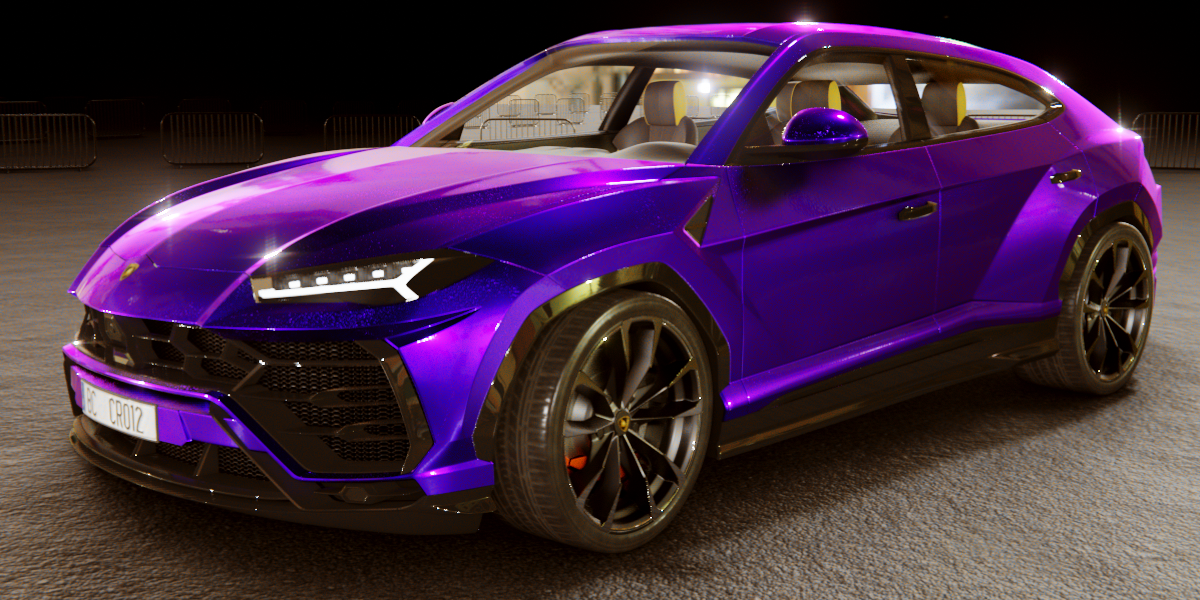
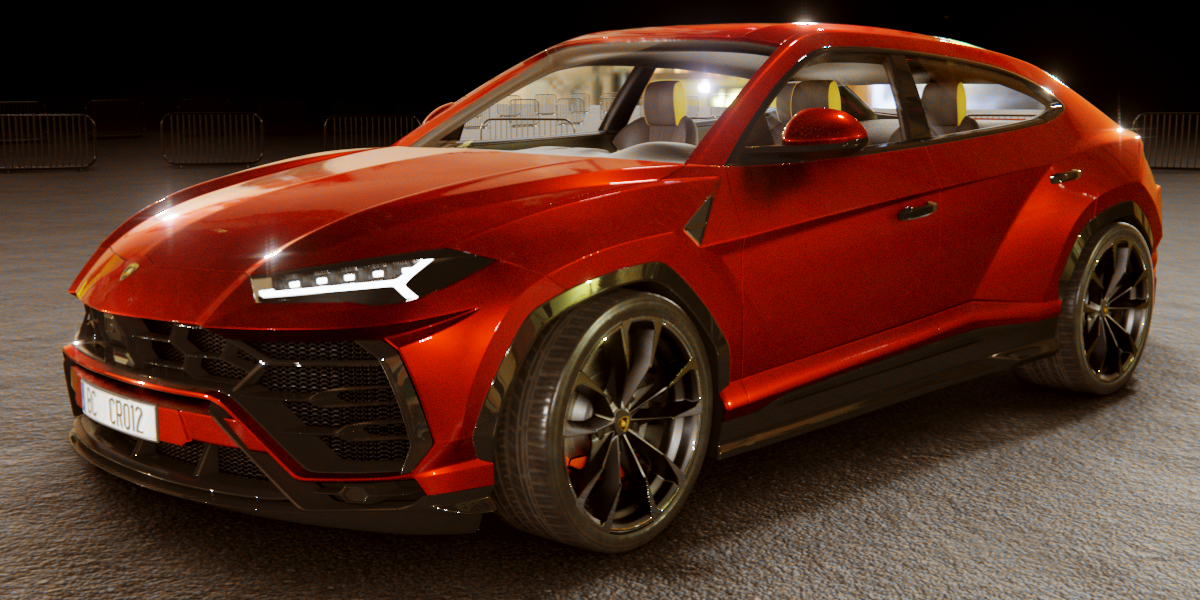
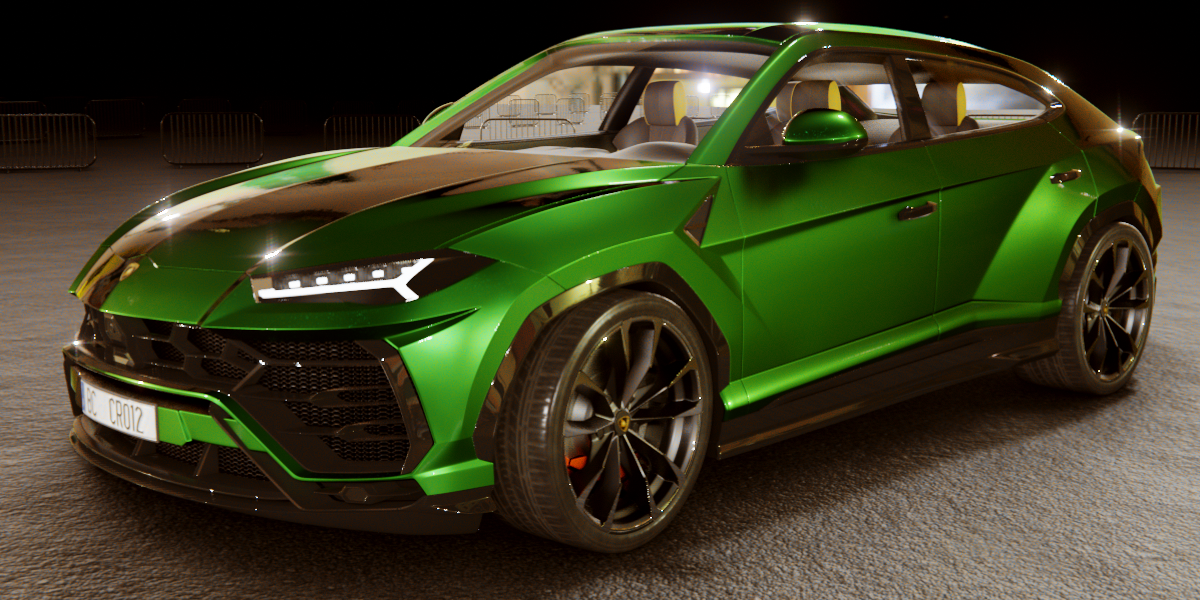
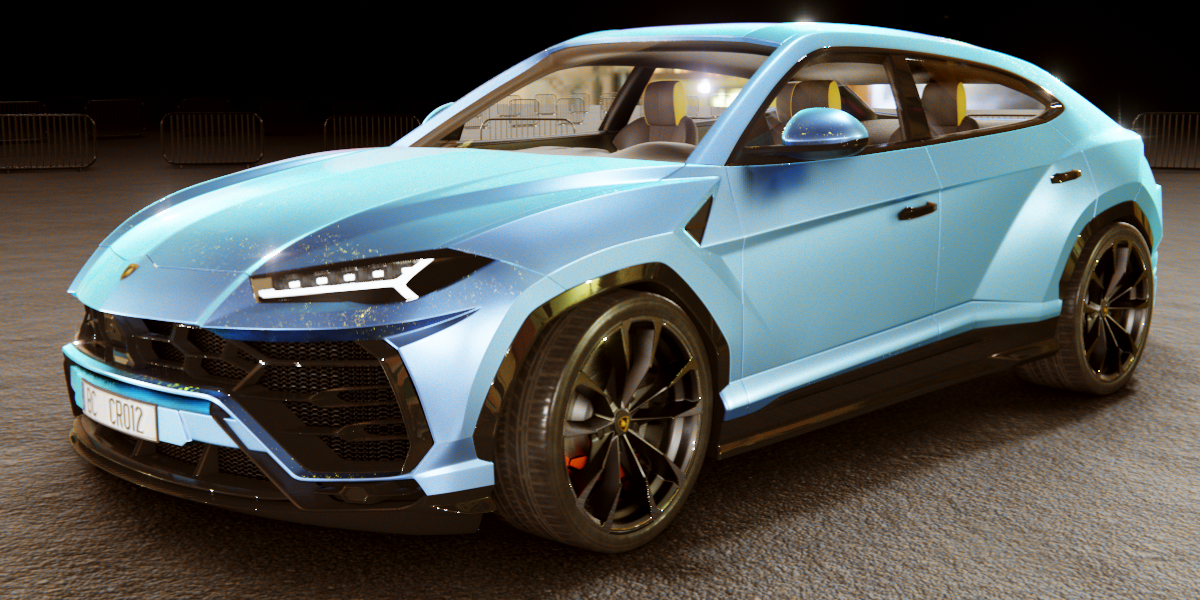
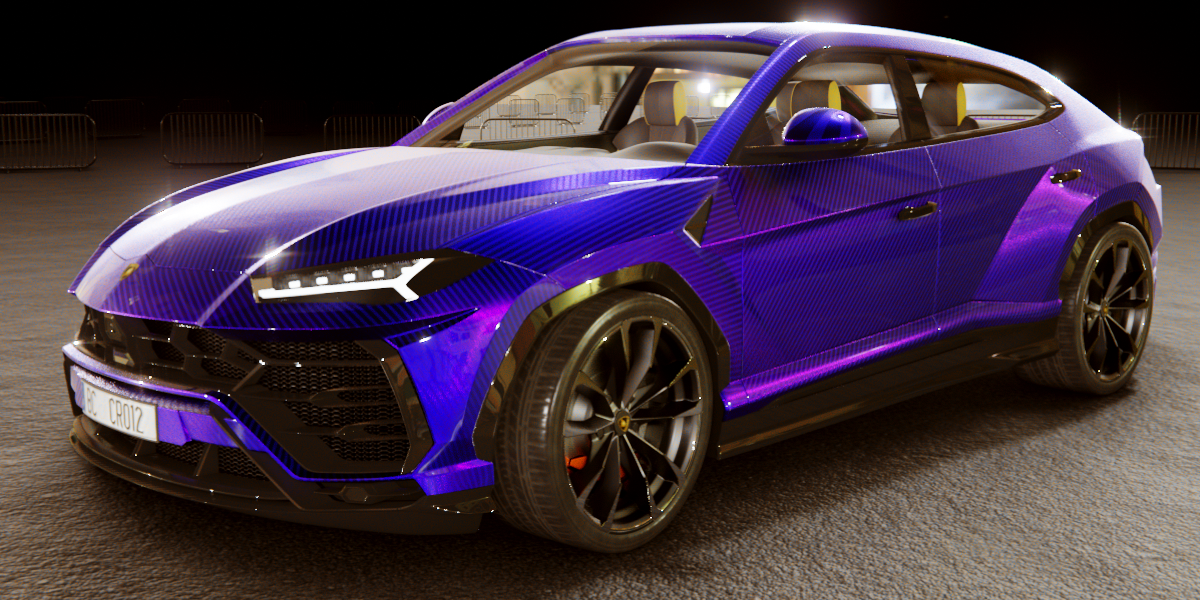
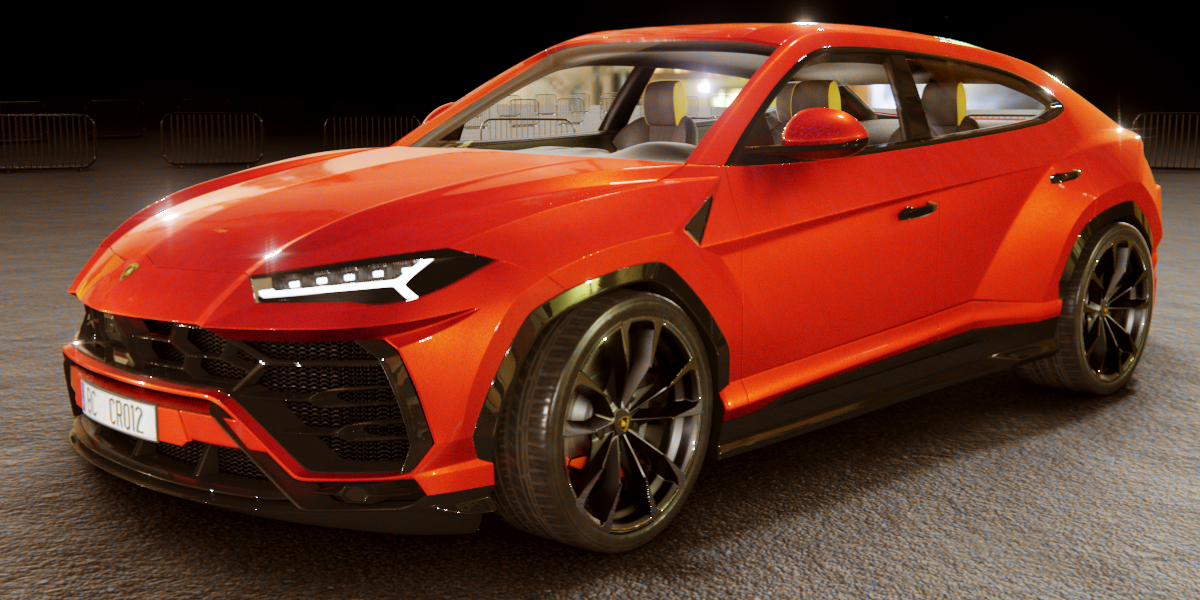
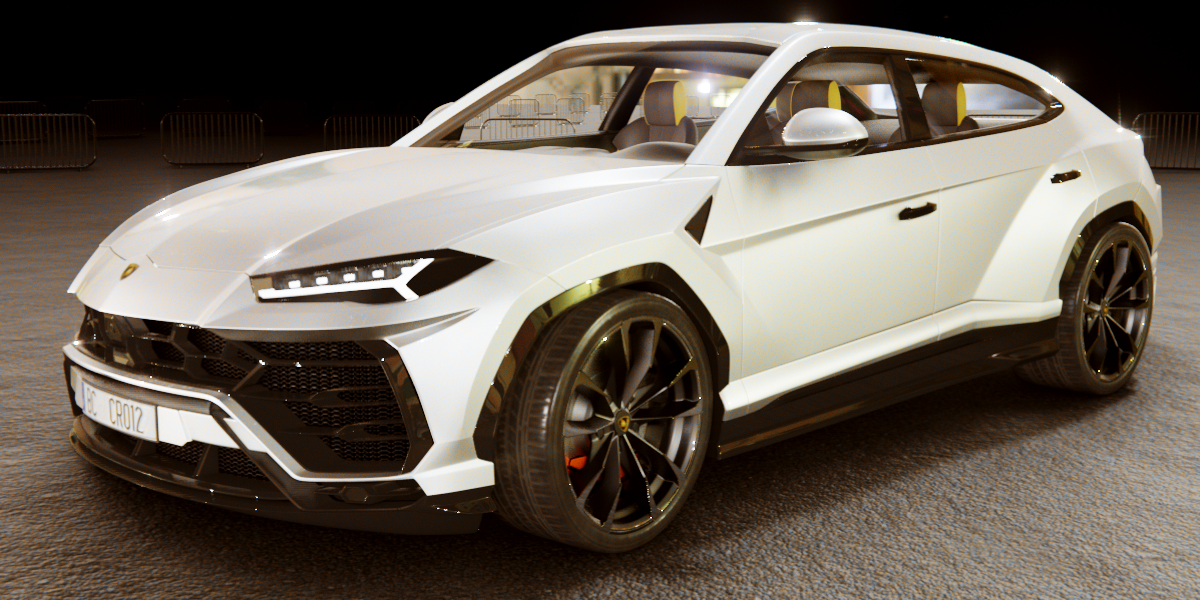
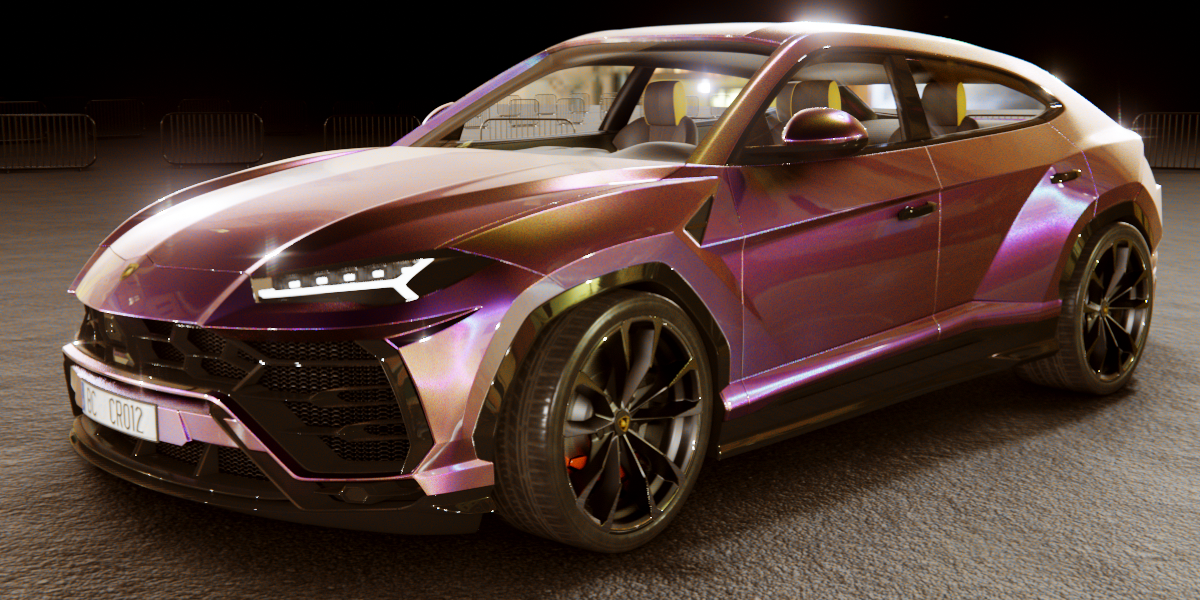
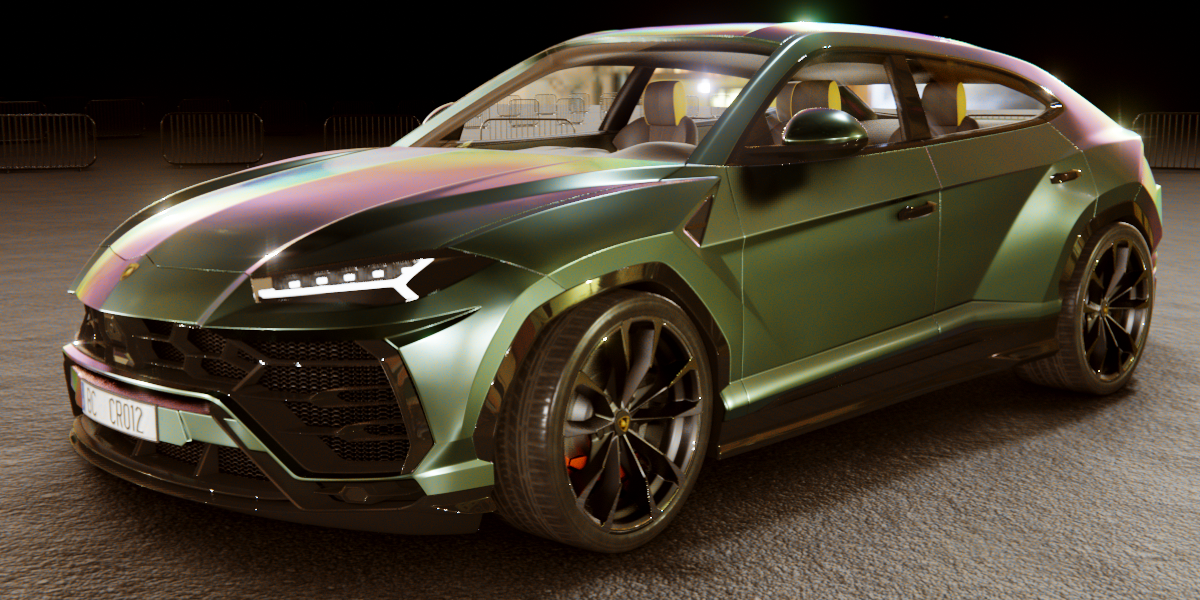
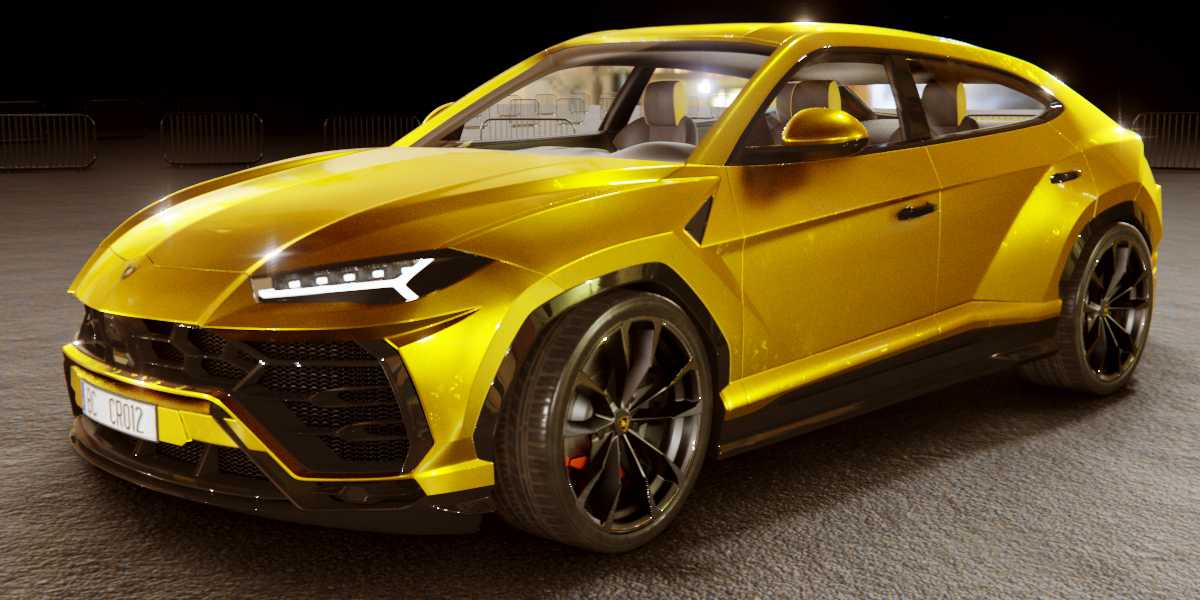
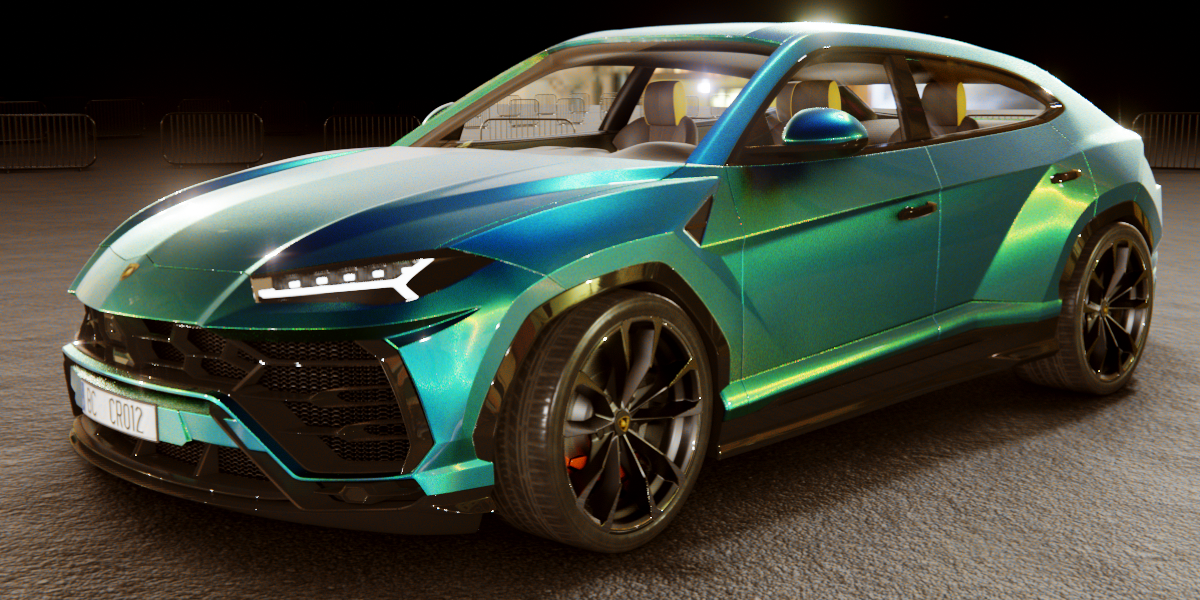
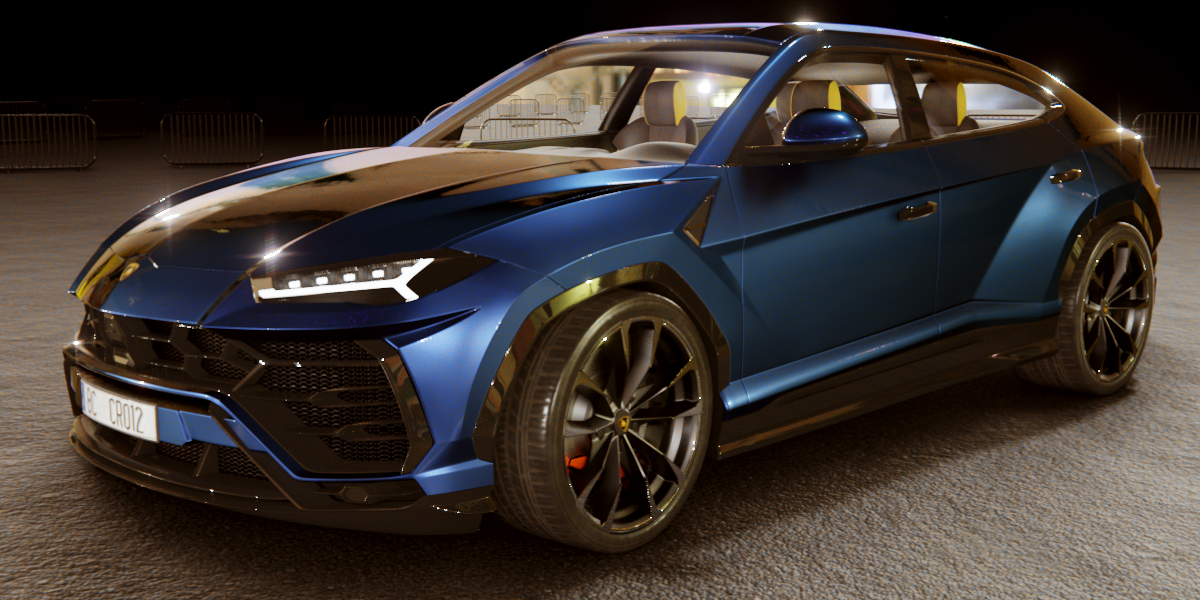
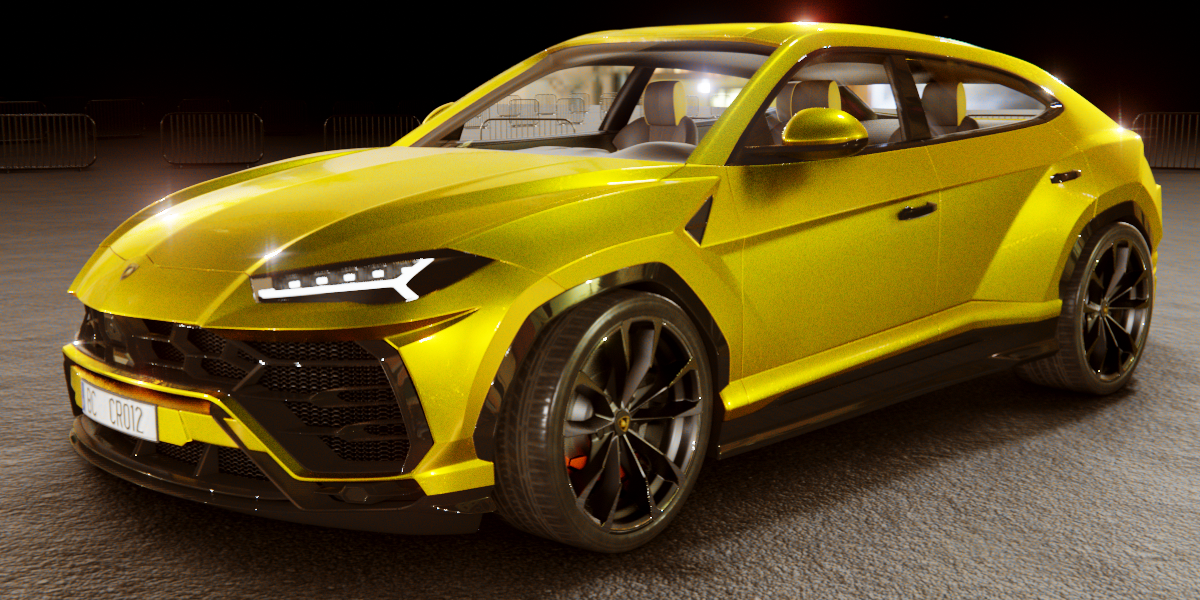
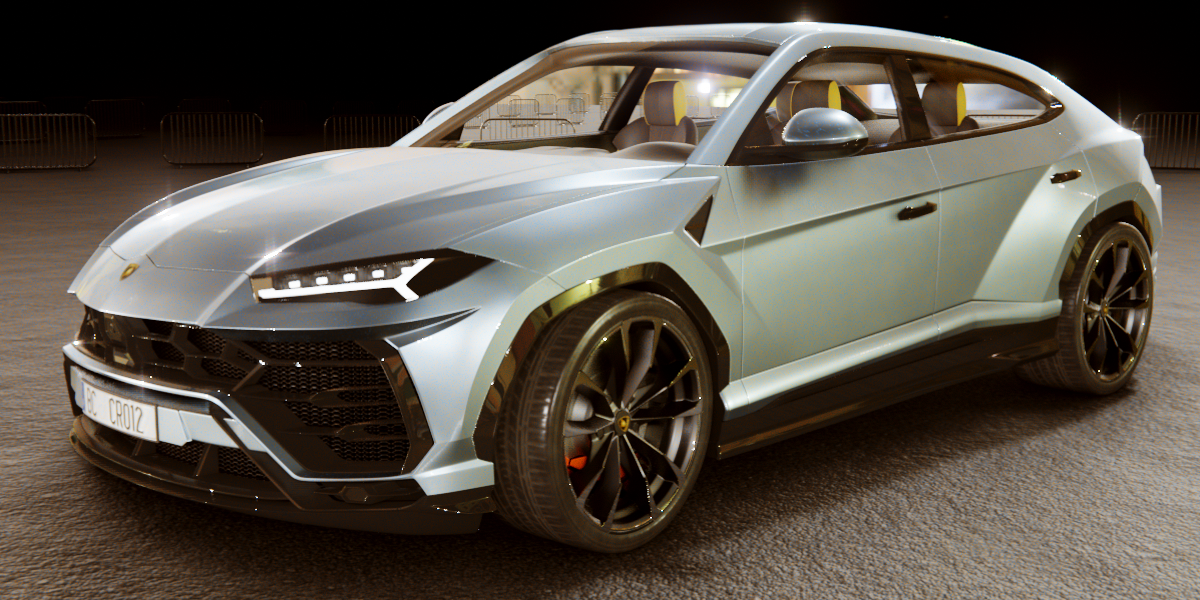
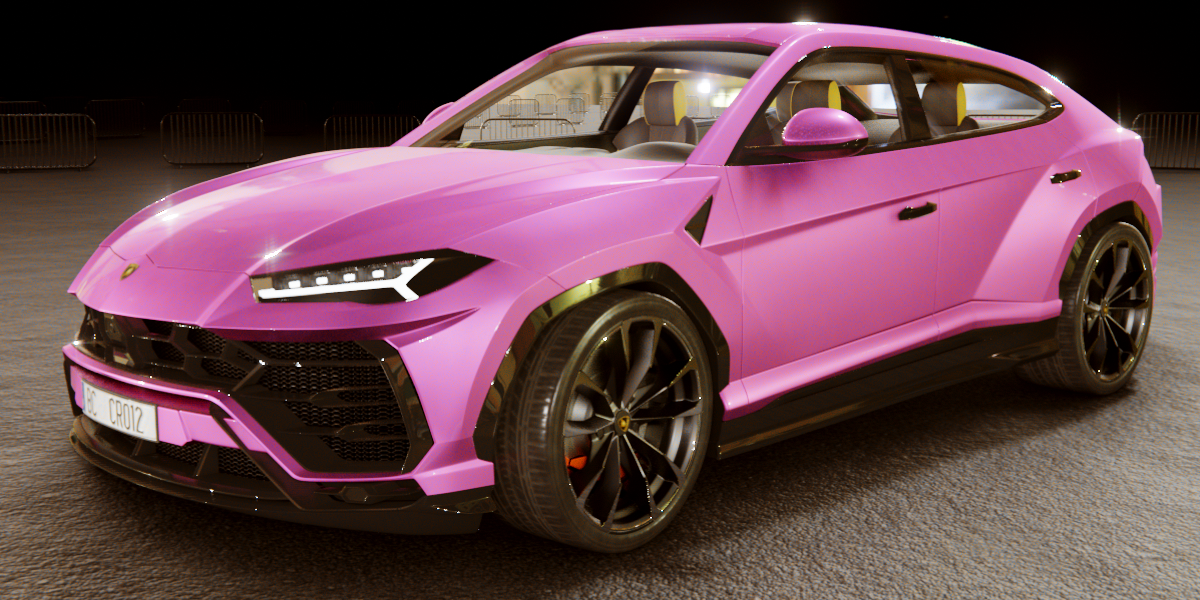
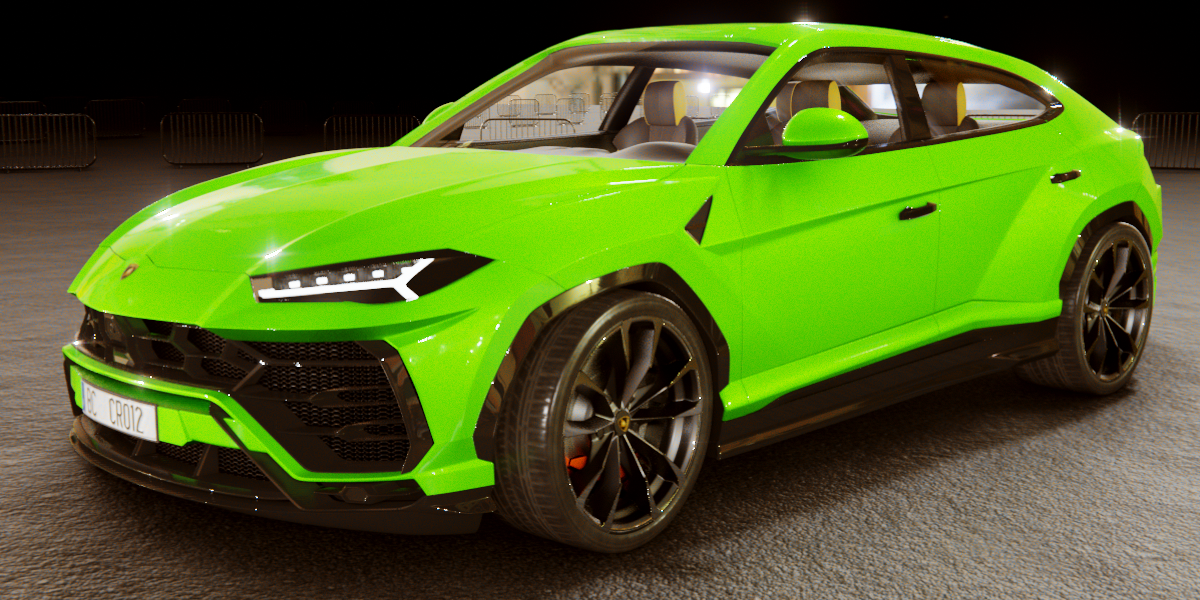
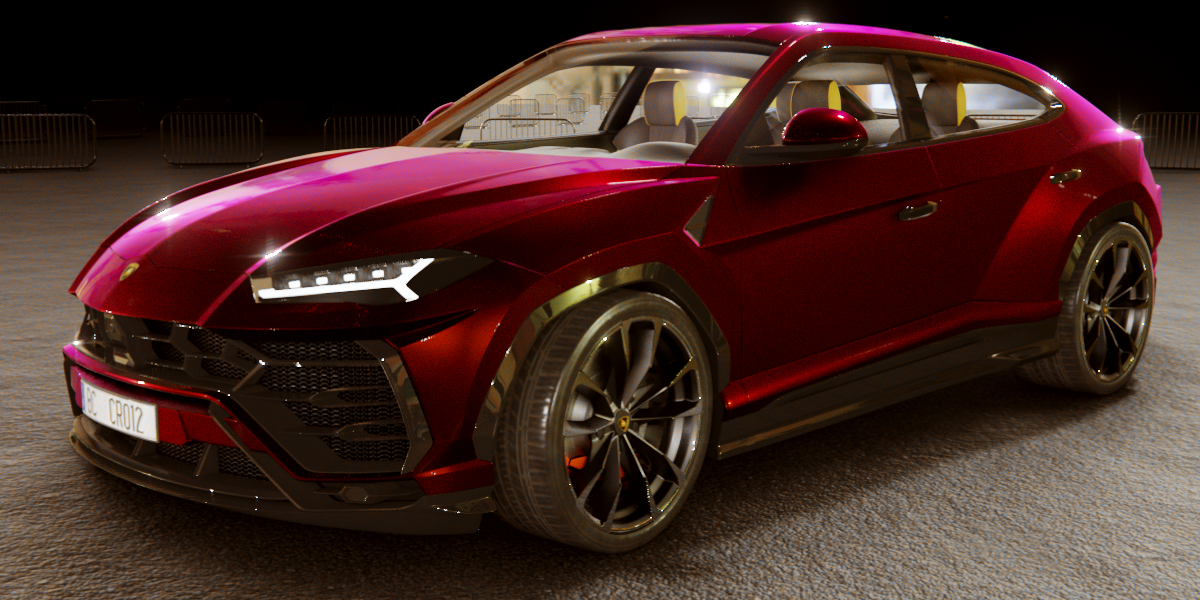
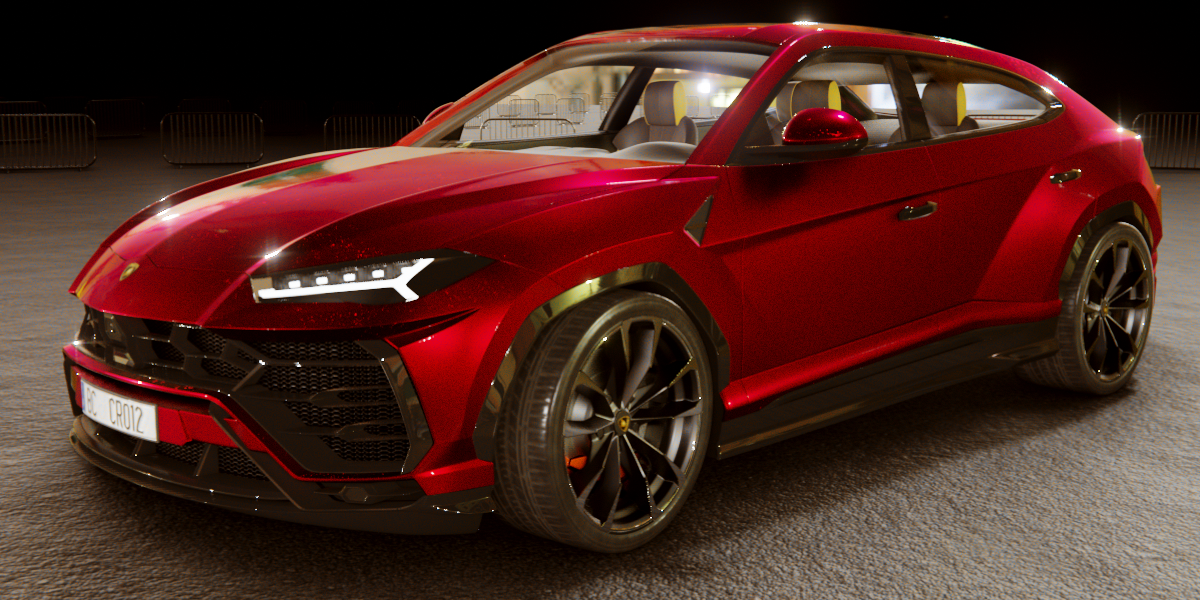
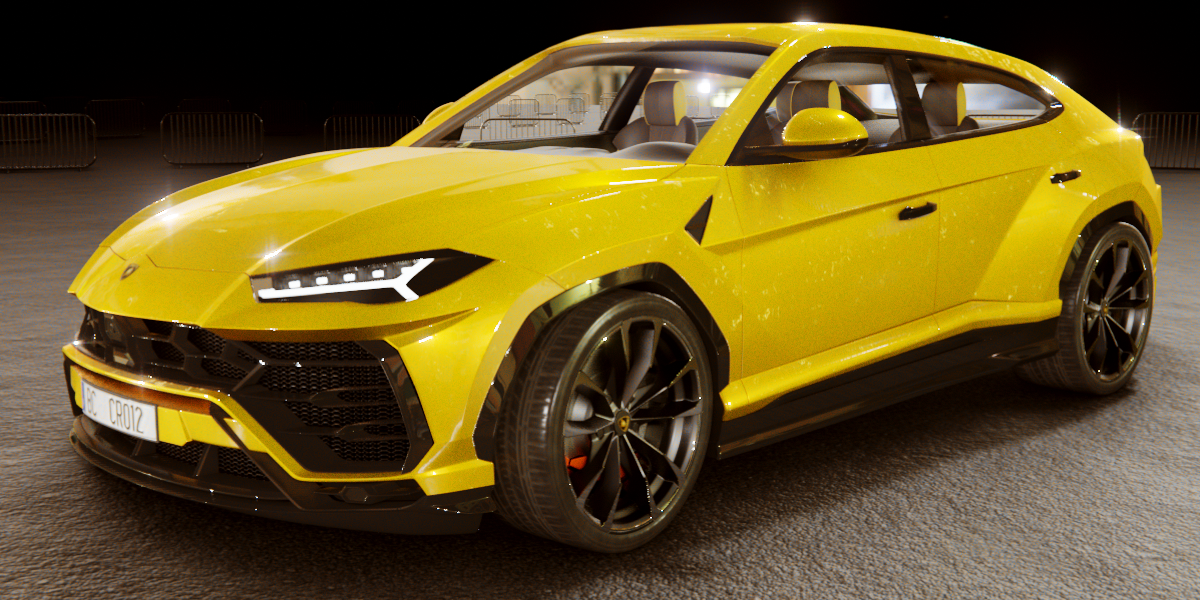
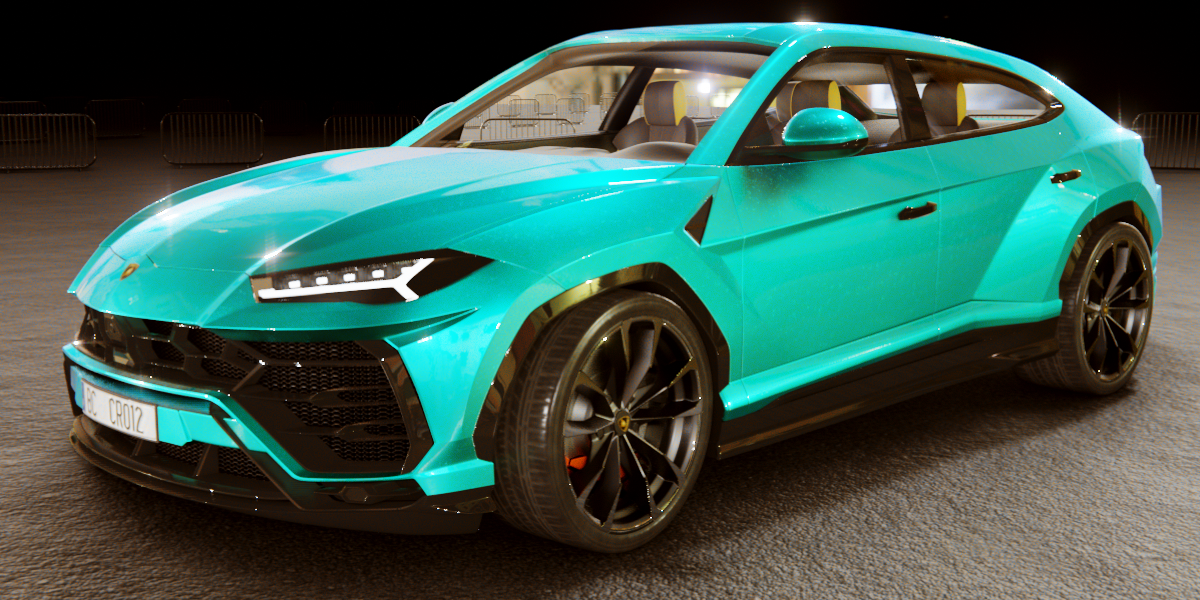
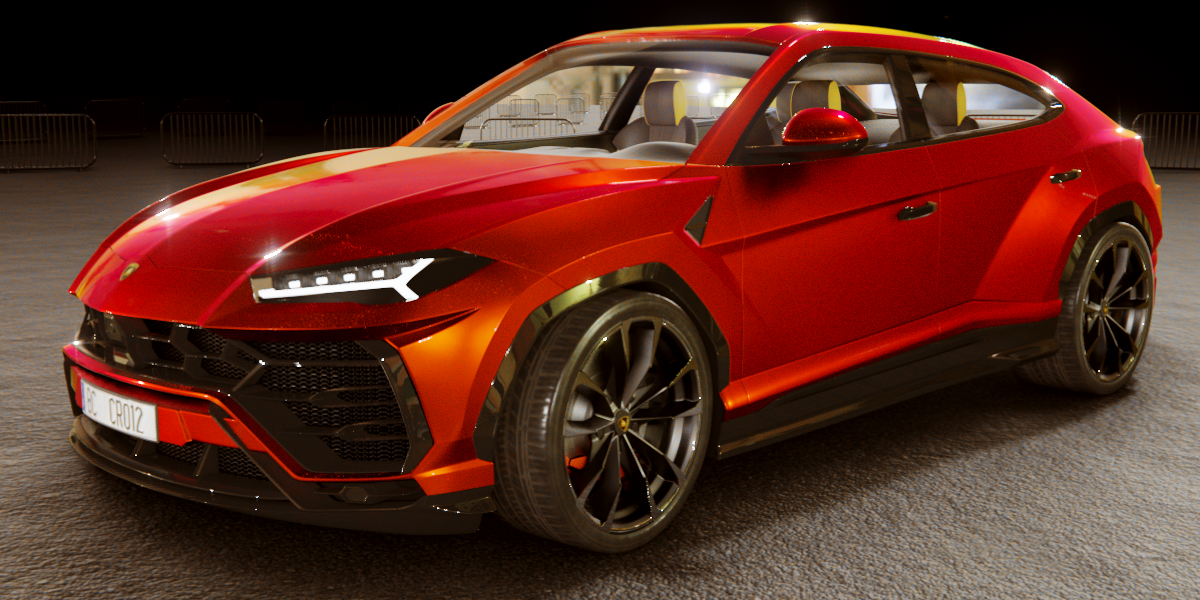
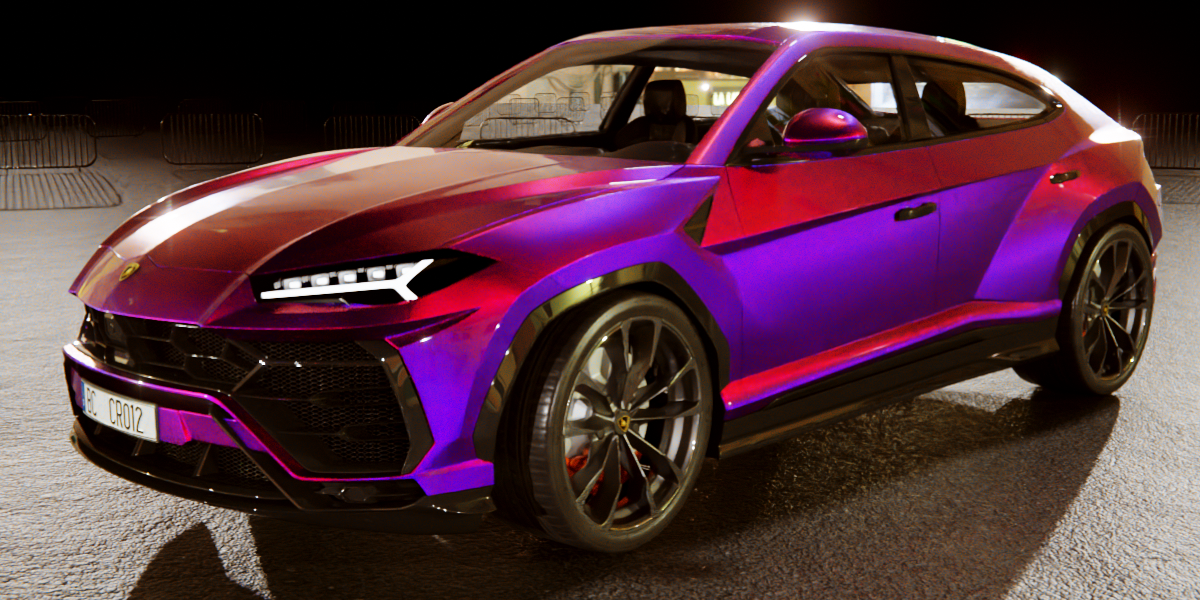
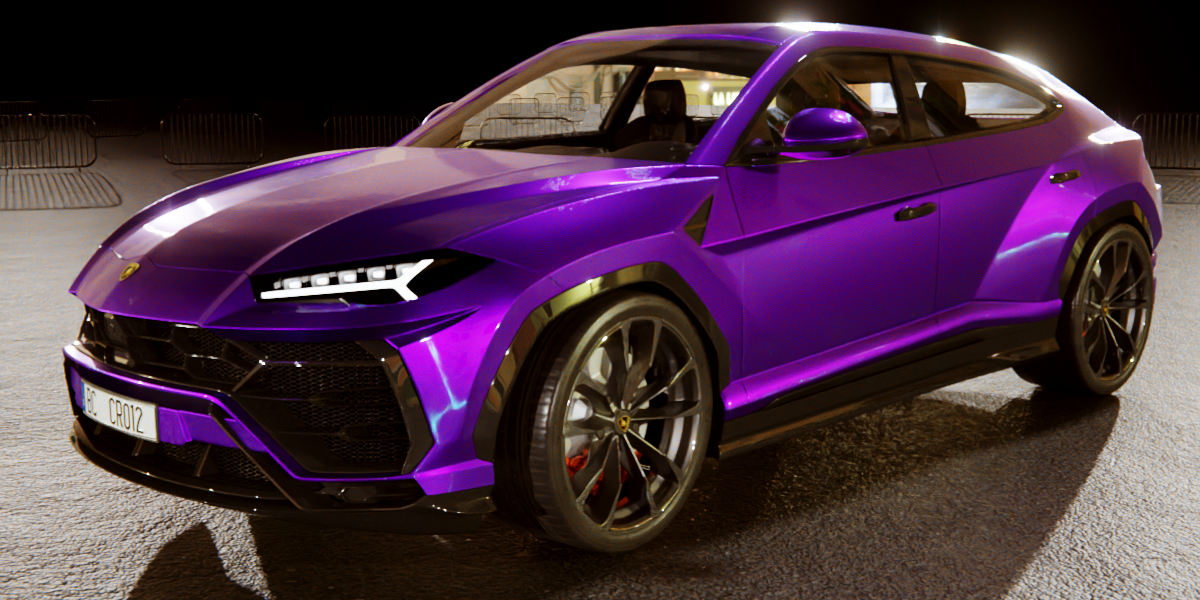
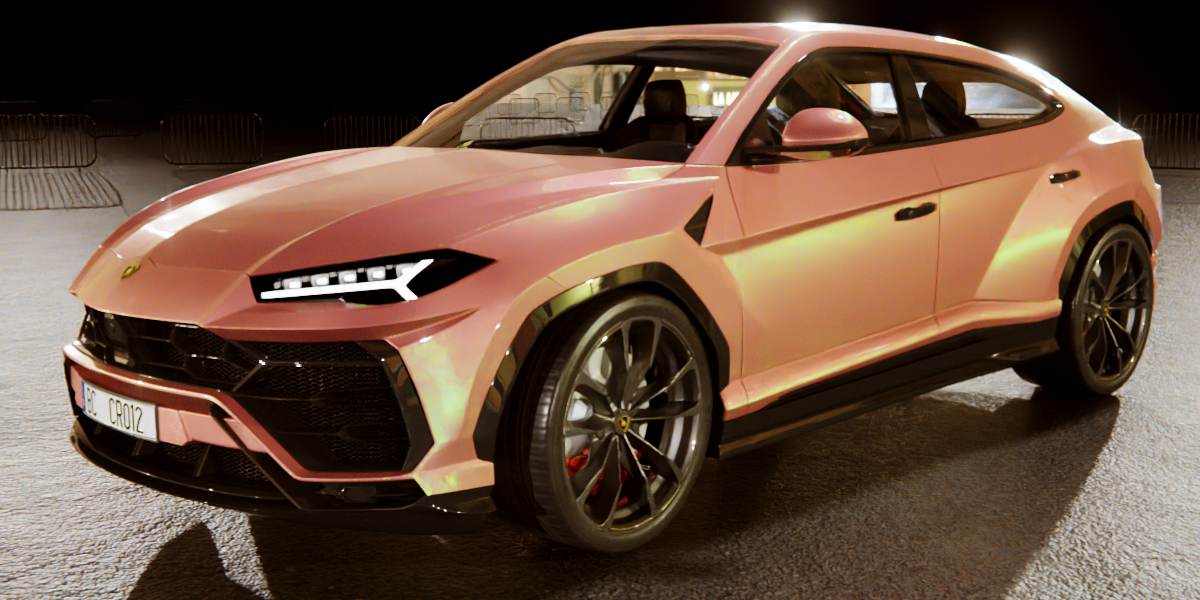
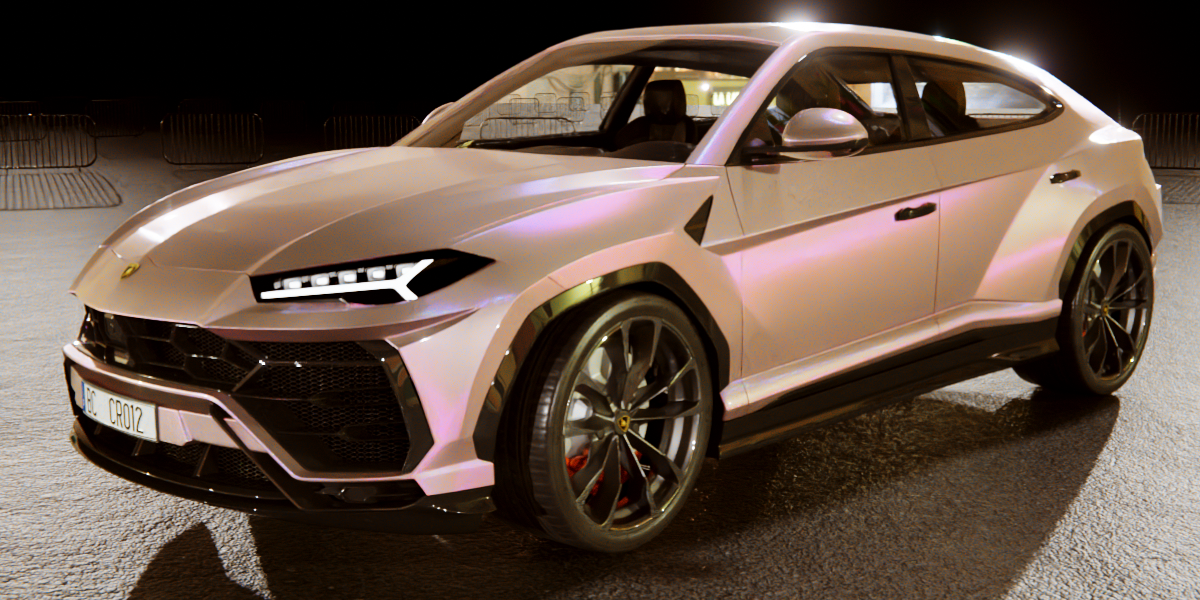
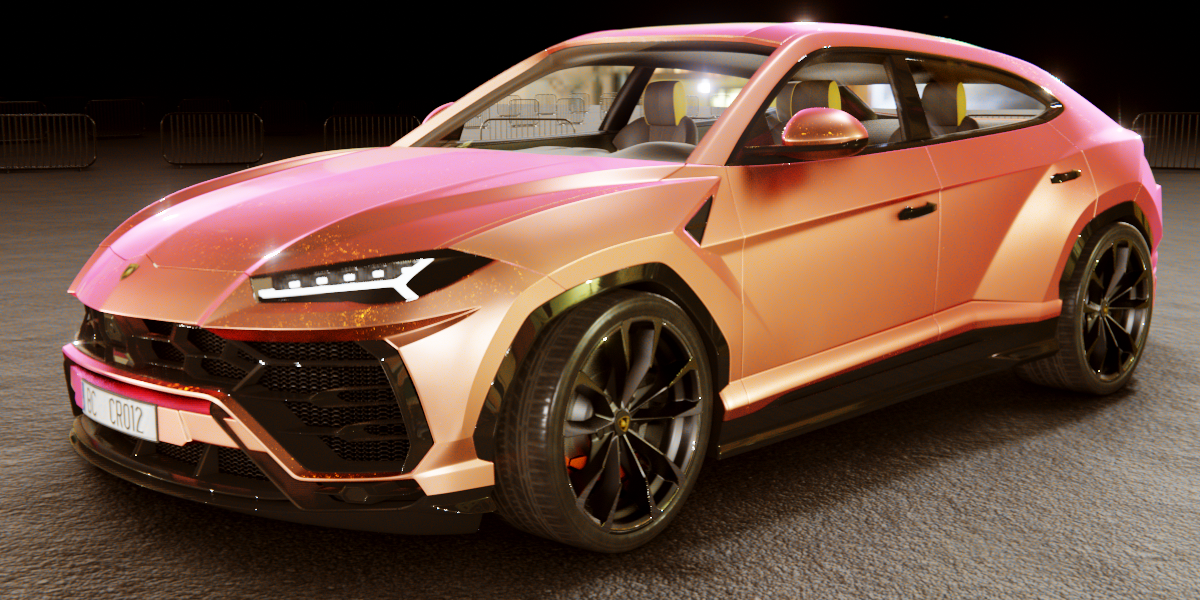
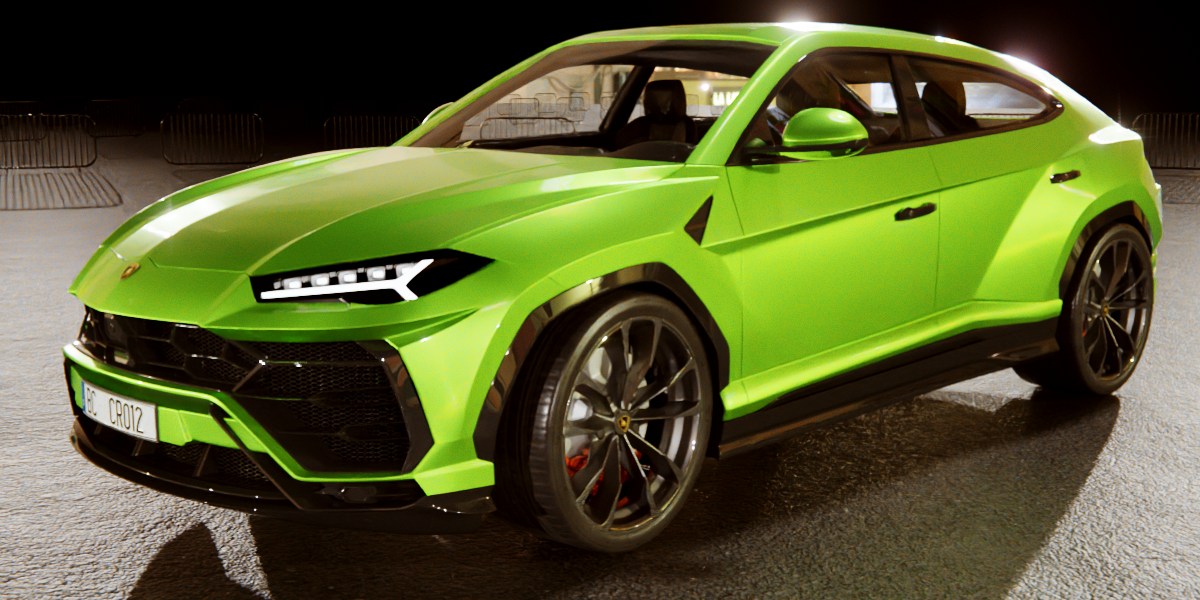
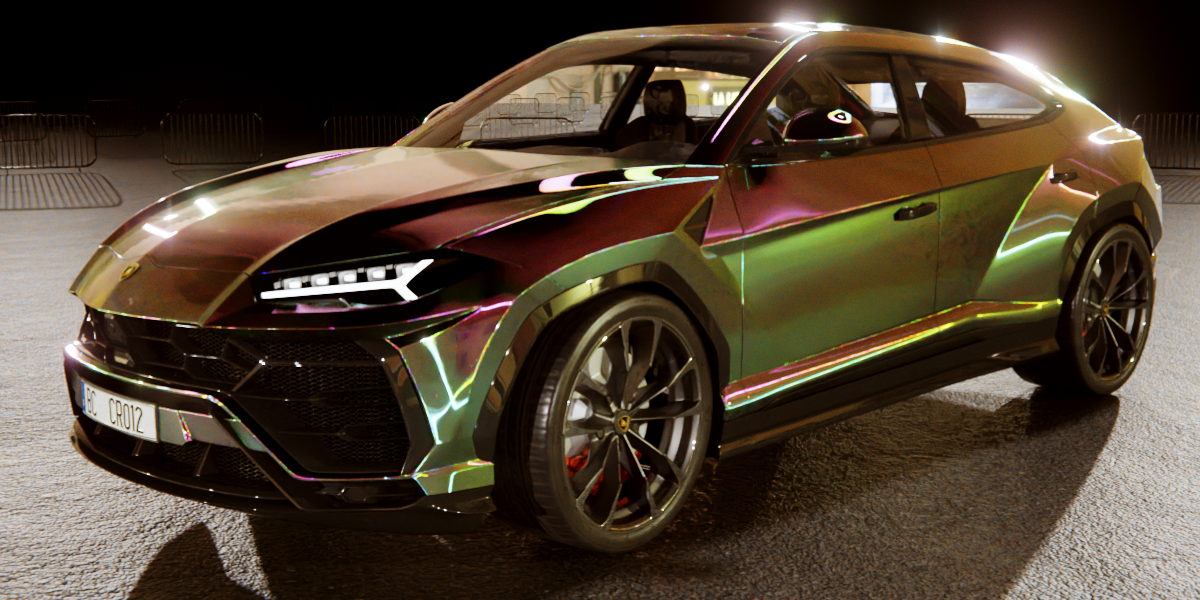
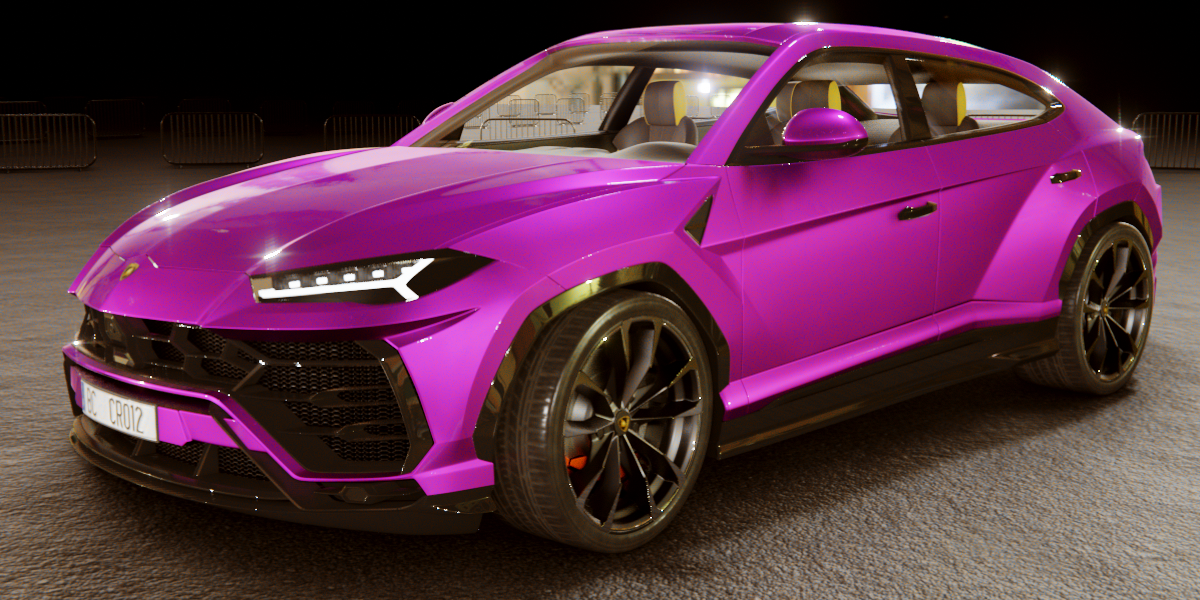
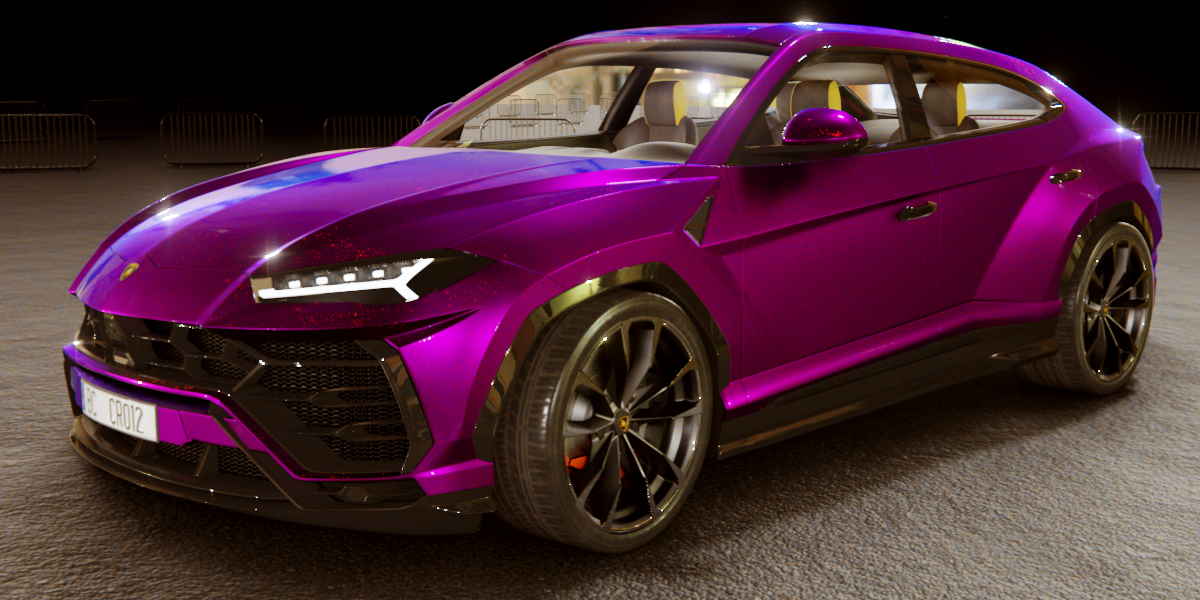
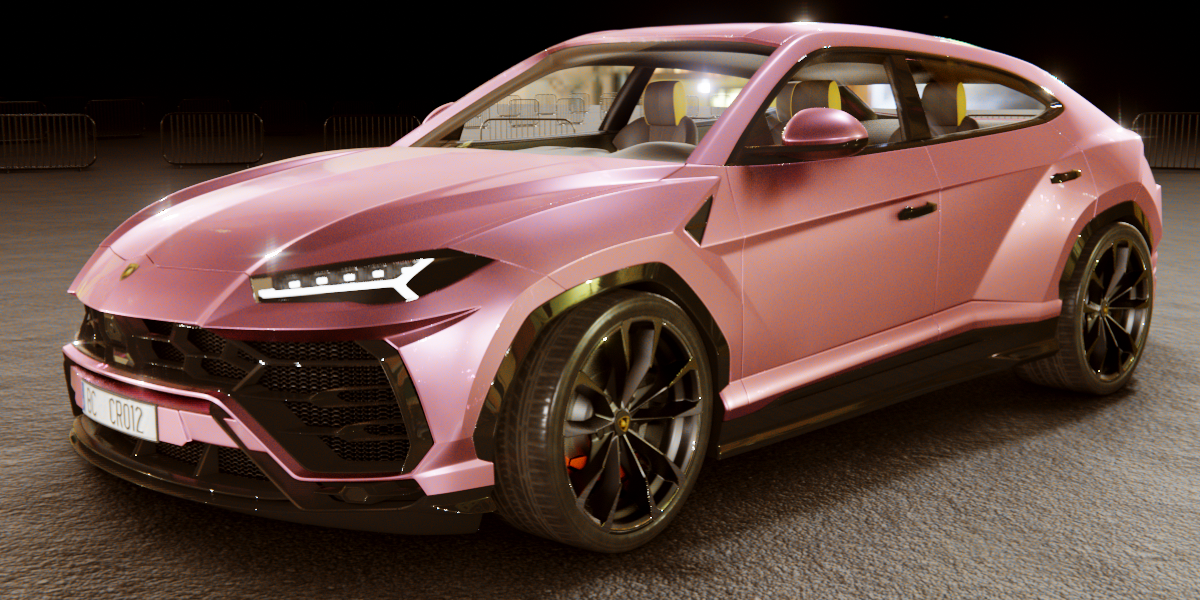
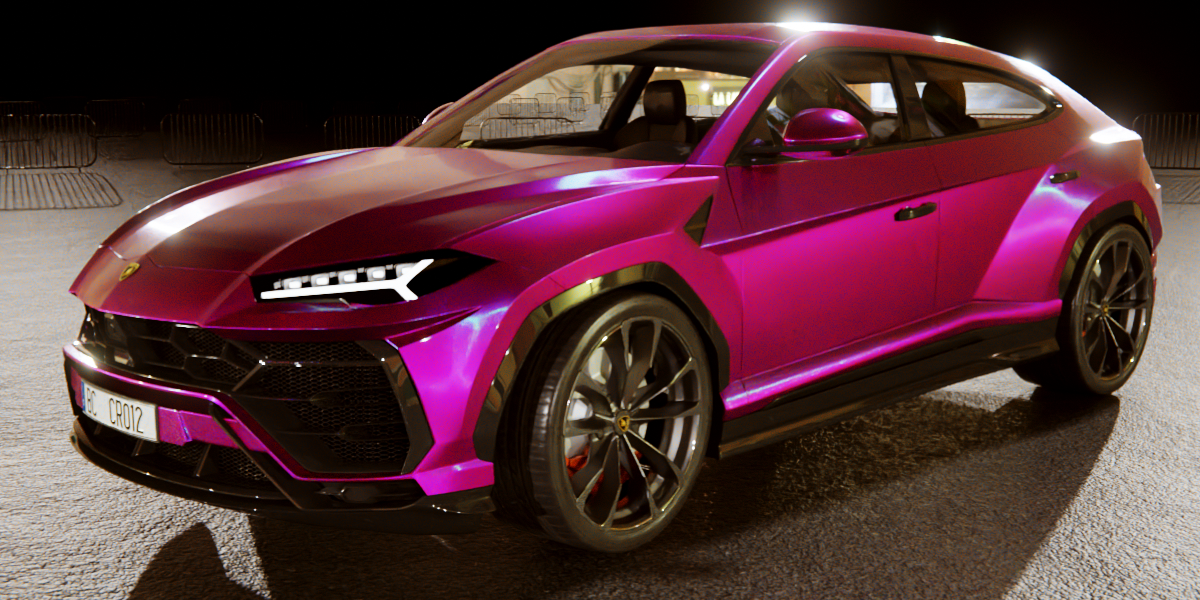
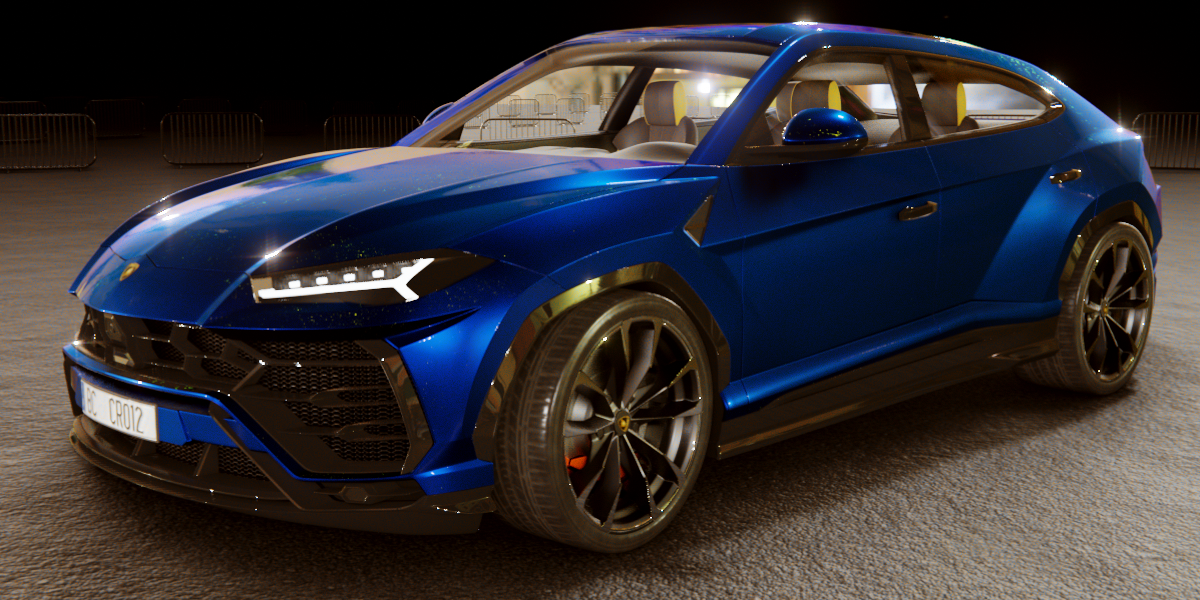
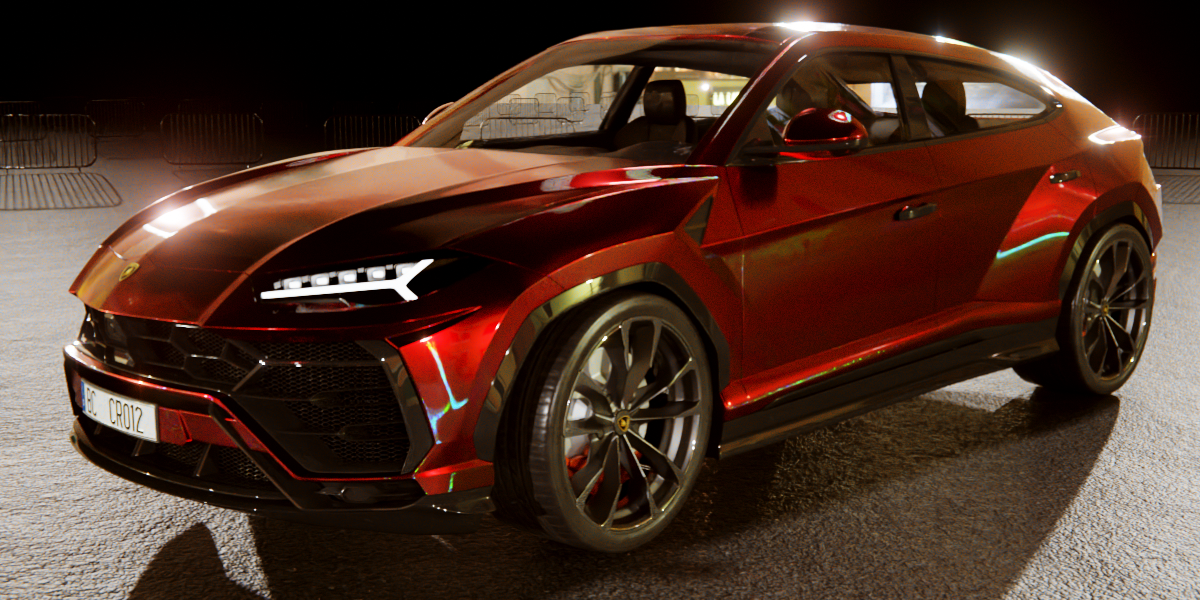
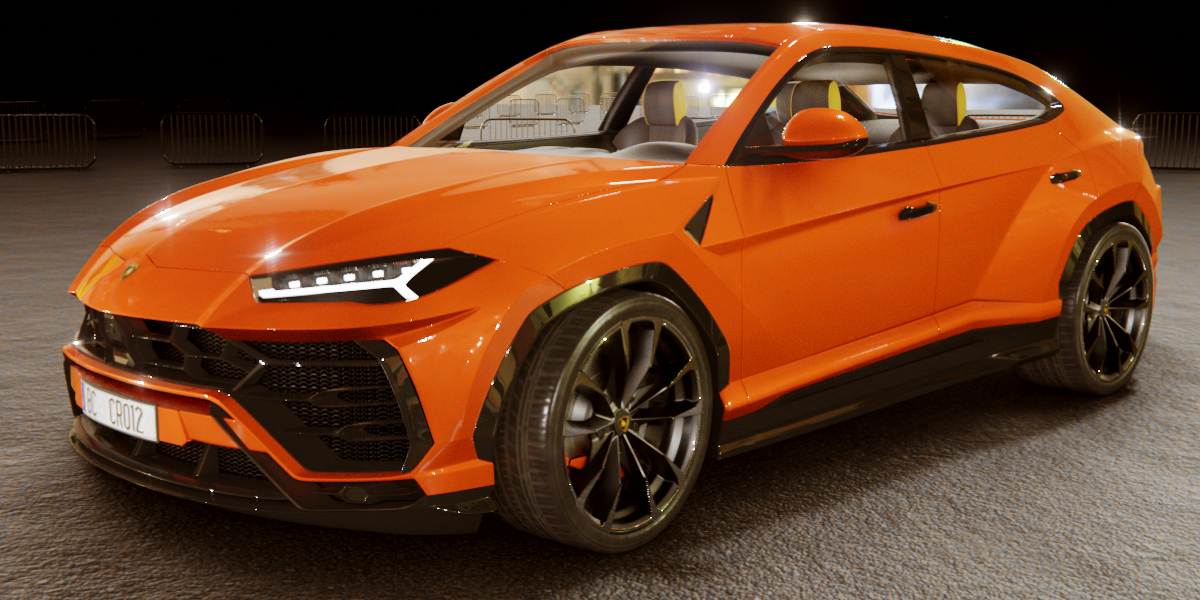
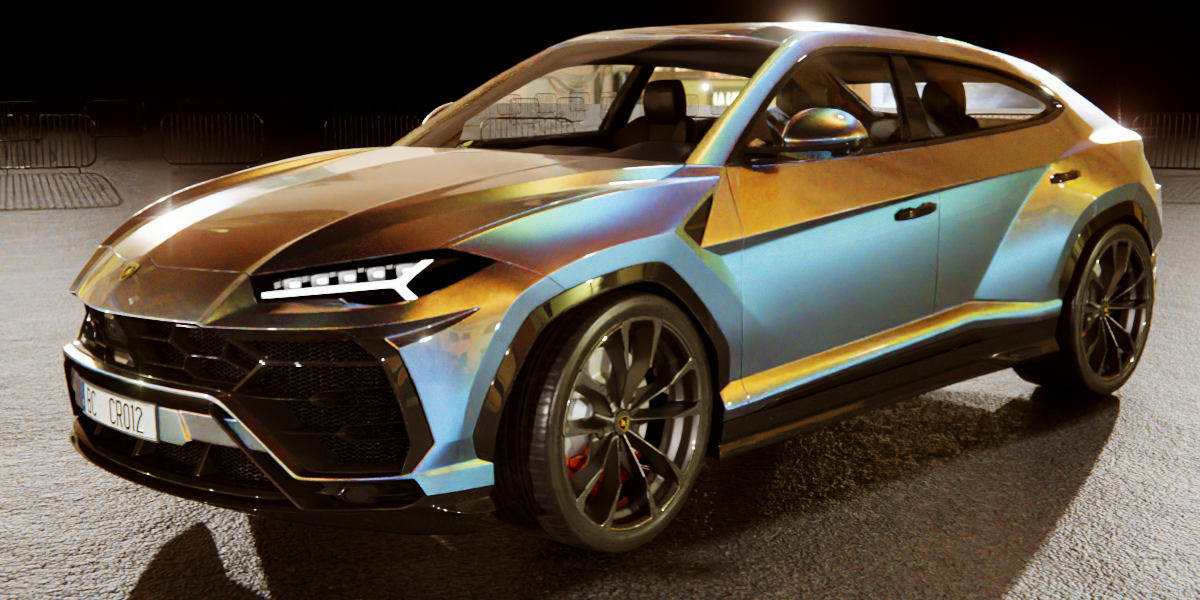
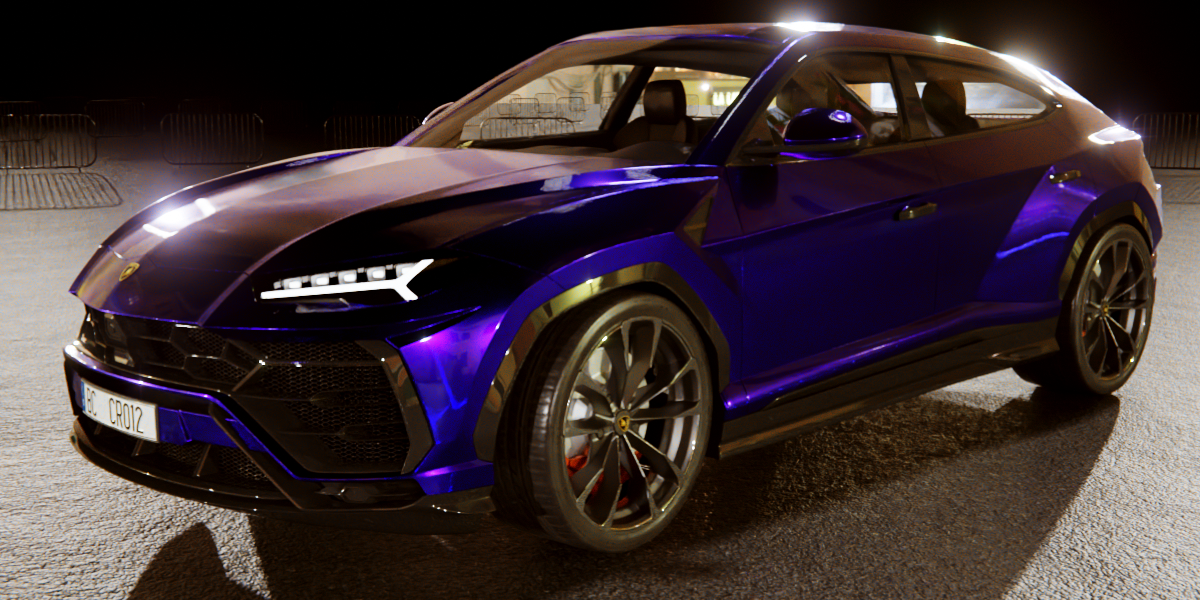
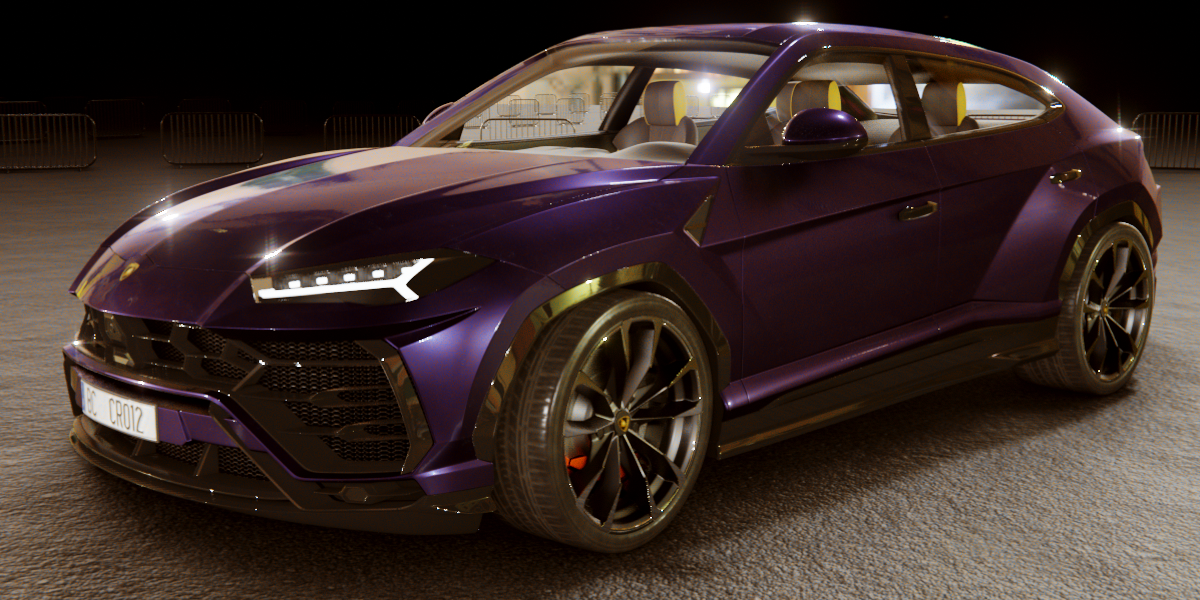
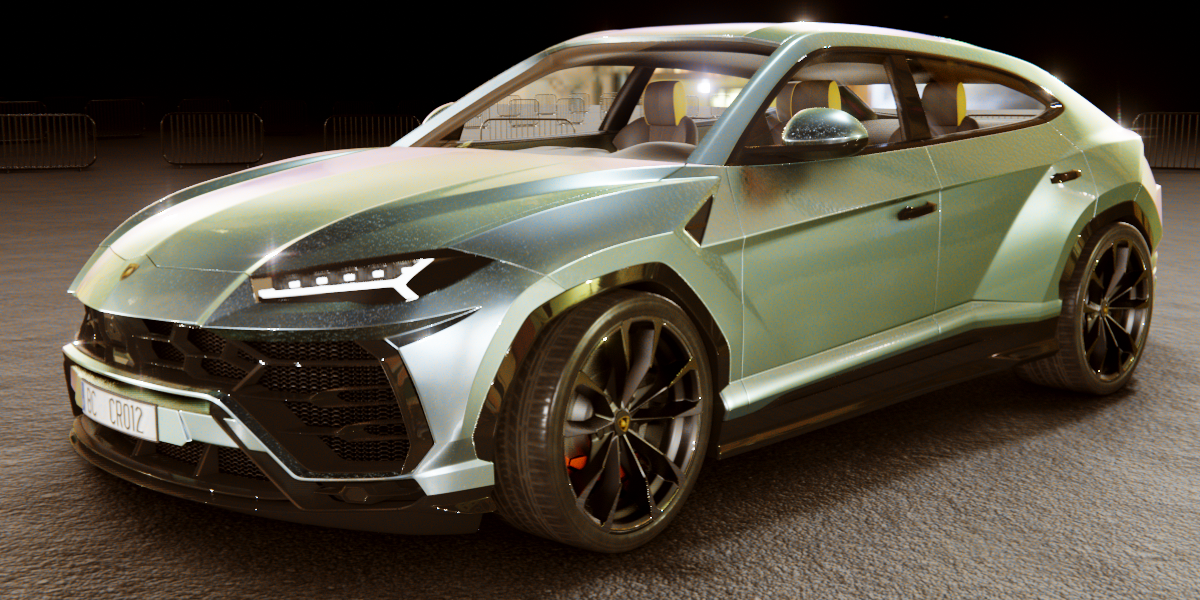
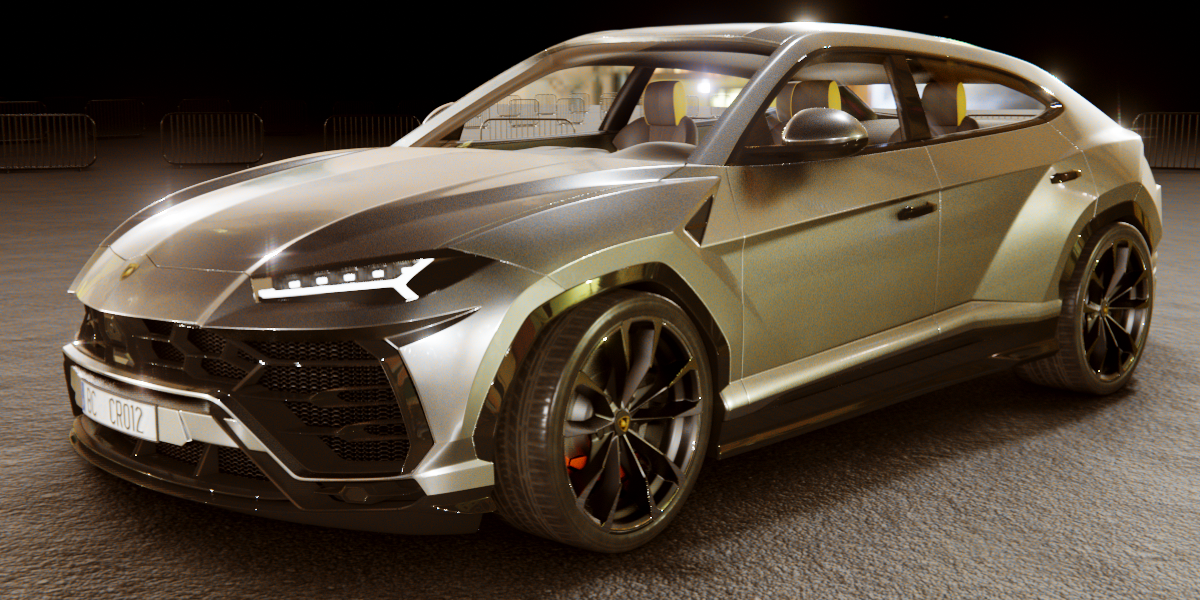
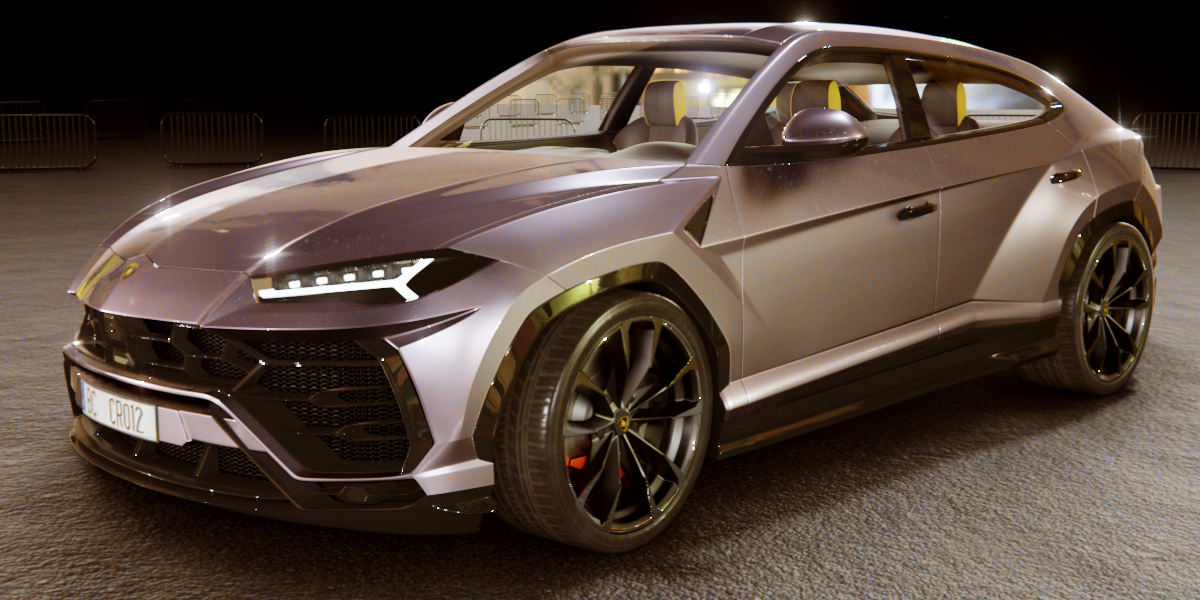
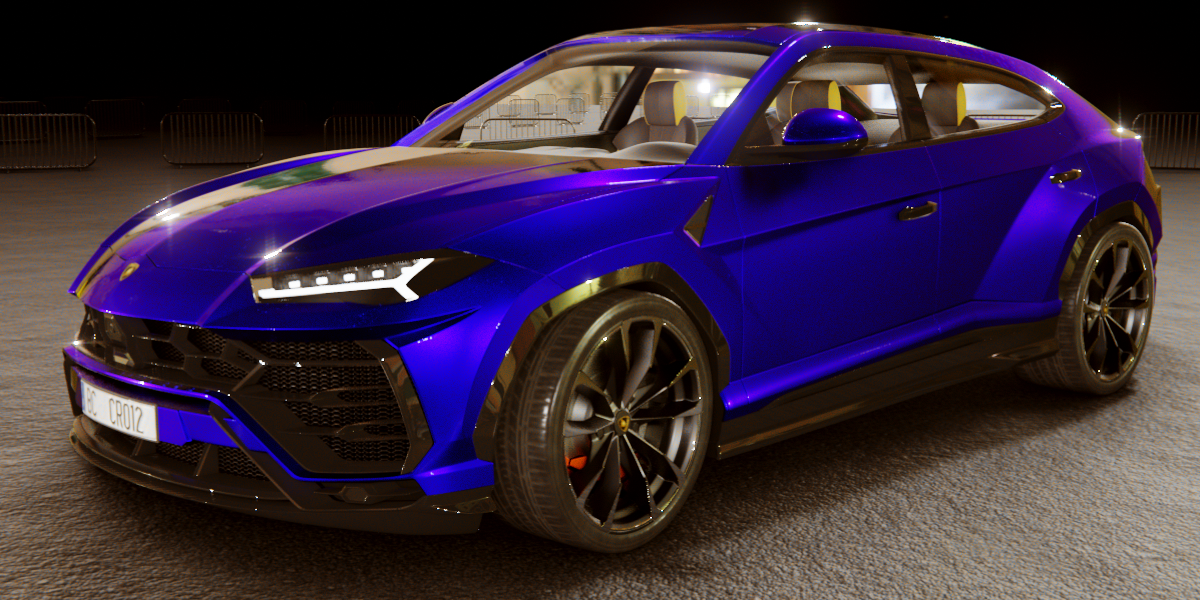
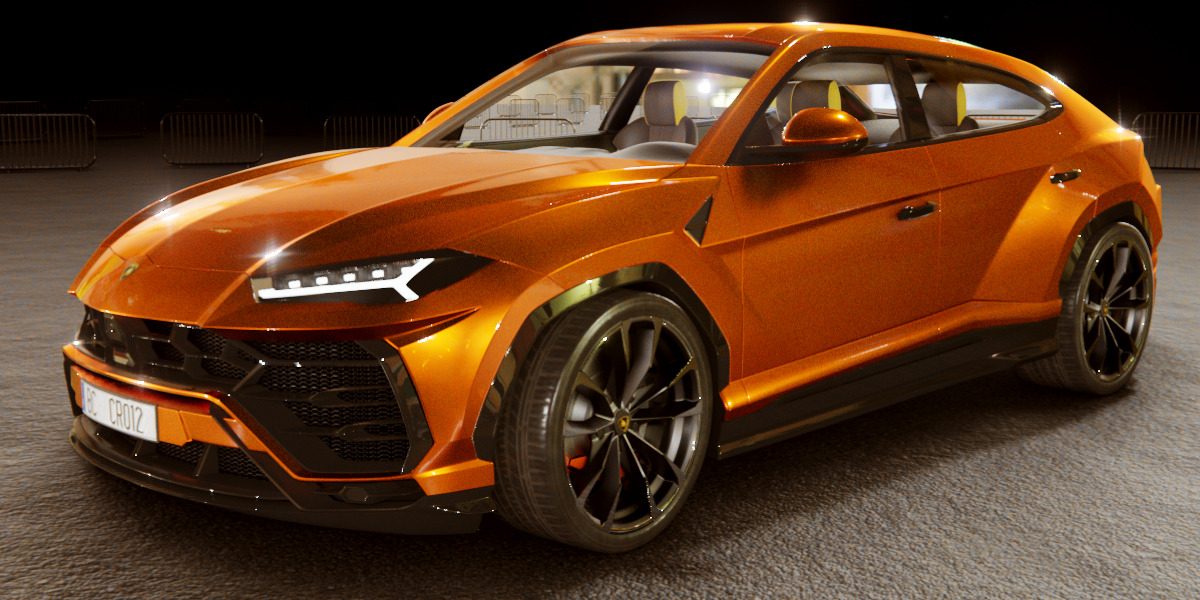
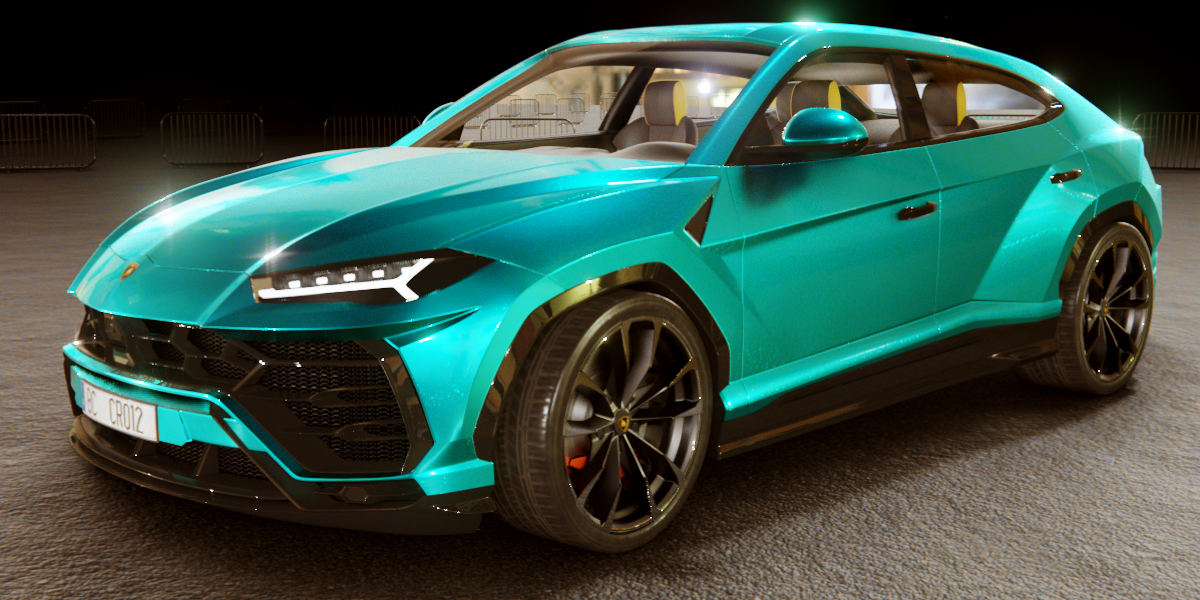
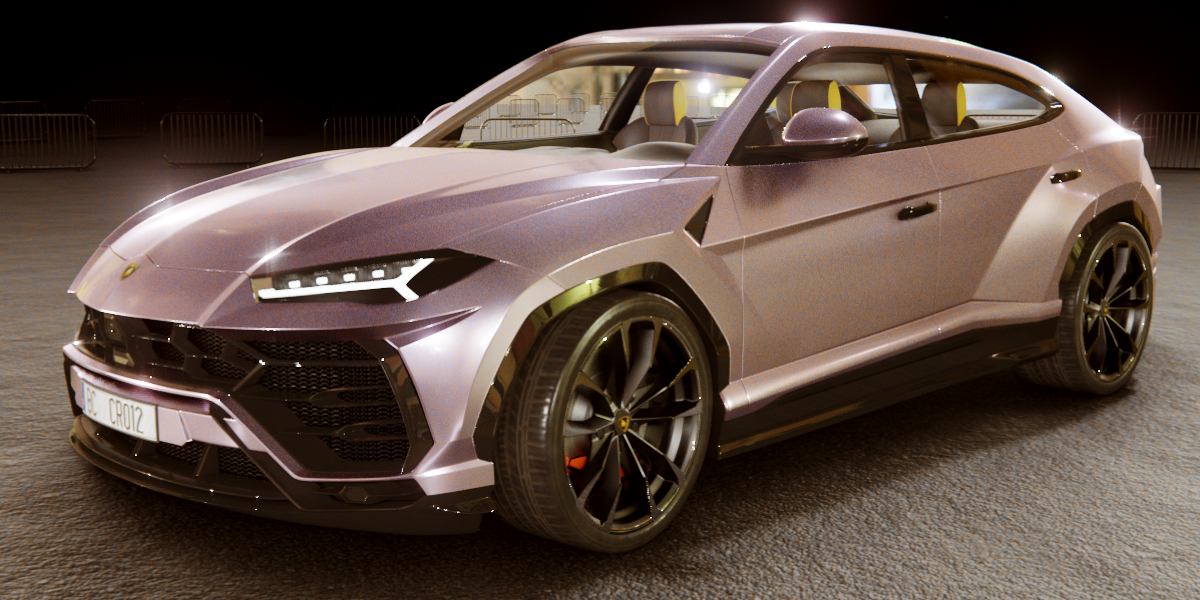
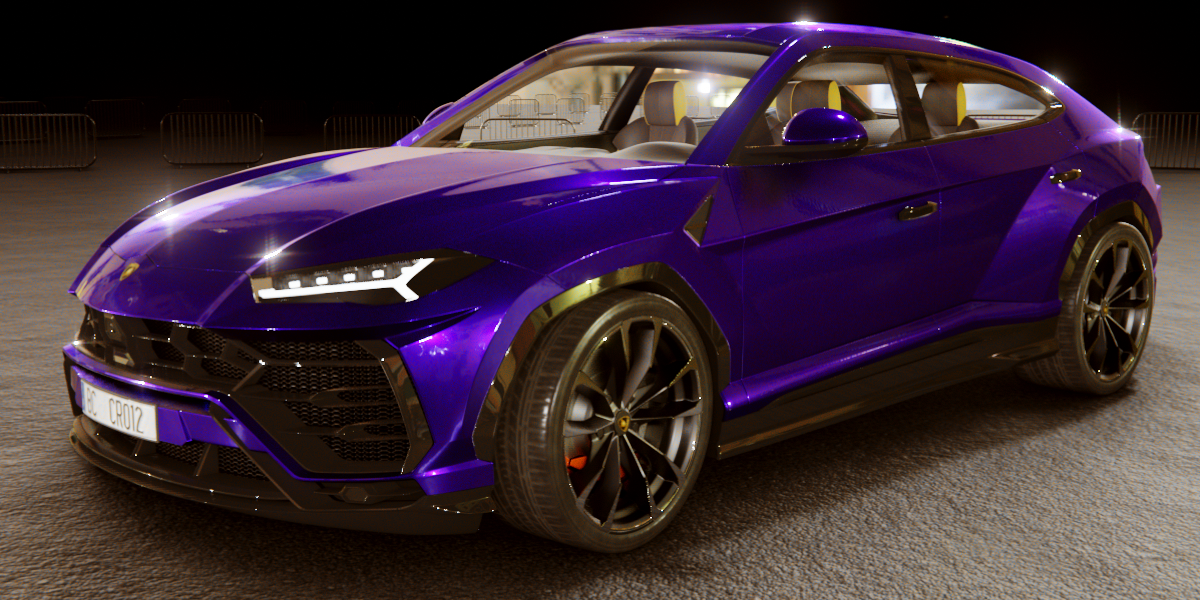
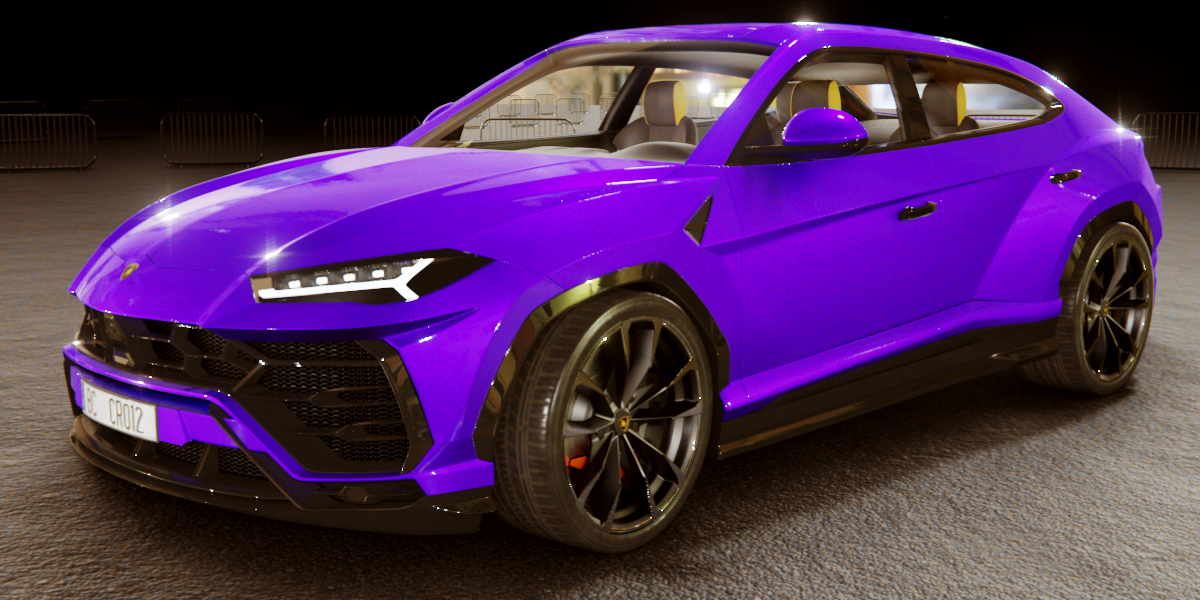
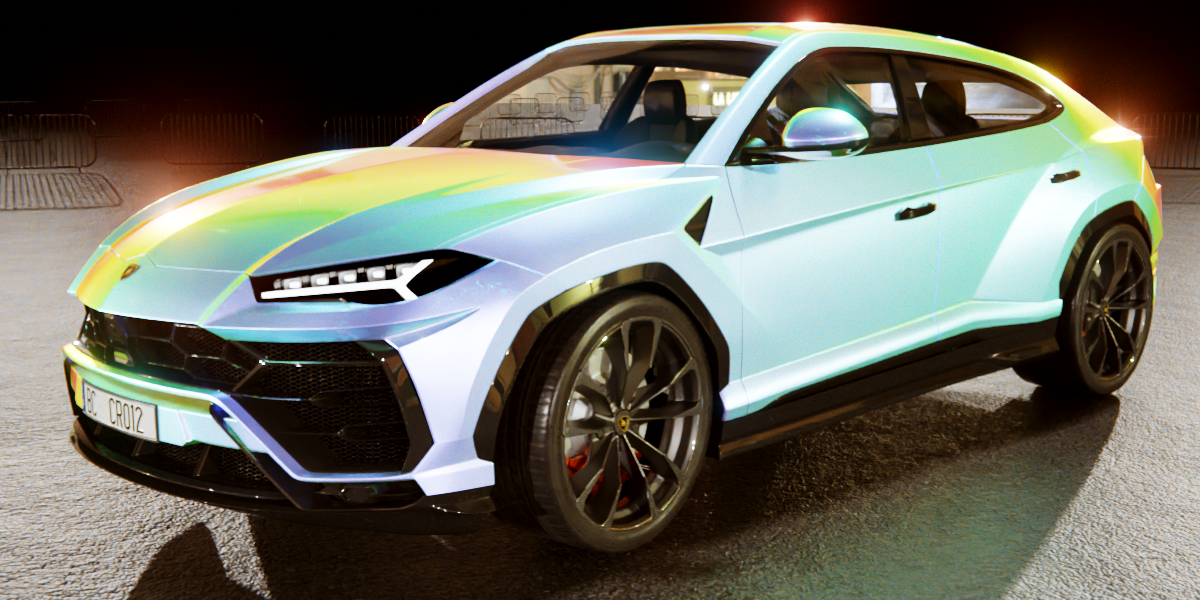
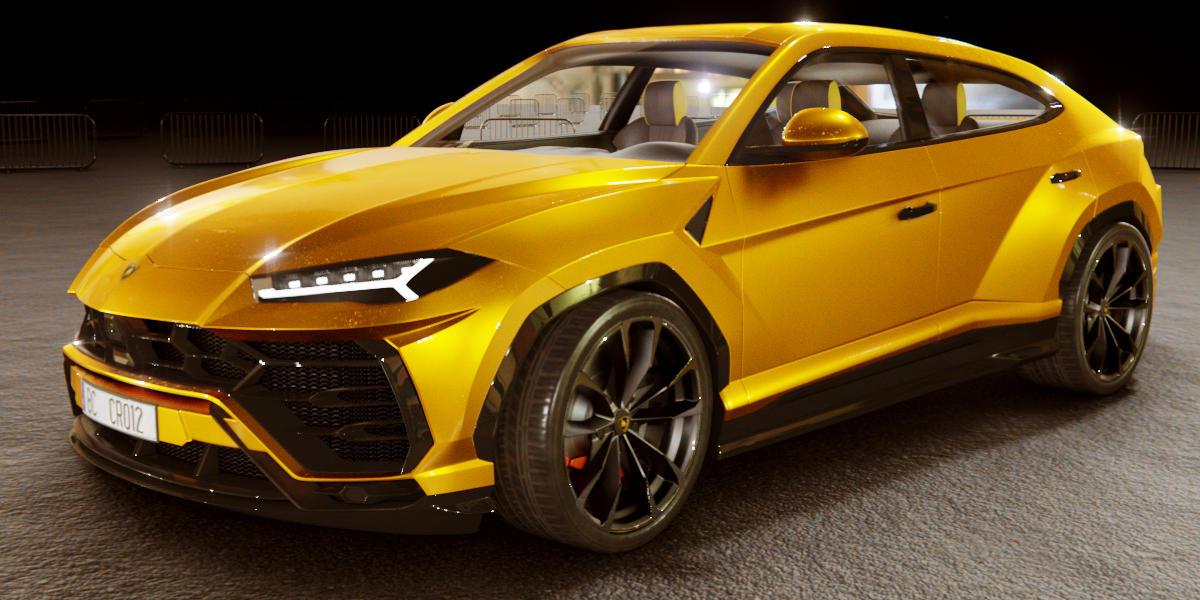
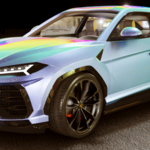
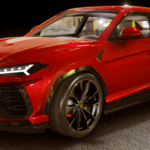
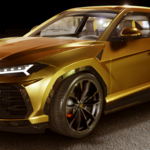
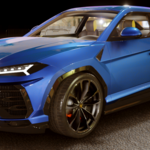
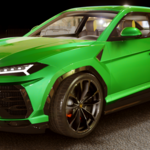
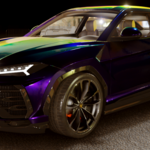
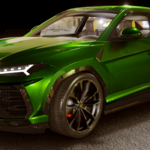
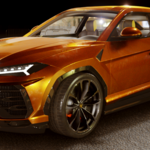
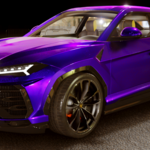
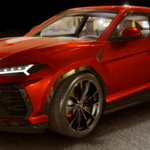
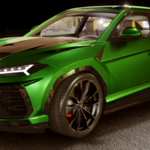
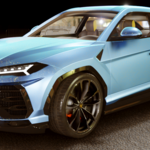
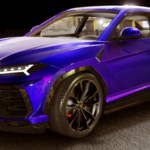
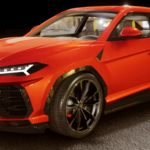
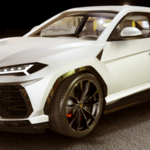
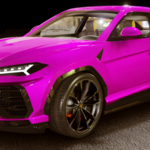
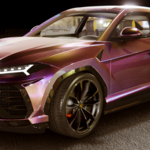
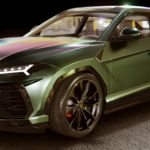
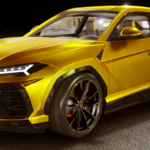
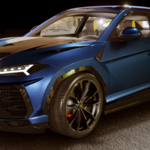
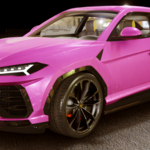
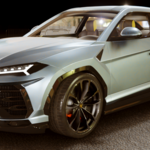
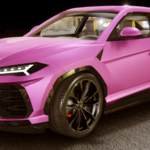
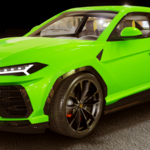
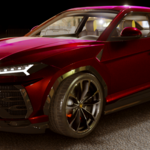
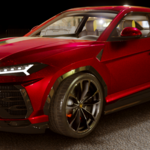
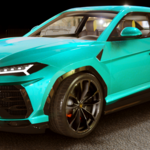
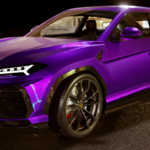
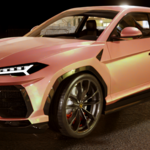
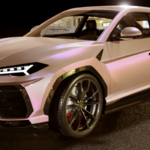
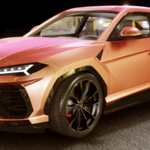
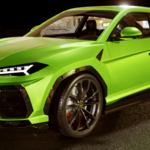
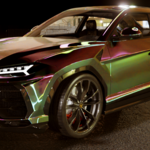
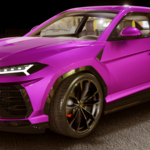
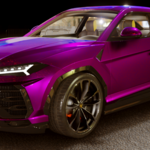
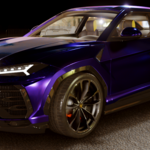
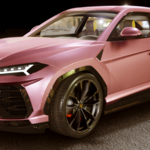
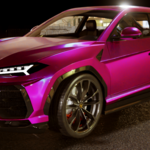
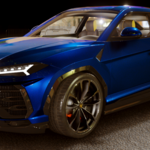
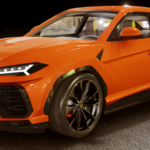
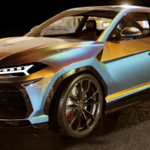
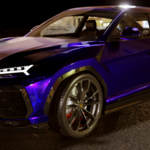
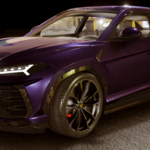
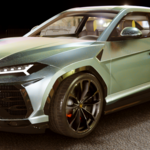
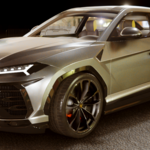
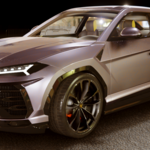
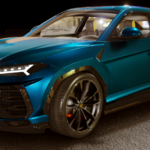
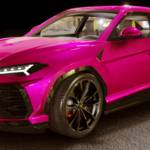
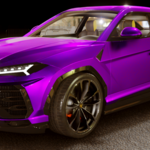
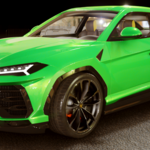
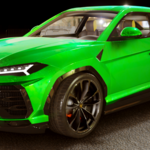
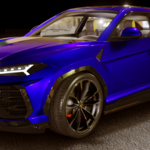
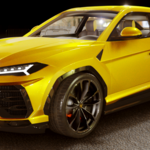
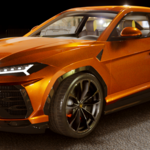
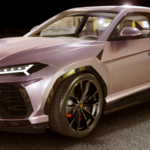
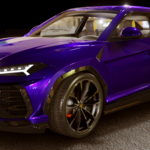
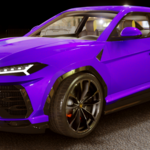
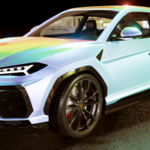
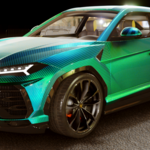
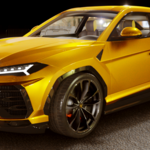
Car Paint With Metal Flakes
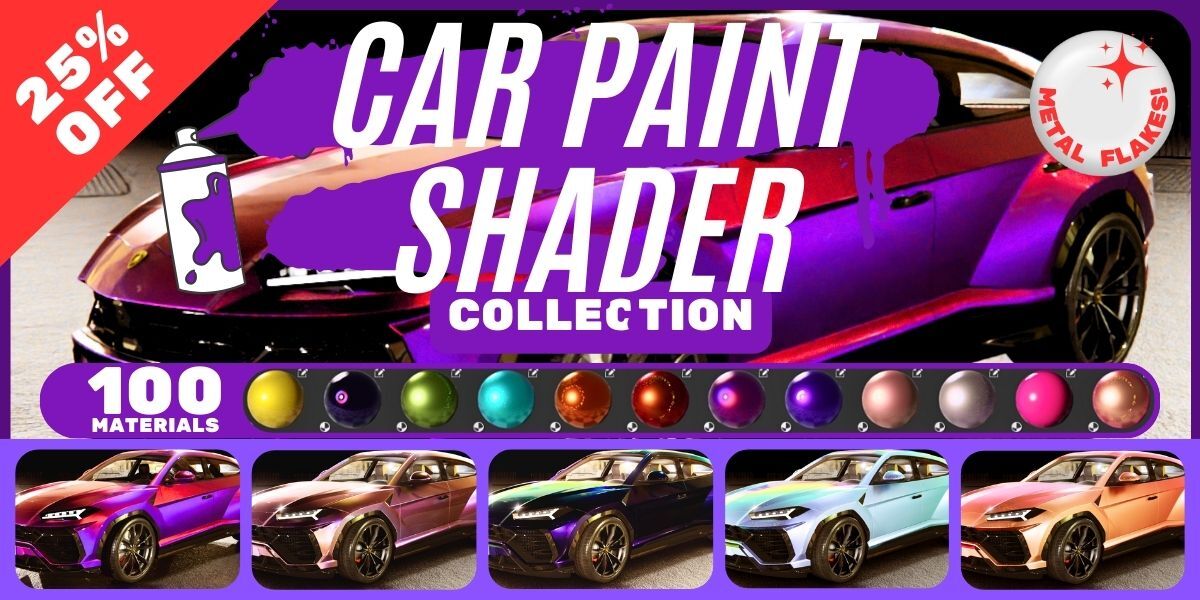


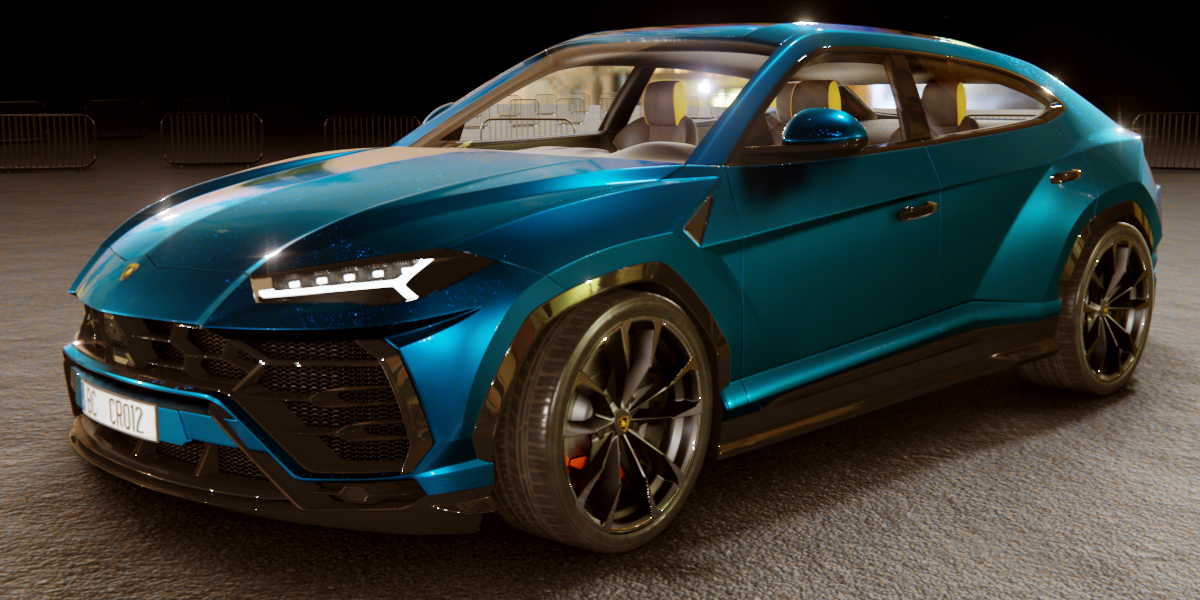
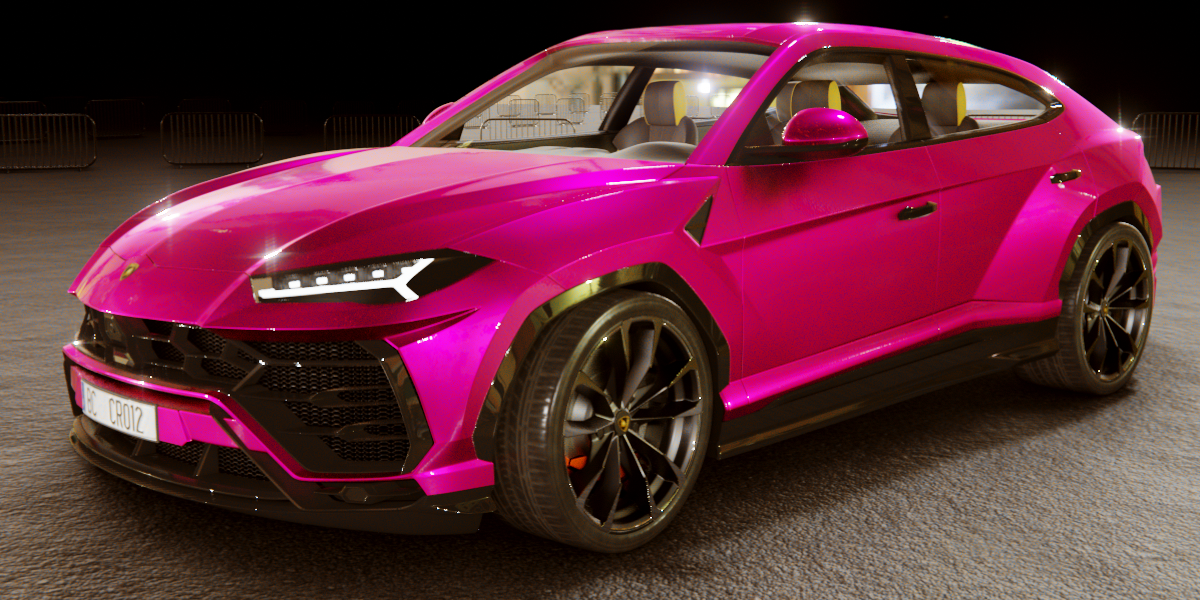
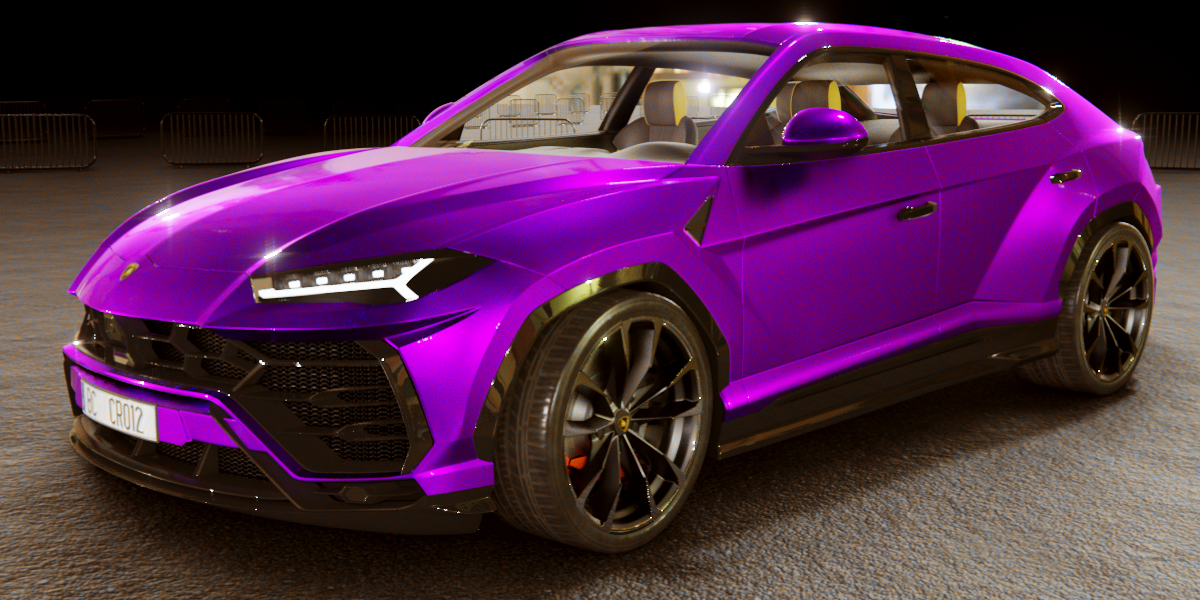
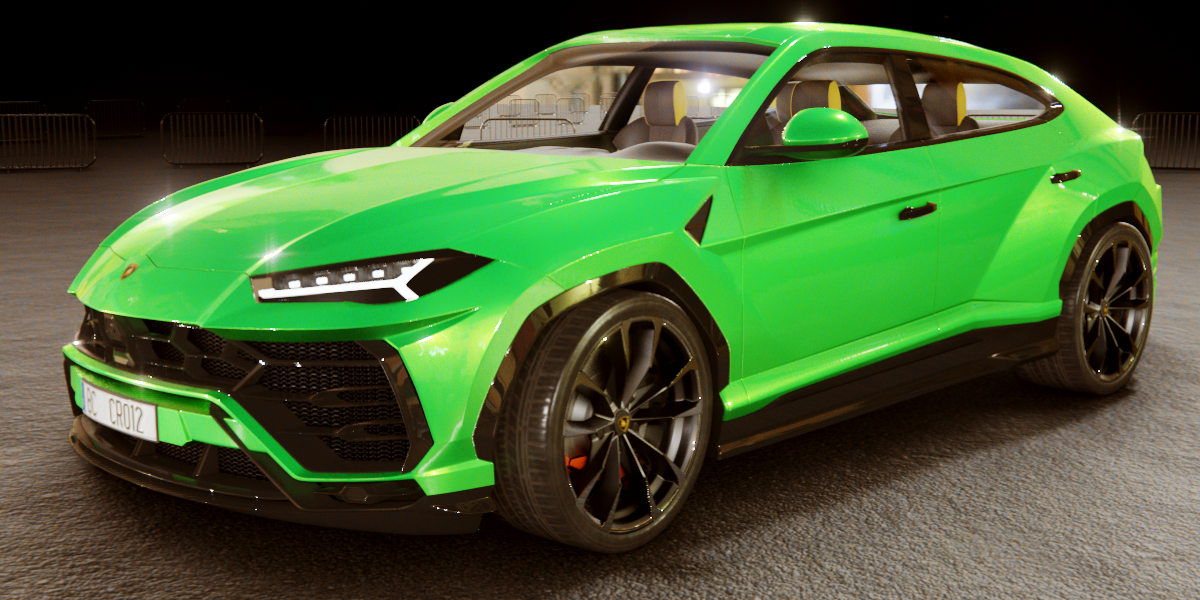


How to Install and Use the Car Paint Material Assets in Blender
Step 1: Download the Asset Library
After purchasing, download the provided .blend file.
Make sure to extract the file if it’s inside a compressed ZIP folder.
Step 2: Add the Materials to Blender’s Asset Library
Open Blender and go to Edit > Preferences > File Paths.
Locate the "Asset Libraries" section and click Add.
Select the folder where you saved the .blend file.
Click Accept and close the Preferences window.
Step 3: Access the Materials in Blender
Open your car model in Blender.
Switch to the Shading workspace (top tab in Blender).
Open the Asset Browser (from the top-left, switch from "Outliner" to "Asset Browser").
Select the Car Paint Library from the dropdown menu.
Drag and drop any car paint shader onto your car model.
Step 4: Customize the Materials
Select the car model and go to the Material Properties tab.
You can tweak the color, roughness, metallic intensity, clearcoat, and iridescence from the shader settings.
Experiment with different settings to achieve the desired look.
Step 5: Render with Realistic Lighting
For the best results, use HDRI lighting or a well-set-up three-point lighting system.
Switch to Cycles for more realistic reflections and light behavior.
Have questions about this product?
Login to message
| Dev Fund Contributor | |
| Published | 25 days ago |
| Software Version | 4.4, 4.3, 4.2, 4.1 |
| Render Engine Used | Cycles, Eevee |
| License | Royalty Free |
Discover more products like this
Carpaint Shader Car Metallic Paint Procedural Carpaint carpaint Car Paint Material car paint shader