 Larry3d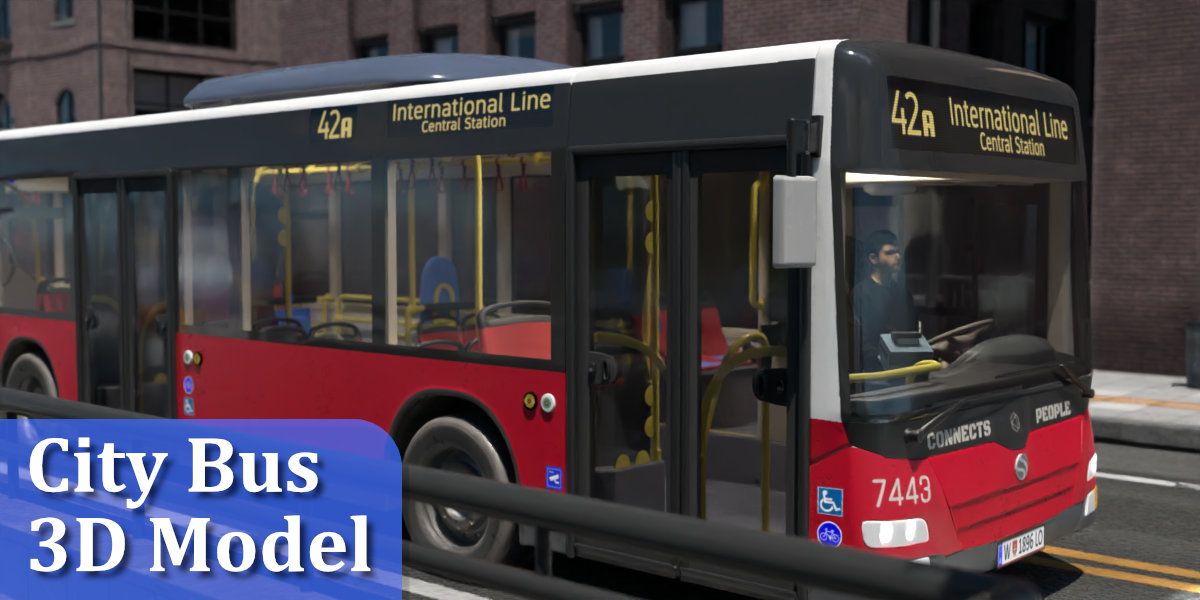
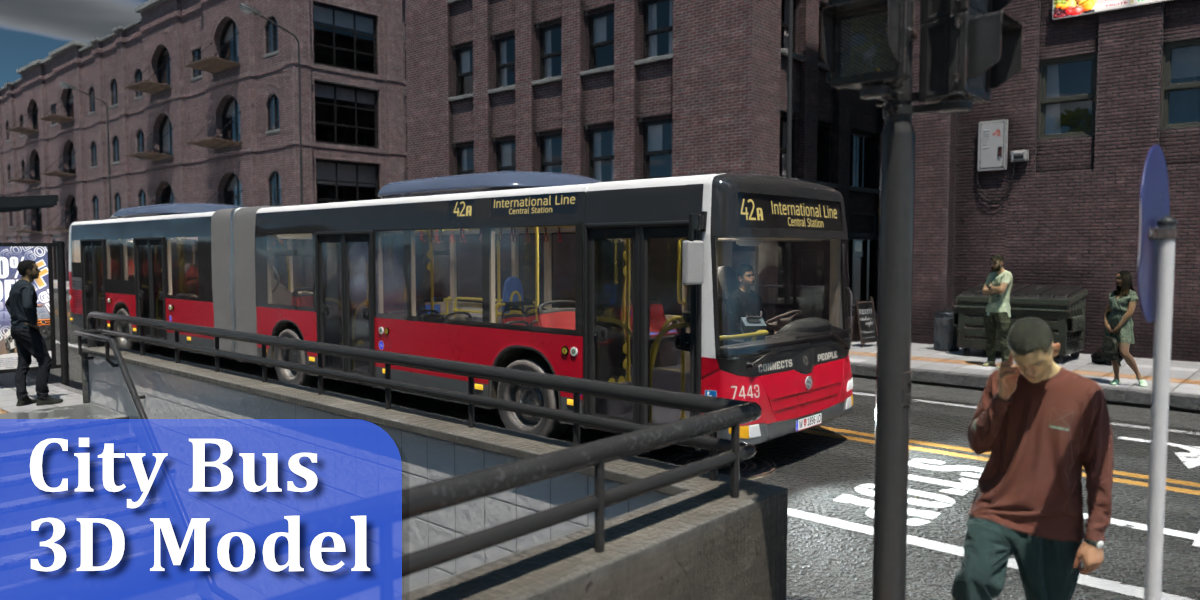
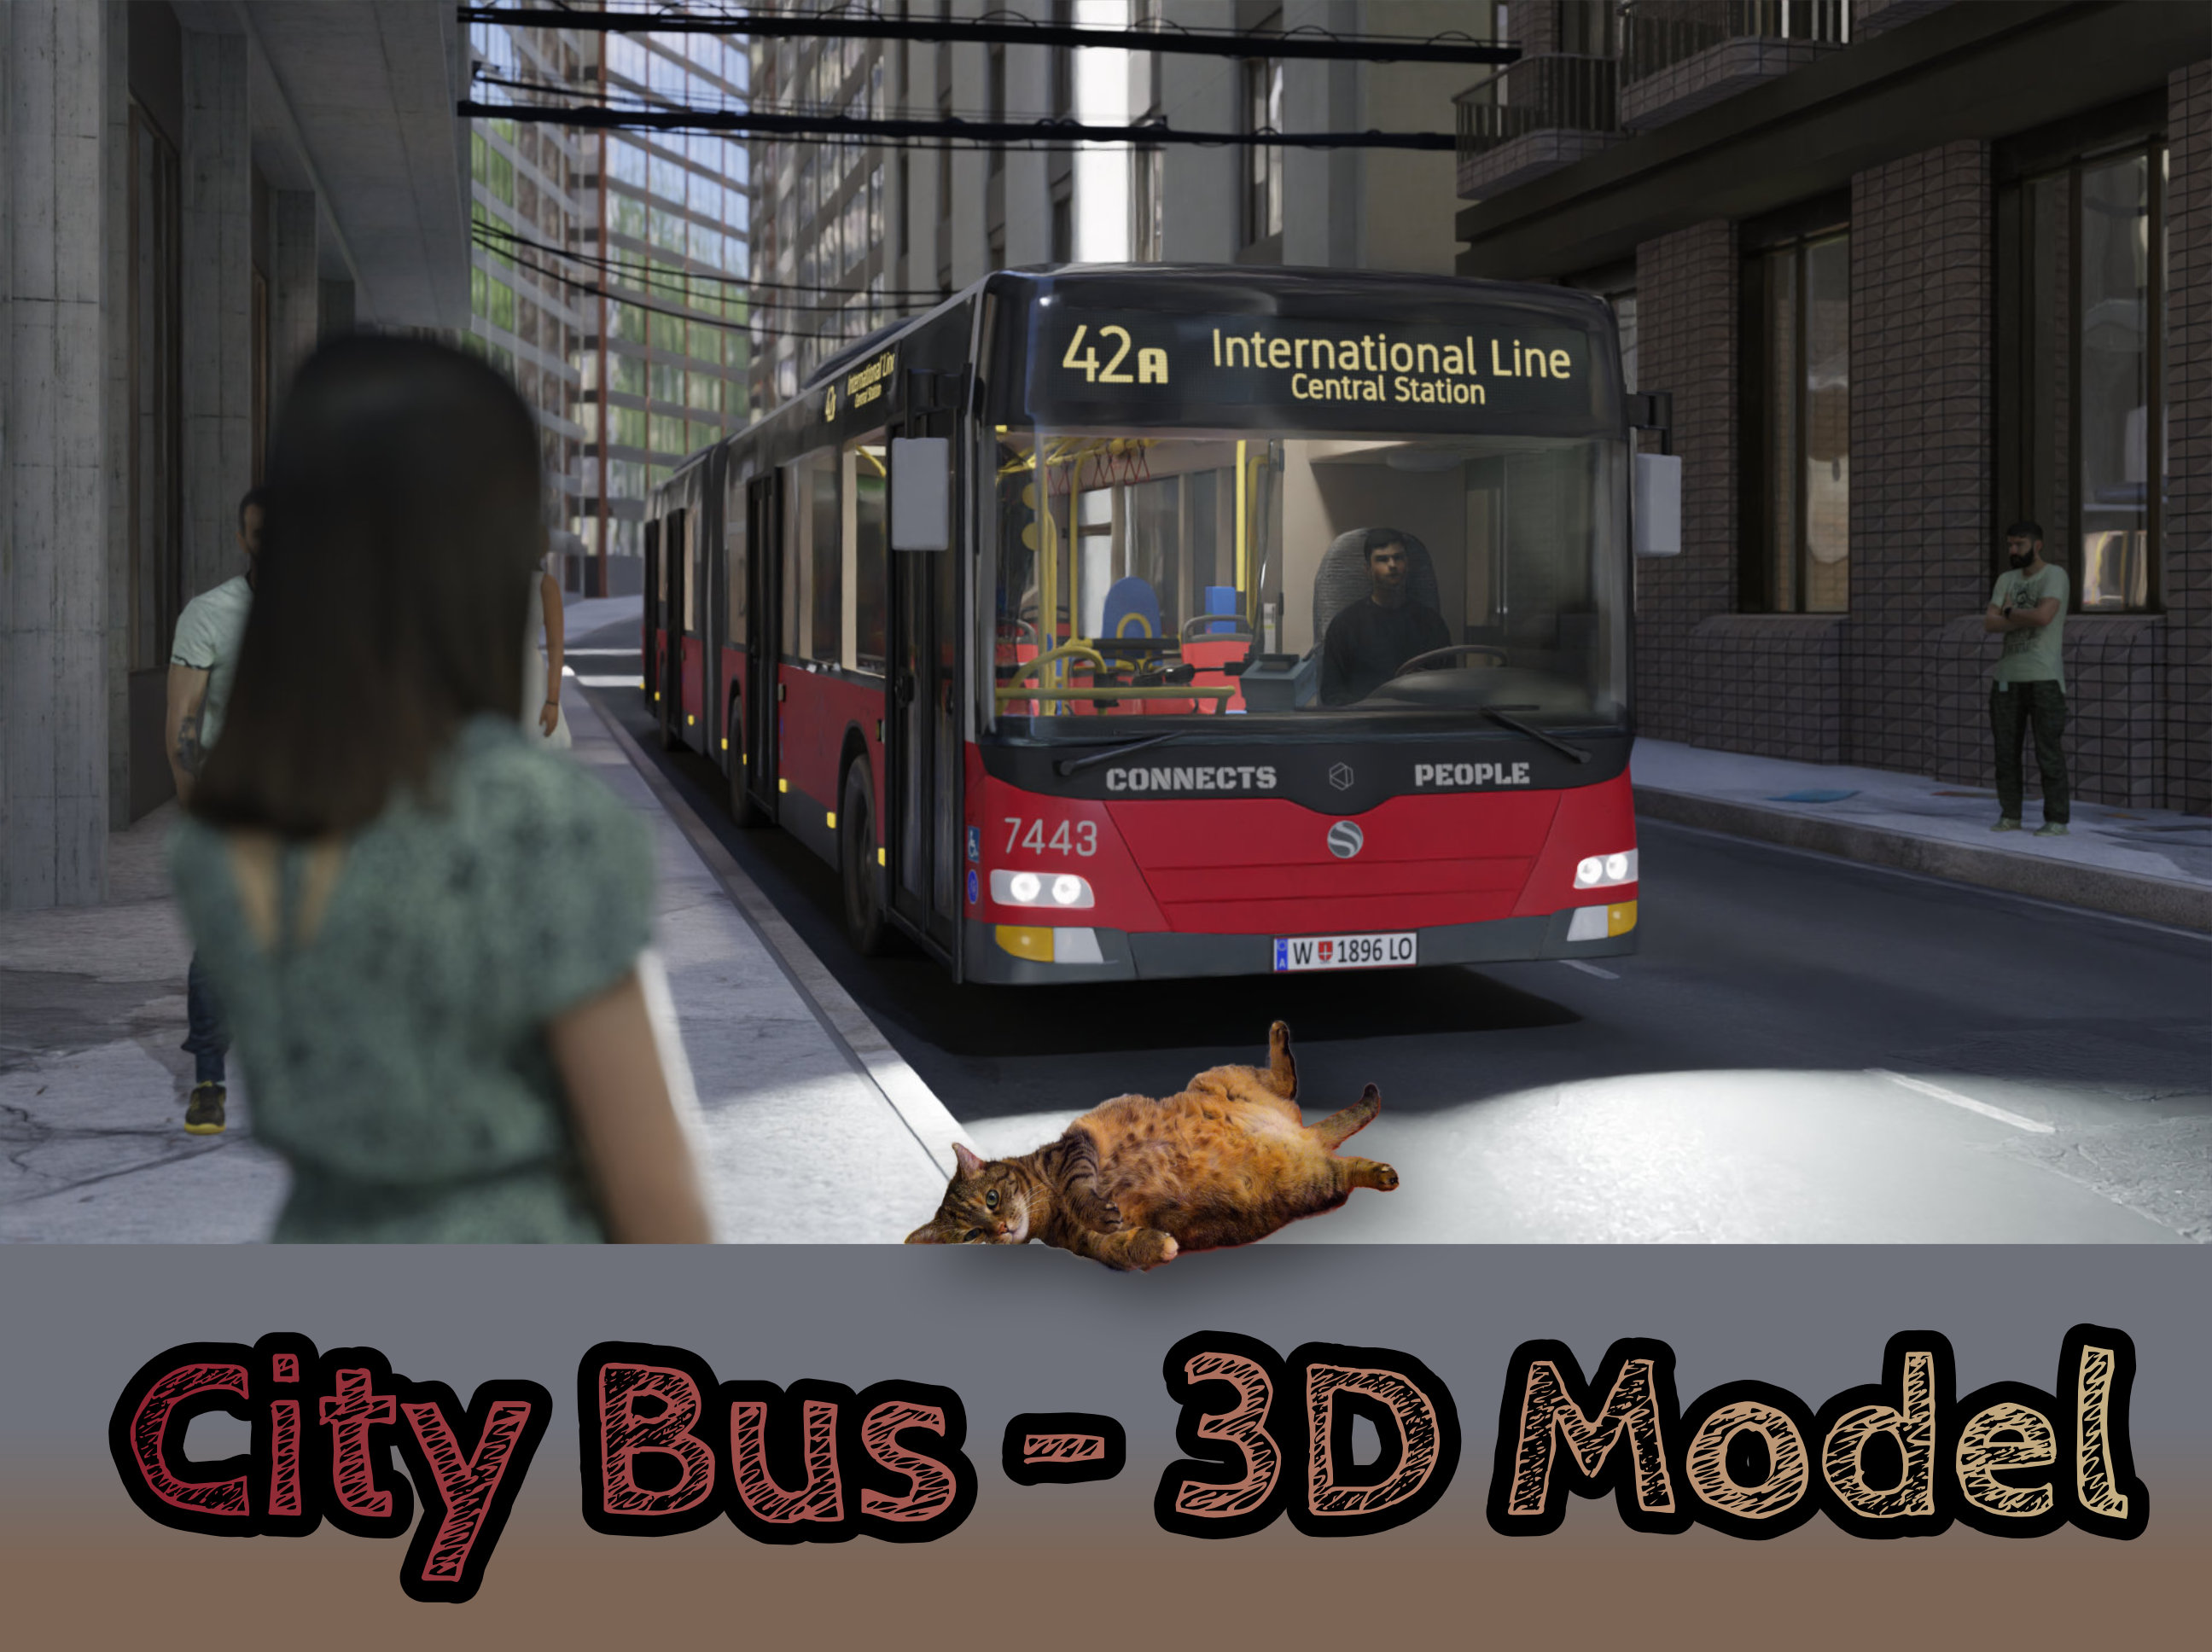
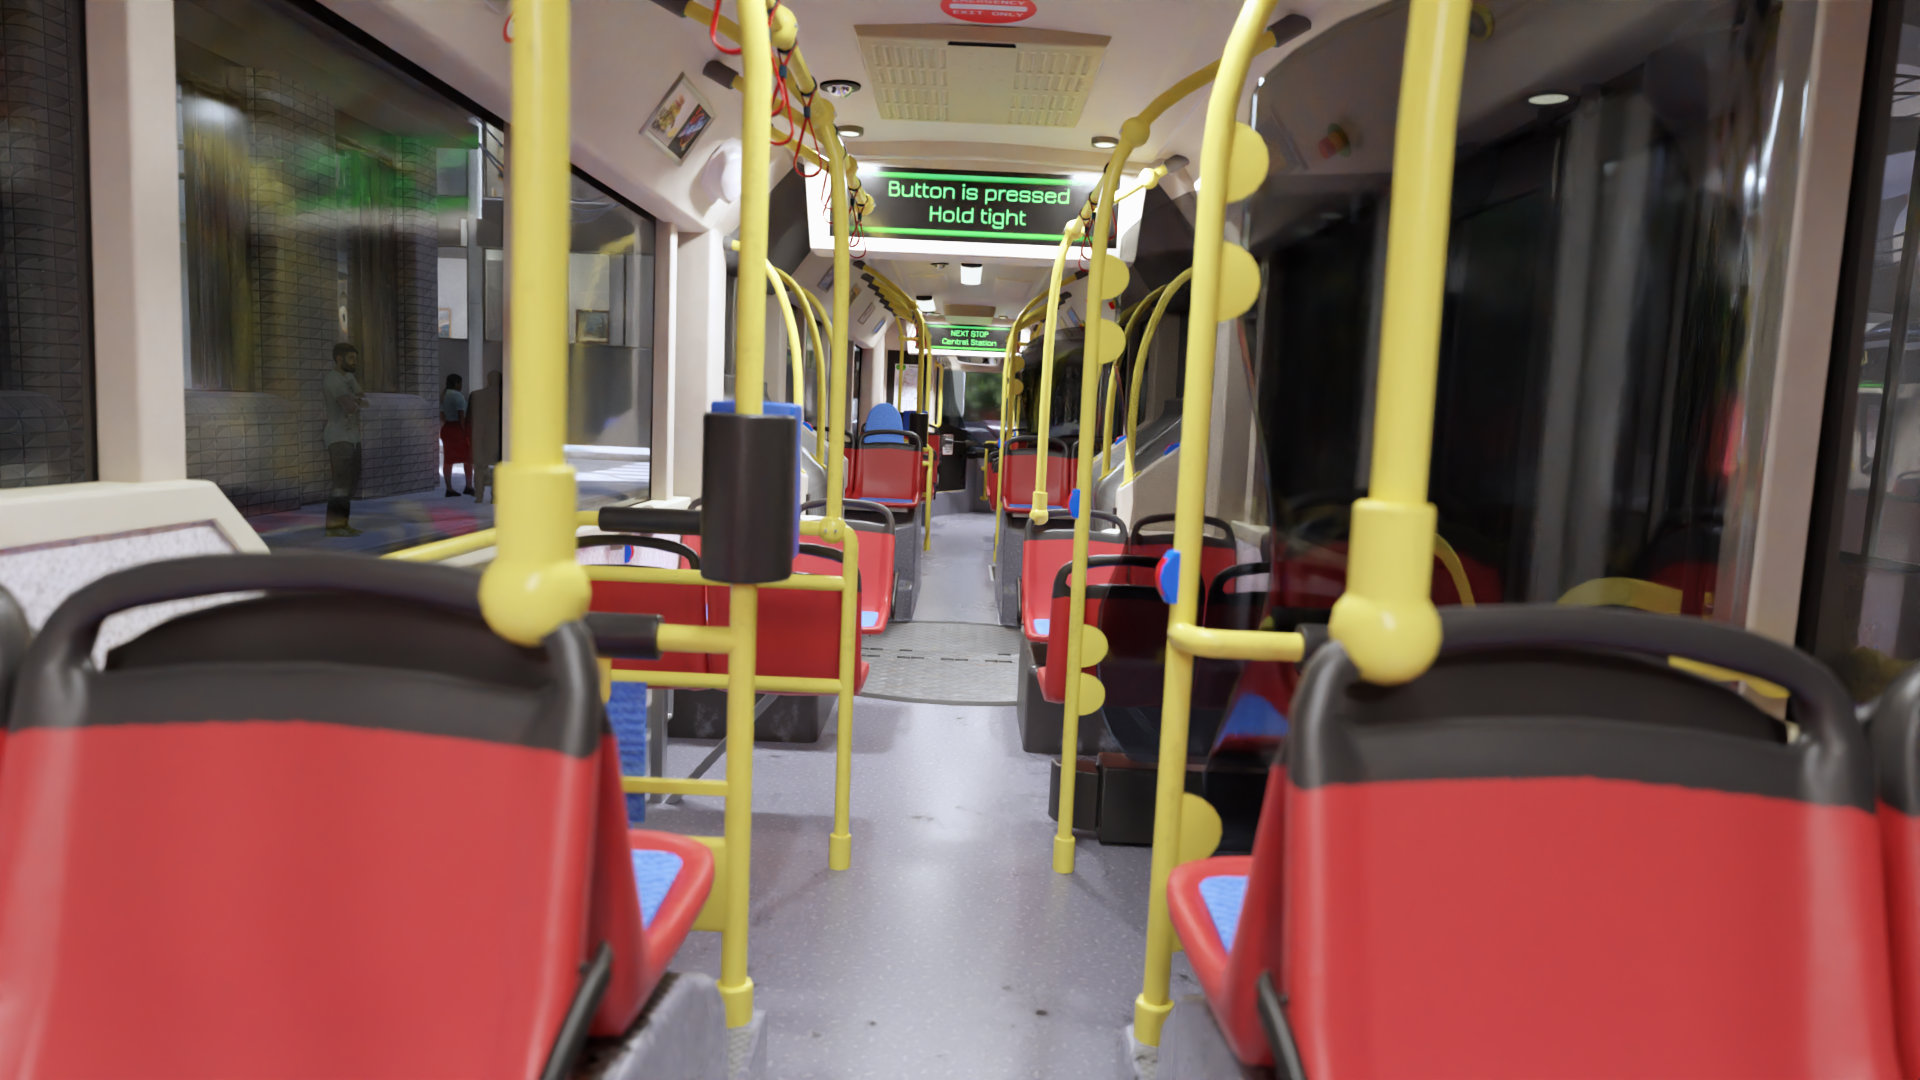
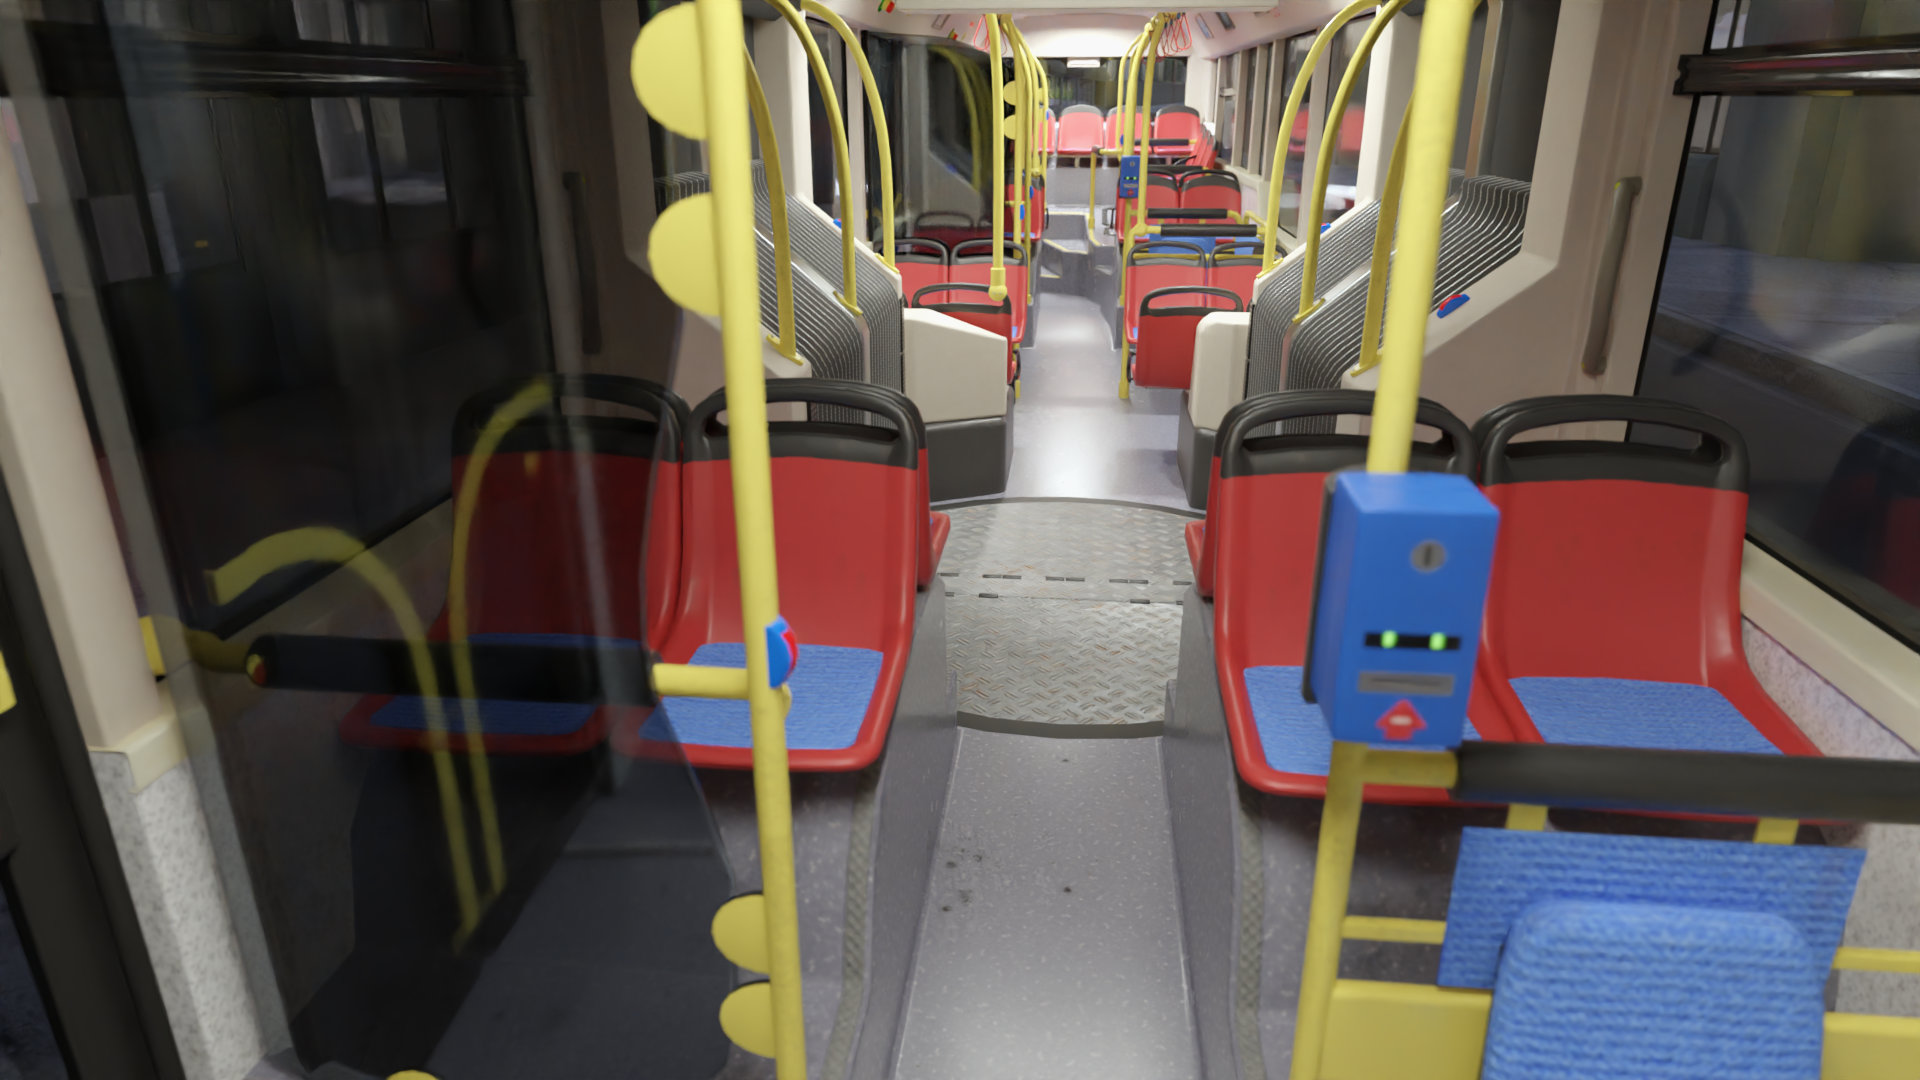
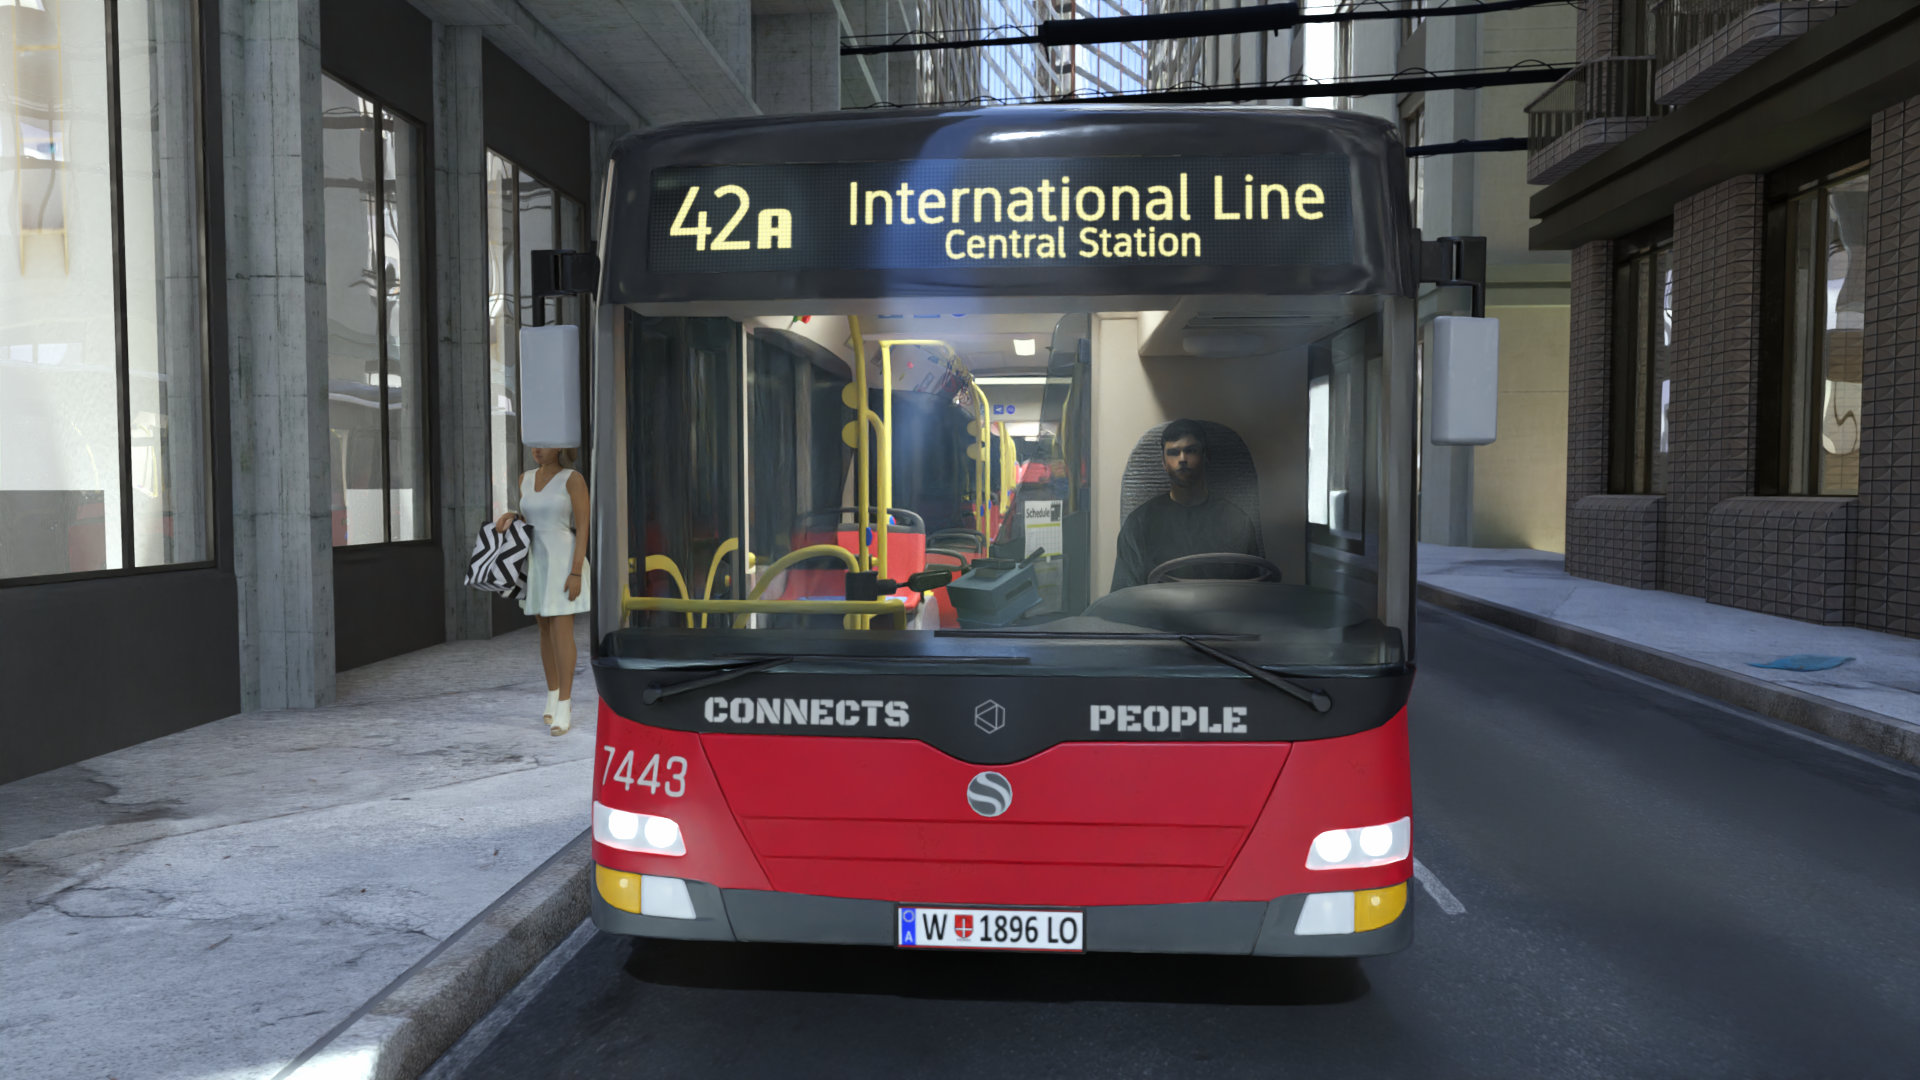
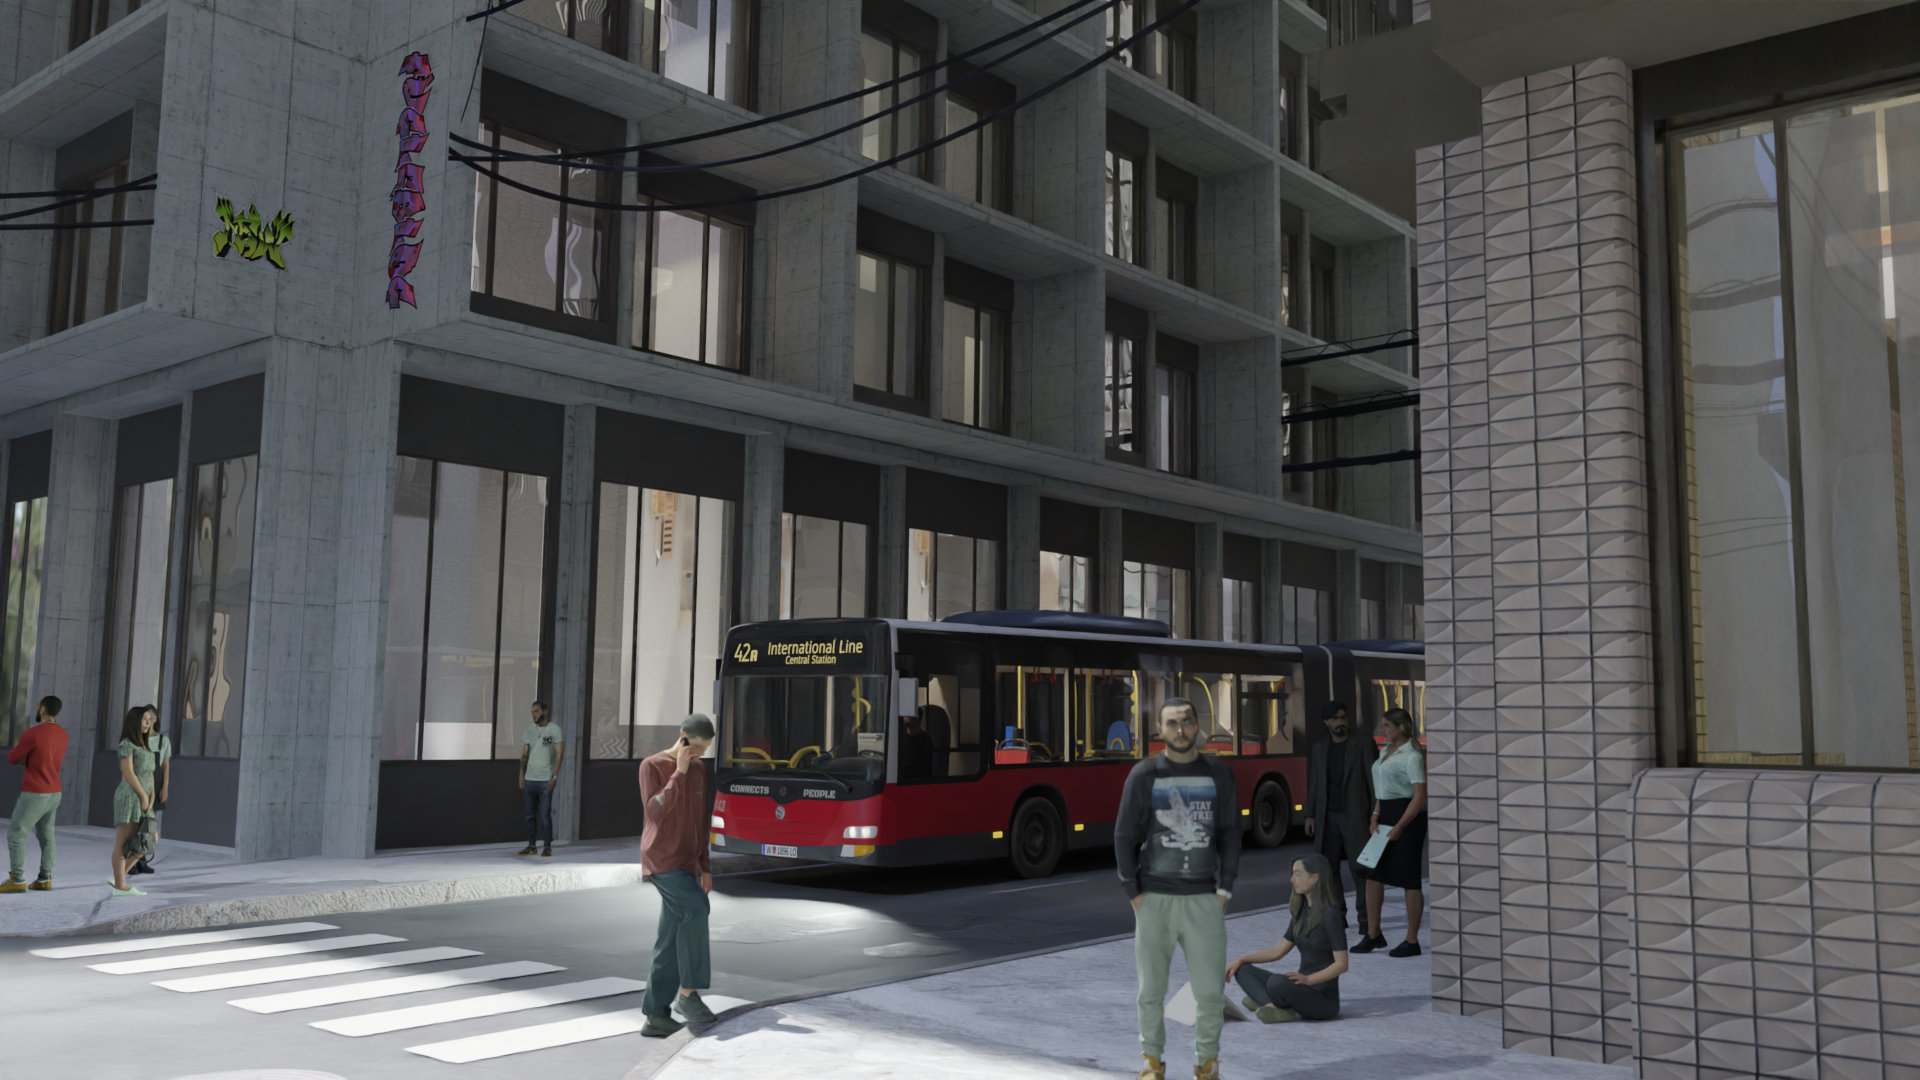
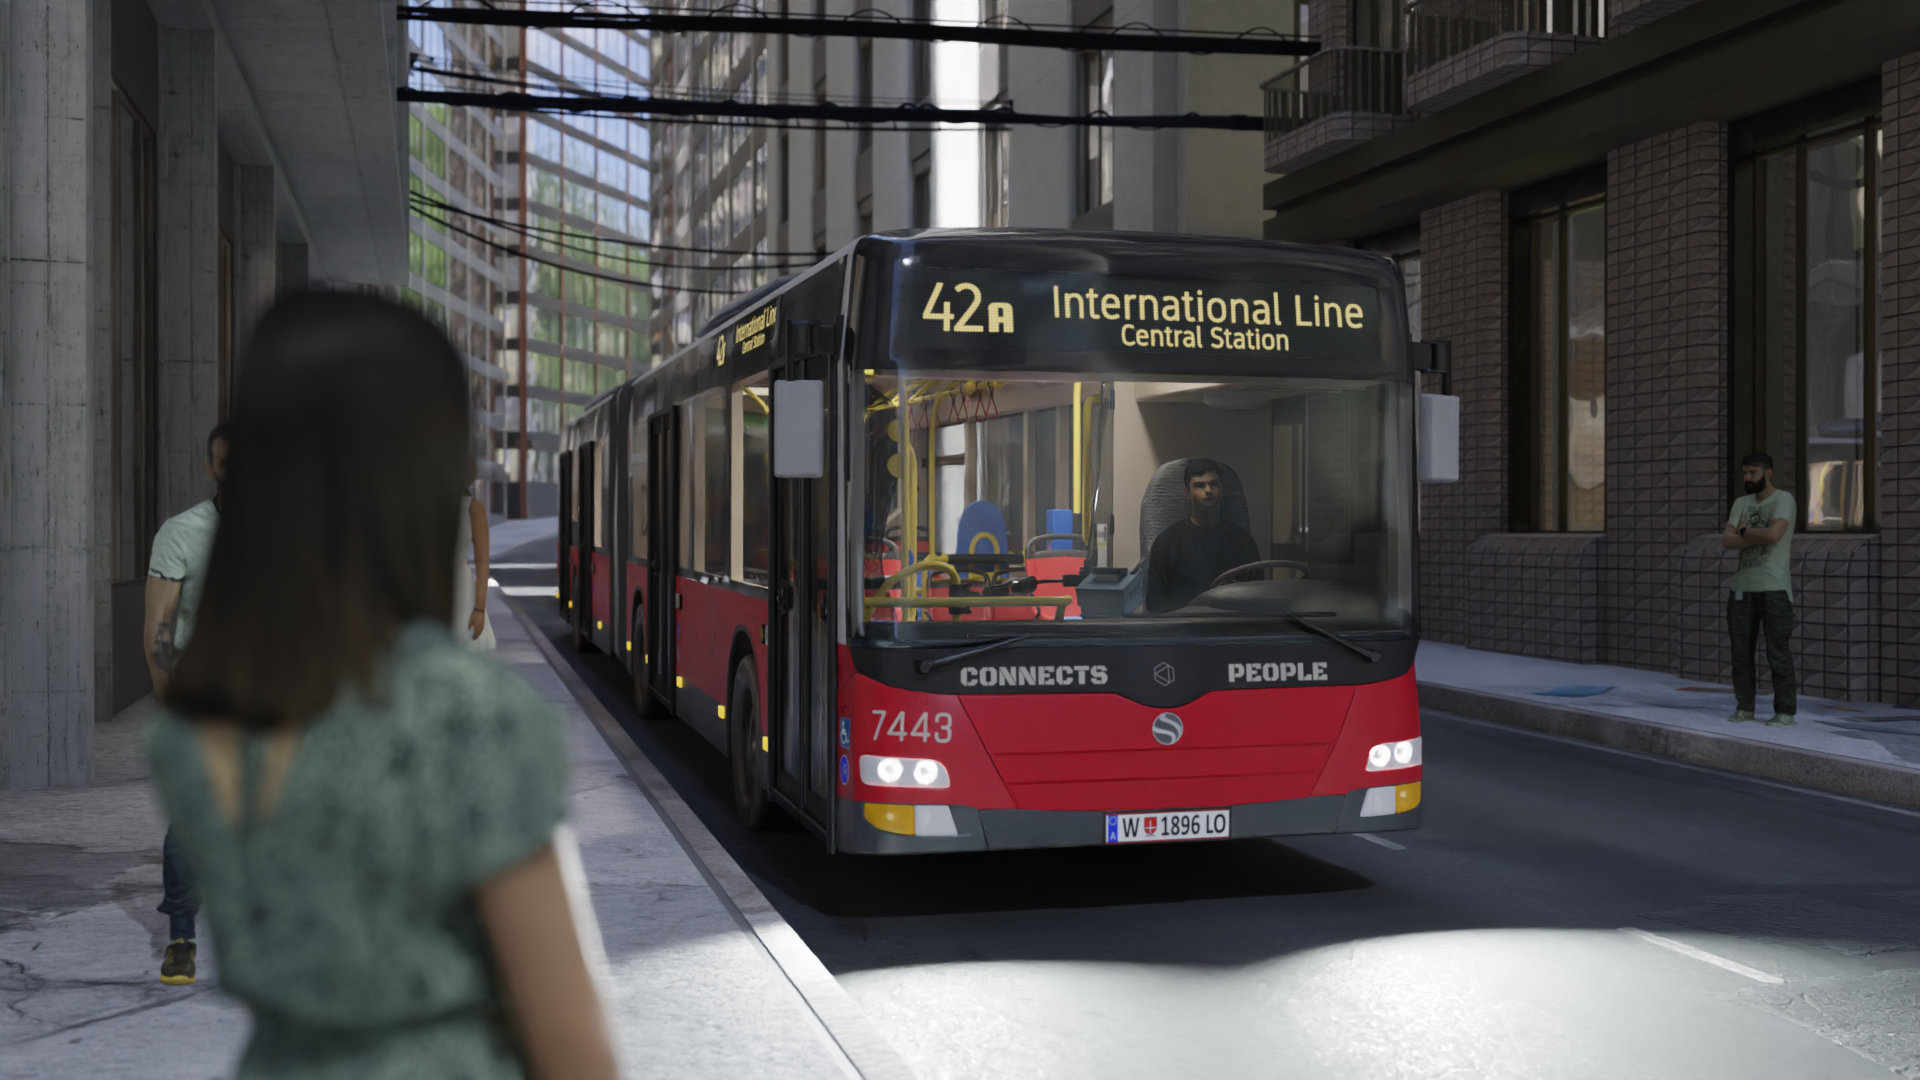
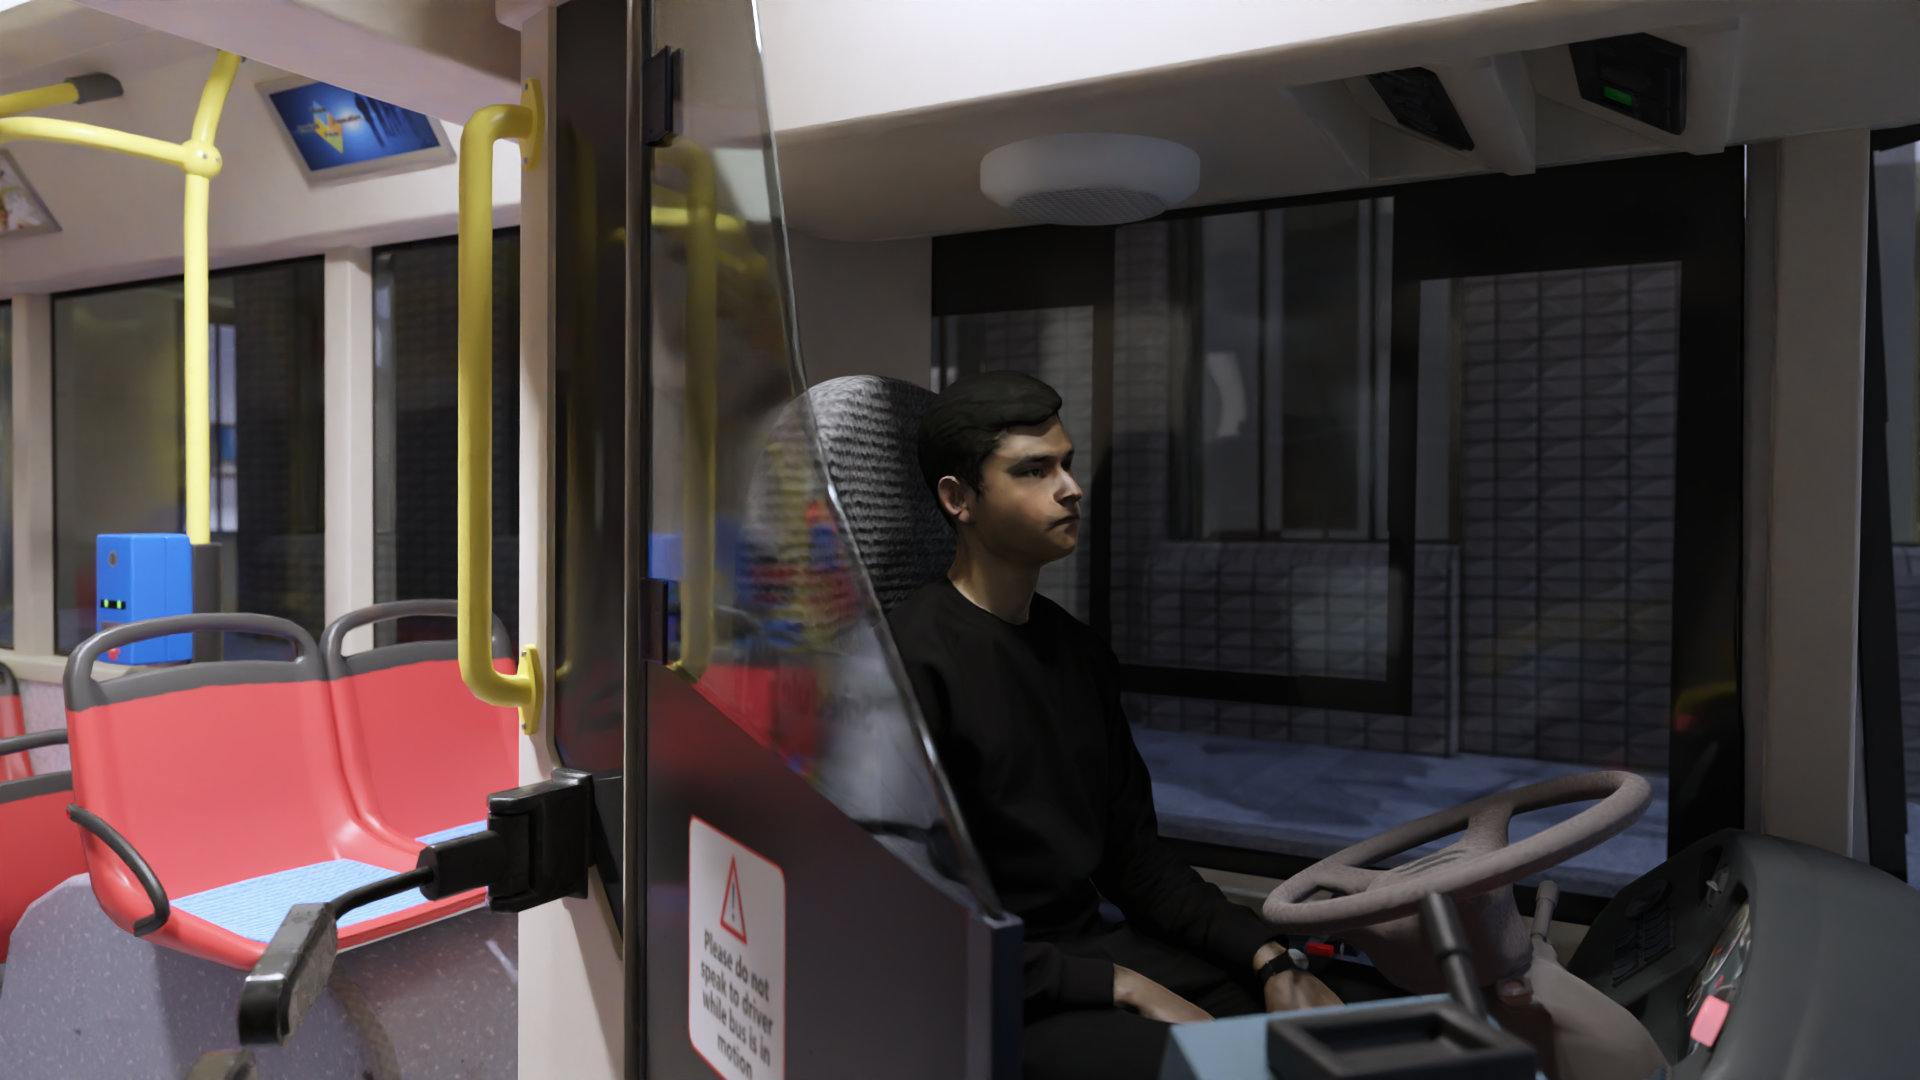
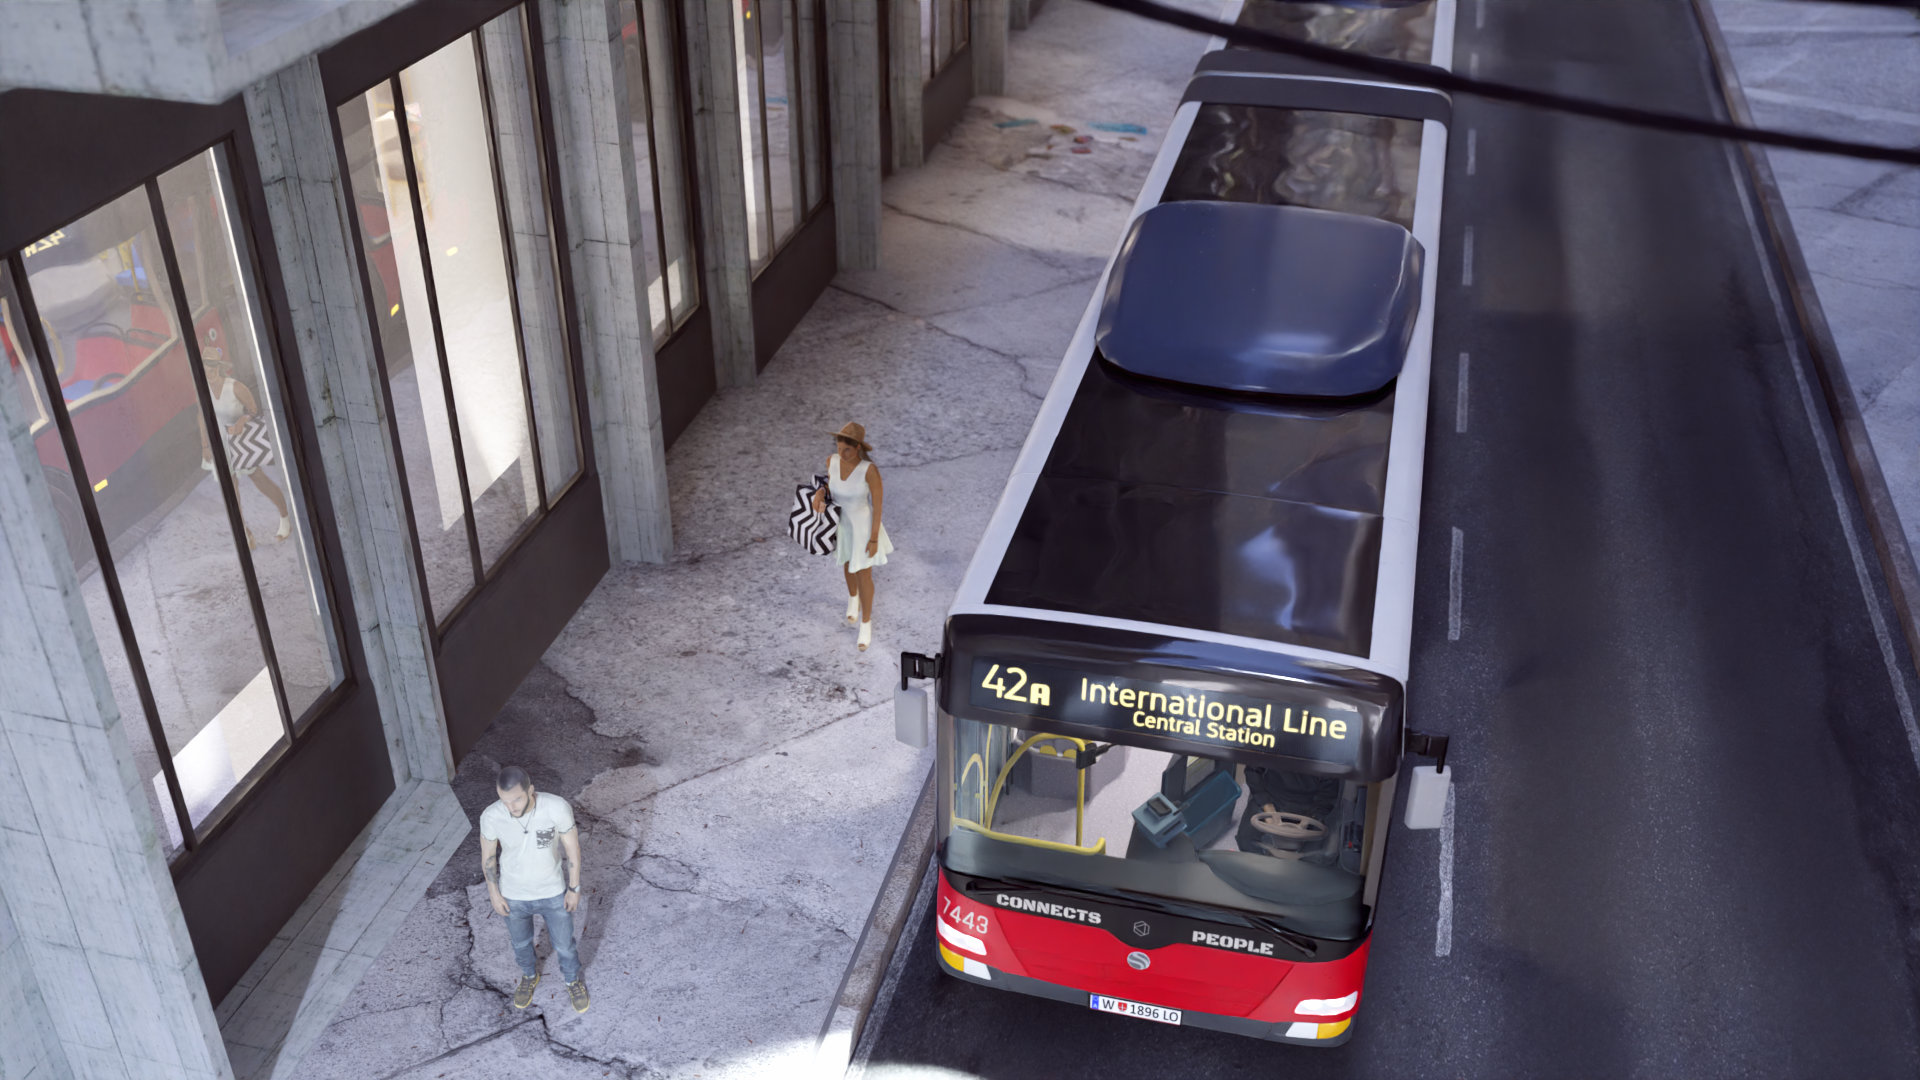
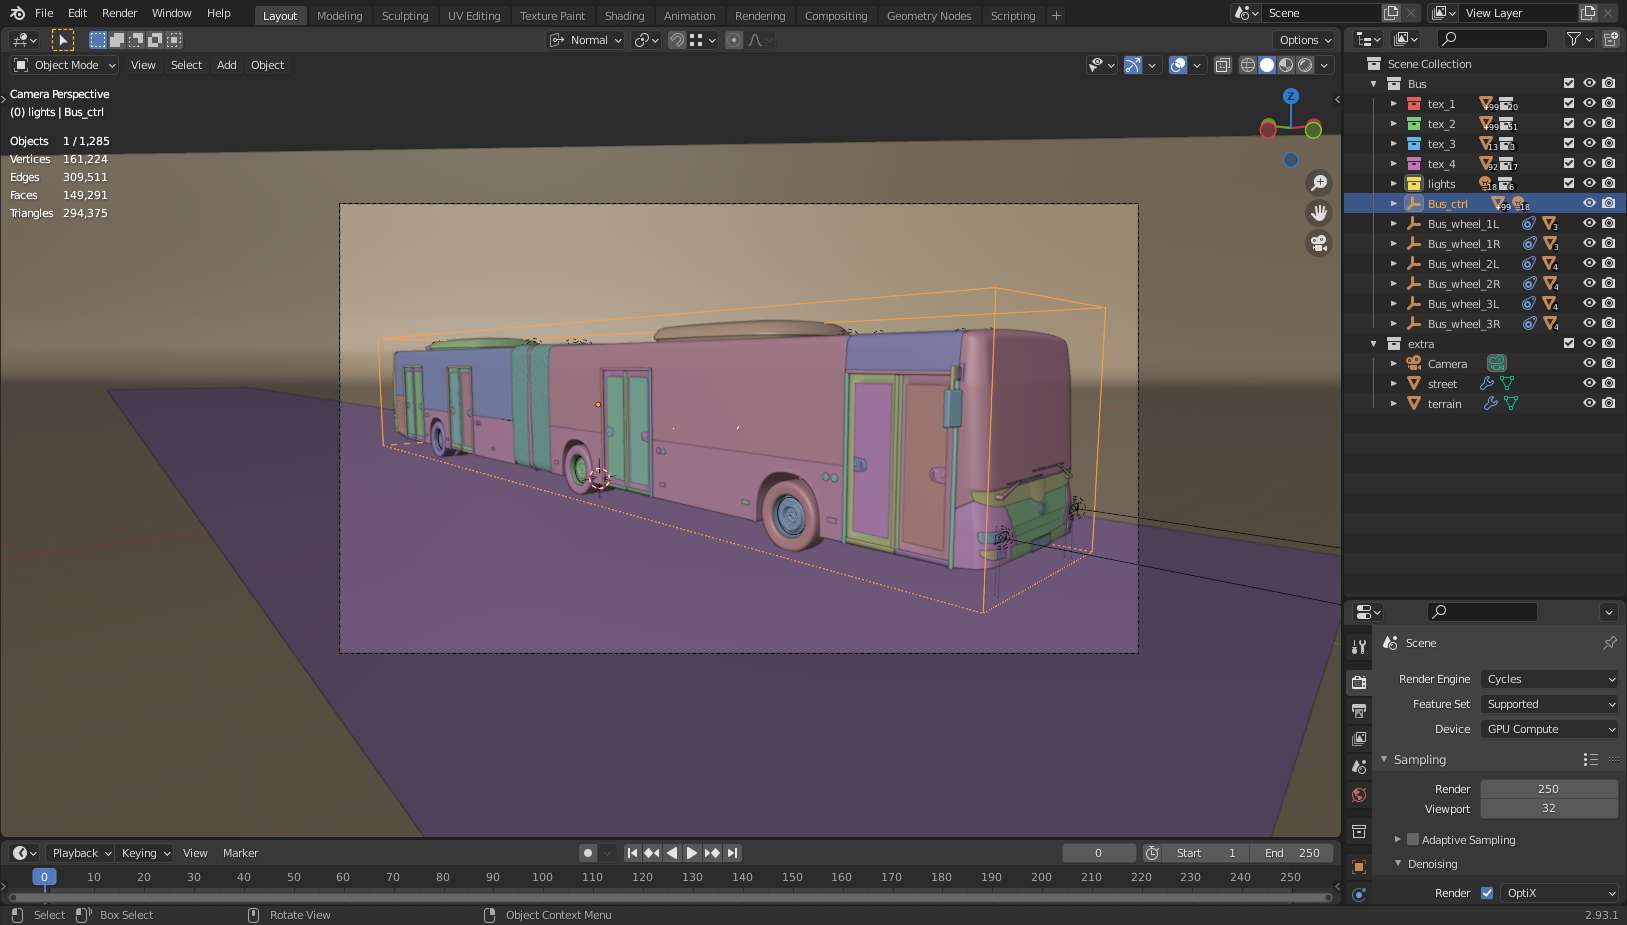
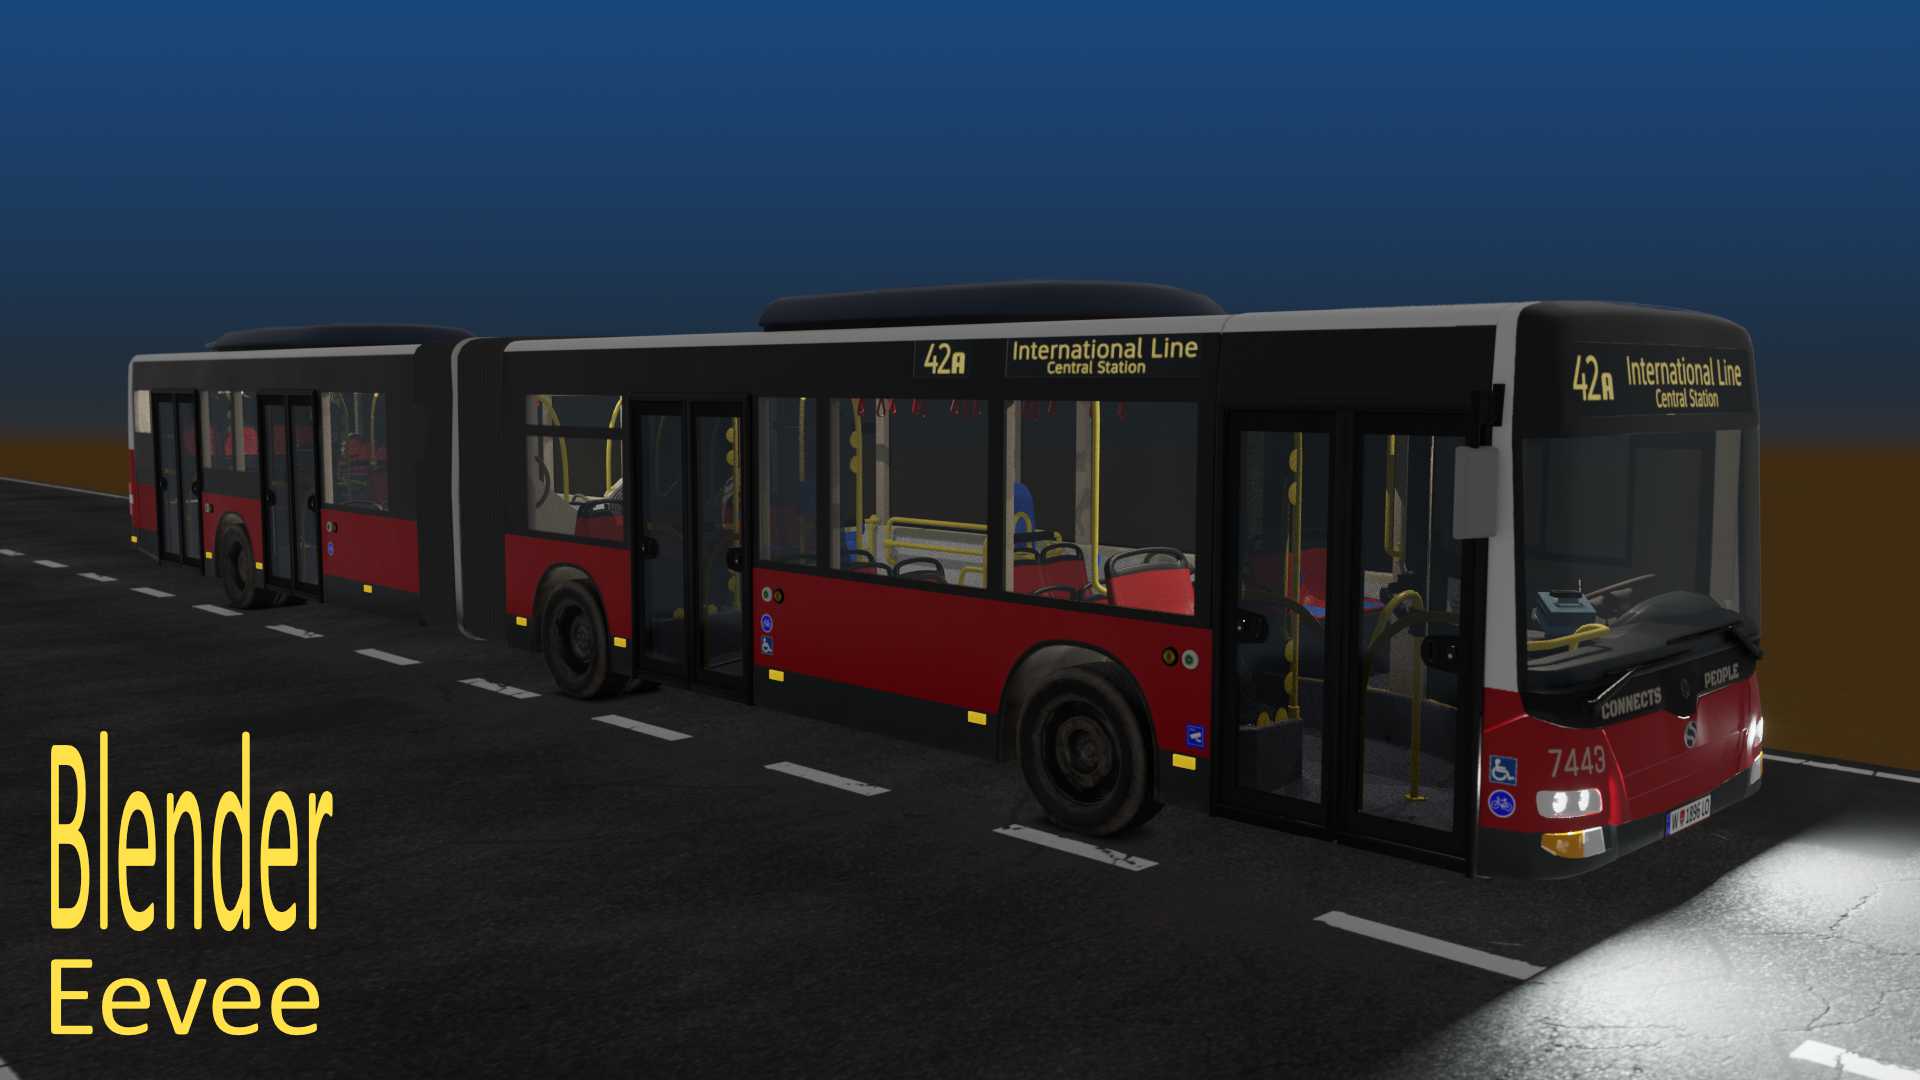
What's in the download
| File | Description |
|---|---|
City_Bus[Rig].blend |
the rigged bus |
City_Bus[Rig]_for_showoff_final.blend |
demo file with a ready-made animation, made by BlenderigMaster |
vrf_plus_animator_b_4x_5x.py |
animator script for the rig |
textures/ |
extra copy of the textures |
readme.txt |
this documentation, offline |
All textures are embedded in the .blend files. The textures folder is an extra copy for your own use — you don't need it to open the bus.
Requirements
Built and saved with Blender 4.x. The bus and the animator script were tested on Blender 4.0 up to 5.2.1, on Linux and Windows.
How to import the bus
Everything — geometry and rig — lives in one collection called City_Bus[Rig].
Recommended: Link
- In your scene, go to File › Link
- Select
City_Bus[Rig].blendand open the Collection folder - Pick City_Bus[Rig]
- With the linked empty selected, press Ctrl+Y (or right-click › Library Override › Make)
The override makes the rig animatable in your scene while keeping the link to the original file — so if you replace the .blend with a newer version, your scene picks it up.
Alternative: Append
Use File › Append instead if you want a fully independent copy, e.g. to modify the model itself. Same path: open the Collection folder and pick City_Bus[Rig].
Append copies everything into your scene. The rig still works, but you're on your own for updates.
The rig
The bus is fully rigged with controls for suspension, steering, doors and more. The rig was built with the Vehicle Rig Factory Plus add-on.
The rig started as my own work and was then refined by BlenderigMaster, the developer of the add-on, who added the steering and door controls and fixed several issues. The demo file was made by him as well, and he recorded a video showing how the rig works. Both the rig and the bundled script are used with his kind permission.
Using the animator script:
- Install
vrf_plus_animator_b_4x_5x.pyvia Edit › Preferences › Add-ons › Install from Disk and enable it - Open
City_Bus[Rig].blend - Select the armature
rig_CityBusand switch to Pose Mode - The controls appear in the viewport sidebar (N key) under the tab Vehicle Rig Factory
The panel stays hidden until a rig is selected — that is normal.
The script plays back and controls existing rigs only; it cannot create new ones. If you want to rig your own vehicles, you need the full add-on.
Changing the destination display board
- Select the object indicator board in the outliner (inside the
tex_4collection) - Switch to the Shading workspace
- Set the material to bus_tex4_board
- Delete the old image in the Base Color texture node
- Open your own picture in its place
A UV template for your own artwork is in the textures/ folder. There is also a 6-minute video tutorial walking through these steps.
License
Royalty-free use in personal and commercial projects. No redistribution or resale of the model, textures, materials or rig, individually or as part of another asset pack. See LICENSE.txt in the main folder for details.
The model elsewhere
Contact
[email protected] · larry.at · or through the Superhive messaging system.
Change display board


 Then just upload your own picture. So easy.
Use this template now and create your own graphics:

Have questions about this product?
Login to message
| Sales | 30+ |
| Dev Fund Contributor | |
| Published | over 7 years ago |
| Blender Version | 4.4 - 5.2 |
| Render Engine Used | Cycles, Eevee |
| Misc Data | Uvs-Unwrapped, Rigged, Animated, Textured |
| License | Royalty Free |
Discover more products like this
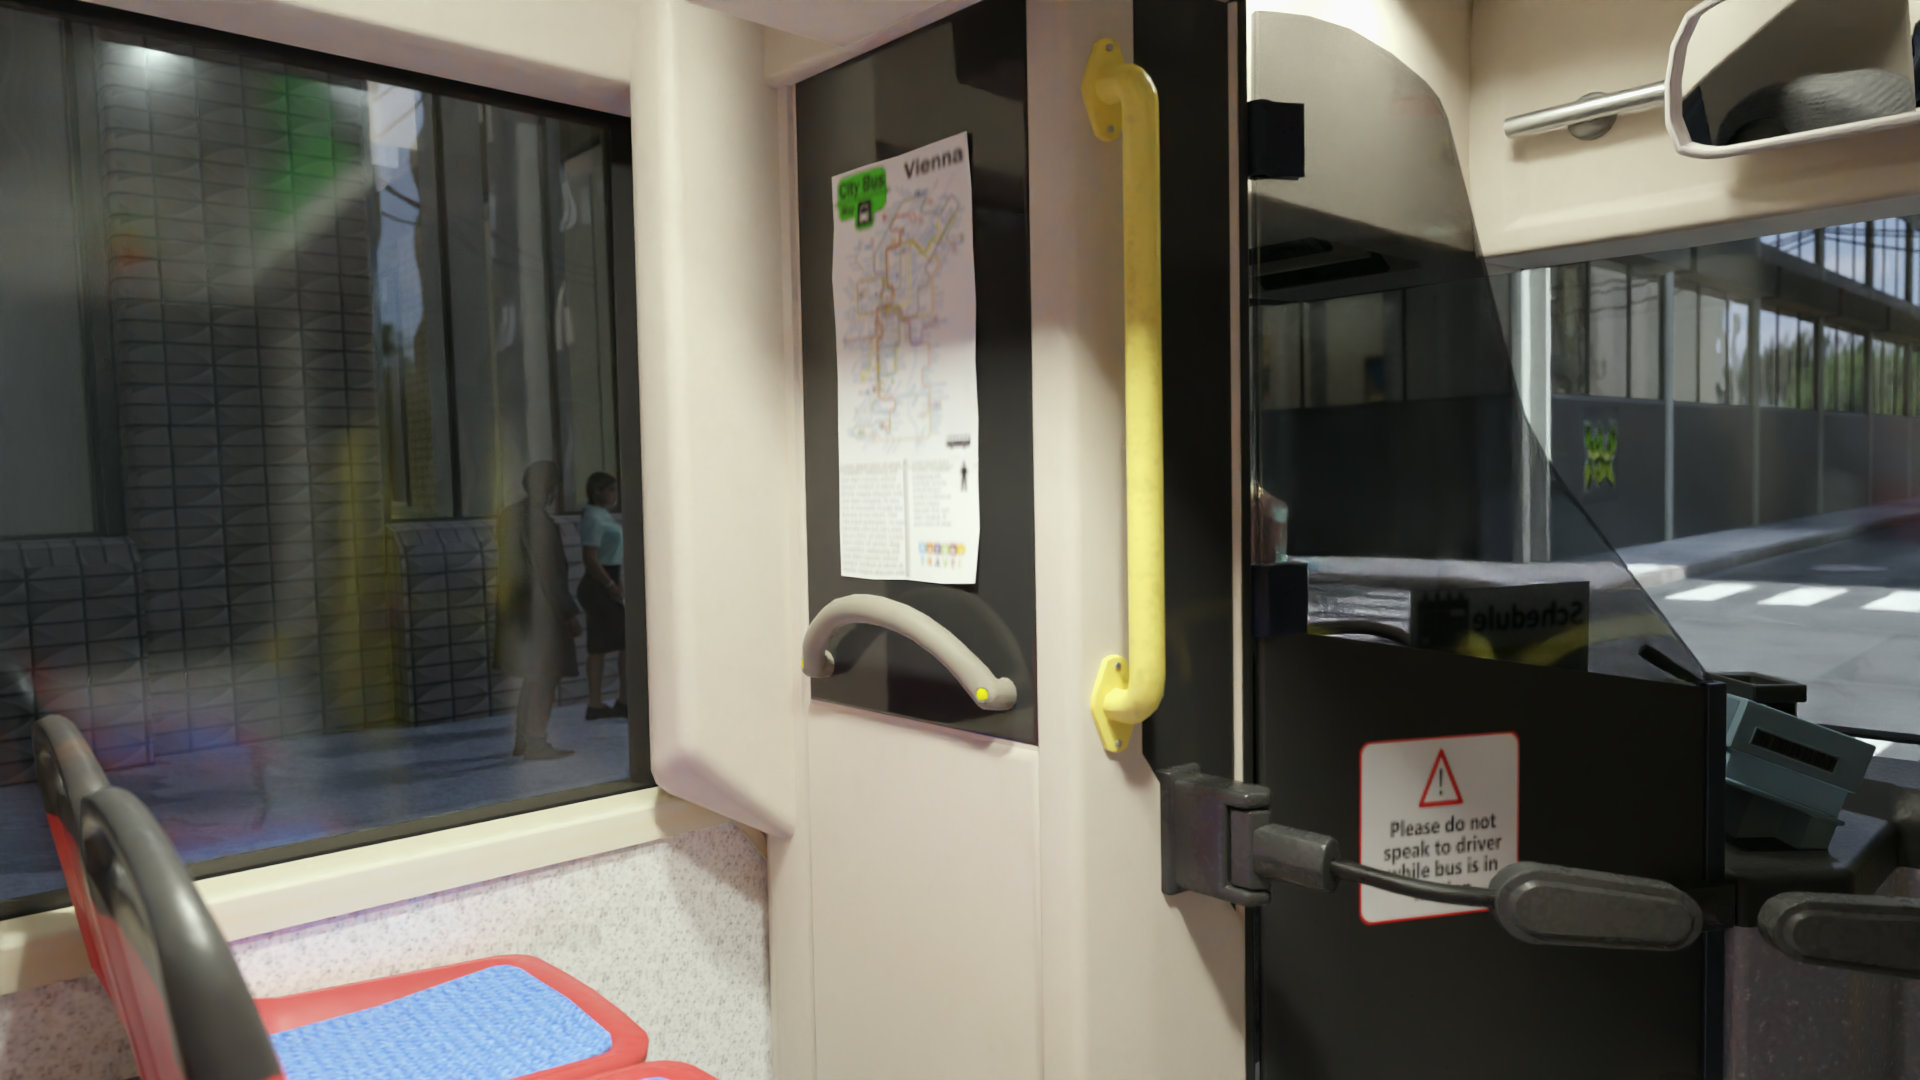
Substance painter city 4k textures urban scene public transport vehicle city bus Rigged detailed interior bus realistic-render animation