City Road Maker V2.1
 3Dz
3Dz


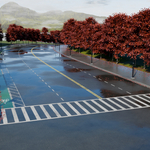
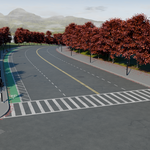
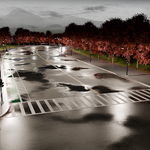
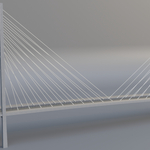
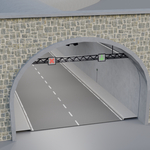
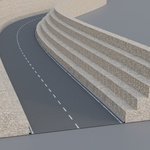
Full Tutorial
Installing the Asset Library
There are two ways to use CRM 2.1 as an Asset Library.
Method 1 — Add the File as an Asset Library
- Open Edit → Preferences → File Paths.
- Under Asset Libraries, click Add.
- Select the CRM 2.1 file you downloaded.
- Open the Asset Browser panel.
- Choose CRM 2.1 from the asset library list.
-
Drag & drop assets directly into your scene.
Method 2 — Append the Collections (Recommended)
This method loads everything directly into your project blend file, preventing duplicated references, materials, and geometry node setups
- Go to File → Append.
- Browse to the CRM 2.1 file.
- Open the Collections folder.
- Append all collections.
- Exclude CRM 2.1 Collection from the Outliner.
- Open the Asset Browser panel.
- Switch to Current File.
- Drag & drop assets directly into your scene.
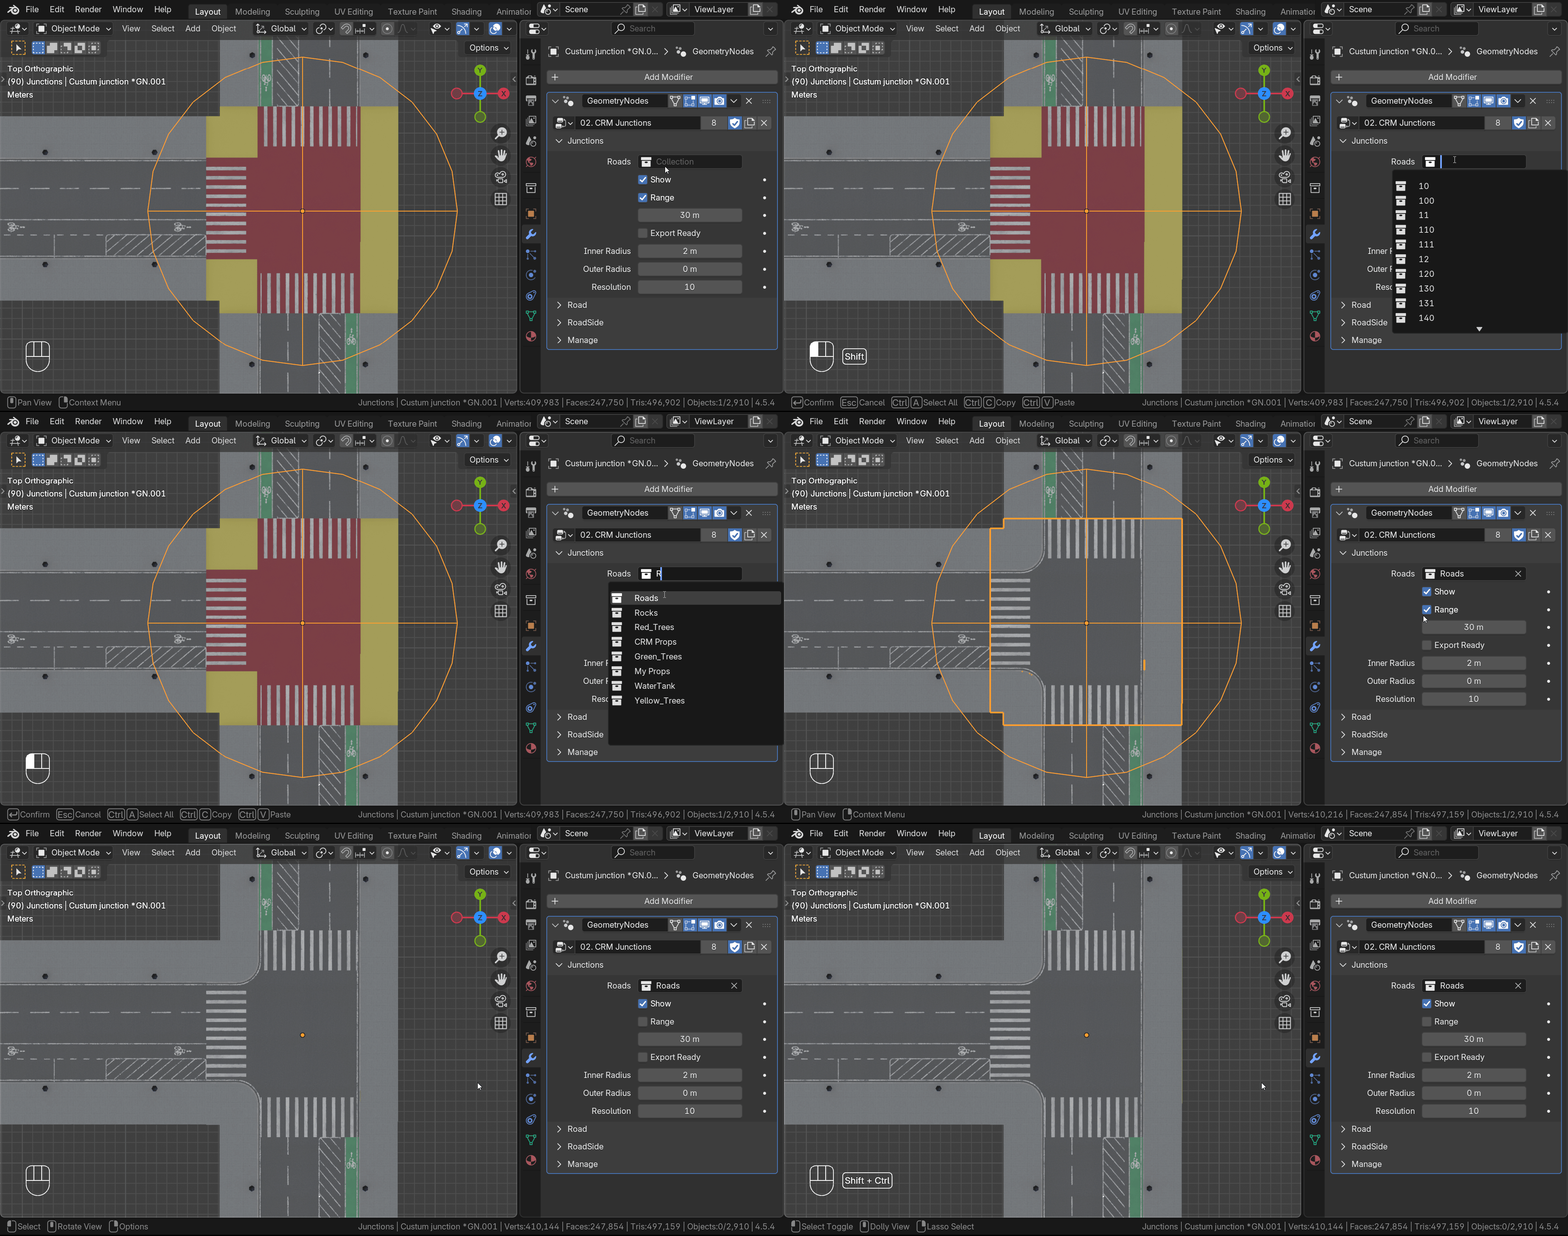
Connect Roads — Junction
The Junction feature merges the road tongues (red and yellow guides) into a clean, continuous road surface and roadside.
Position the Roads
- Place your roads so their tongues form the shape of the intersection, making sure they are at the same level at the Z-axis.
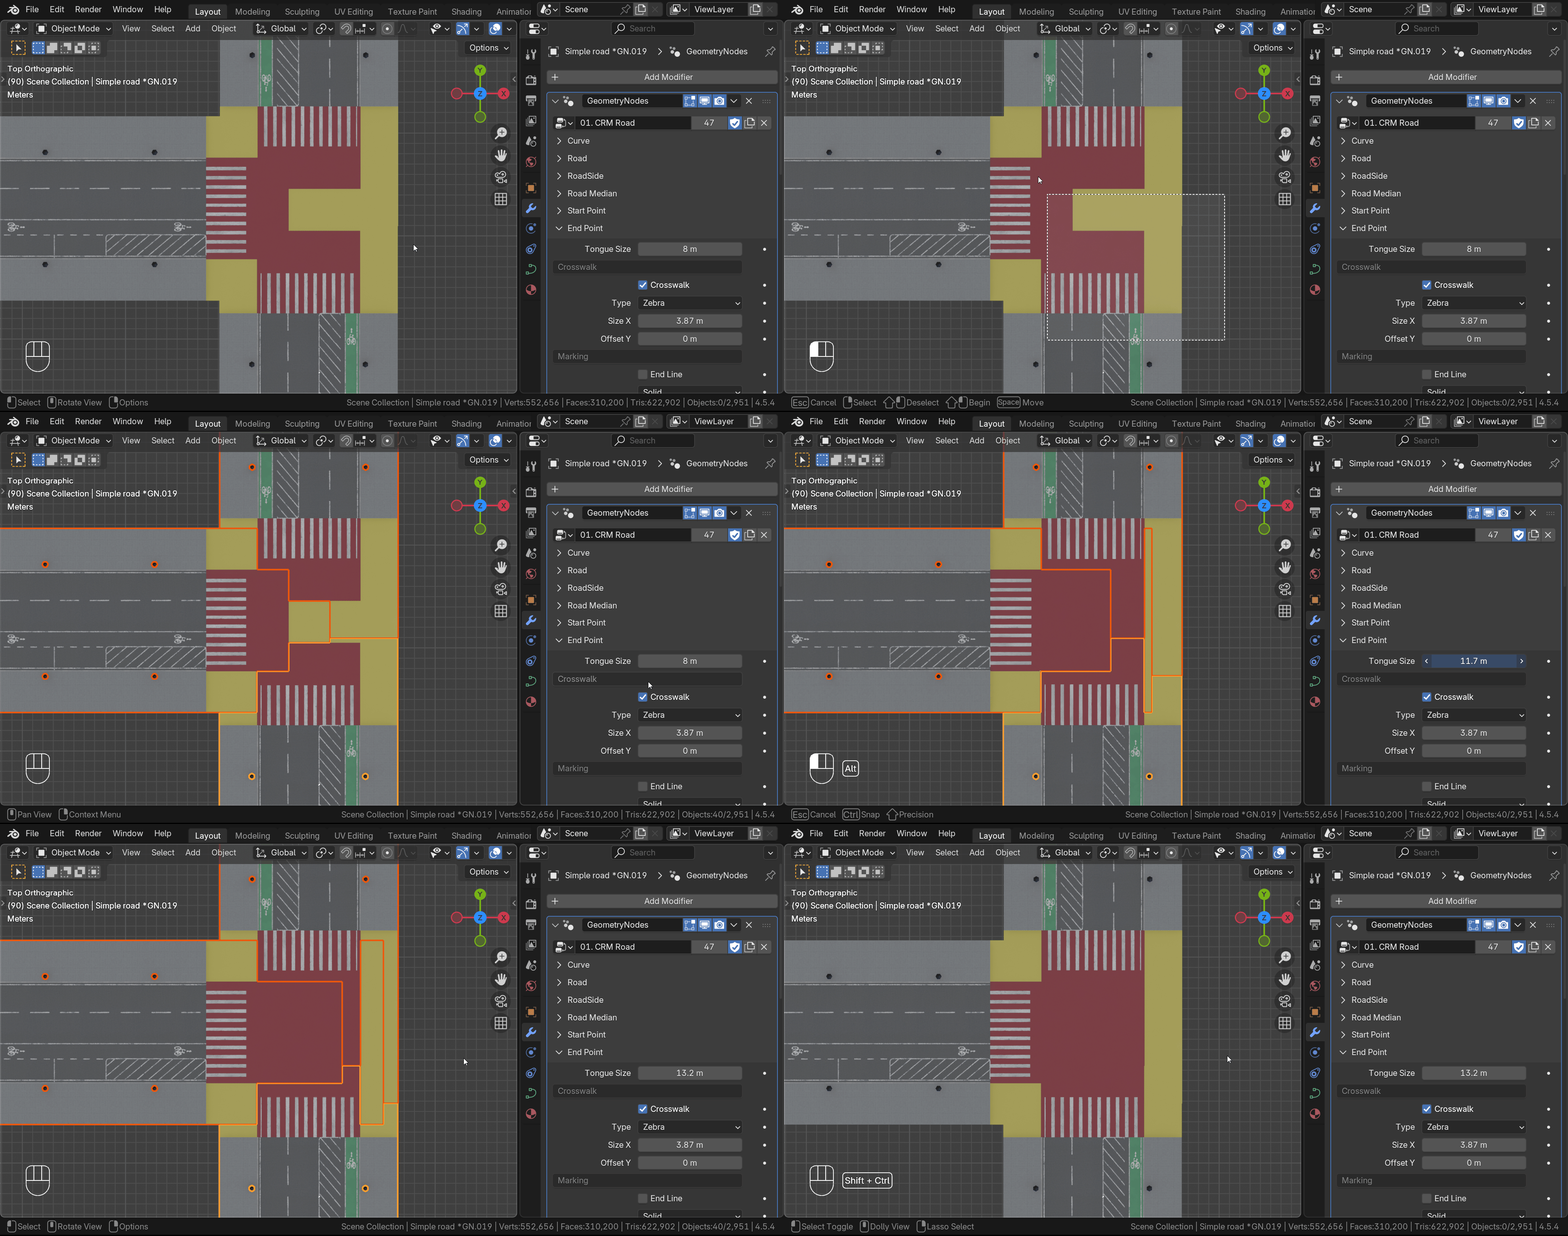
Add the Junction
- Drag the Junction asset from the Asset Library and drop it into the intersection area.
Organize Collections
- Make sure the Roads and Junction are in separate collections.
Link the Roads
- In the Junction’s Geometry Nodes modifier, select the Roads collection as the input.
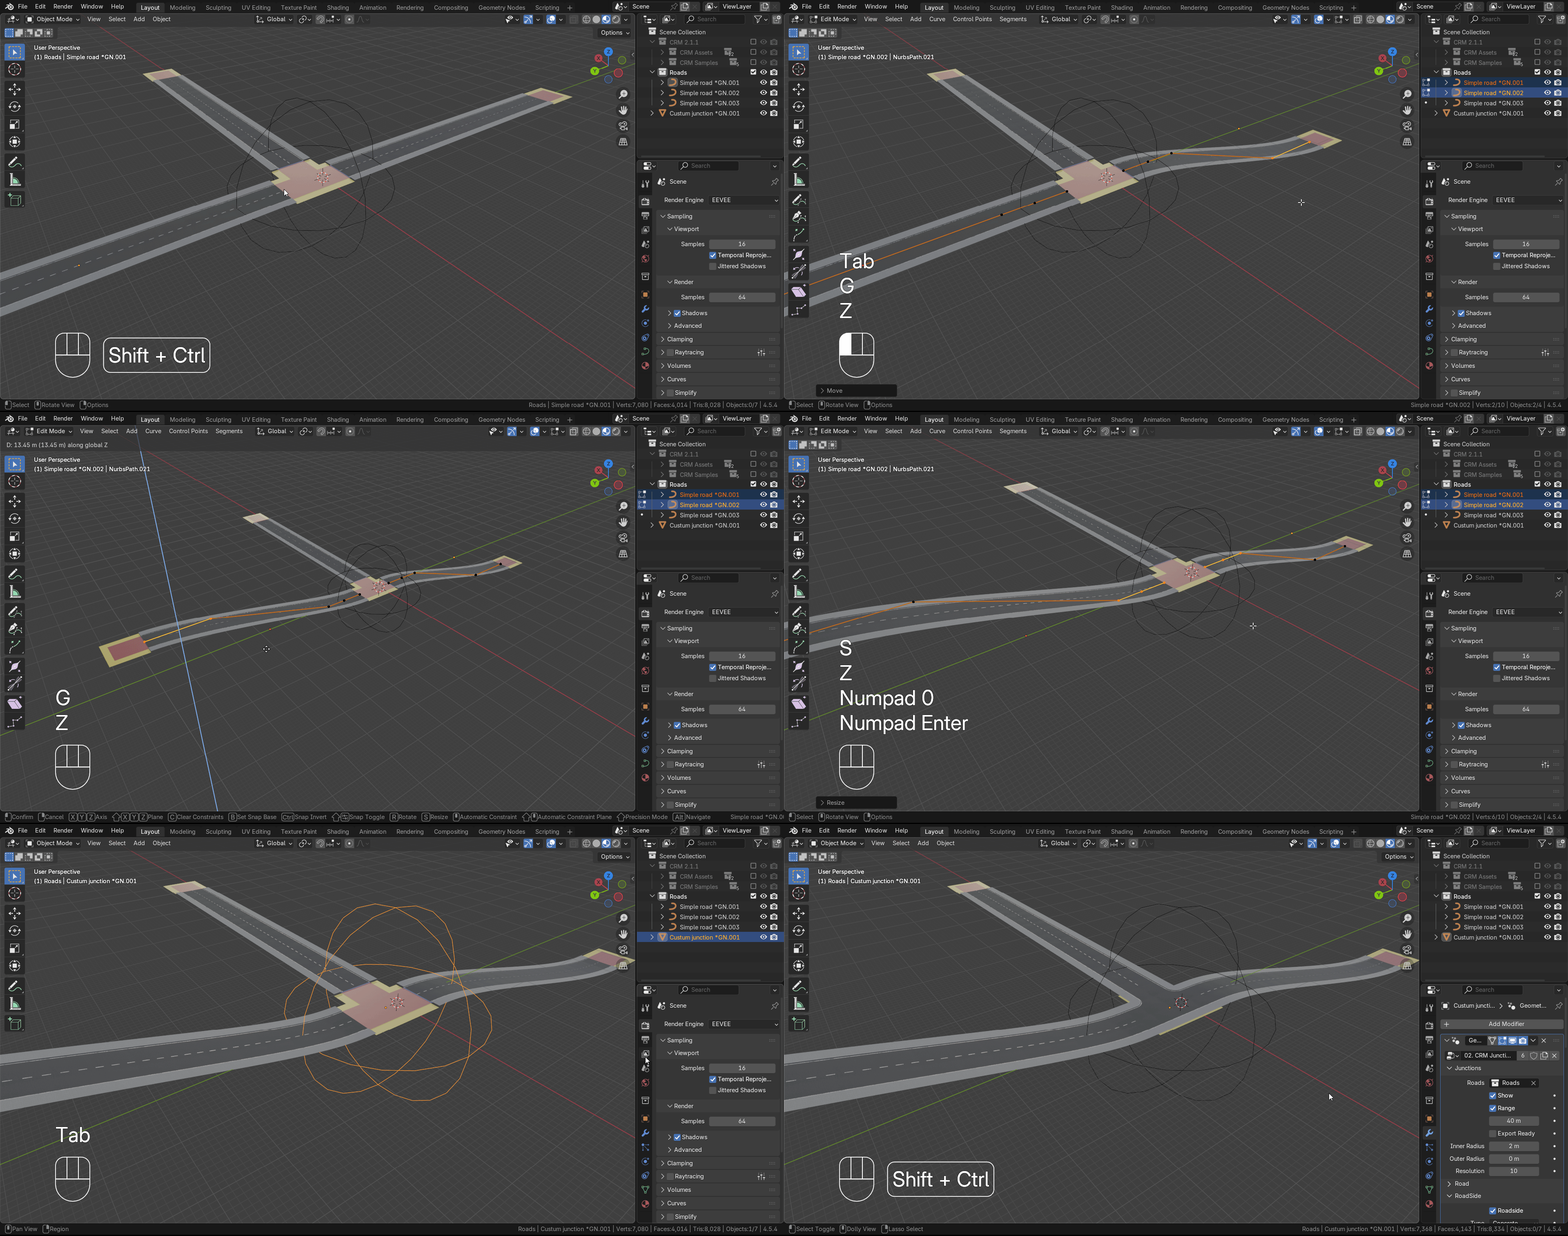
Elevated Roads
- Make sure you keep the last three points of each road aligned at Z-axis, when you are working with elevated roads.
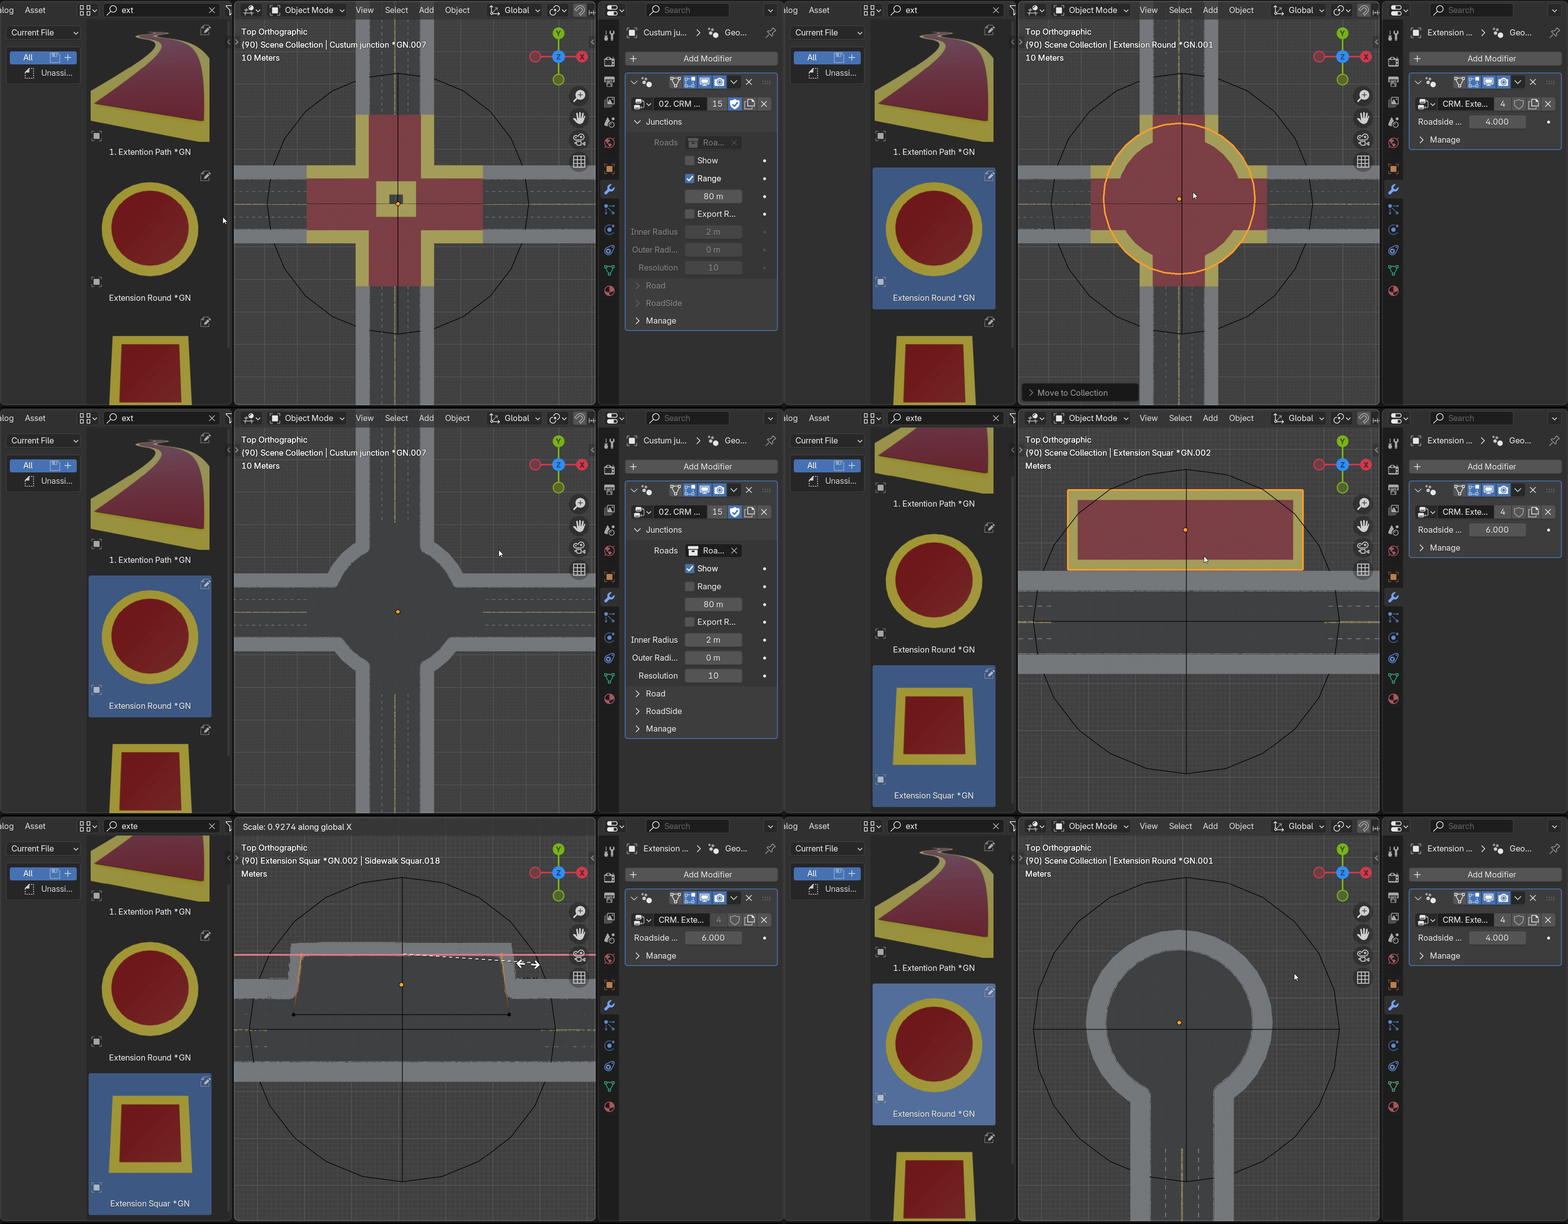
Extension
The Extension can be merged with road tongues to create roundabouts, bus stop places, dead-end roads, and more.
Add the Extension
- Drag the Extension Path, Extension Square, or Extension Round asset from the Asset Library.
Position It
- Place the extension in the Junction area, making the shape you want.
Organize Collections
- Make sure the extension is in the same collection as the roads.
Mountain Road
This feature lets the terrain automatically adjust to your roads.
Enable Pull Terrain
- In the CRM Road setup, check the Pull Terrain option to let the road influence the terrain.
Assign Roads to Terrain
- In the CRM Terrain setup, select the roads collections you want the terrain to adapt to.
How to Export
Enable Export-Ready
- In Geometry Nodes setups that include an Export-Ready checkbox, make sure to enable it before exporting. (If a setup doesn’t have this option, it can be exported as is.)
Convert to Mesh
- Right-click the object → Convert To → Mesh.
Export
- Use your preferred export format.
Note: Options marked with an asterisk * (like CRM* asphalt types or Wet* surfaces) are procedural effects. Because they’re procedural, they can’t be exported directly.
-
$34
22 GN setups, 100+ Street Asset, 5 Pre-made Samples
Have questions about this product?
Login to message
Includes an Asset Library with select variants
163 drag-and-drop assets for Blender’s Asset Browser.
Browse included assets| Sales | 1300+ |
| Rating | 14 ratings |
| Dev Fund Contributor | |
| Published | almost 4 years ago |
| Blender Version | 4.3 - 5.2 |
| Render Engine Used | Cycles, Eevee |
| License | Royalty Free |
Discover more products like this
#RoadGenerator maker urban junction Generator signs curve roadway sidewalk infrastructure Geonodes elements 2.0 procedural Road generator blender road Geometry loveblender props intersection motorway assetlibrary ultimate dynamic 3DAssetLibrary blender road generator city asset path 3d Node geo roads street bridge geometrynodes geometry node tunnel