 Medicraft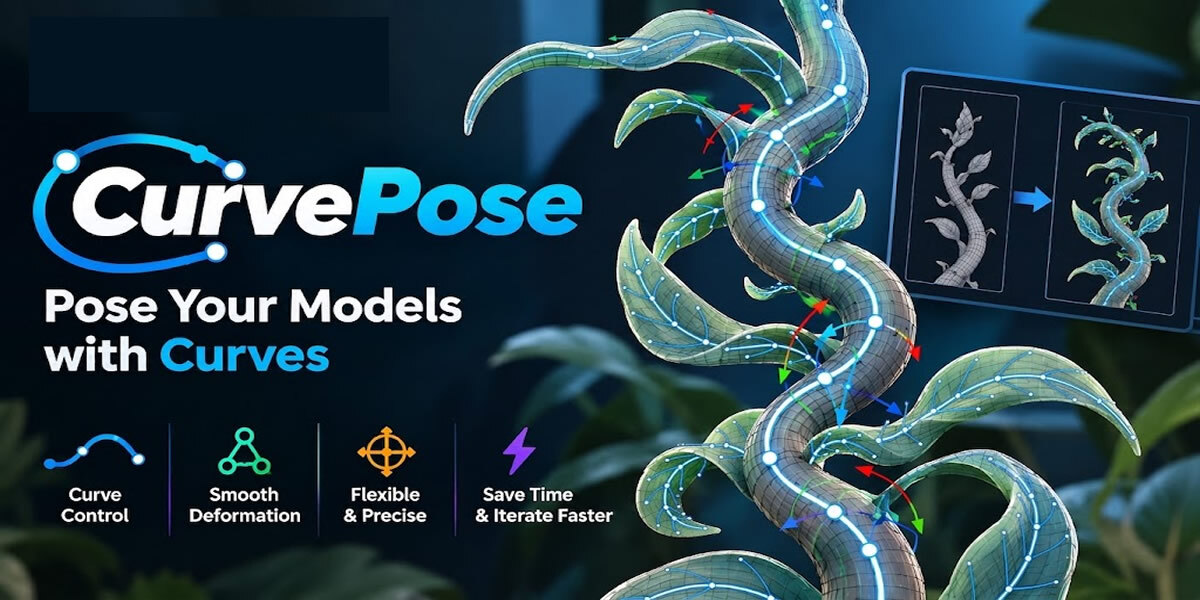
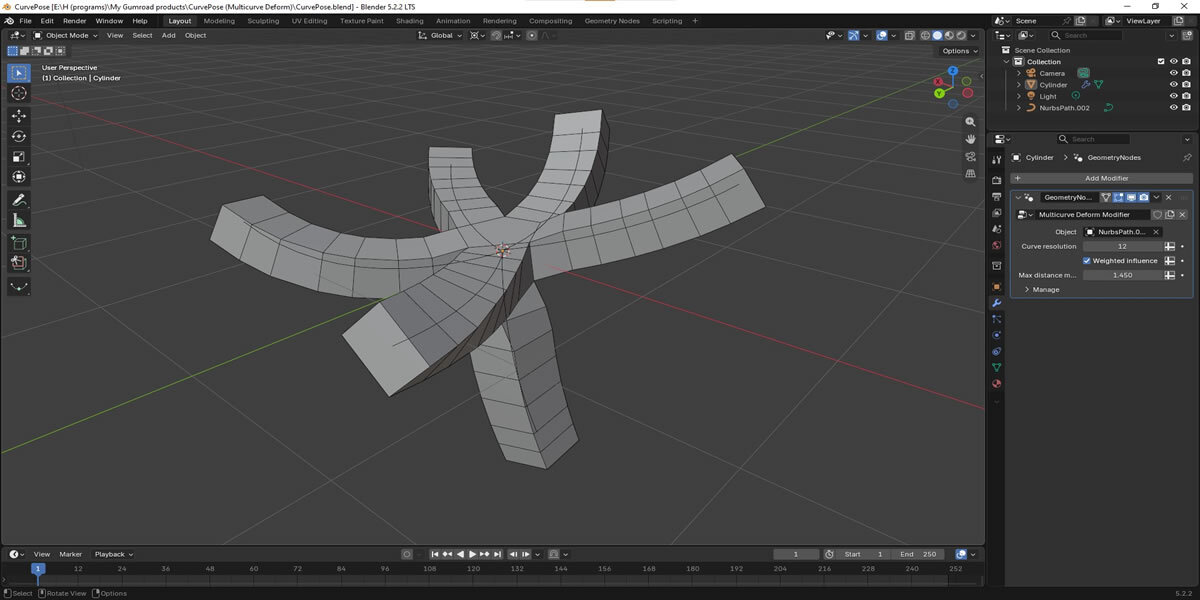
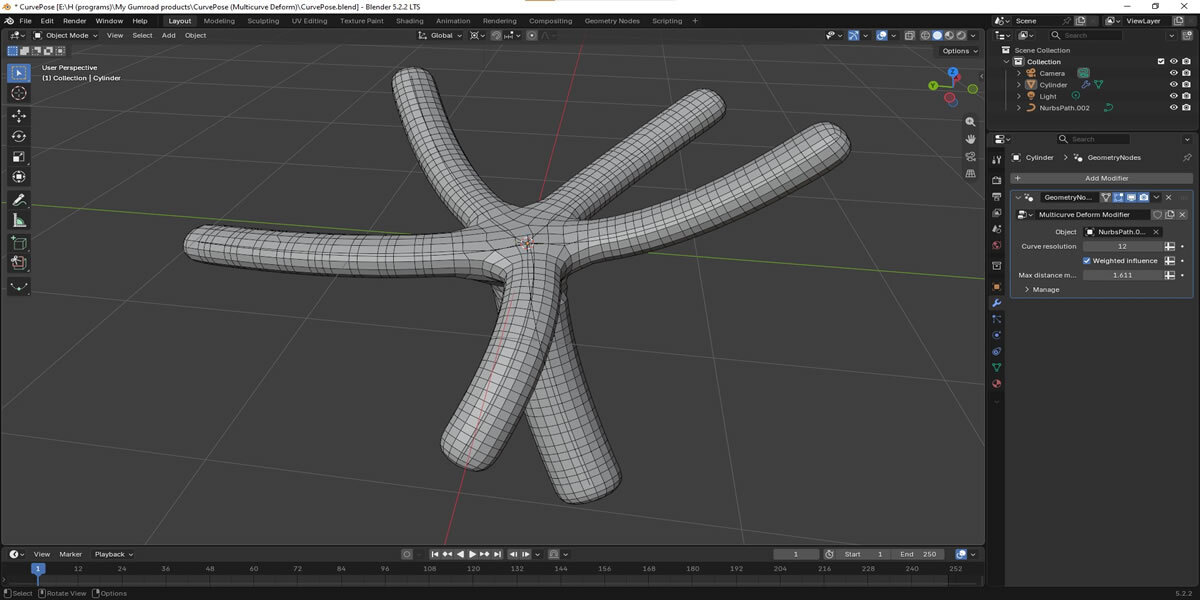
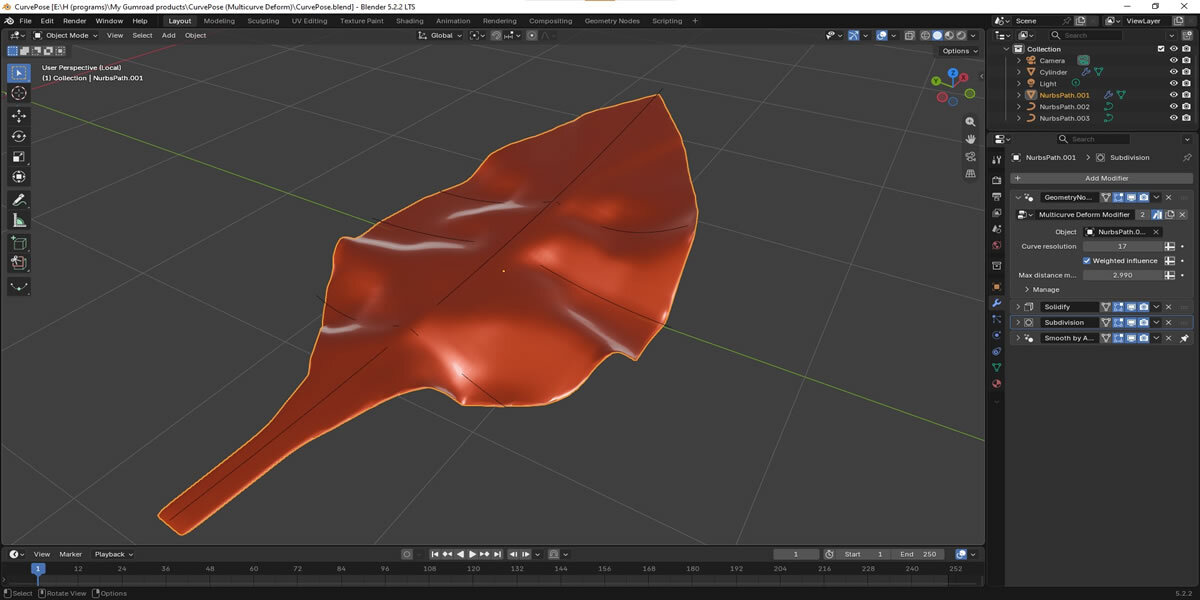
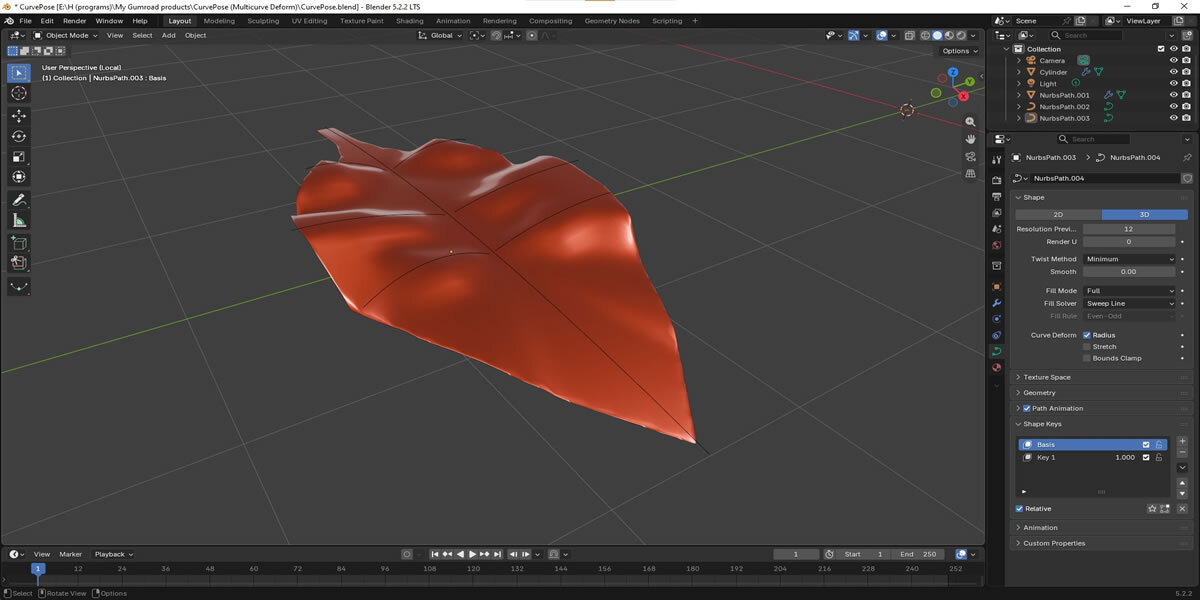

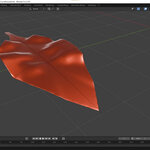
A powerful Geometry Nodes modifier that allows you to deform a single mesh using multiple curves simultaneously. Designed as a streamlined alternative to complex hook setups or parented curve hierarchies, Curve Pose provides an intuitive, non-destructive way to pose and animate organic shapes like foliage, tentacles, or complex structural arrays.
Simply assign a curve object containing multiple splines, "bake" the initial state, and start editing the curve points. The mesh will smoothly deform to follow the new curve paths and tilts, with granular control over how the curves influence the geometry.
Key Features
Multi-Curve Influence: Deform a single continuous mesh using a single curve object that contains multiple splines or path curves.
Intuitive "Bake" Workflow: Establish the resting pose with a single click. Once baked, moving or rotating curve points in Edit Mode will instantly deform the corresponding parts of the mesh.
-
Automatic Weighting System: Curve Pose features a weighted influence system that automatically blends the deformation between multiple curves. This acts similarly to armature automatic weights, allowing adjacent curves to smoothly share influence over the mesh.
-
Shape Key Compatibility: The deformation is calculated procedurally, meaning it is highly recommended to use it in tandem with Blender's Shape Keys. Bake your base shape key, pose your curves, and save the deformation as a new shape key for easy animation.
Curve Tilt Support: The modifier respects curve tilt (Ctrl+T), allowing you to twist and orient your mesh segments precisely.
Parameter Reference
Curve Object: The curve object containing the splines used to deform the mesh.
Curve resolution: Determines the sampling resolution of the curve. Increase this value if your mesh is high-resolution and needs to follow tight curve deformations more accurately.
Weighted Influence: A toggle that changes how the curves affect the mesh. When disabled, each part of the mesh is influenced only by the single closest curve. When enabled, the mesh vertices are influenced by multiple surrounding curves, creating smoother blends.
Max distance multiplier: (Available when Weighted Influence is enabled) Controls the falloff and reach of the curve influence. It acts as a multiplier of the minimum distance to the closest curve. A value of 1.0 means no surrounding curves influence the point. Higher values expand the radius, allowing more distant curves to smoothly blend their influence over the mesh.
Usage Instructions
Ensure your target mesh and your deforming curve object are aligned. It is recommended to create a base Shape Key on your mesh before proceeding.
Add a Geometry Nodes modifier to your mesh and assign the Multi-curve Deform setup.
In the modifier panel, select your target curve in the Curve Object input.
Navigate to the Geometry Nodes editor and click the Bake button within the node group to bind the current mesh state to the curves.
Go into Edit Mode on your curve object and begin moving points or adjusting curve tilt (Ctrl+T) to deform your mesh.
Adjust the Weighted Influence and Max distance multiplier to refine how the deformations blend across the mesh.
