 Medicraft


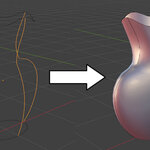
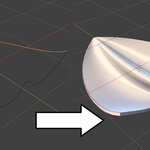
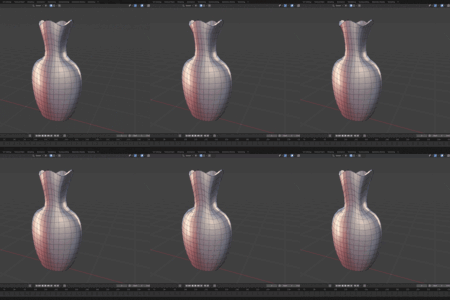
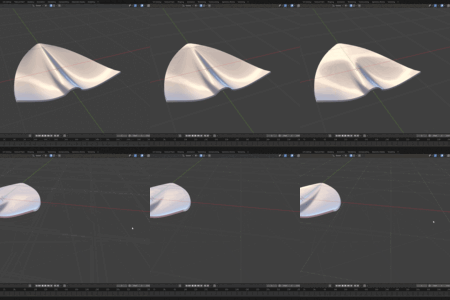
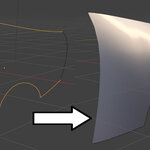
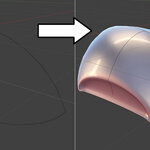
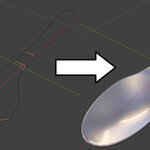
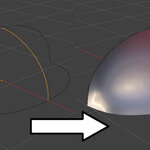
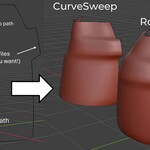
Unlock the power of procedural modeling and CAD-like lofting directly within Blender!
CurveSweep is a versatile Geometry Nodes based modifier that allows you to generate complex, smooth, and fully procedural meshes using just a few basic curves. Whether you are modeling elegant vases, complex organic shells, aerodynamic car parts, or industrial tools like shovel blades, this tool takes the headache out of manual topology and surface sweeping.
Instead of painstakingly pushing vertices, simply define your shape's boundaries and let the node group do the heavy lifting.
Key Features
Fully Procedural: 100% non-destructive workflow. Tweak your curves in Edit Mode and watch the surface update in real-time.
Intuitive Controls: Uses a simple 3-curve system: a Base curve, an End curve, and a Guide (profile) curve (can be one or multiple within the same curve object).
Customizable Topology: Dial in your exact level of detail right from the modifier panel. Easily adjust the U and V Resolutions to optimize for low-poly games or high-fidelity renders.
Precision Shape Blending: Take complete control over how your Base curve morphs into your End curve. Use the Interpolation Start and Interpolation End sliders to define exactly where the transition begins and ends along the sweep. Want the base shape to hold steady for the first 60% of the object before flaring out? You can dial it in instantly.
Asset Browser Ready: Marked as an asset for seamless integration into your personal Blender library. Just drag, drop, and create.
Clean Geometry: Generates a clean quad-based grid perfect for adding standard modifiers like Subdivision Surface or Solidify.
New: CurveSweep Plus now adds RotationalSweep!
RotationalSweep follows the normals of your path curves to preserve volume and shape with circular or highly curved paths. It's like a curve-to-mesh node on steroids: set a main sweep path, an optional secondary sweep path, and as many curve profiles as you want. The tool will blend smoothly between them as it sweeps.
How to Use
Step 1: Import the Node Group You can bring this setup into your project in two ways:
Asset Browser: Place the downloaded
.blendfile into your designated Asset Library folder. Open the Asset Browser in your current project, locate "CurveSweep", and drag it into your scene.Append: Go to
File > Append, locate the downloaded.blendfile, go to theNodeTreefolder, and append the "CurveSweep" node group.For RotationalSweep, just use the "RotationalSweep" Modifier/Node instead.
Step 2: Prepare Your Curves Create three separate curve objects in your scene:
Base Curve: The starting shape (e.g., the circular bottom of a vase).
End Curve: The finishing shape (e.g., the wavy top opening).
Guide Curve(s): The profile that connects the base to the end, defining the silhouette.
Step 3: Apply the Modifier
Select your Base Curve object.
Go to the Modifiers Properties panel and add a Geometry Nodes modifier.
Select the CurveSweep node group from the dropdown menu.
Step 4: Assign and Tweak
In the modifier panel, use the object picker for the End and Guide inputs to select your respective curves.
Adjust the Resolution u and Resolution v sliders to dial in your desired mesh density.
Use the Interpolation start and Interpolation end sliders to control the cross-section morphing. For example, setting the start to
0.500means the lower half of your surface will maintain the Base curve's shape perfectly before smoothly transitioning into the End curve's shape.(Optional) Add a Solidify modifier after the Geometry Nodes modifier to give your new surface thickness!
For RotationalSweep:
Select your main sweep path and apply the modifier to it.
In the modifier panel, use the object picker for the "Profile Curves" to pick the curve object containing your sweep profiles. These can be one or more. The tool will blend smoothly between them during the sweep.
Optionally, select a secondary sweep path for the other end of your curve profiles.
Note: if your mesh looks twisted, you need to make sure your base and end curves are pointing the same way. You can quickly fix this by going into Edit Mode for any of them, selecting all control points, right-clicking, and choosing "Switch Direction."
