 Color Variations of Eldorado - cvELD -


CLOTHING FITTING, INSIDE BLENDER
Make it fit.
Keep its character.
Bring existing clothing into place. Refine the parts you select. Keep control of the details and the final shape.
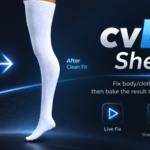
SOCK FITTING · RIBBON DETAIL PRESERVED · Open the video ↗
Fit the socks to the legs while retaining the shape of the attached ribbons. Use detail preservation to keep those small accents from flattening into the fit.
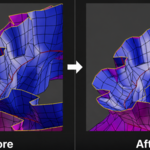
Use Surface Fit to bring a whole clothing object toward its reference.
Use QuickShellFit to adjust selected mesh vertices or curve points.
Confirm your fitting pass with an editable shape key output.
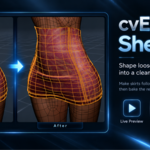
01 / FIT THE SKIRT. SHAPE THE HEM.
A closer fit.
Room at the hem.
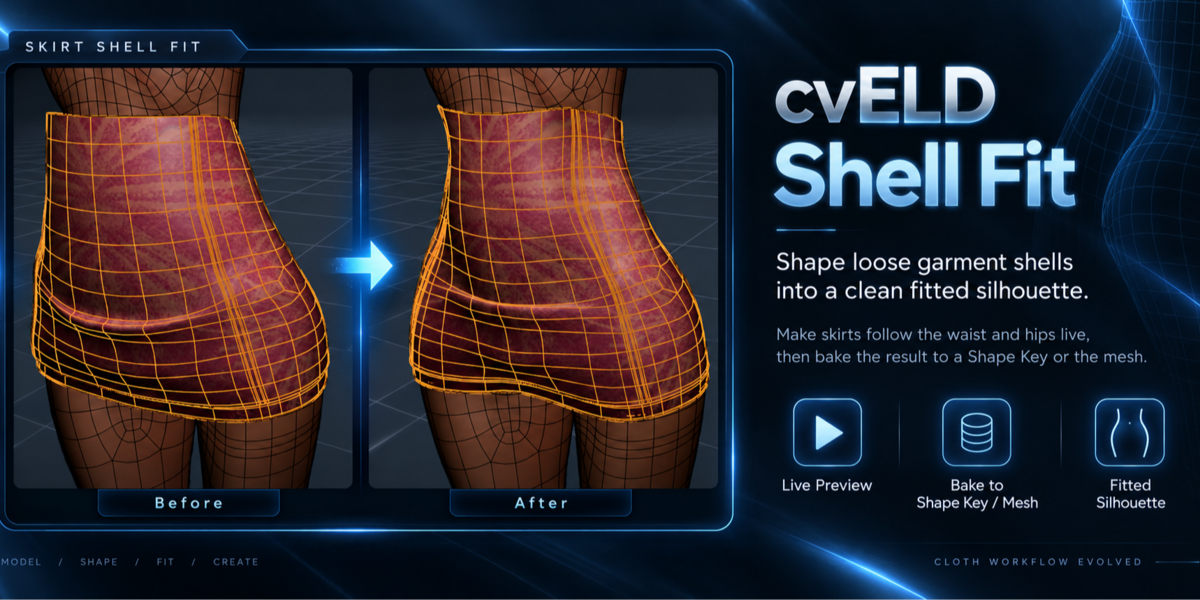
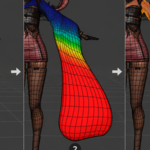
Fit the skirt to the body, then tune how closely the hem follows it. Enable Preserve Skirt Opening and adjust Skirt Preservation to balance the fitted silhouette with room around the opening.
SKIRT FITTING & HEM ADJUSTMENT · Open the video ↗
02 / SQUEEZE BULGE
Shape the softness
above the sock.
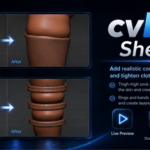
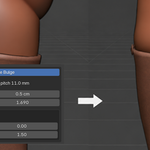
Use the sock opening as the reference and deform the body to shape the thigh above a knee-high sock. Start Bulge, compare shape presets, then adjust the dent depth and the reach of the surrounding bulge.
THIGH BULGE · Open the video ↗
No visible change? If Bulge moves no vertices, an advice message asks you to check the deformation and reference sides, Wrap Distance and the Limit Group. For socks, deform the body using the socks as the reference.
An open skirt hem may be too far from the body for contact-based bulging. Use the skirt-opening controls for the hem fit; use Bulge where the garment contacts the body.
03 / SELECT. FIT. REFINE.
Small selections.
Precise adjustments.
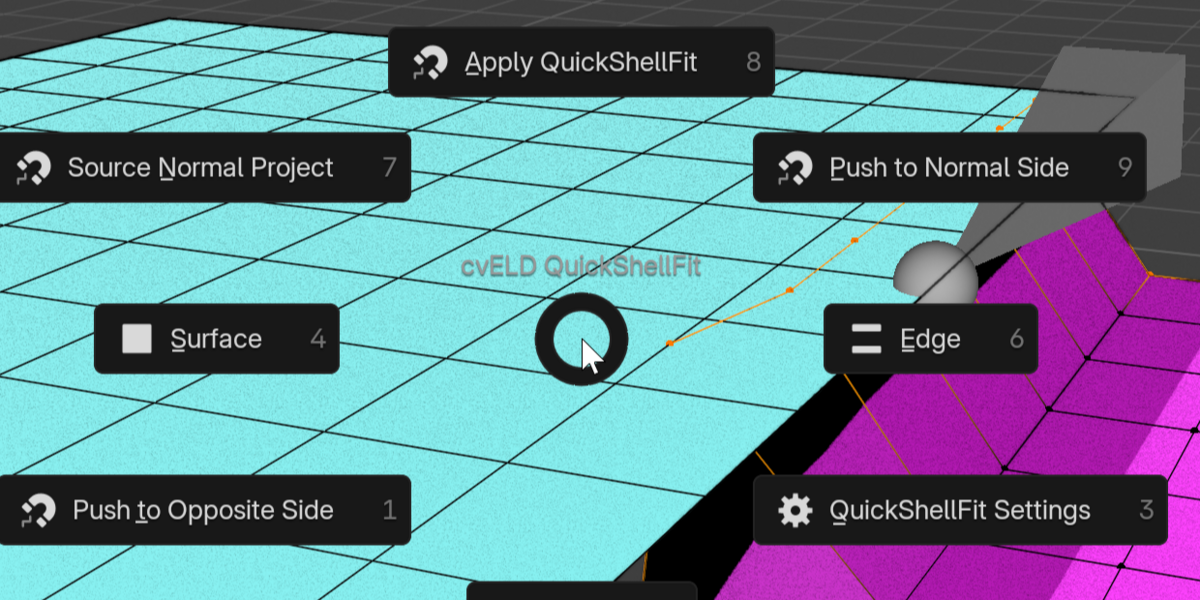
Snap selected mesh vertices or curve points to surfaces, edges or vertices. Open the default QuickShellFit pie with Ctrl + Shift + 1 and work on the area that needs attention.
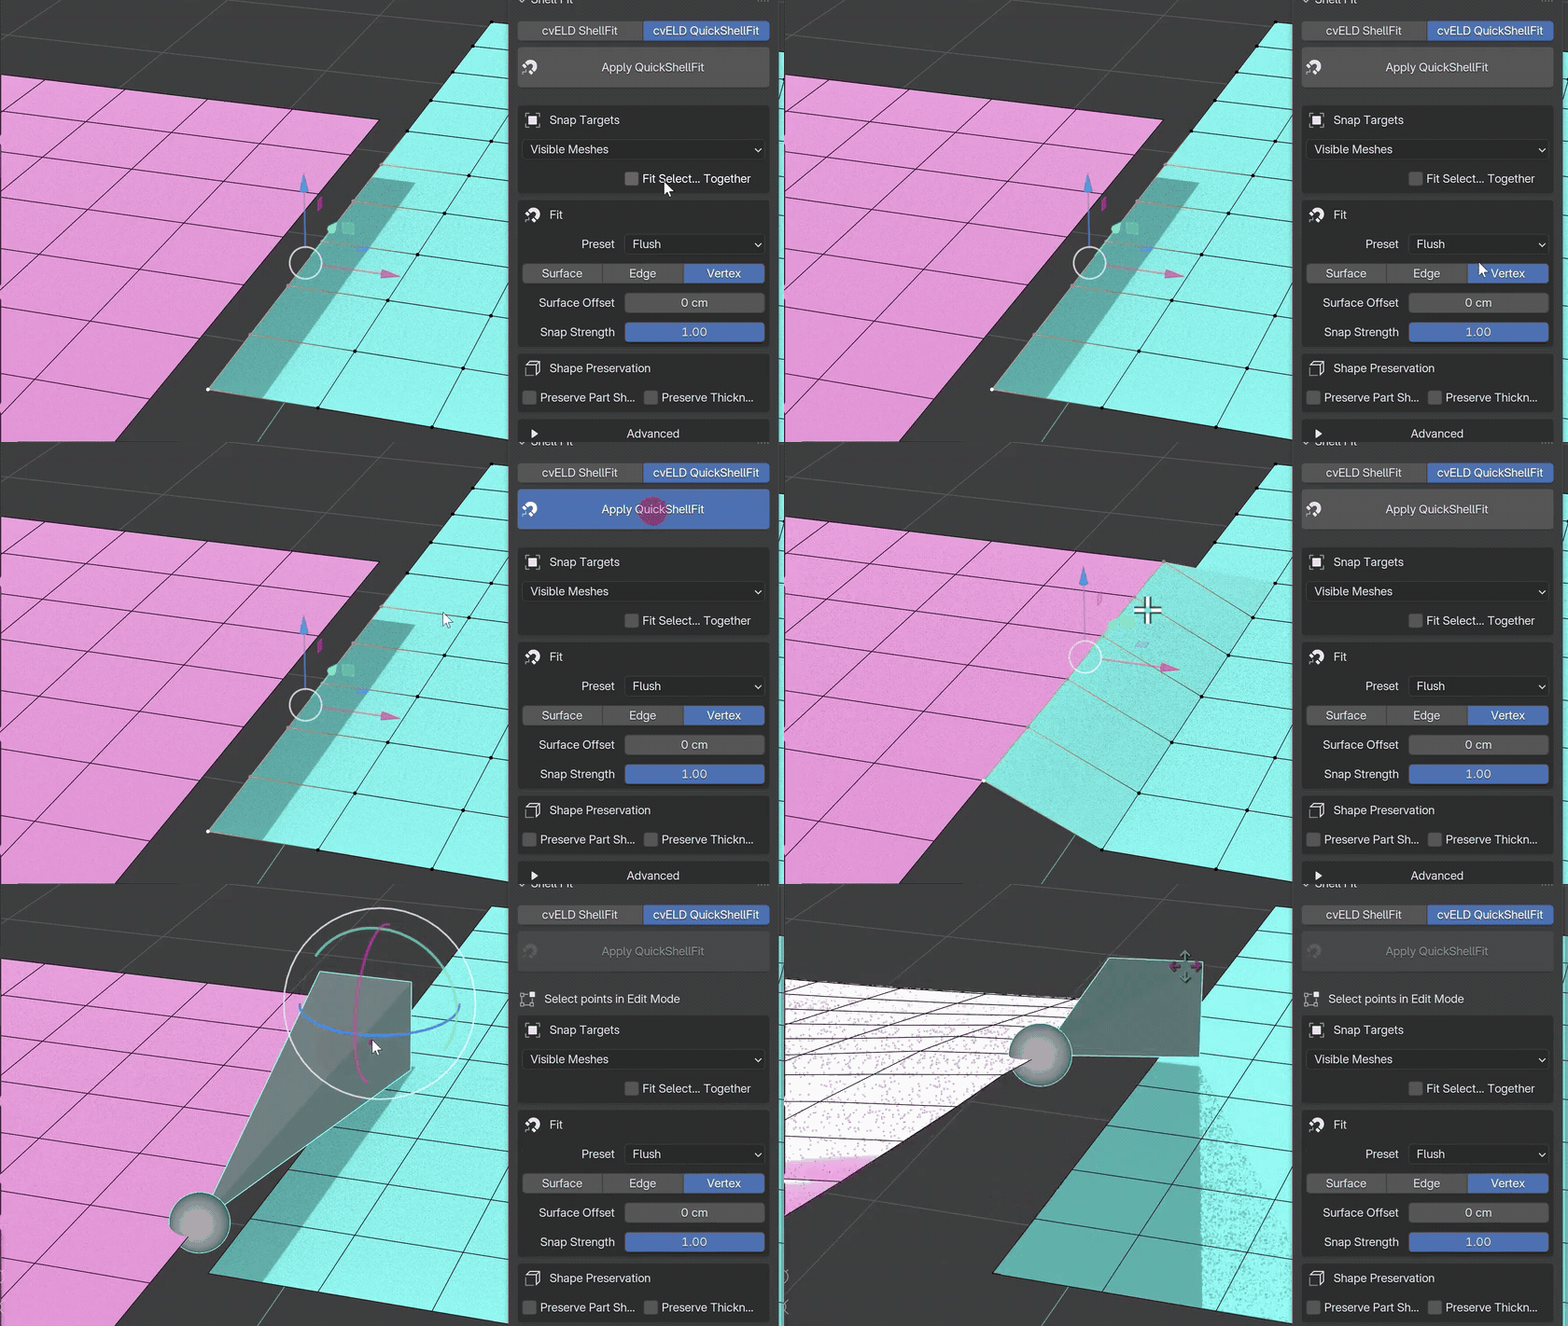
Choose the contact.
Match the local geometry to the reference you are working with.
RECORDED DEMO · 4.5 SECONDS · Video controls ↗
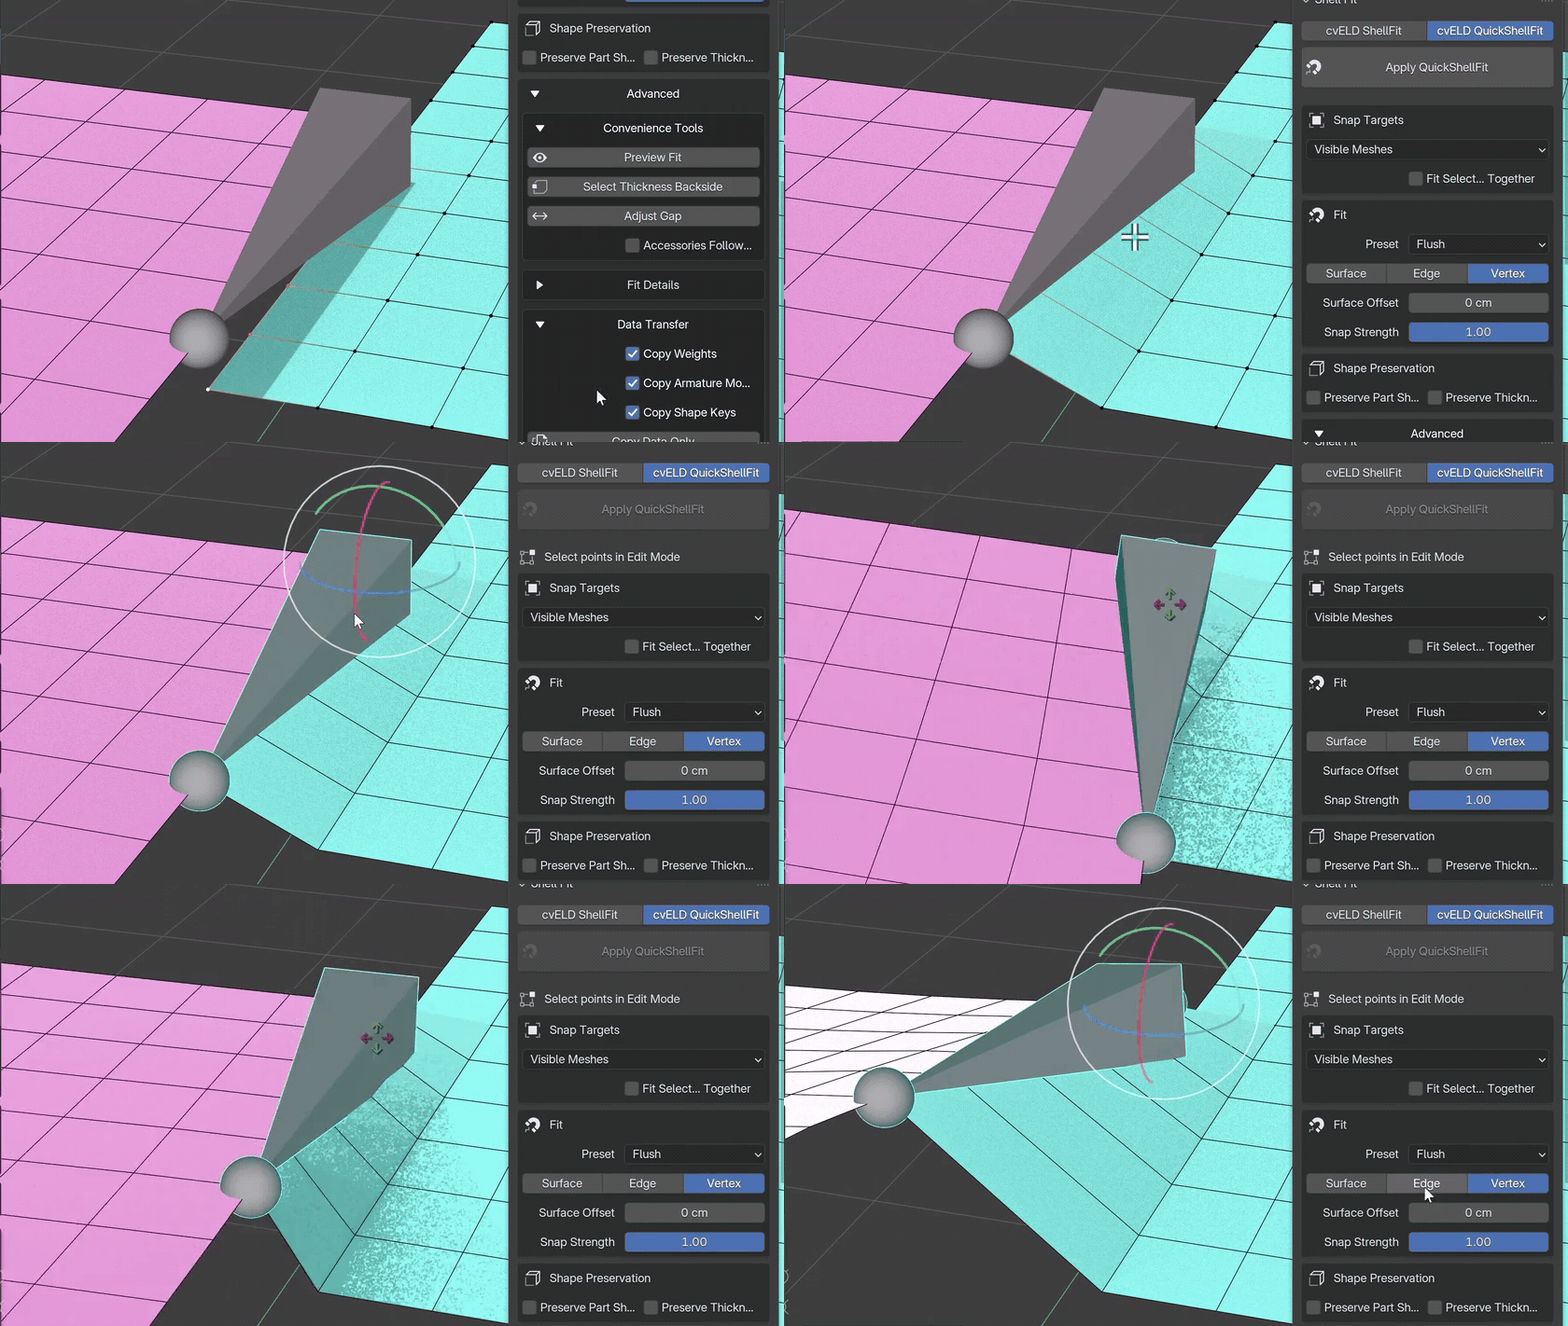
Inspect the fit.
Check the alignment from different angles as you refine the selection.
RECORDED DEMO · 5.5 SECONDS · Video controls ↗
Demo loops are cropped from an existing ShellFit recording at original speed. Earlier interface labels may be visible.
04 / THICKNESS THAT STAYS WITH THE PART
Keep the cuff.
Lose the collapse.
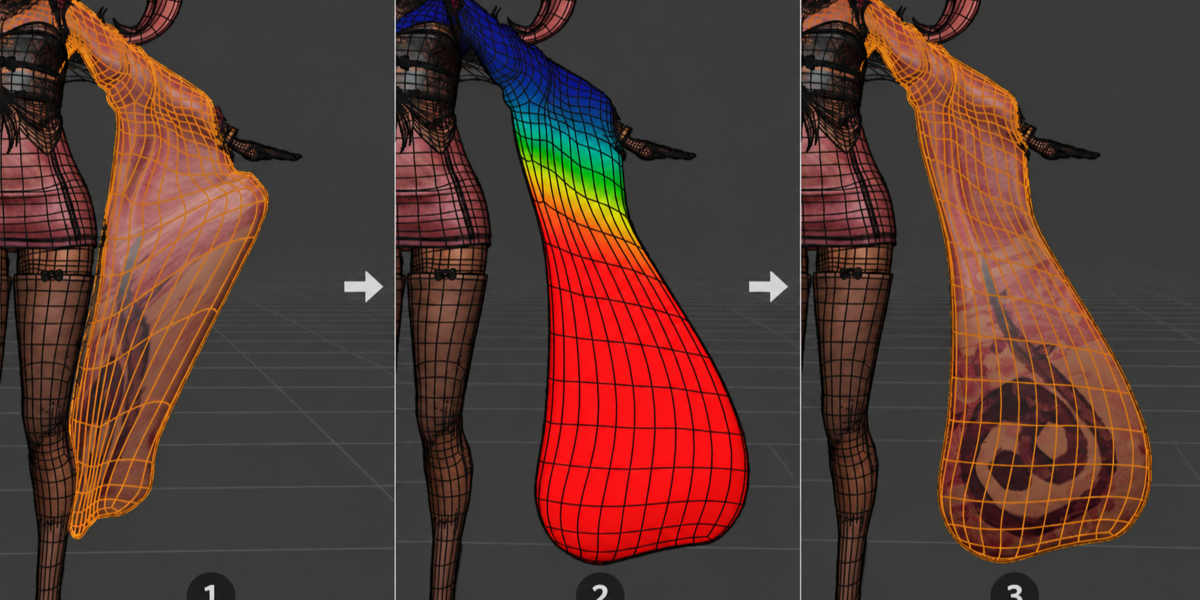
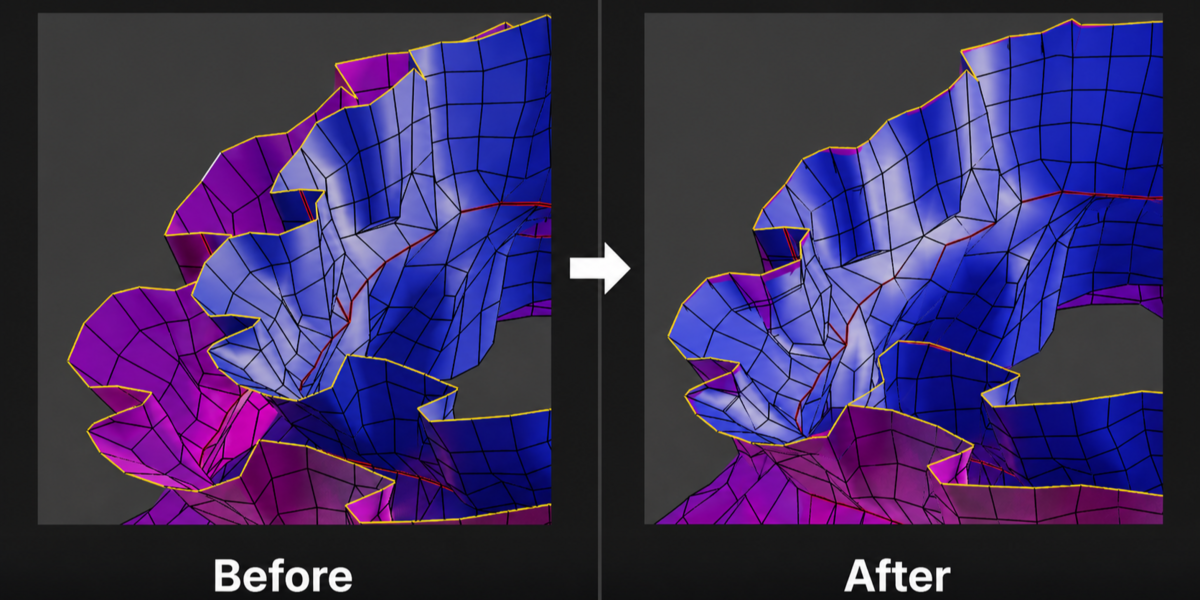
Version 1.3.3 fixes a reproduced closed-cuff case where the rims retained their thickness but the middle collapsed toward the body.
Automatic thickness search can now extend from an already detected wall thickness to find the opposing inner surface on the same closed part.
100% keeps the detected shell thickness.
50% uses half that thickness.
0% / off lets both layers approach the reference surface.
Start with Preserve Shell Thickness on, Amount at 100% and Search at 0 (automatic). Zero removes thickness preservation; it does not maintain a wall between the layers.
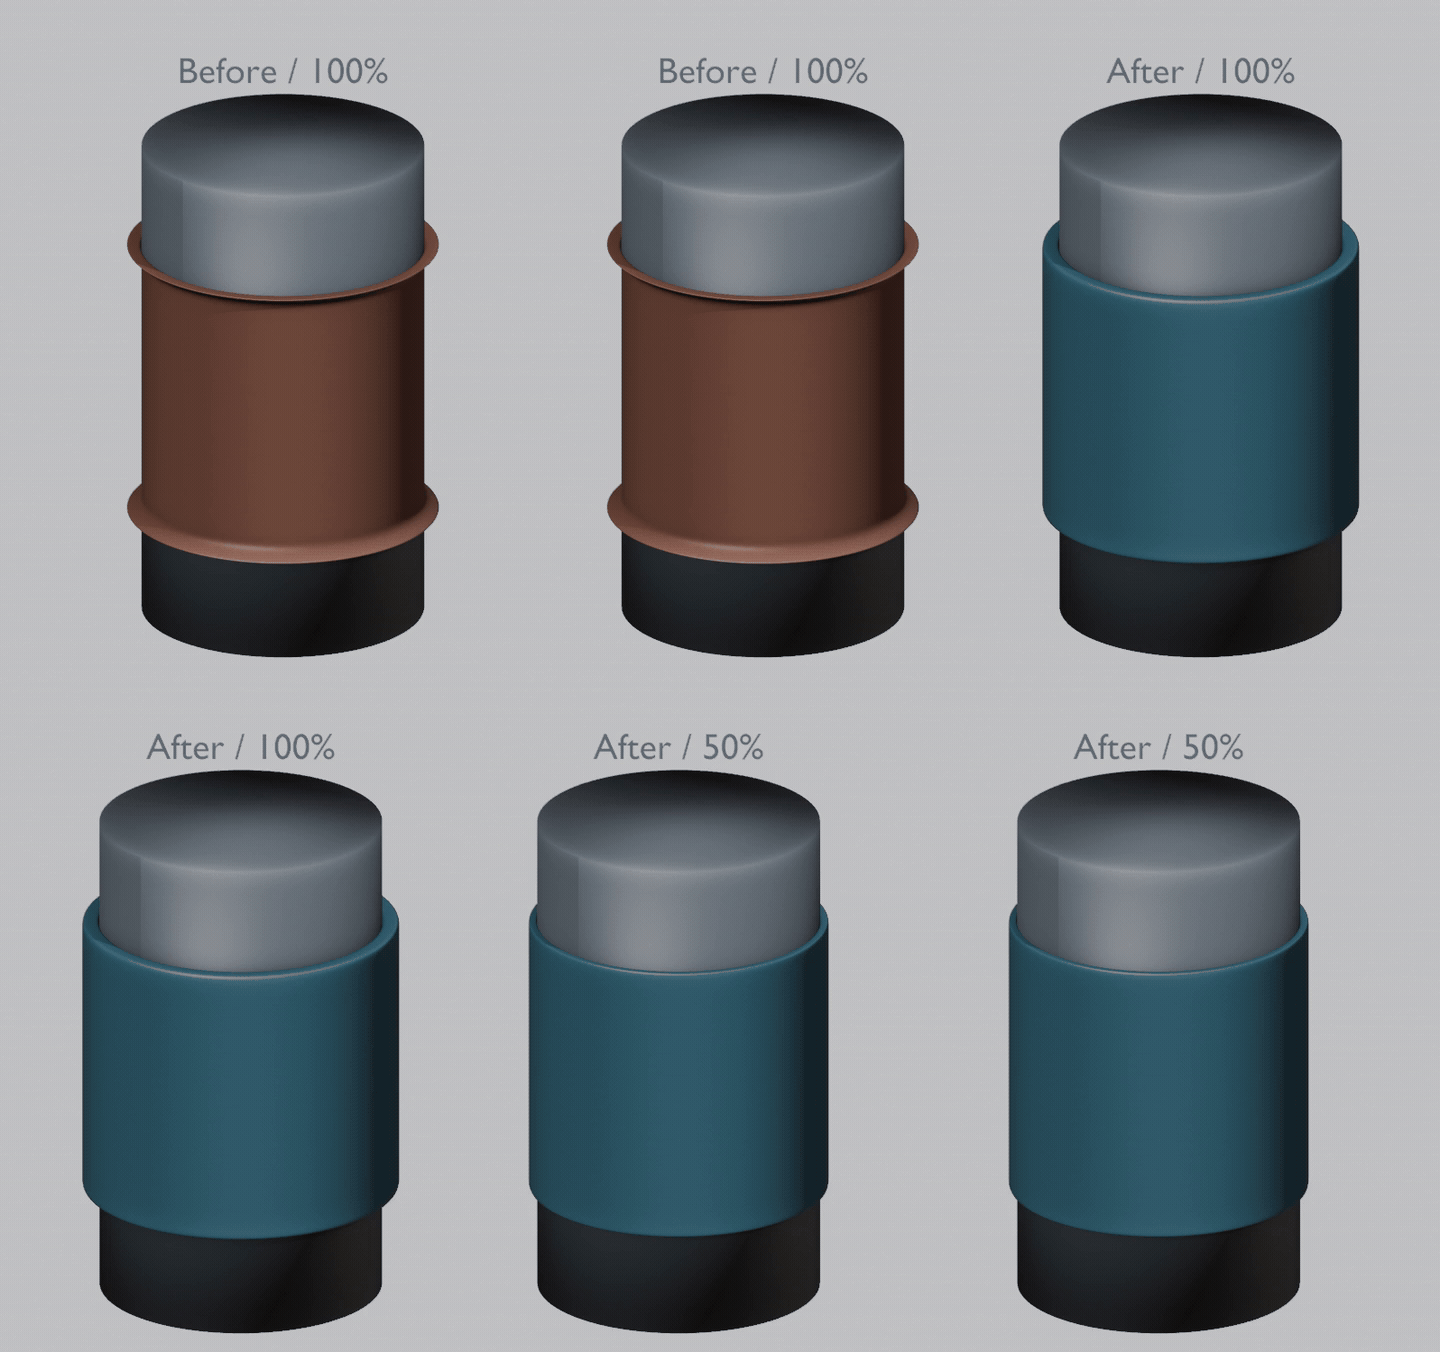
ANIMATED STILL COMPARISON · Verified Blender-rendered sample. Three states held for 2 seconds each; this is not an interaction or speed demo.
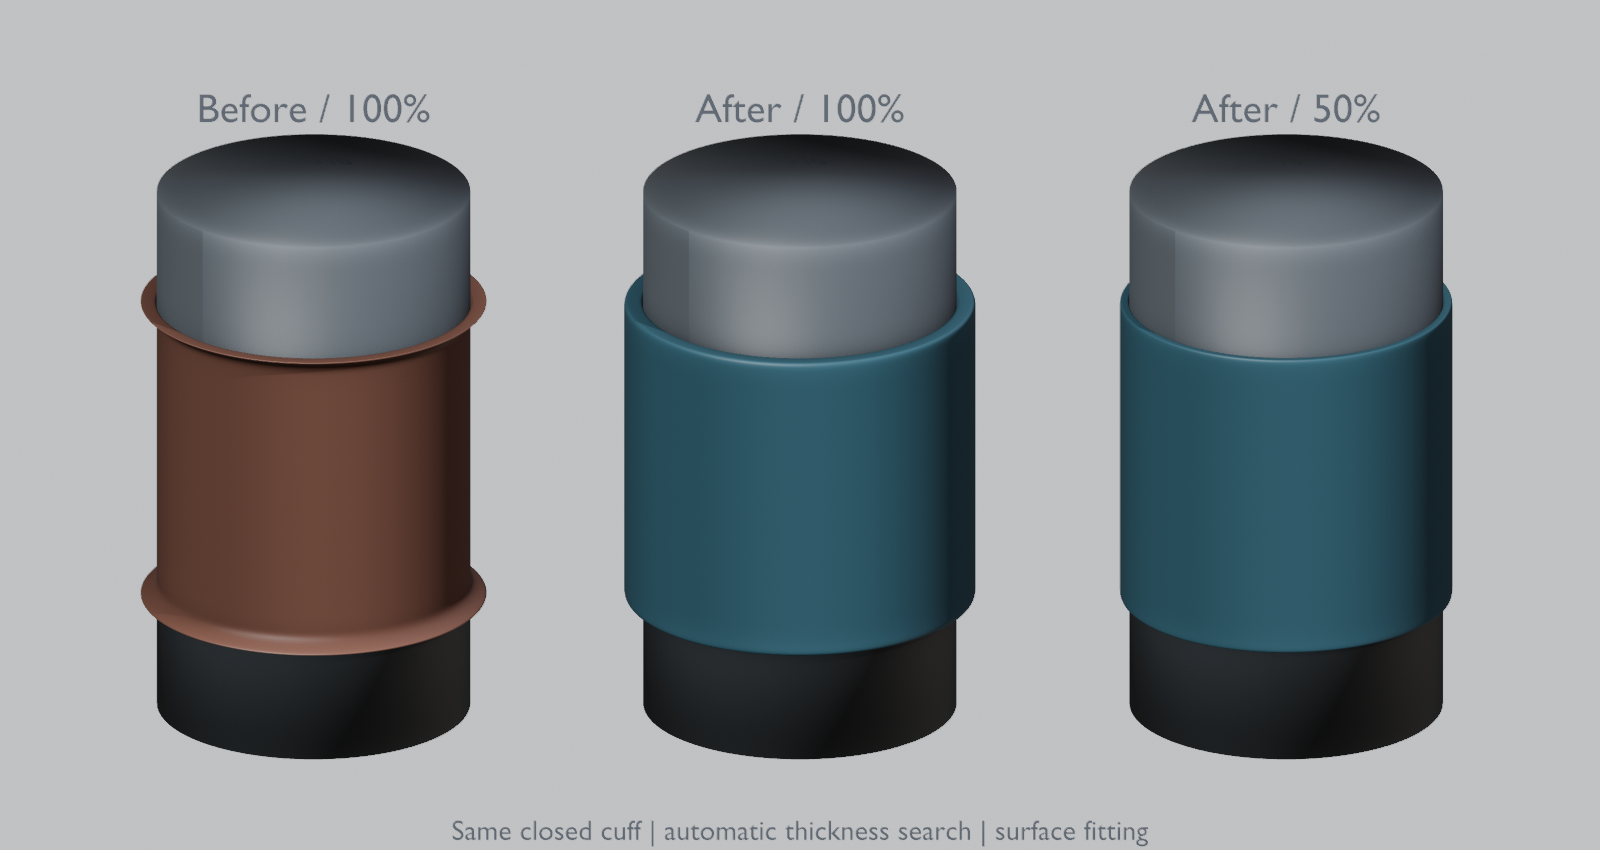
05 / YOUR MODEL. YOUR CONTROL.
Protect the details.
Finish your way.
Use a Protection Mask to keep selected areas in place while the rest follows the fit. Intermediate weights give you a softer transition around details that matter.
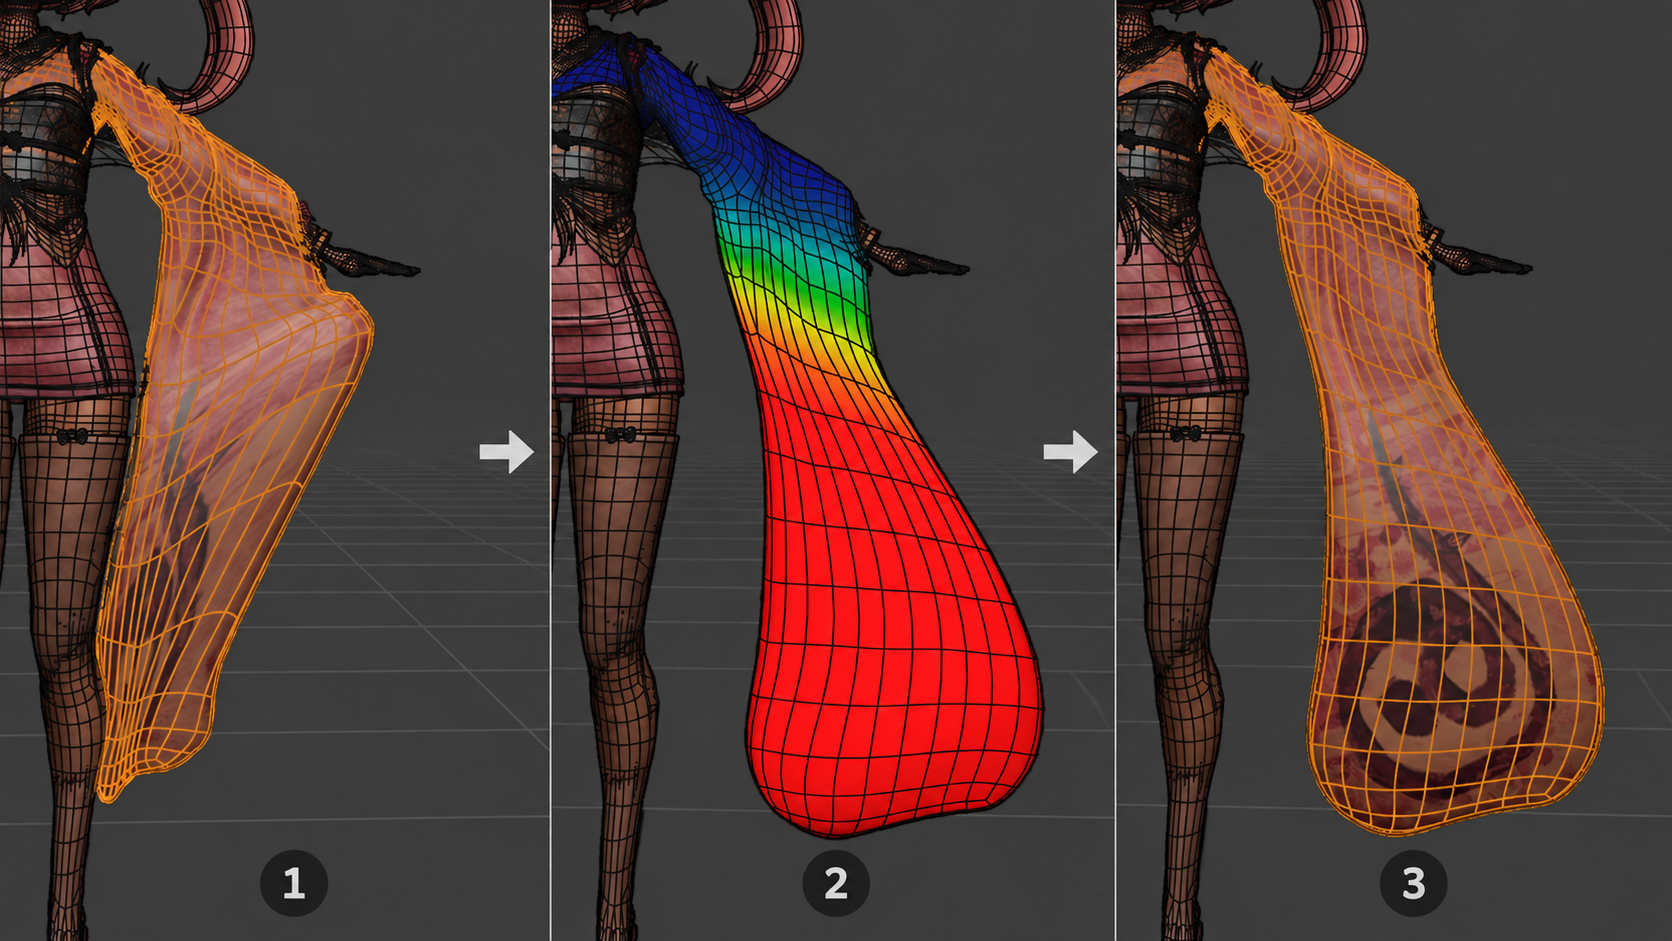
PROTECTION MASK · Existing ShellFit interface capture.
Leave room to breathe.
Balance gap closing with Gap Blend and protect a skirt's opening where needed.
Keep an editable finish.
Choose shape key or direct mesh output, and use lattice fitting for broader adjustments.
Transfer what you need.
Transfer weights, shape keys and normals with copy-only workflows when fitting is not required.
06 / PENETRATION INSPECTOR
Find the hidden
intersections.
Check where clothing crosses or sinks into the body before finishing. Assign the body as Reference and the garment as Deform, then click Inspect Penetration. Colored marks and a viewport card help you locate areas to review.
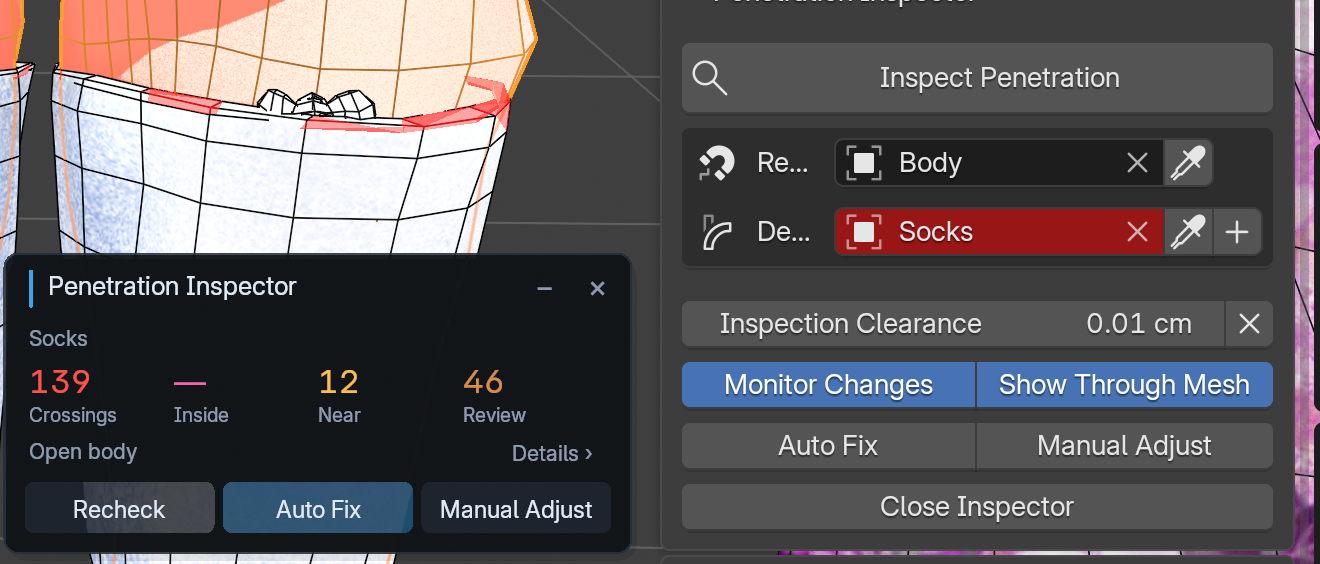
Read the highlights.
Crossings marks intersecting triangles. Inside estimates vertices inside a closed body. Near flags close samples; Review flags uncertain areas.
Keep checking.
Monitor Changes rechecks after edits. Show Through Mesh reveals hidden marks. Use Recheck for a fresh result.
Choose the next step.
Auto Fix starts a live ShellFit correction. Confirm or cancel it, then use Manual Adjust to select problem control vertices for local editing.
In the shown open-body example, Inside is “—”: it is unavailable, not zero. Inspection covers one pair in the current pose. Use manual adjustment with a posed Armature; automatic correction does not guarantee removal of every intersection.
07 / SEE THE WORKFLOW
From setup
to the final fit.
FULL DEMONSTRATION · Watch on YouTube ↗
01 / ASSIGN
Set Body and Cloth, choose the Deform and Reference roles, then start Setup Live.
02 / ADJUST
Close gaps, refine the spacing and protect the areas that should stay in place.
03 / CONFIRM
Inspect the result from several angles. Confirm Fit to keep it or Cancel Fit to discard the live correction.
08 / BEFORE YOU START
Ready for your
next fitting pass.
What you need
- Blender 4.5.0 or later, below 5.3.0. Blender 5.2.1 is recommended.
- SDF Grid requires Blender 5.2+, the required nodes and a closed, consistently oriented body.
- Separate Body and Cloth mesh objects for whole-object fitting.
- Development and validation are performed on Windows.
Install & begin
- Keep the downloaded ZIP compressed.
- Use Preferences → Install from Disk, or drag the ZIP into Blender and confirm. Enable cvELD Shell Fit.
- Press N in the 3D View to open the sidebar.
- Save your file. Start with one garment, MAX quality, Auto fit type and New Shape Key output.
Fitting limits. Inspect skin, thin parts and clothing layers individually; automatic fitting does not guarantee an intersection-free result. The thickness search extension needs a closed manifold part and an already detected thickness. Open seams, folds and negative scale may need individual adjustment.
Nothing moves? Check the deforming side, target assignment, protection weights and search range. Gap Blend at 0% stops attraction while penetration correction remains active.
What's new. 1.3.3 improves automatic thickness detection for closed cuffs and includes the Penetration Inspector for reviewing and correcting intersections. Bulge also provides advice when no vertices move. 1.3.2 addressed fitting with Mirror modifiers. Save and cancel unfinished fitting before updating, then run the fit again; existing baked shape keys are not repaired automatically.
Manual available in English and Japanese. For support, send your Blender version, settings and a short description through Superhive or @cvELD_info.