cvELD_Shell Fit Brush 2.1
 Color Variations of Eldorado - cvELD -


ShellFitBrush v2.0 — User Guide
Your first stroke
Select a clothing mesh, then open the 3D View sidebar (N) → cvELD Shell fit Brush and click the start button. Starting in Object Mode enters Edit Mode. Starting in a supported paint mode retains that mode.
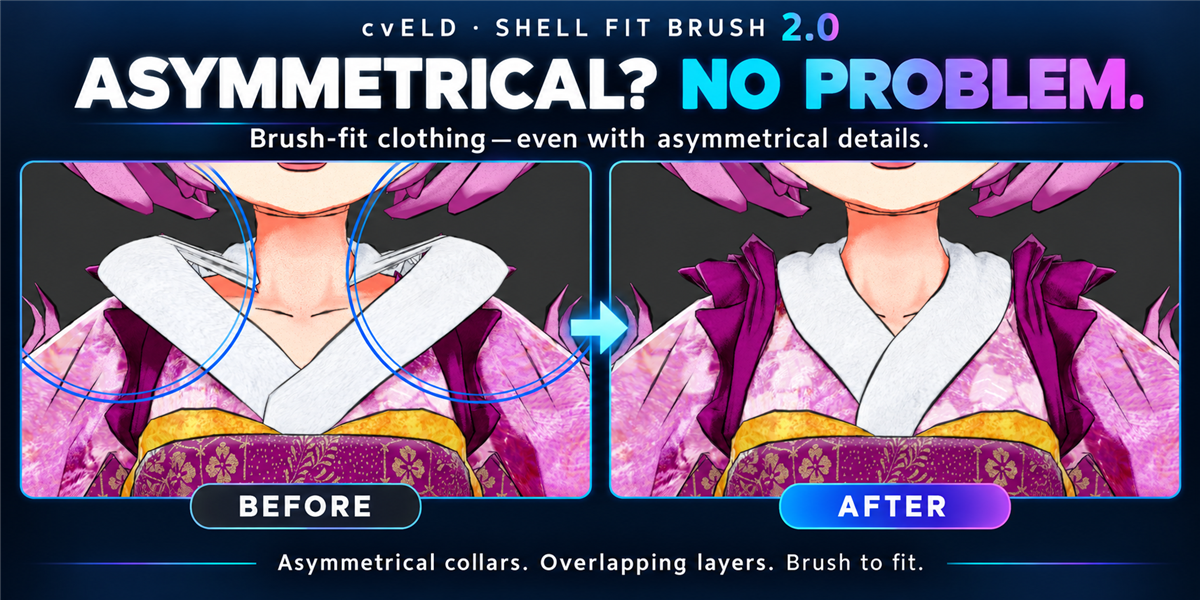
To work on several garments, select their mesh objects and enter Edit Mode together. The brush paints the nearest selected surface under the pointer; Grab stays on the object where the drag began. One stroke has one Undo step. A Pin Deform pin-selection box applies to each selected mesh. For Fit, set Target to the body.
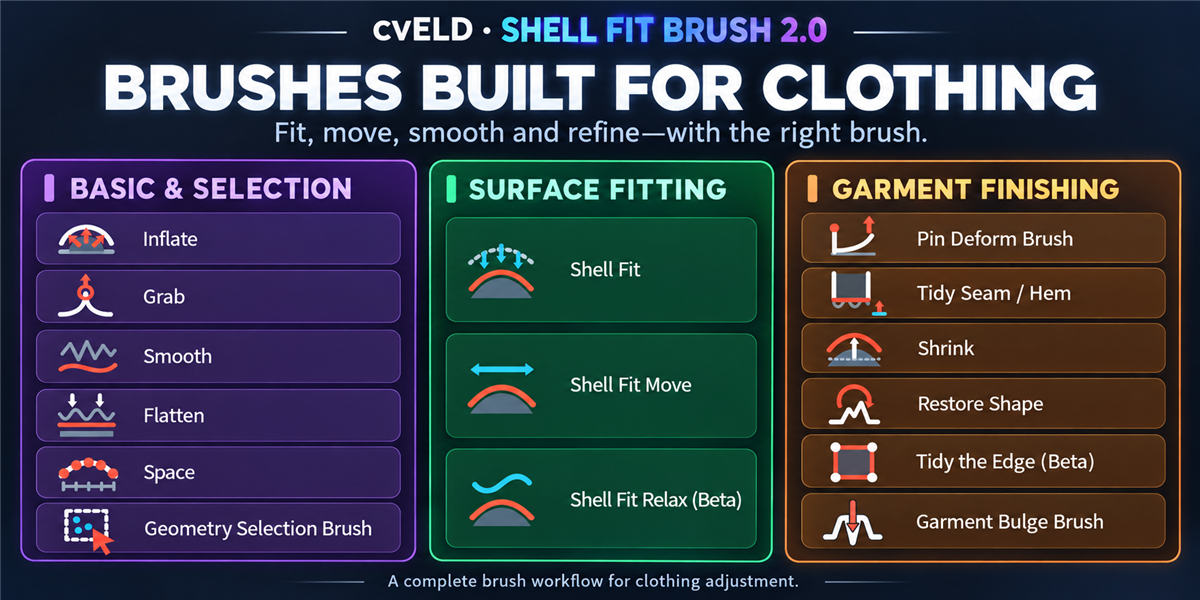
- Click the brush name at the top and choose a thumbnail.
- Set Size and Strength. Start with a small region and low strength.
- With the Blender preset, left-drag to brush and release to commit.
- Esc cancels during a stroke; Ctrl+Z undoes a completed stroke.
Check initial or customized bindings in Shortcut Settings at the left of the header. Click the activation button again or switch to another tool to finish.
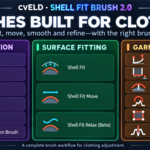
Choose a brush
Grab
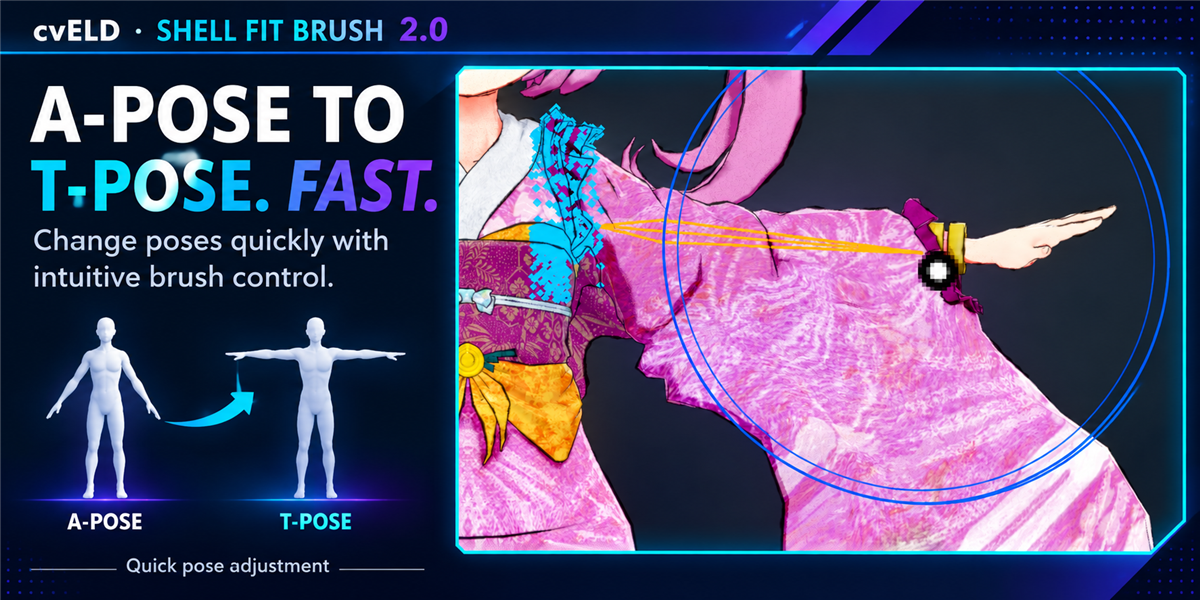
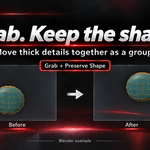
Press, drag and release to move the initial footprint. Enable Protect Shape and cover an entire thick detail to keep it together. Ordinary Grab does not retain body clearance; use Shell Fit Move to follow a target.
Inflate
Start at low Strength and make short passes over tight sleeves or knees. Vertices move along their normals to add room. Check face normals if movement goes in the wrong direction.
Smooth
Make short passes over bumps. Preserve Volume off relaxes toward neighboring vertices; enabling it reduces shrinkage. Repeated strokes also change fine detail. Begin at low Strength and inspect the outline from another angle.
Smooth: Preserve Volume
This example enables Preserve Volume on Smooth. It softens bumps while reducing shrinkage, rather than enforcing an exact volume. Compare it with ordinary Smooth when maintaining the thickness of a sleeve or limb.
Shell Fit
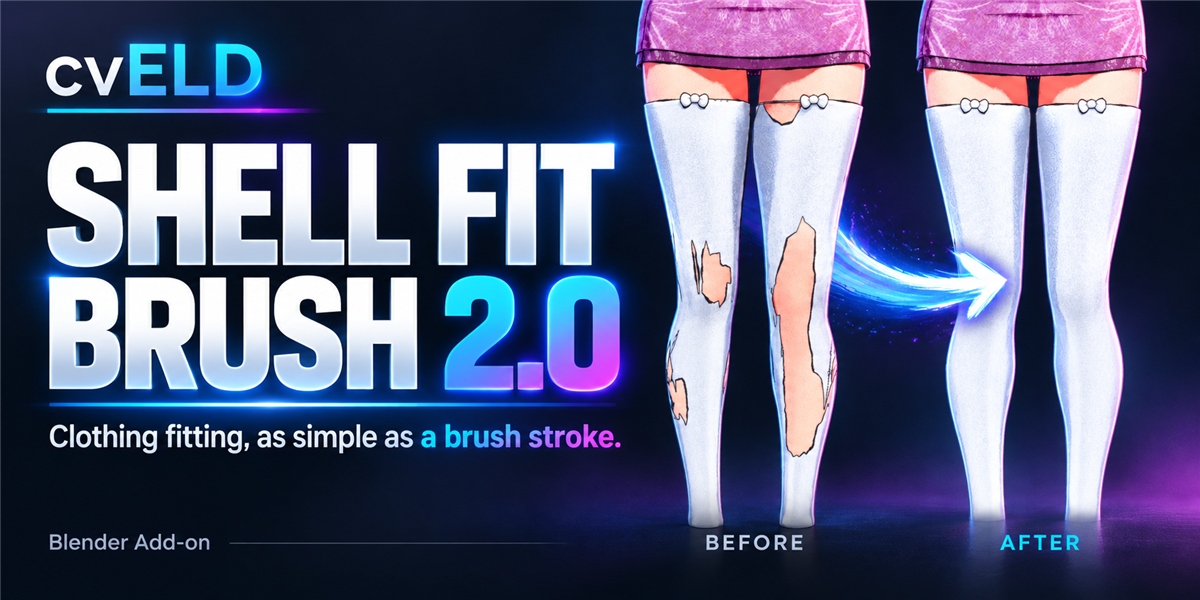
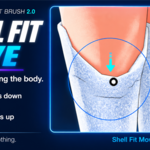
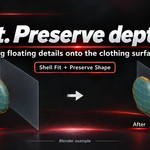
Show the body or inner garment and pick Target with the eyedropper. Auto uses a nearby candidate. Gap sets clearance, initially 2 mm; Reach sets the surface search distance. Brush floating or buried cloth in short passes. Protect Shape retains thick details; compare with it off for stronger conformance of thin cloth. Inspect clearance from the side.
Shell Fit Move
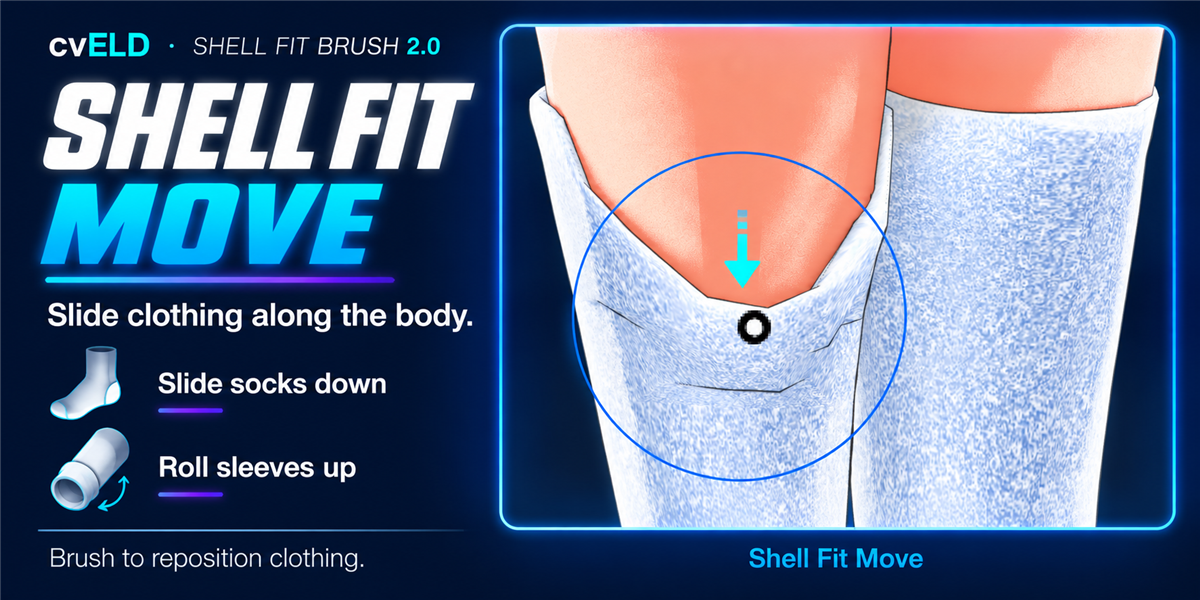
Set Target and Gap, then drag sideways. Gap starts at 2 mm. Movement follows reachable target surfaces and continues with a direct drag when the patch leaves the target or its reach. Enable Protect Shape to retain folds and details, or disable it for freer deformation.
Shell Fit Relax (Beta)
Set Target, Gap and Reach, then use low Strength on small creases or crowded vertices after fitting. It relaxes shape while adjusting target clearance. Protect Shape helps retain folds and layered details. This is a beta feature: inspect a small test patch before working across thin layers or narrow gaps.
Flatten
Choose Both under Direction to flatten a surface, or Vertical, Horizontal or Reference Edge to work along rows. Hold Start Plane uses one plane for the stroke; Follow Local Plane uses the original local form. Green Flow lines preview eligible surface edges or rows. Visible Faces excludes occluded vertices. Sharp Protection retains folds at or above its angle, marked sharp edges and creases. Release the fixed boundary setting when the outline should move.
Space
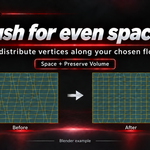
Brush crowded mesh rows in short passes. Choose Both, Vertical, Horizontal or a Reference Edge. Row Shape follows the original, smooths the row or straightens intervals; Row Smoothing controls reshaping in Smooth Row mode. A fixed boundary stays put; Slide on Outline redistributes boundary spacing while retaining corners. Flow shows the preview; Visible Faces and Sharp Protection restrict what moves. No vertices are added and no remeshing is performed.
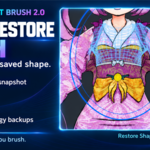
Restore Shape
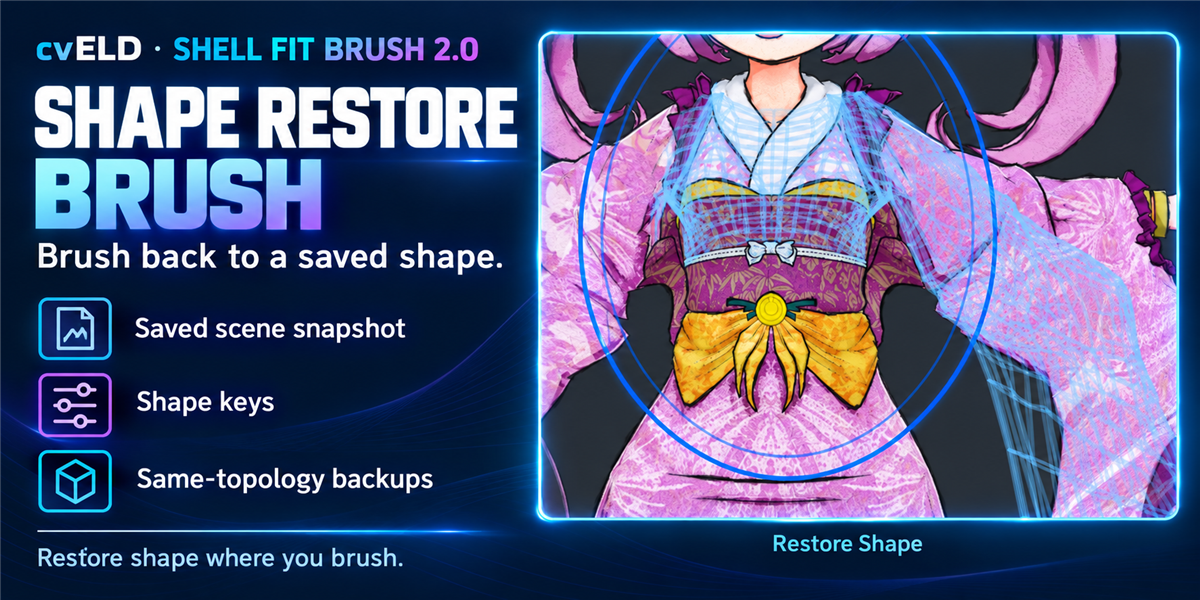
Use Remember Shape in Brush Settings before changing the form; an initial reference is also captured automatically when brushing begins. After editing, brush just the fold to restore. Match Original Shape restores folds; turning it off favors detail while retaining the current larger form. For firm restoration, try Strength 1 and Keep Current Form 0. To use another original mesh, set Backup Object and Remember Shape, then choose Remembered Shape or Backup Shape as the restore target. Matching vertex counts and connectivity are required.
Effect bar and scope
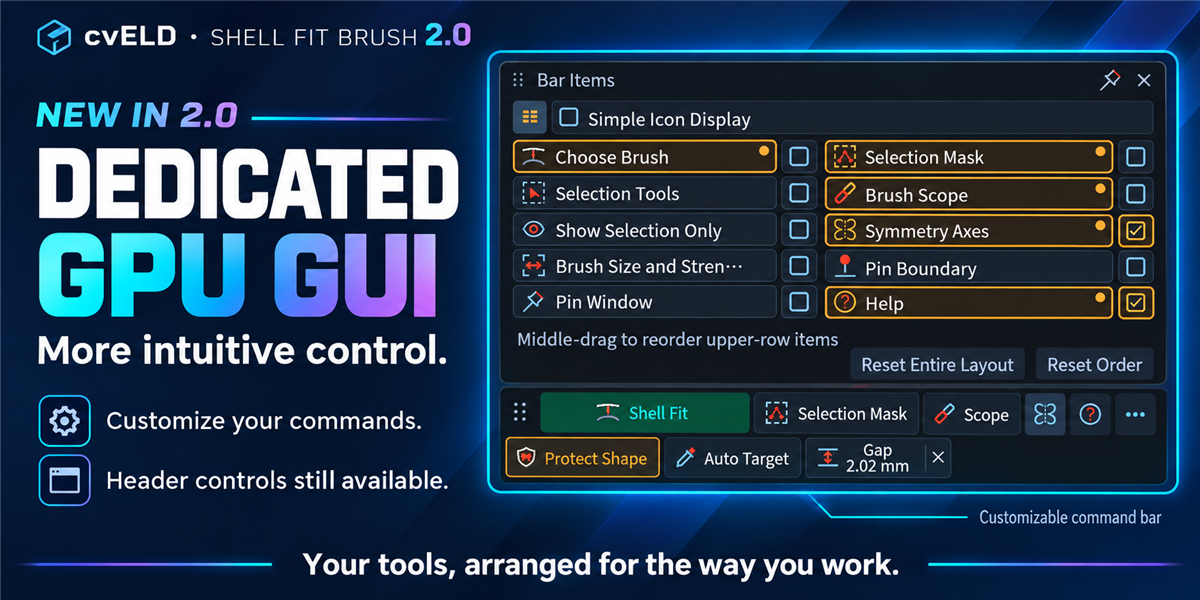
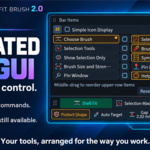
The upper row contains shared controls and the lower row contains current brush options. Highlighted buttons show enabled options or the current choice. Toggle the originating icon to close its tool window. Drag a number or click to type; × resets it. ? opens Help and … opens Bar Items.
Selection Mask
Deform only vertices selected at stroke start. Enabling it opens the selection window. Select geometry first if the selection is empty.
Protect Shape
Retain thick details during Grab or fitting. The shield-and-ribbon icon belongs to Protect Shape in Brush.
Preserve Volume
Reduce shrinkage in Smooth, Flatten and Space. Separate from Protect Shape.
Pin Boundary
Keep open borders fixed. Flatten and Space can also slide along the outline.
Visible Faces
Exclude occluded vertices. Disable it when back surfaces should also be affected.
Sharp Protection
Retain folds at or above the angle, marked sharp edges and creases. Initial angle: 45°.
Click Scope to choose. All Within Radius includes disconnected islands. Connected Only follows mesh edges from the touched surface. Intersecting Islands includes components linked by intersections at stroke start; deformation stays inside the brush footprint.
Thickness and X-Ray
Supported brushes show Thickness in the lower row. Up to 100% limits depth around the hit surface; above 100% displays ∞ and removes that limit. Hidden geometry, masks and Visible Faces remain separate restrictions. X-Ray separately controls occlusion during geometry selection. Snapping is available only on supported brushes.
Whole Island
Protect Touched Island rotates and translates the entire first connected component, including vertices outside the circle. A detail welded to cloth is part of the same island. Read the on-screen notice for unsupported partial masks, hidden geometry or deformed meshes.
Geometry selection
Use Selection in the upper row or Geometry Selection Brush in the picker. Paint vertices, edges or faces according to the mesh selection mode; geometry is not deformed. Choose Set, Extend, Subtract, Invert or Intersect. Invert toggles each touched element once per stroke; Intersect keeps the overlap with the original selection.
X-Ray next to Thickness enables brush selection through to the back. Box, Circle and Lasso share this X-Ray setting. Circle selection shares Size with the brush and Pin Selection, including wheel changes.
Vertical Loops and Horizontal Loops follow flow inside the painted footprint. Continuation is inferred across triangles and N-gons; inspect complex branches. Hidden elements stay excluded. Esc restores the original selection; completed operations support Undo. Sidebars and other tools remain accessible while selecting.
Symmetry and brush range
Choose X/Y/Z from the symmetry icon. Axes use the object’s local coordinates and origin. Brush Range Symmetry applies equal-radius footprints at mirrored positions. Each range is processed even when vertex counts or forms differ; this does not make both sides geometrically identical.
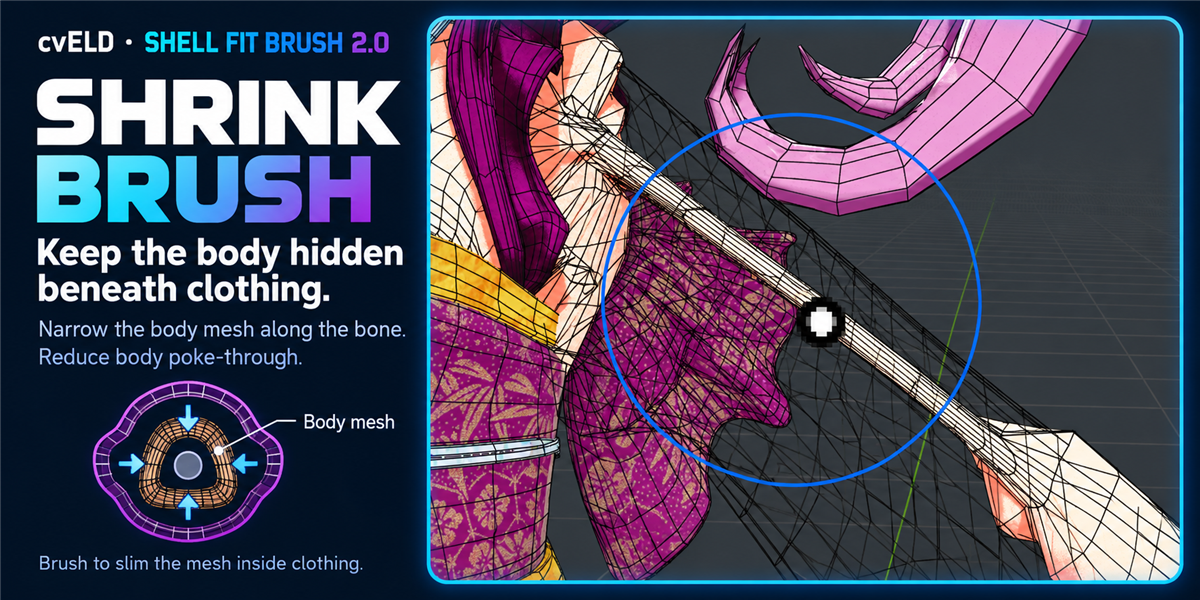
Direction, center fixing, masks, boundaries and hidden geometry still matter. Empty ranges show a notice while other ranges can continue. Shrink also uses matching left/right bone names. Select an earlier method under range behavior if needed. Geometry Selection and Local Shape Tools use their own settings.
Finishing and stroke amount
Prepare pins or a seam in Edit Mode before deforming. Garment Bulge uses a garment opening as the reference for a body deformation.
Pin Deform Brush
Enclose the fixed vertices with Pin Selection; release to create pins automatically. Pin Selection glows red while no pins exist. Auto Pin offers an open-boundary selection or an edge loop picked by clicking a face. It then enters Move mode. Choose Move, Rotate or Scale in the bar and drag the free side. Ordinary Selection in the upper row selects geometry without pinning. The selection-method menu includes converting existing geometry to pins and X-Ray; pin X-Ray starts enabled. Strength 1 gives a linear influence transition at the root during rotation. Sidebars and other tools remain accessible while selecting.
Tidy Seam / Hem
In Edit Mode select an unbranched edge chain and Save Seam. Set Band Width and brush across the whole band. Nearby vertices follow by cross-section while endpoints and protected corners remain. Open Boundary uses mesh borders without saving a seam. Release Pin Boundary when moving a hem. Save branched selections as separate chains.
Adjust Last Stroke
Open this in Brush Settings after a stroke. Preview 0–100%. OK commits; Cancel returns to the amount at dialog opening. Other edits, Undo/Redo and loading invalidate the record.
Part repair
Tidy the Edge (Beta) repairs rims disturbed during fitting. Auto uses surrounding form and moves folded rims together. Save Current Shape before deforming to use reference-based repair. Loading an original mesh requires matching vertex order and connectivity.
Choose method and direction, enable nearby-surface or body-clearance protection if needed, then brush a narrow rim at low Strength. Inspect it from the side. This beta neither adds/deletes vertices nor guarantees removal of every crossing.
Retired width, section and spacing repair presets, Fix Penetration and Paint Gap are absent from the current picker.
Local shape tools
Open Object Mode → Sidebar → cvELD Shell fit Brush → Local Shape Tools. Use a single-user rest mesh with active viewport modifiers disabled. Cyan lines show a separate preview; the source stays unchanged until application.
Local Rescue
- Pick a closed body as Rescue Body.
- Put fixed vertices in RescueFixed and set the radius and clearance.
- Start Local Rescue Brush and left-drag over the penetration.
- Wait for a completed preview, inspect it and press Enter to apply. Esc discards the interaction.
Ambiguous inside/outside input, such as an open body or overlapping double surface, is refused. Input with shape keys is unsupported.
Protected Resize
- Paint hard parts in the same mesh at weight 1 in ShapeProtect.
- Set local X/Y/Z Resize Scale. (1.2,1,1) widens X by 20%.
- Preview Protected Resize, inspect and apply.
Connected hard parts translate without reshaping; flexible intervals absorb the resize. Infeasible compression is refused. Body clearance is not maintained.
Curved Cage
- Select the target and Create Curved Cage to make 26 controls.
- Bend the cage in Edit Mode without adding, deleting or reordering controls.
- Return to Object Mode, select the original target, then preview and apply the cage deformation.
A box-shaped rest cage bends six curved patches. Reapplication uses the recorded original binding. If calculation does not converge, review padding or maximum integration resolution (initially 64).
Apply Preview or Enter commits; Esc, right-click or Discard Preview cancels. Completed interactions support Undo. For relative shape keys, select Basis and set values to zero to inspect the rest form (except Local Rescue, which refuses shape keys). Absolute keys, shared or linked meshes and active viewport modifiers are unsupported.
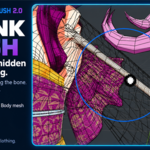
Body Shrink
Using paint modes
Select a mesh in Weight, Vertex or Texture Paint and start ShellFitBrush. Refine its geometry, then finish to return to painting. These brushes change shape rather than painting weights or colors.
UVs, weights, vertex colors and images are retained, although deformation can stretch the appearance of patterns. Paint vertex/face masks and hidden geometry are respected. Relative shape keys receive the same displacement to retain their offsets. Modifier-generated vertices are not independently editable.
Native Sculpt Mode and the Image Editor are unsupported. Prepare geometry selection, roots, seams and shape references in Edit Mode.
Shortcuts and Pie
Open the leftmost header settings button → Shortcut Settings, or Preferences → ShellFitBrush → Shortcuts. The four presets configure this add-on, not Blender’s global keymap.
Blender
Left: selected brush. Shift+Left: Smooth. Middle: volume Smooth. Ctrl+Shift+Left: ordinary Smooth. Shift+Right: Fit. Right: Pie. F: size; Shift+F: strength.
Industry Standard
Shared brush actions. Alt+Left/Middle/Right rotate, pan and zoom. S: size; U: strength.
Softimage
Retains the legacy bindings for further customization.
Custom
Start with add-on actions unassigned.
Click a displayed binding and enter a new input. Each preset retains its edits. In a customized setup, the displayed bindings take precedence. Assign inputs to unassigned actions.
Pie and backup
Set each ring position under Preferences → Pie Menu. Export Shortcuts + Pie saves all four presets and ring assignments to JSON; Import restores them. Export the current setup before importing. Switching presets does not require rebuilding your custom ring.
Settings and persistence
Use … → Bar Items for visibility, simple icons and upper-row order. Middle-drag upper items to reorder. Reset Order restores ordering; Reset All Layout restores the initial visibility and layout.
Keep frequent actions visible. Toggle tool windows from their originating icons, pin them open or drag them to a useful position. Notices use the opposite side of the viewport from the bar.
Preference persistence follows Blender’s Save Preferences setting. Save the .blend as well for mesh-specific pins, seams and remembered shapes.
Troubleshooting
Nothing moves
Active mesh → tool active → empty selection mask → hidden geometry → Pin Boundary → Size and Strength.
No fitting
Target and visibility → Fit Reach → ambiguous nearby targets → Offset → shape preservation and protections.
Another part moves too
Choose Connected Only or a selection mask. Use depth limits to exclude layers behind the hit.
Corners stay after unpinning
Flatten and Space outline sliding retains corner protection. Check sharp-edge protection and row selection.
Restore has no effect
Check remembered/backup shape compatibility. Reprepare references after vertex-count or connectivity changes.
No choices or hover help
GPU Help Cards → auto-hide → active strokes or other dialogs. Scope choices open on click.
No local shape preview
Object Mode → single-user rest mesh → modifier/key restrictions → completed calculation and result notice.
A shortcut does not work
Current preset and displayed binding → unassigned actions or conflicts. Check Object/Edit activation bindings separately.
Penetration and gap classification is per vertex; crossings through large face interiors are not guaranteed to be removed. Inspect narrow gaps, layered cloth and thick details from the side. Use Esc or Undo and try a smaller region when needed.
If the back cannot be selected, enable X-Ray. Infinite Thickness removes a depth limit; it does not toggle occlusion. For missing flow lines, place the pointer on the mesh and check Flow, Direction, Visible Faces and masks. For pin deformation, create pins and choose Move, Rotate or Scale.
Install and update
Blender 4.5.0 or newer, below 5.3. Checked on Windows with 4.5.0 and 5.2.2. Other cvELD add-ons are not required.
- Drag the unextracted ZIP into Blender, or choose Edit → Preferences → Add-ons → Install from Disk.
- Enable cvELD ShellFitBrush.
- Select a mesh and open the 3D View sidebar.
Before updating, save the .blend and export customized Shortcuts + Pie. Restart Blender after the update. Replace the same product rather than enabling a legacy and extension copy together. This product is not started as a native Sculpt brush.
Author: Land-Y. GPL-3.0-or-later. Open support and the manual from the icons at the top right of Preferences.
Illustrated manual and operation videos · Support
Shell Fit bundle
For the separate Shell Fit add-on included with the two-product set, see the Shell Fit manual.