 Medicraft


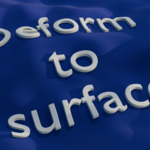
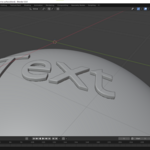
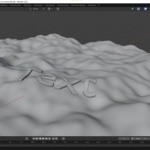
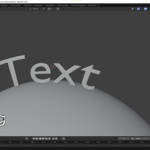
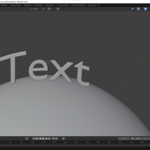
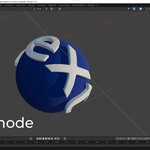
Tired of the standard Shrinkwrap modifier flattening your meshes and losing all their volume? Deform to Surface is a powerful Geometry Nodes-based tool designed to help you attach and deform any mesh onto a surface while perfectly maintaining its original thickness and proportions.
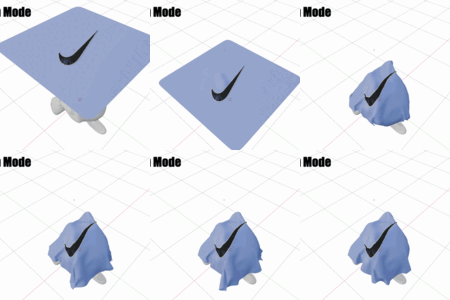
New in 2.0: There is now a "wrap" mode that allows you to wrap your mesh around the target!
Whether you are placing embroidery details, mechanical parts, or organic growth onto a character or environment, this setup ensures your objects conform beautifully without the "pancake effect" typical of native modifiers.
Key Features:
Preserve Volume & Thickness: Unlike the standard Shrinkwrap, your mesh keeps its depth and structure, even on highly curved surfaces.
Dynamic Orientation: Your objects automatically rotate to match the surface normals of the target as you move them, ensuring they stay perfectly aligned at all times.
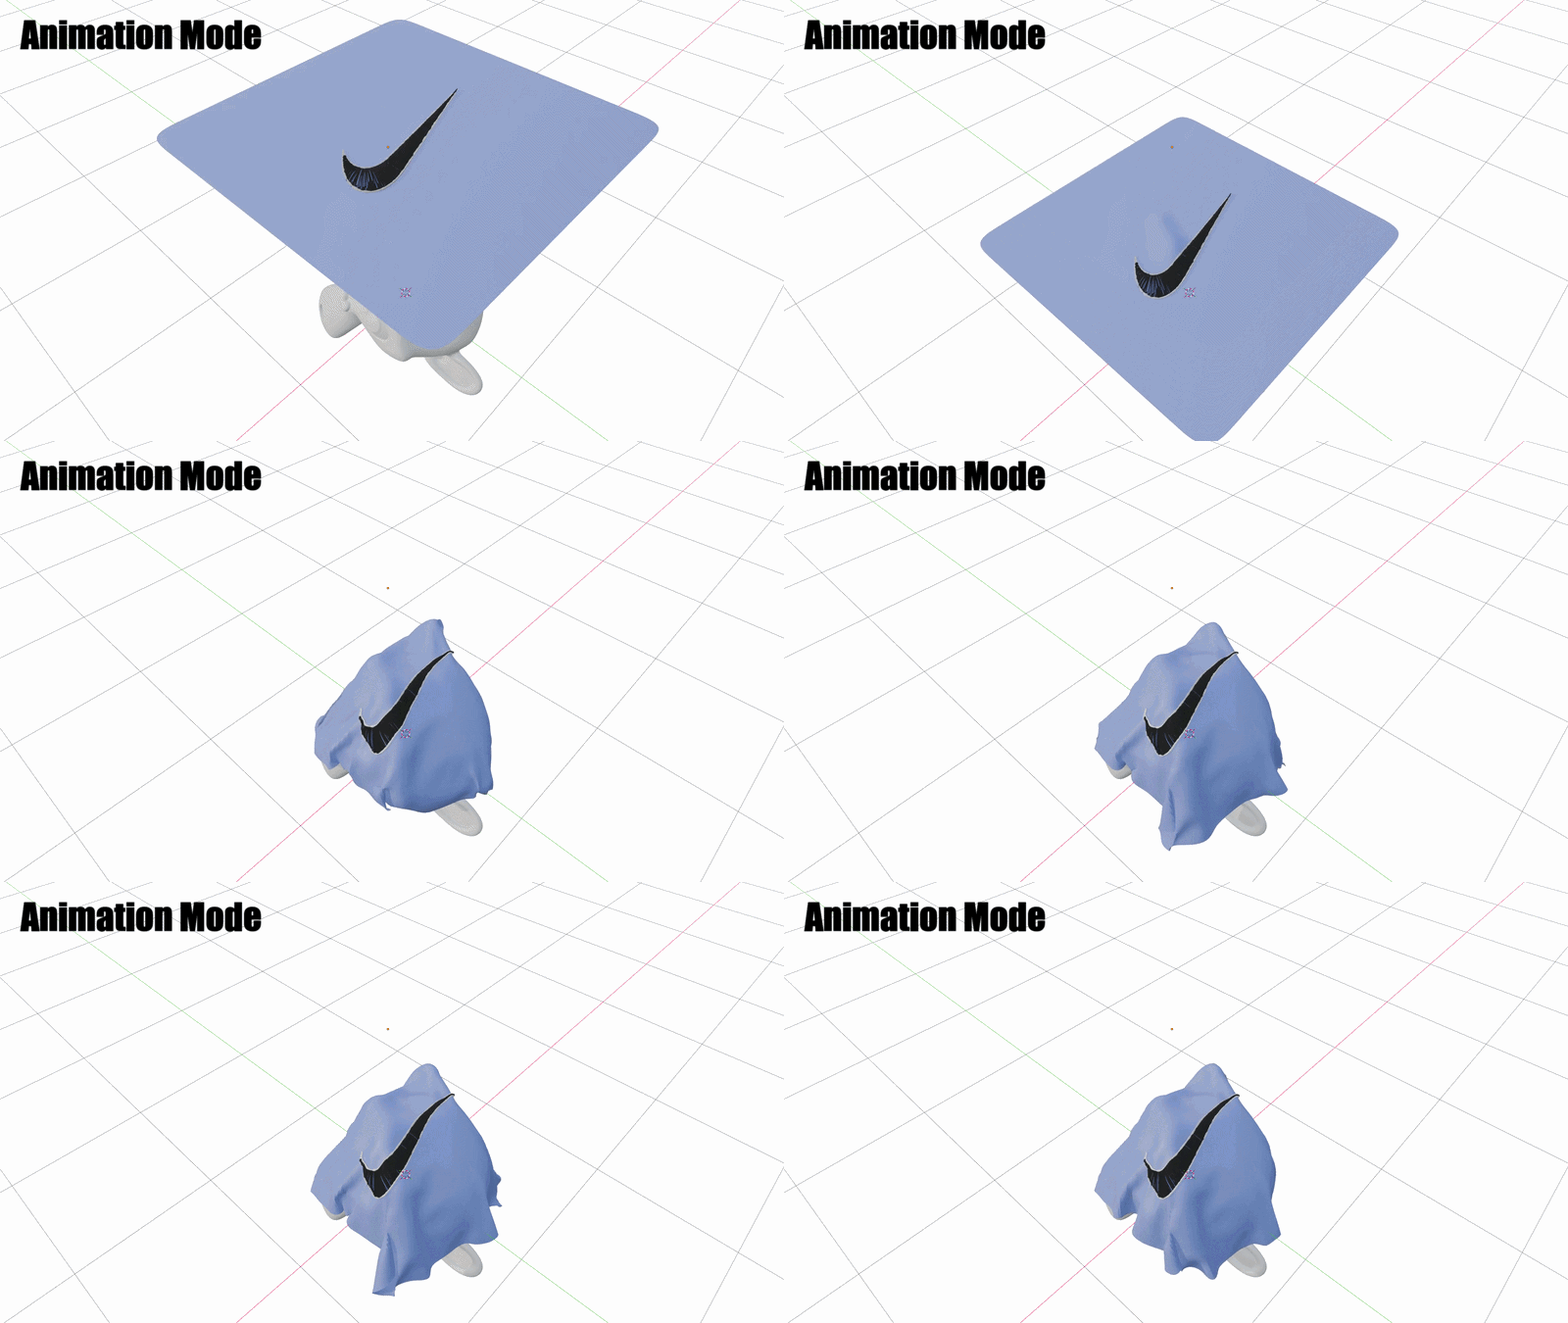
- Animation Mode: New in version 2.1. Only available with wrap mode. Use this to fix the starting position so it doesn't change with the target body's movement and cause jittering:
-
Advanced Control Settings:
Custom Up-Axis: Easily switch between X, Y, or Z local axes to determine which way your mesh points.
Fanning Factor: Control how much the mesh spreads out according to the surface normals—perfect for adjusting how objects wrap around sharp curves.
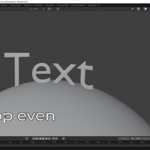
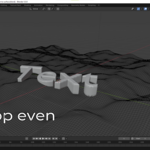
Keep Top Even: A unique feature that allows you to deform the base of an object to match a surface while keeping the top flat or straight.
Offset & Invert: Fine-tune the distance from the target or flip the mesh direction with a single click.
Flexible Integration: Use it as a simple Geometry Nodes Modifier for quick tasks, or dive into the node tree to integrate it directly into your own Geometry Node setups.
How to use:
Add the Geometry Nodes modifier to your object.
Select your target "Surface" object.
Adjust your axis and settings to get the perfect fit!
