Downtown City Pack
 3Djays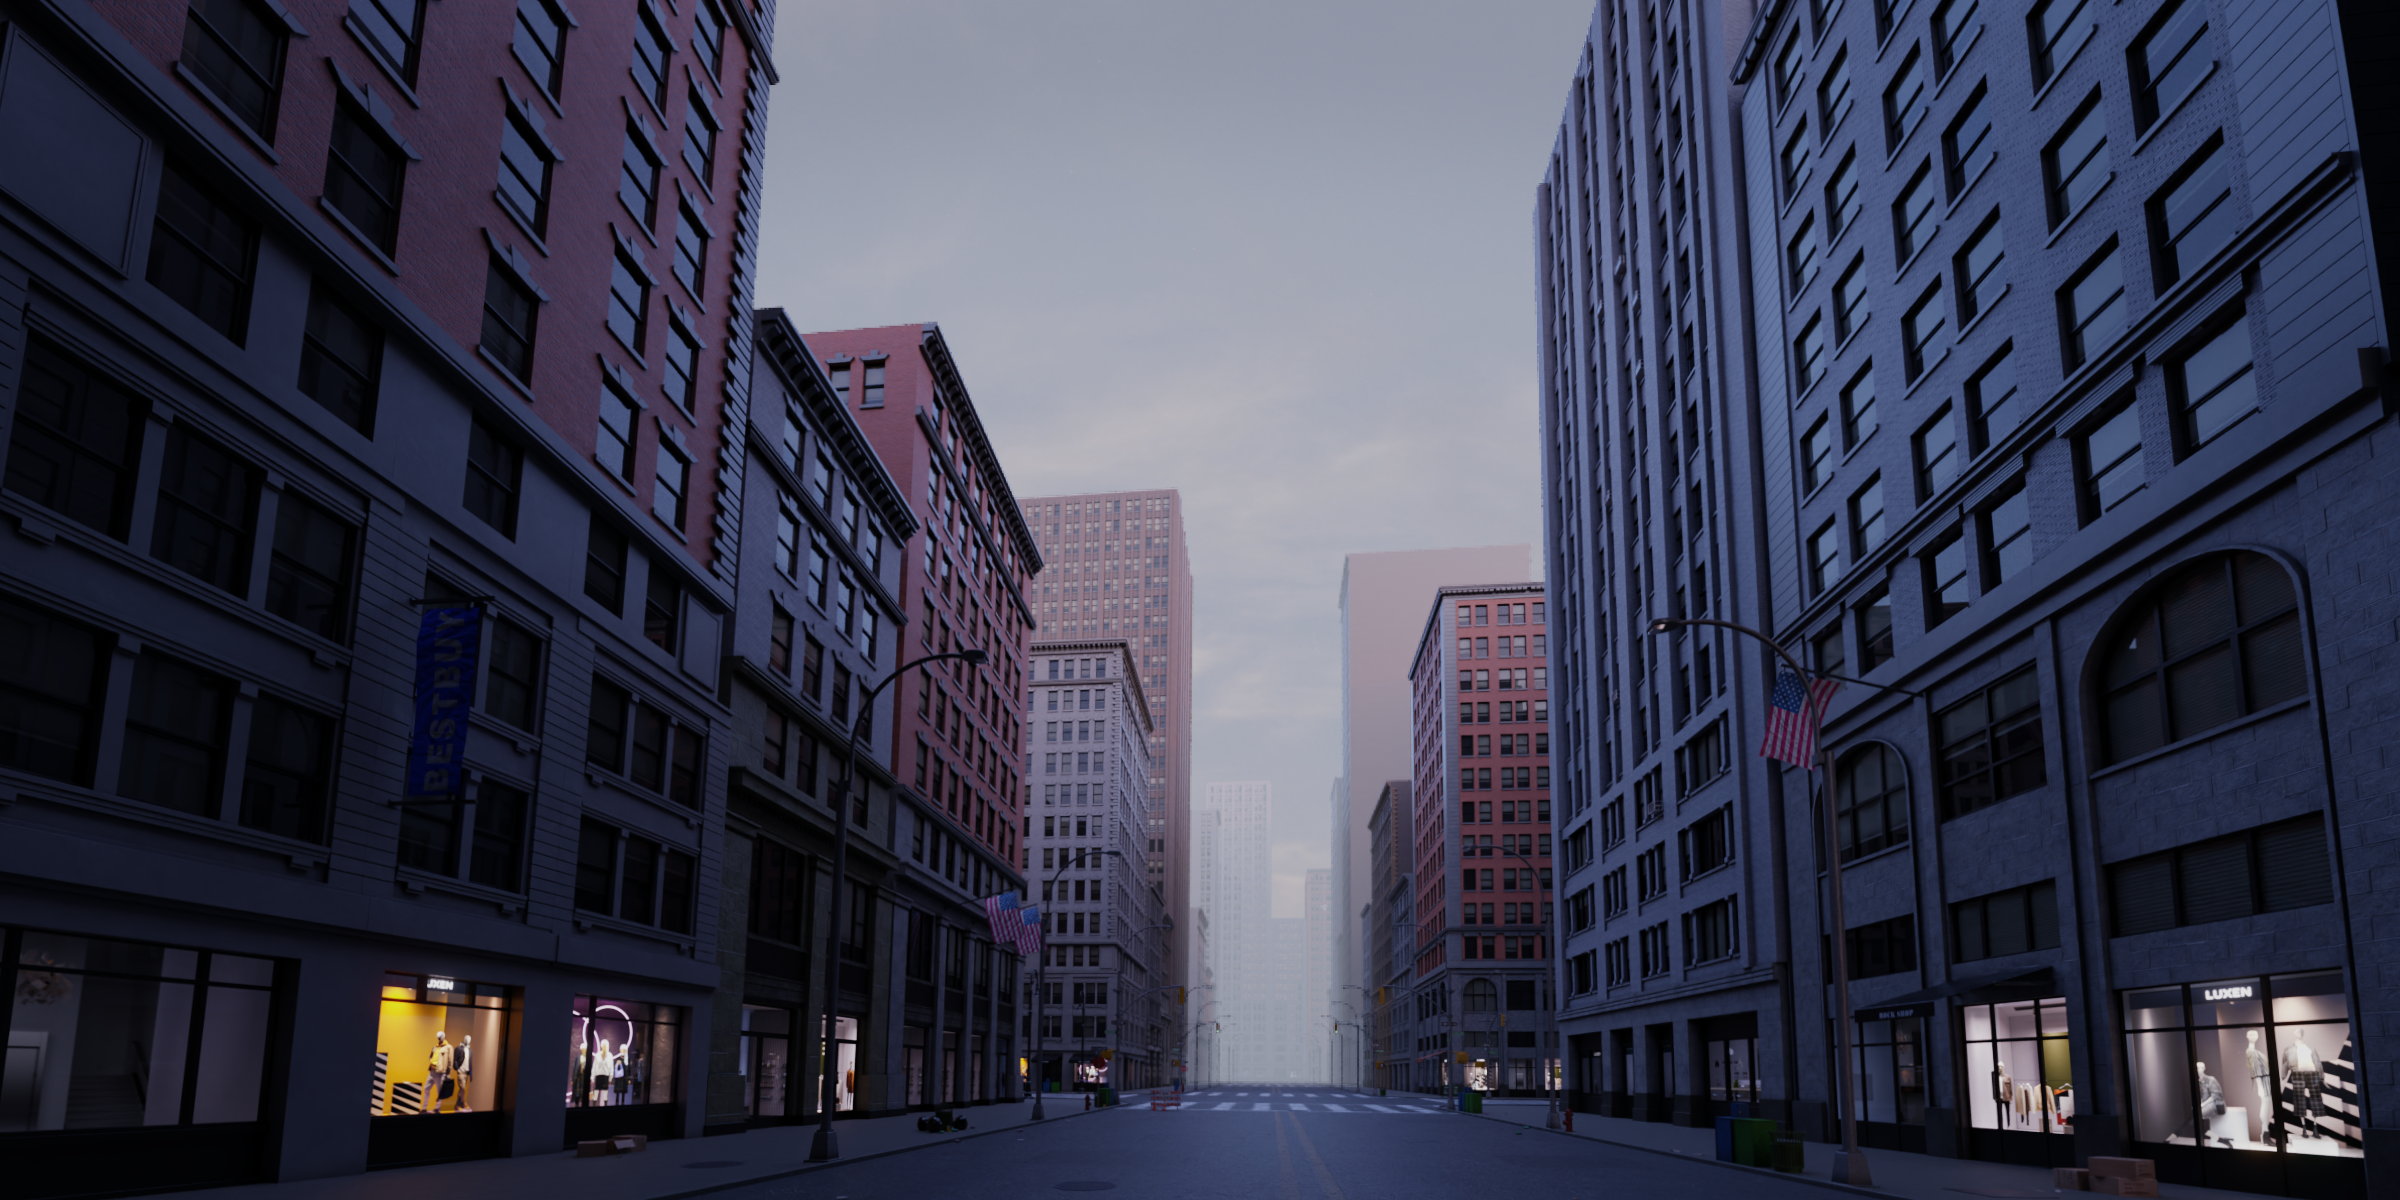

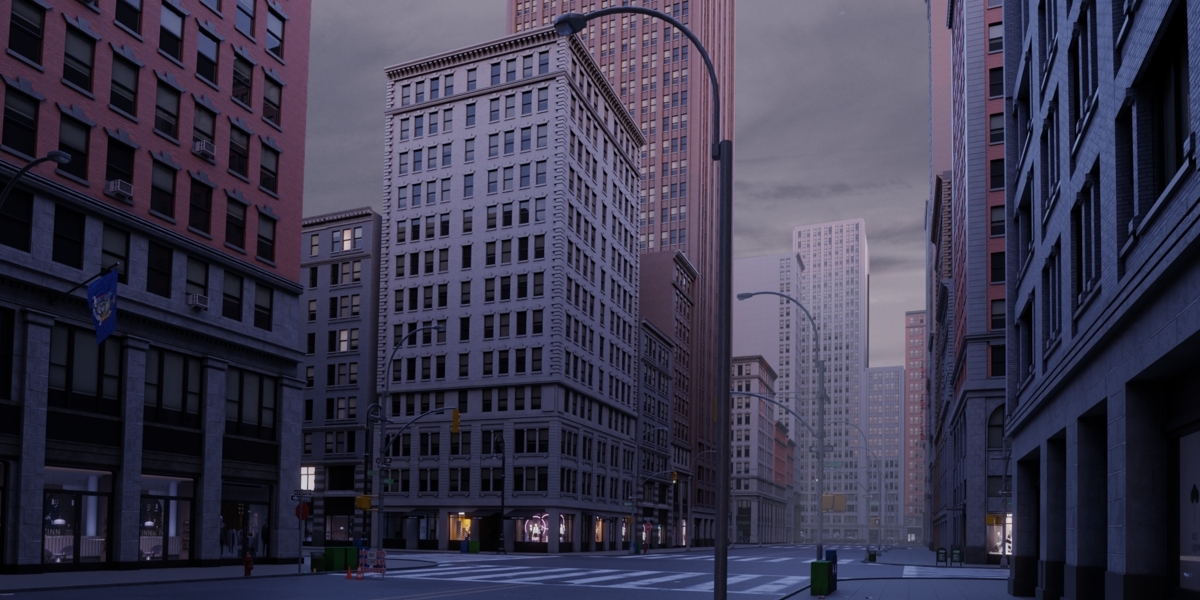
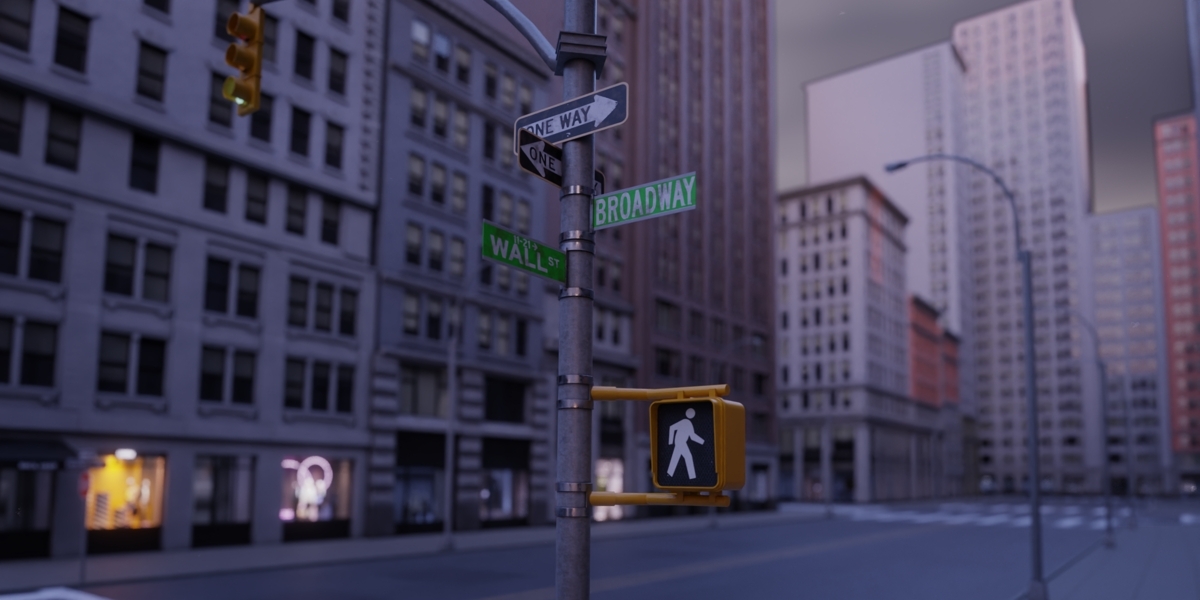
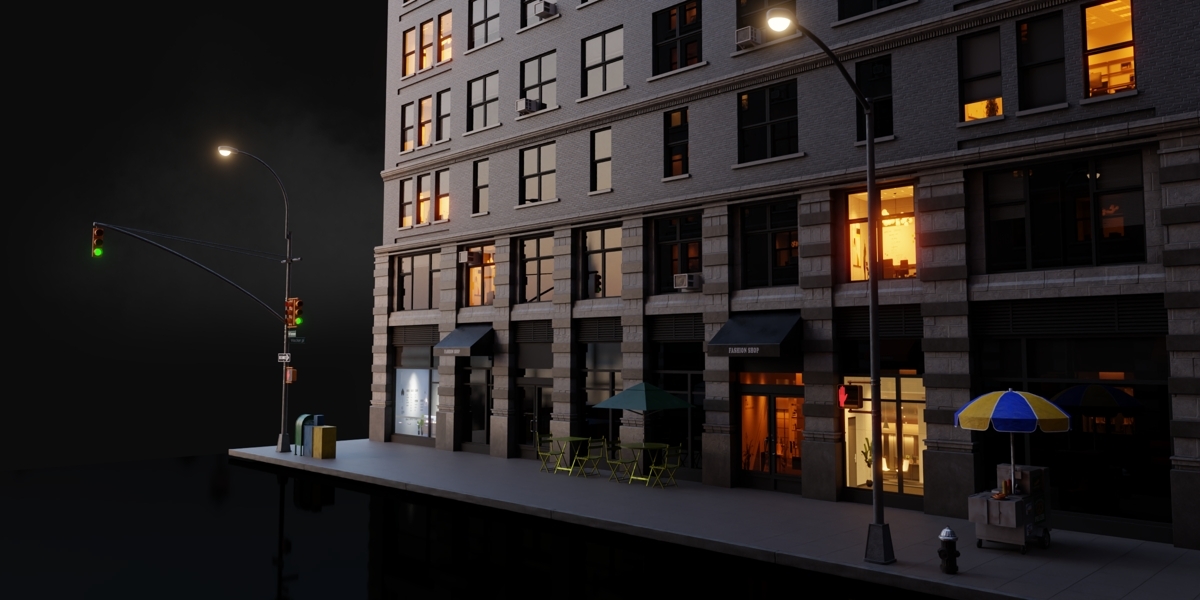
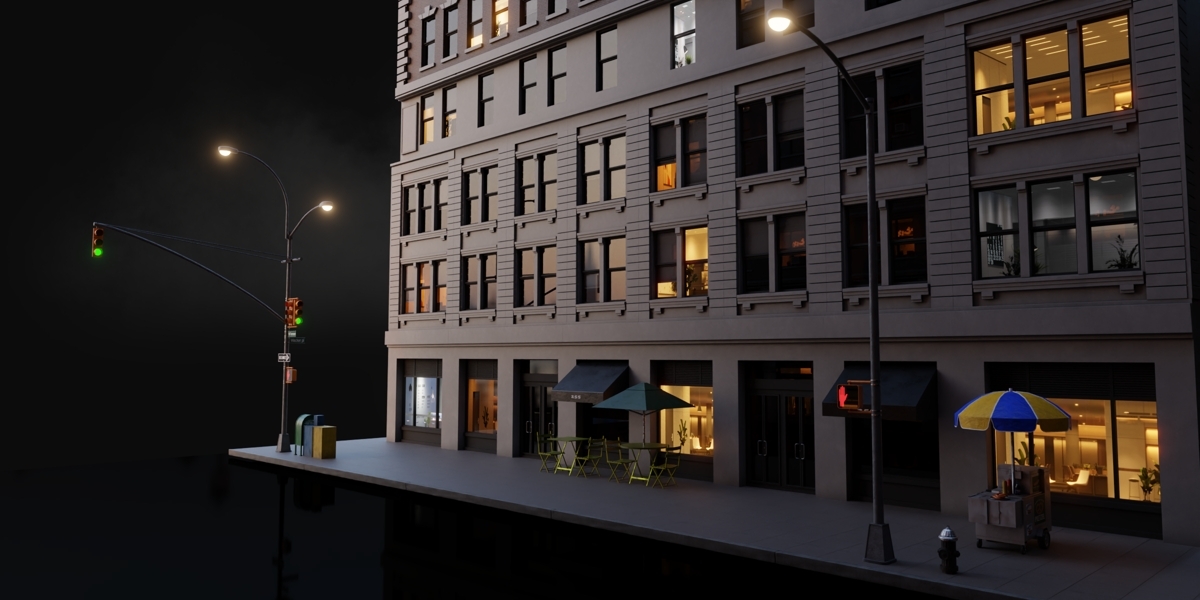
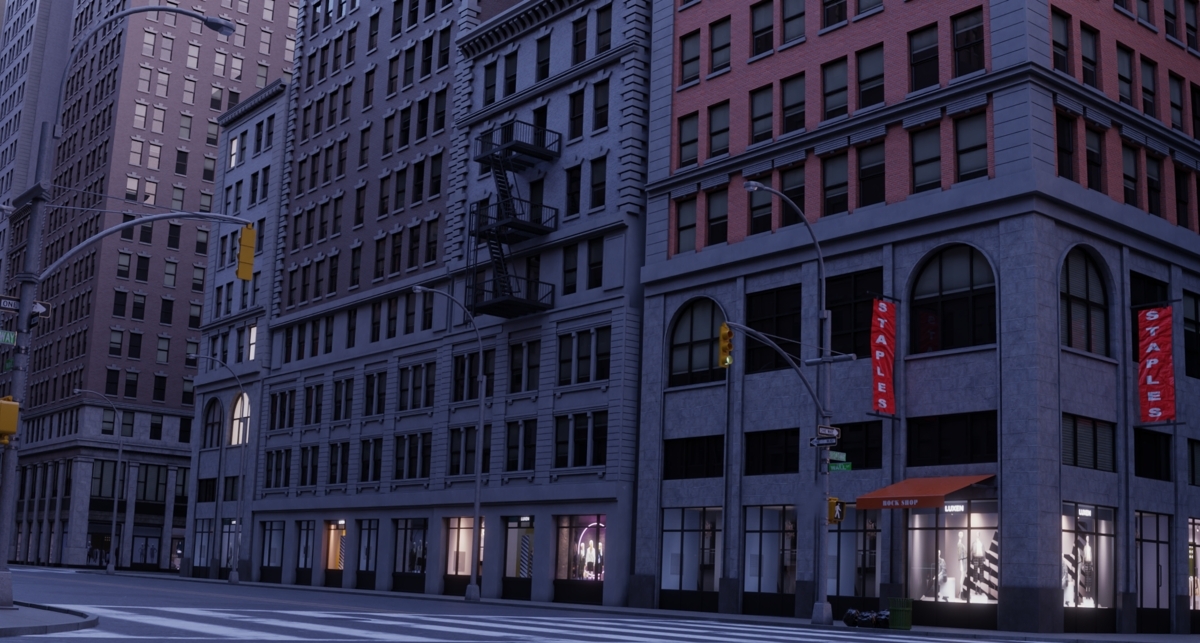
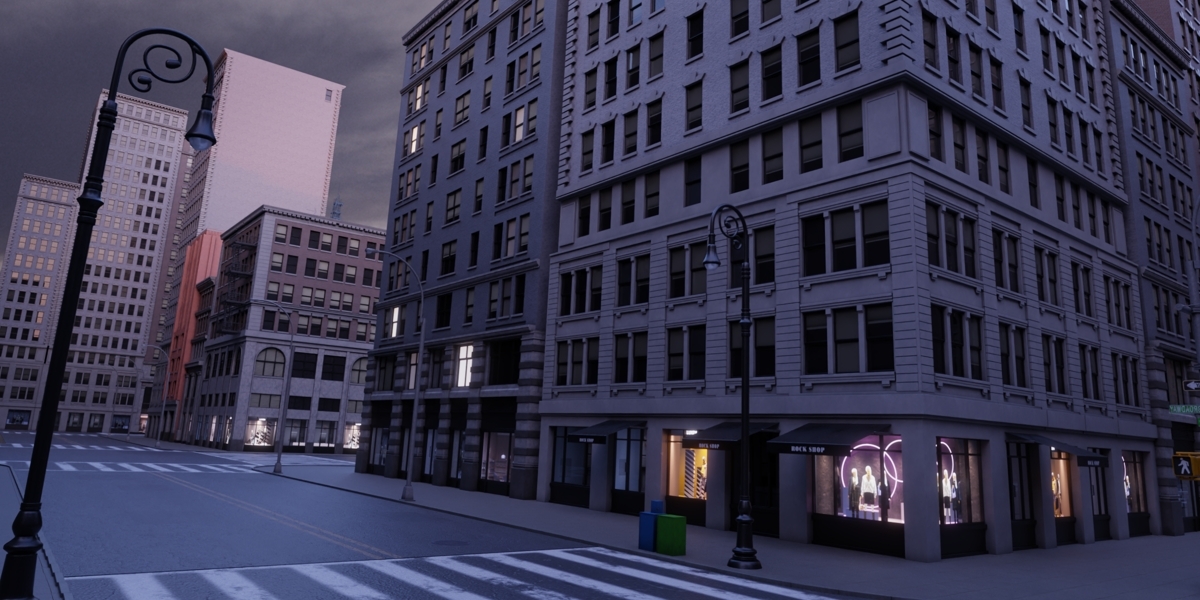
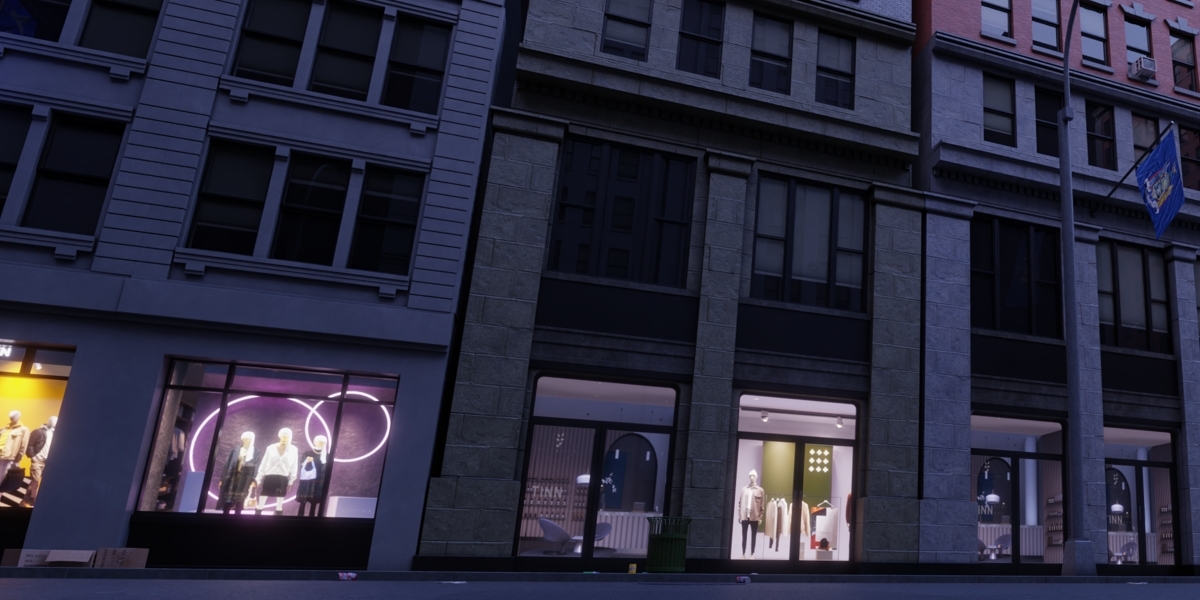

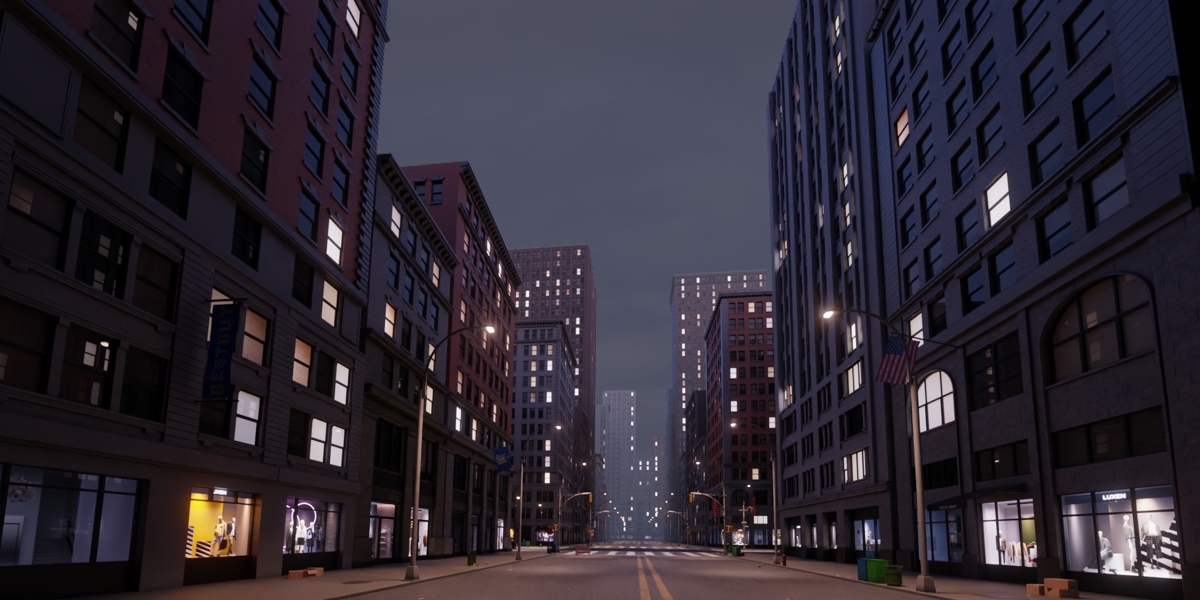
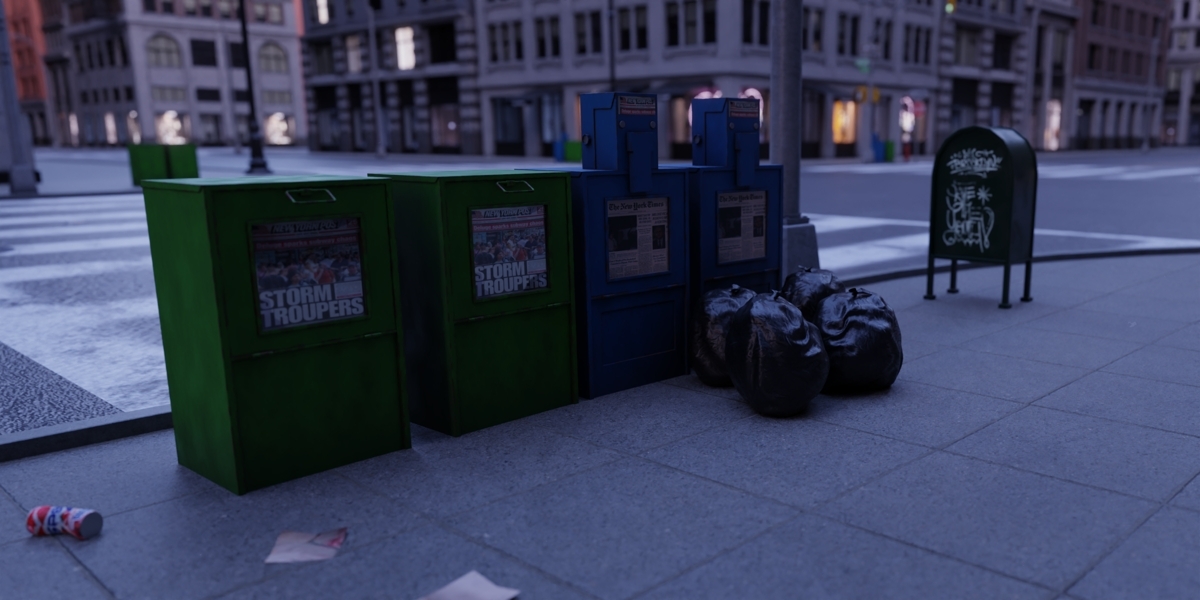


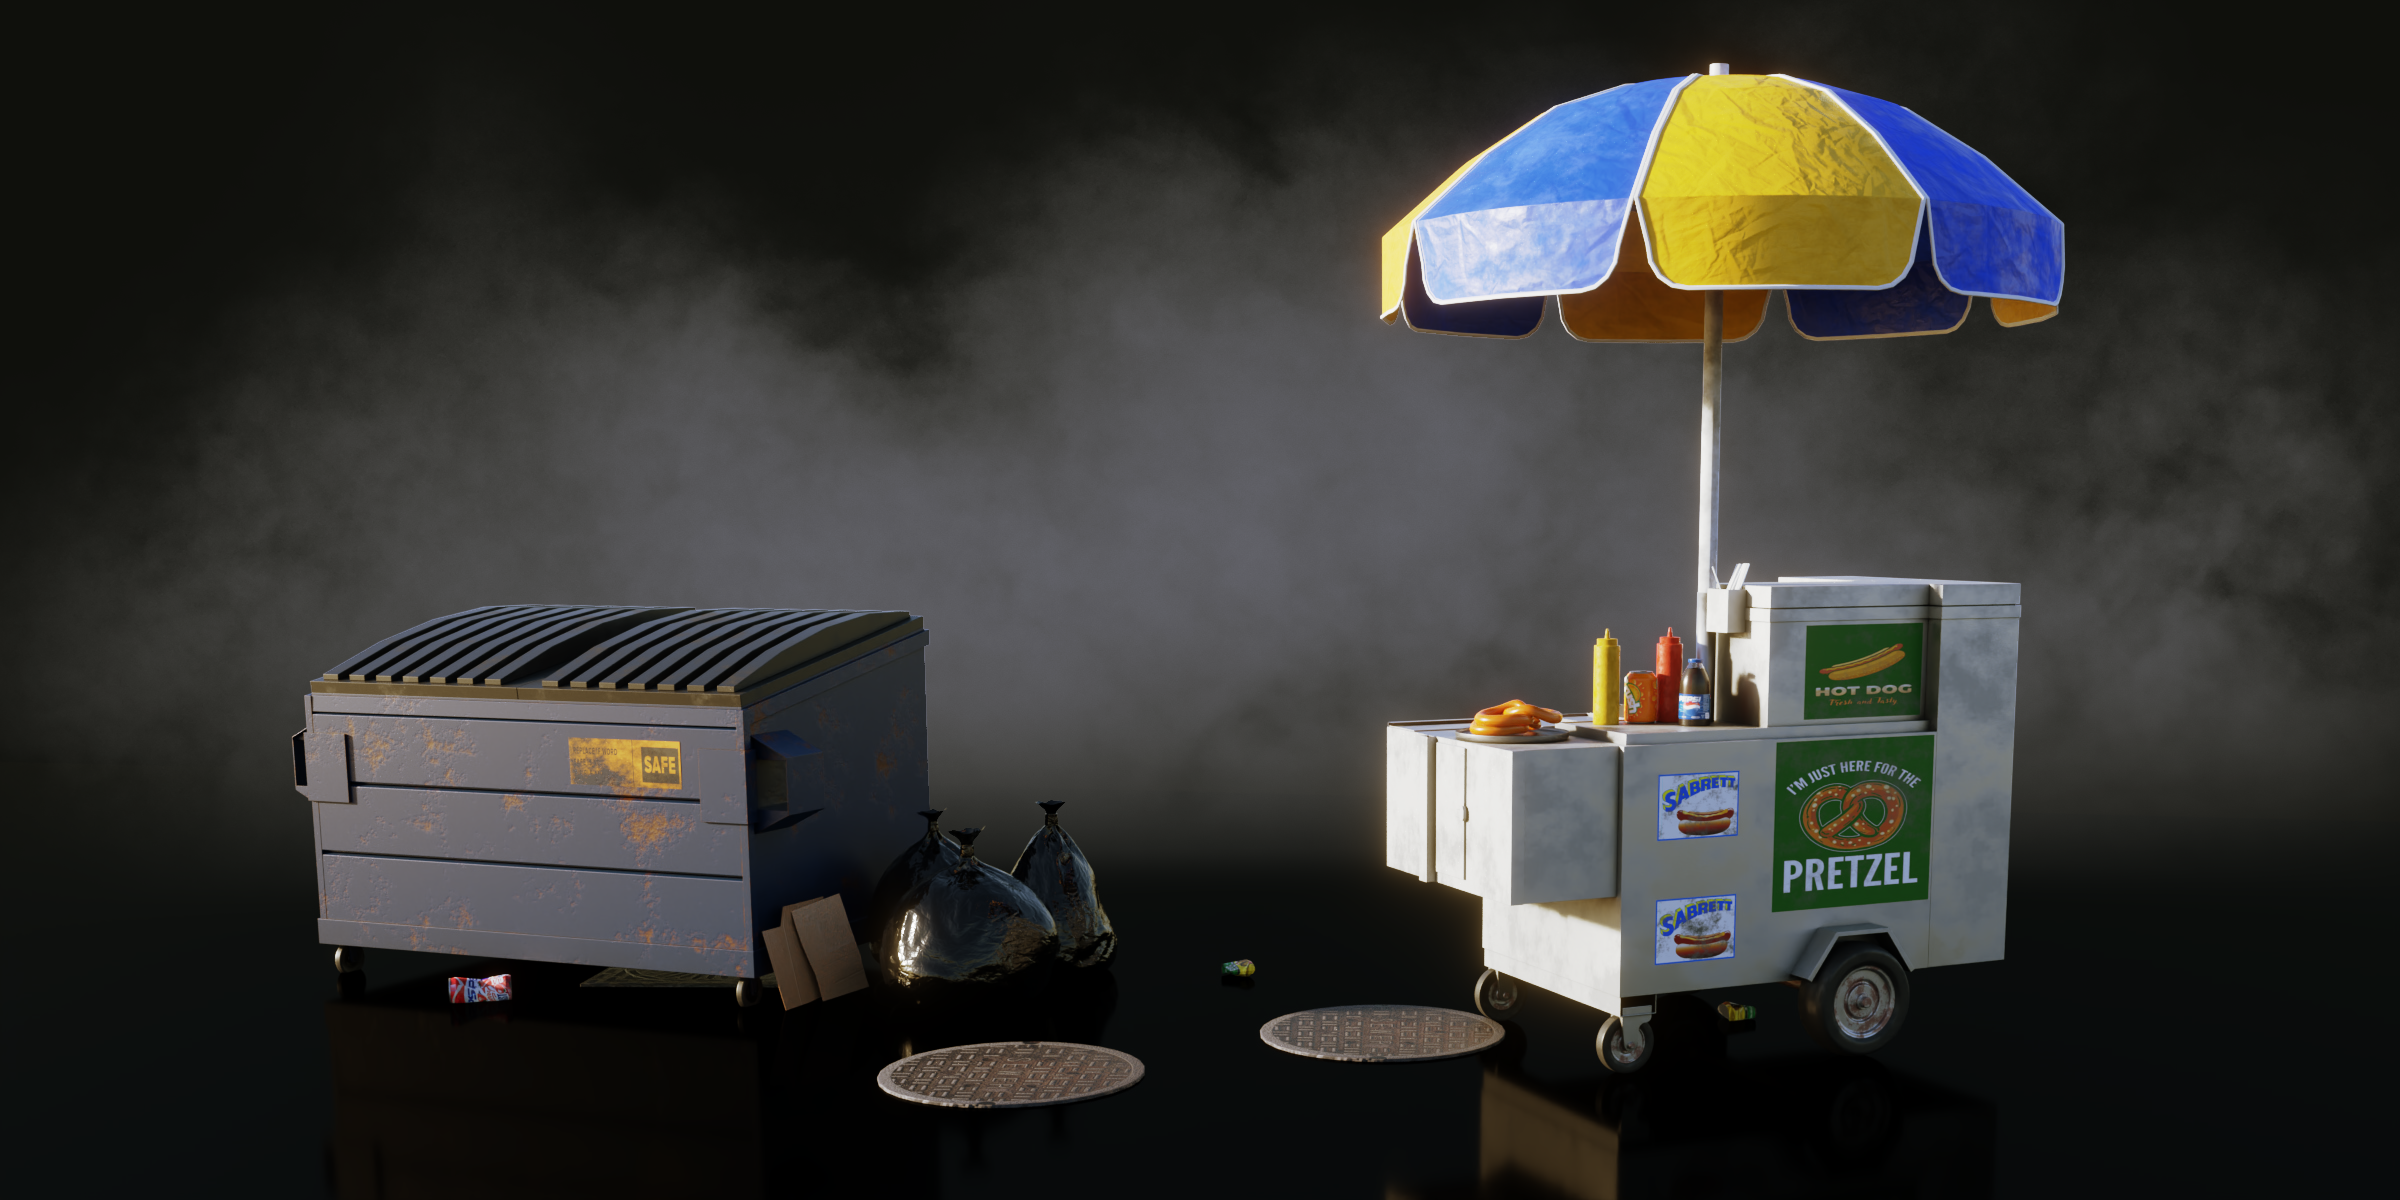
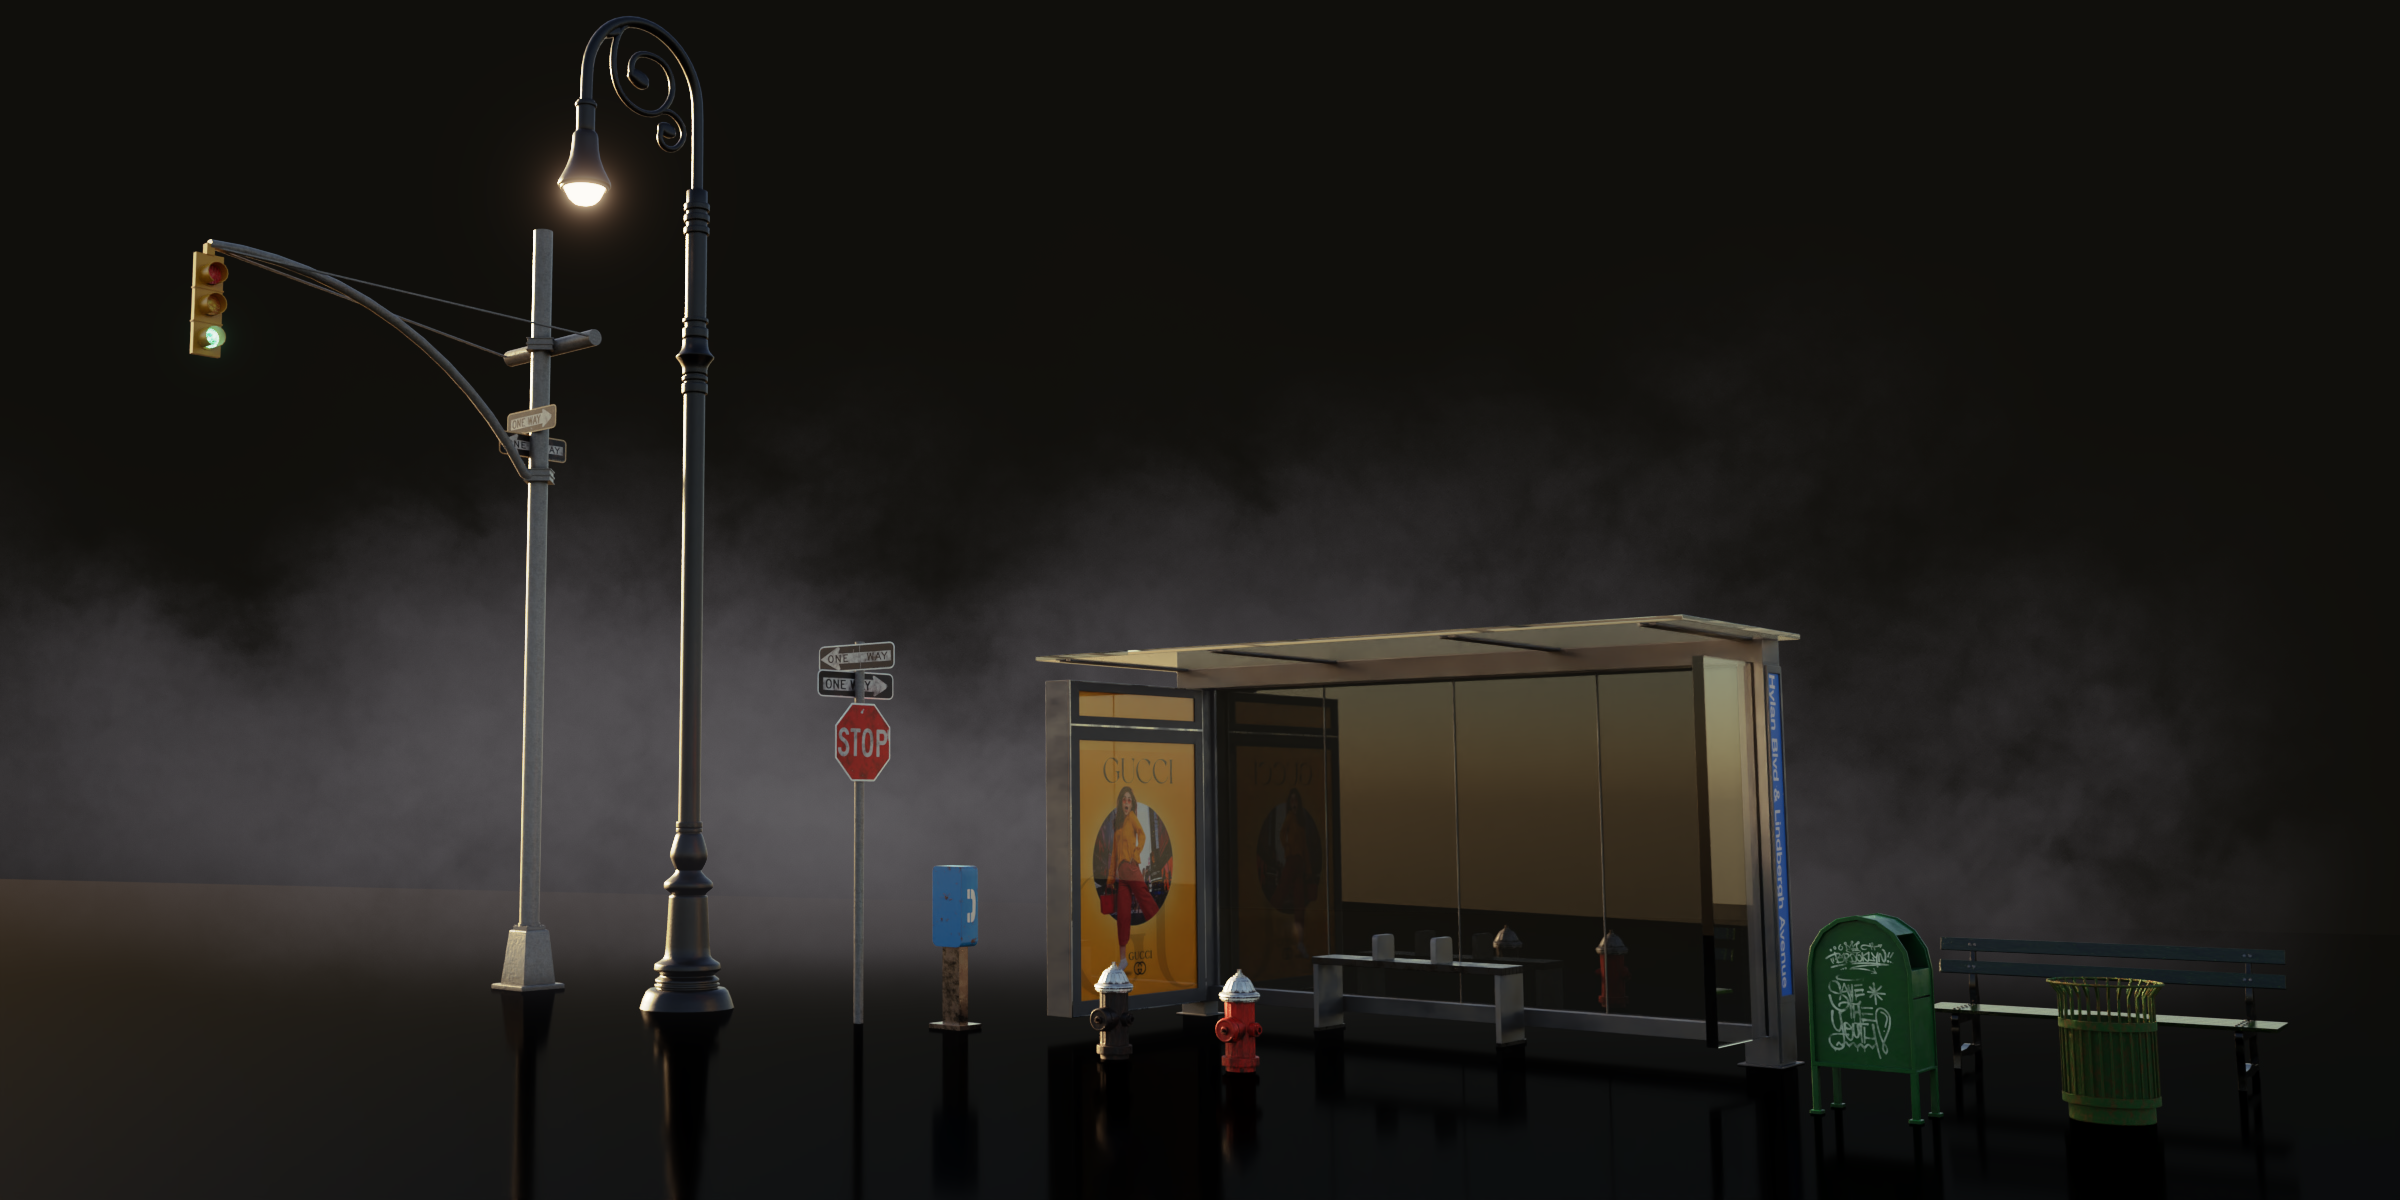
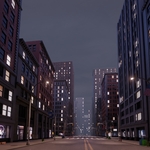
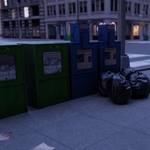
How to get the buildings into the Asset Browser
- Extract the .zip file and move the extracted folder to the desired location
- Open Blender and go to Edit > Preferences.
- In the Preferences window, click on the File Paths tab.
- Scroll down to the Asset Libraries section and click on the Add button.
- Browse to the location of your.blend file library and select it.
- Once you have selected your.blend file library, click on the Add Asset Library button to add it to the Asset Library.
Now all the buildings should show up in the Asset Browser tab.
NOTE: If you are planning to use the wind effect of flags and banners, you will have to copy the building from its current layer and paste it into your active scene. It will automatically include all of its asset collections, as the cloth simulation breaks and loses its original position when you drag and drop from the Asset Browser (no longer a problem with the latest Blender versions, 4.5 in my case).
Usually, the buildings are imported with their respective module collections and rooftop prop collections. Simply disable the collections from the View Layer, and you are ready to go.
Useful building parameters
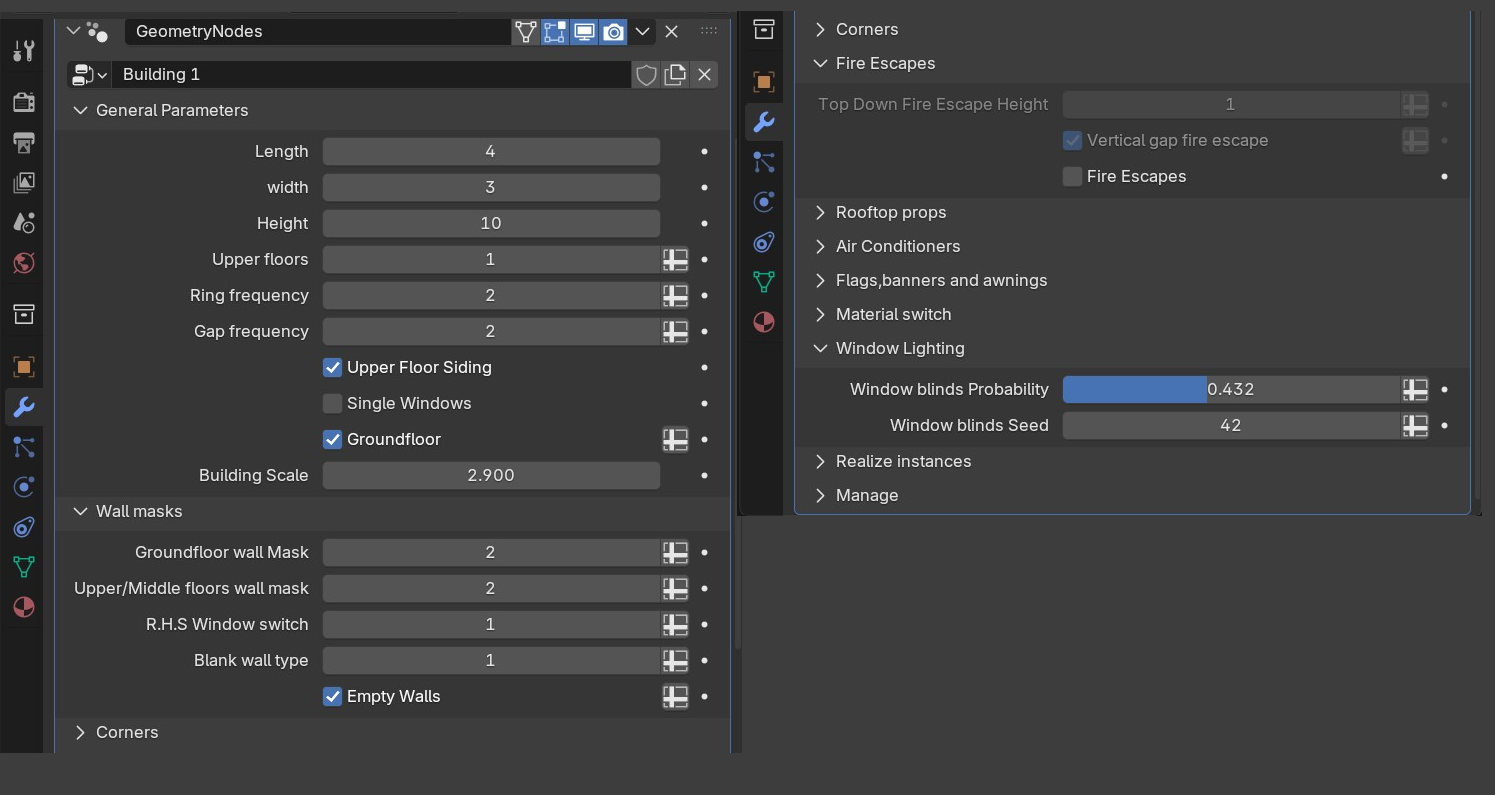
- Groundfloor wall mask and upper/middle floor wall mask: These determine whether a building will have double or single-sided walls. An integer value of 2,2 gives three blank walls, 3,3 two blank walls, and R.H.S adds windows on the right of the building (useful with 2,2 integer combination). All values are constrained within the required limits to give you the best possible results. Three masked walls, however, automatically disable prop distribution and module seed changes on corners.
- Empty walls: Adds windows and doors on all four building walls. For this option to work correctly once activated, you will have to adjust the blank wall type integer value (under the wall masks) to 2 or 3, based on the building type, and also disable upper floor siding (under general parameters).
- Single windows: A new parameter under the general parameters category for added window variation.
- Gap frequency: Controls fire escape and entrance distribution among many of its other uses.
Other parameters are pretty straightforward, and you will have no problem understanding their effects even with limited knowledge of geometry nodes.
Building, parallax, and props materials
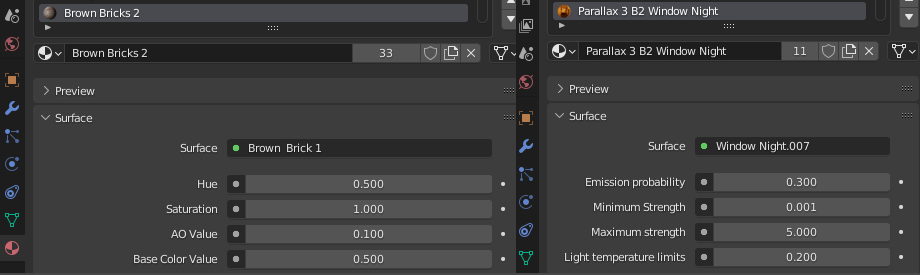
All the buildings and other small props and assets have a simplified node setup embedded in them, which lets you easily change their color and material variations in the Material Properties panel.
The light temperature slider allows you to make the lighting warm or cool based on your preference. Lighting is controlled by the materials embedded in the geometry nodes object.
- Emission probability: The higher it is, the more windows that emit light, and vice versa.
Sidewalk control
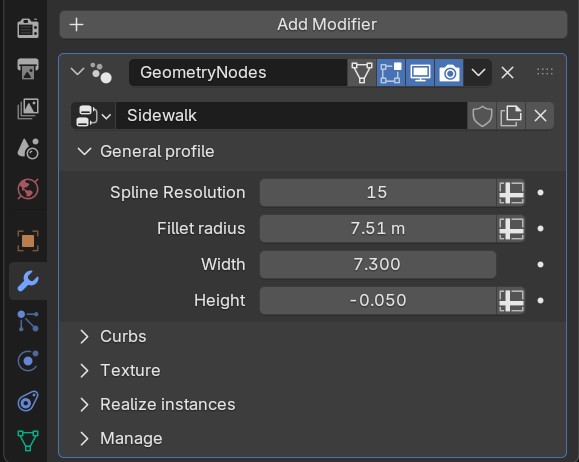
NOTE: The height parameter works with negative values; reversing it will flip the normals.
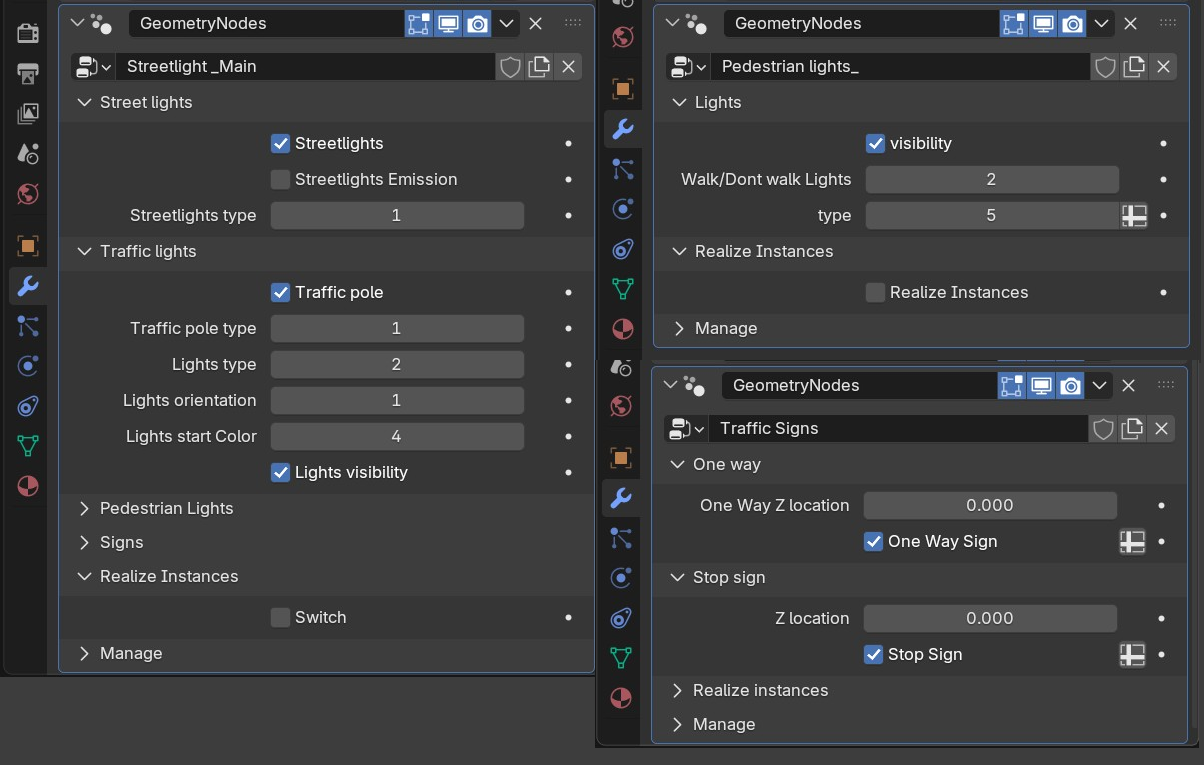
Main streetlight and pedestrian lights parameters
Have simple controls. You can control the emission strength of the traffic and pedestrian lights under the mesh materials.
- Lights orientation: Rotate the lights in 90-degree increments using an integer seed.
NOTE: All parameters of the other streetlights and street signs work the same as those below.
Realizing instances
- Realize Instances in the Geometry Nodes tab.
- Apply the Geometry Nodes modifier.
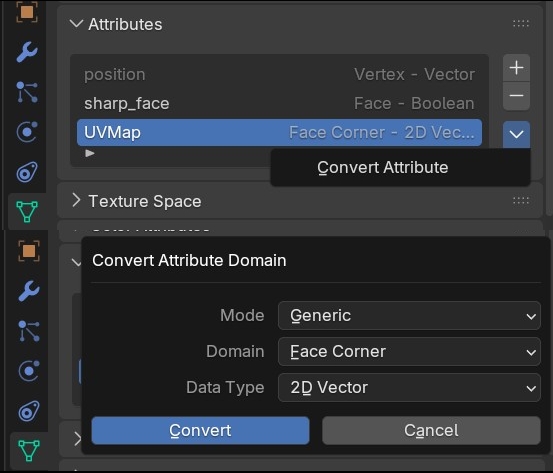
- Finish the process with the steps above.
Feel free to contact me through the marketplace for any questions or suggestions.
Have questions about this product?
Login to message
| Sales | 60+ |
| Rating | 1 ratings |
| Dev Fund Contributor | |
| Published | over 2 years ago |
| Blender Version | 3.3 - 5.2 |
| Render Engine Used | Cycles, Eevee |
| Misc Data | Uvs-Unwrapped, Normal-Mapped, Textured |
| License | Royalty Free |
Discover more products like this
geometry nodes asset-browser nyc manhattan downtown large scale environment procedural new york night skyscrapers city