Dust, Dust & Dust
 jafka_art&tech


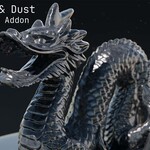
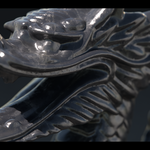
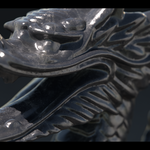
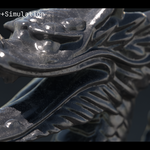
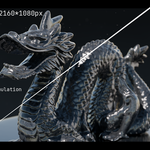
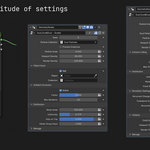
Here is how it works:
__________________________________________
General Installation:
A. Add this .blend file in your asset folder. This will add all the node groups and the dust particle collection to your assets.
or
B. Append the Dust,Dust&Dust Collection from this file to your current project.
__________________________________________
Dust Shader:
1. Add the Shader Group 'Dust,Dust&Dust - Shader' after your shader setup.
2. Adjust your values, play around and read the descriptions you seen when you hover over each value.
3. That's it :)
__________________________________________
Dust Scatter Geometry Modifier Node:
1. Choose the object you want to add the 'Dust,Dust&Dust - Scatter' modifier to. There are multiple options for object selection (Object Input):
a. Scatter on the geometry of the object itself
b. Scatter on a object from your scene
c. Scatter on a collection of objects from your scene
2. Make sure that the 'Dust Particles' Collection is added in the Particle Collection input. You can also add your own custom particles.
3. Ajdust scale, density and distribution values. All the values have descriptions explaining what they do if you hover over them.
4. Adding Vertex Groups:
- create a vertex group where the dust should be scattered
- add that group in the Vertex Group Input by clicking on the symbol on the right of the number field.
__________________________________________
Floating Dust Simulation Geometry Modifier Node:
1. Create a Dust Domain. This can be any geometry, and within the area of it the dust will be scattered and simulated.
2. Add the 'Dust,Dust&Dust - Floating Particle Simulation' Geometry Node Modifier.
3. Make sure that the 'Dust Particles' Collection is added in the Particle Collection input. You can also add your own custom particles.
4. Ajdust scale, density and simulation values. All the values have descriptions explaining what they do if you hover over them.
- To see some changes, you have to let the simulation run again from the start.
5. Camera Culling:
- Activate Camera culling. If you activate it, but don't add a camera, the modifier won't work.
- Add your active camera to the input
- Set the maximum distance you want the particles to be rendered from the camera
6. Children
- Children are created from each simulated particle to save on performance.
- Don't set the Child distance too high, or they will pop in and out of existence within the cameras view.
Have questions about this product?
Login to message
| Published | about 1 year ago |
| Blender Version | 4.5 |
| Render Engine Used | Cycles, Eevee |
| License | Creative Commons |
