Dynamic Bridge
 Hot Knife


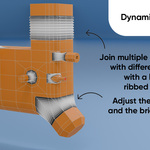
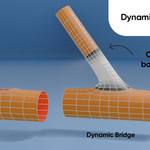
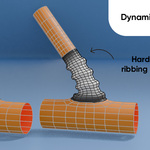
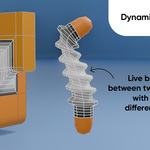
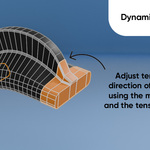
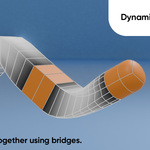
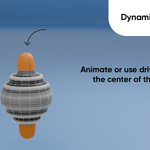

Drag the GN from the asset shelf into the scene.
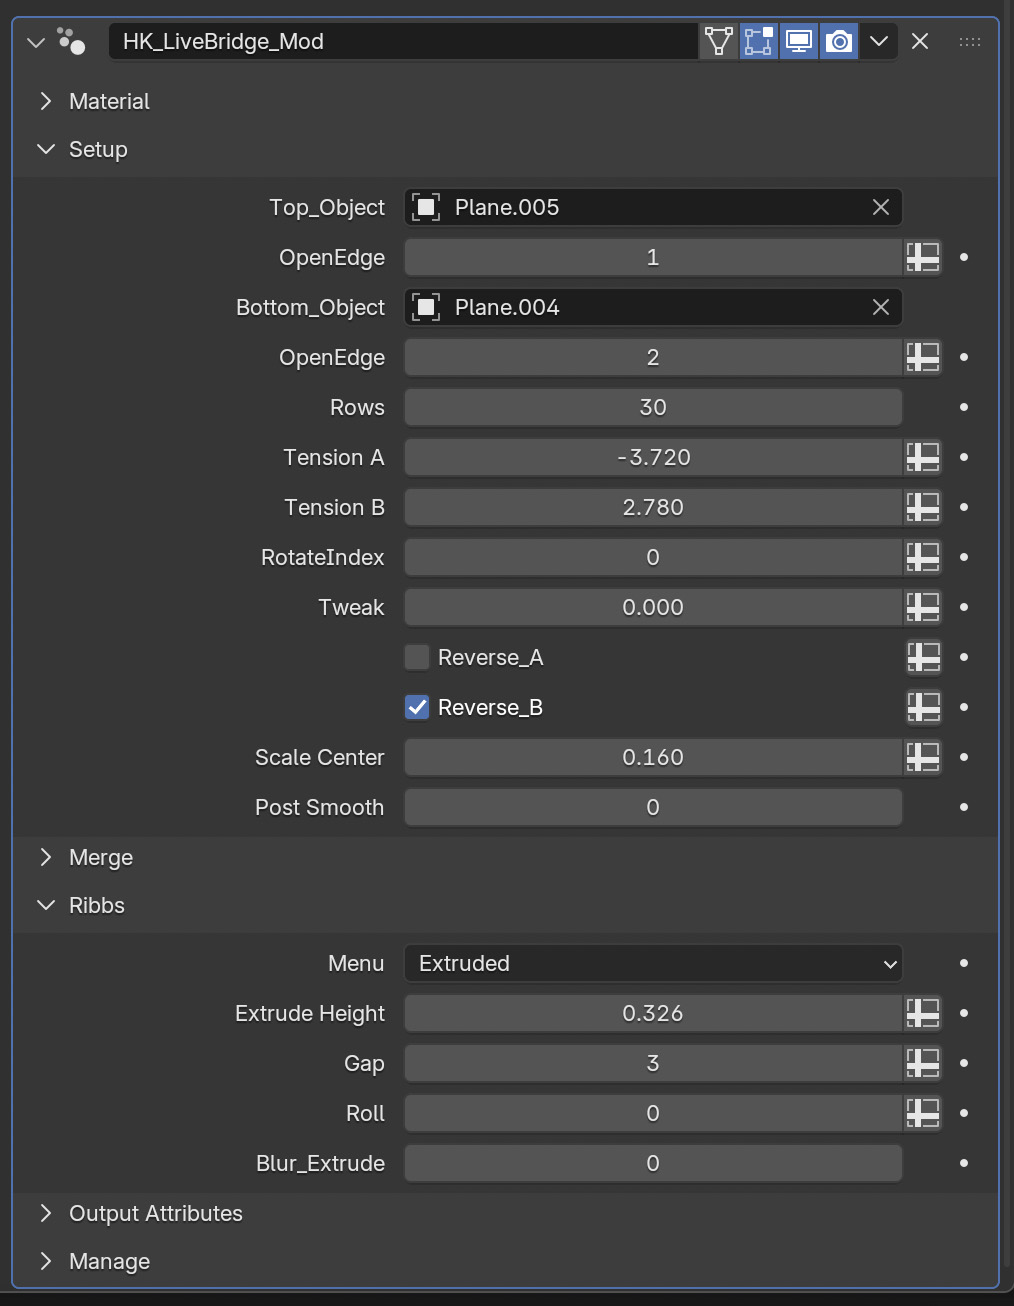
First thing is to choose the Top_Object and then the Bottom_Object - this can be the same object if you have two open edges on a single object you wish to join.
The edges that will be joined together are determined by the OpenEdge number.
In the image below there are five open edges - the four inner holes / edges and the outer edge of the object.
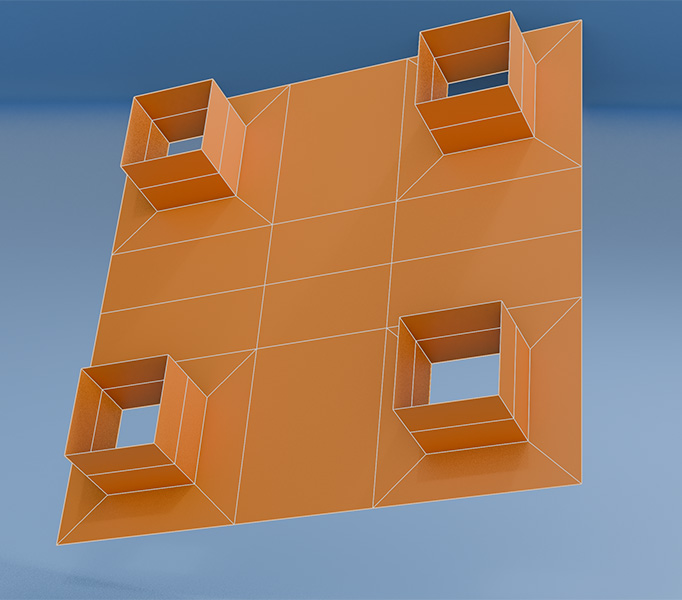
The OpenEdge number will determine which edge joins which edge.
The tension of each edge can be adjusted with the Tension A & B controls. This can be either a positive or negative number.
The Rows control determines the amount of cross sectional rows in the Bridge object.
Rotate Index wraps the beginning of the bridge edge.
Scale Center - inflates the center of the Bridge.
Post Smooth - uses the Blur Position formula across the center of the Bridge.
Tweak - while the RotateIndex value is used to rotate the starting point of the Bridge the Tweak is there to nudge the bridge when each edge of the Bridge has different vertex values. This helps when the Bridge is not symmetrical - adjusting this values will help in this case.
Menu - select between Smooth / Push / Extrude.
Smooth - no effect along the Bridge.
Extrude - adds geometry along the Bridge - extruding every other row along the bridge based upon the Gap and Blur_Extrude.
Push - pushes geometry along the Bridge normals - pushing every other row along the bridge based upon the Gap and Blur_Extrude.
Use the Gap and Blur_Extrude to control how many extrusions occur. Gap leaves a number of rows between each extrusion, while Blur_Extrude will increase the rows that are extruded either side of the extruded row.
Have questions about this product?
Login to message
| Sales | 10 |
| Rating | 1 ratings |
| Dev Fund Contributor | |
| Published | 7 months ago |
| Blender Version | 5.0 |
| Render Engine Used | Cycles, Eevee |
| License | Creative Commons |
