Easy Graffiti
 Quad Lab


Easy Graffiti Add-on Documentation
Installation
-
Download the Add-on:
-
Download the
.zipfile containing the Easy Graffiti add-on.
-
-
Install in Blender:
-
Open Blender.
-
Go to Edit > Preferences > Add-ons.
-
Click Install... (top right).
-
Select the downloaded
.zipfile. -
Check the box next to Easy Graffiti to enable the add-on.
-
-
Access the Add-on:
-
Open the 3D Viewport.
-
Press N to open the sidebar.
-
Find the Easy Graffiti tab.
-
Adding Graffiti
-
Select your object in the 3D Viewport.
-
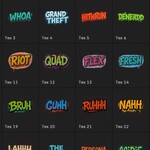
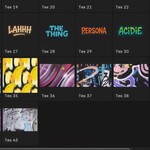
In the Easy Graffiti panel (N-panel), browse through the graffiti style previews.
-
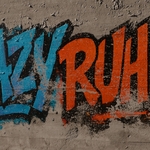
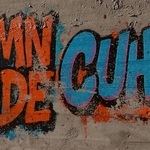
Click any preview to instantly apply that graffiti style to your selected object.
-
Use the sidebar controls to tweak style, placement, scale, rotation, opacity, and other settings.
Managing Graffiti
-
Replace: Click any other preset to replace the current graffiti with a new one.
-
Stack: Layer graffiti and masks for unique effects.
-
Remove: Use the Remove button to delete graffiti from your selected object or from the entire scene.
Using Custom Textures & Masks
-
Add your own images:
-
Open the Preferences menu in the Easy Graffiti add-on.
-
You’ll find folders for textures and masks.
-
-
Drag and drop your texture or mask images into these folders.
-
Restart Blender.
-
Your custom textures and masks will now appear as selectable options in the N-panel.
Batch Actions
-
Apply to All Materials: Use the checkbox to apply graffiti to all materials of the selected object.
-
Batch Remove: Remove all graffiti from all objects in the scene with a single click.
Included Assets
-
43 Graffiti Textures
-
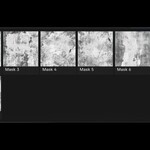
10 Mask Images
Have questions about this product?
Login to message
| Sales | 10+ |
| Dev Fund Contributor | |
| Published | over 1 year ago |
| Blender Version | 3.0 - 4.5 |
| Extension Type | N/A |
| Render Engine Used | Blender-Internal, Blender-Game-Engine, Cycles, Eevee |
| License | Mit |
Discover more products like this
drag and drop non-destructive n-panel texture addon graffiti 3d textures materials blender graffiti generator masks blender addon Custom Textures