Easy-Print
 Print Connector


Easy-Print Documentation
GETTING STARTED
Install the add-on from Blender Market, then enable it under Edit → Preferences → Add-ons. The Easy-Print panel appears in the 3D Viewport sidebar (press N → Easy-Print tab).
CUTTING A MODEL
1. Select your mesh object in Object Mode
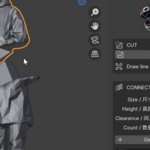
2. Click "Cut Model" in the Easy-Print panel
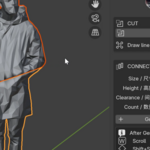
3. Draw a line across the model surface (click and drag)
4. Release to preview the cut plane, then click to confirm
The view automatically switches to orthographic mode during drawing for precise alignment.
GENERATING CONNECTORS
1. Select BOTH resulting halves
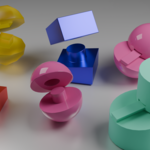
2. Choose a connector type: Tab & Slot, Peg & Hole, or Dovetail
3. Click "Generate Connectors"
Connectors are auto-sized to the cut surface with clearance for print tolerance.
ADJUSTING CONNECTORS
After generation, the add-on enters adjustment mode:
• Scroll — change connector depth/height
• Shift + Scroll — change connector width/size
• Left Click — confirm and keep the result
• Right Click / Esc — cancel
CONNECTOR TYPES
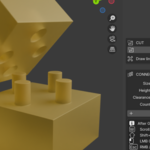
• Tab & Slot — rectangular box connectors, strongest hold for general use
• Peg & Hole — cylindrical snap-fit pins for alignment-critical assemblies
• Dovetail — trapezoidal sliding rail, no fasteners needed
PARAMETERS
• Size — connector width/diameter (0 = auto)
• Height — protrusion/depth (0 = auto)
• Clearance — print tolerance gap (default 2%)
• Count — number of connectors per face (-1 = auto)
REQUIREMENTS
• Blender 4.2 or newer (up to 5.2 tested)
• No external dependencies
SUPPORT
Report issues: https://github.com/fzhe5124-cmyk/easy-print/issues
License: GNU GPL v3.0
Have questions about this product?
Login to message
| Blender Extension Compatible | Yes |
| Published | about 2 months ago |
| Blender Version | 4.2 - 5.2 |
| Extension Type | Add-on |
| Render Engine Used | Cycles, Eevee |
| License | GPL |