Easy Room
 Onion365studio
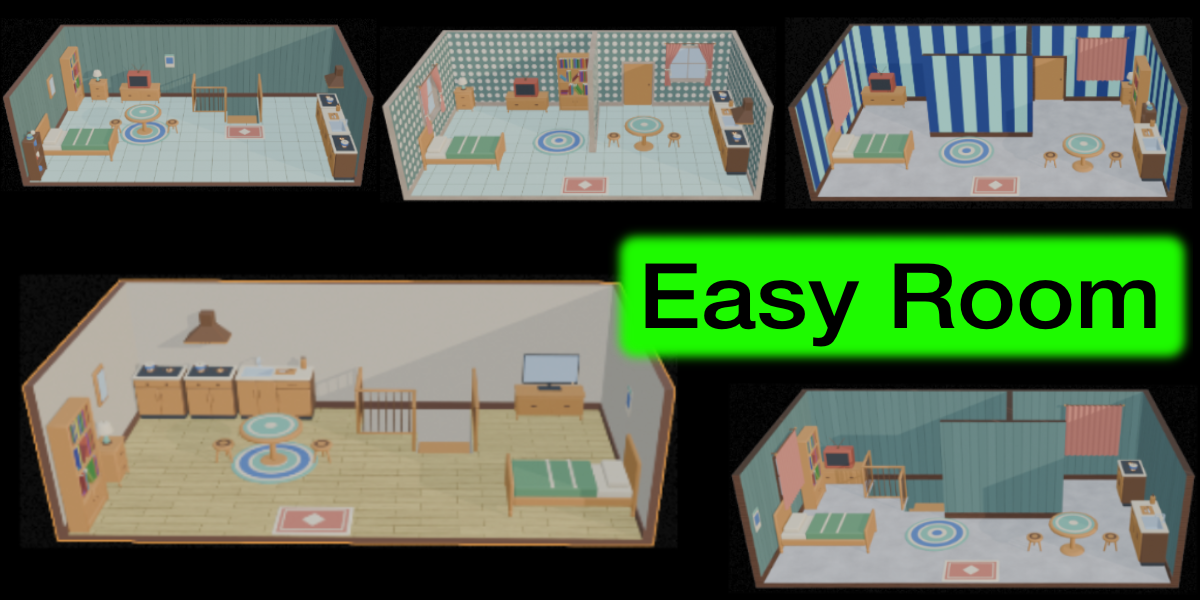
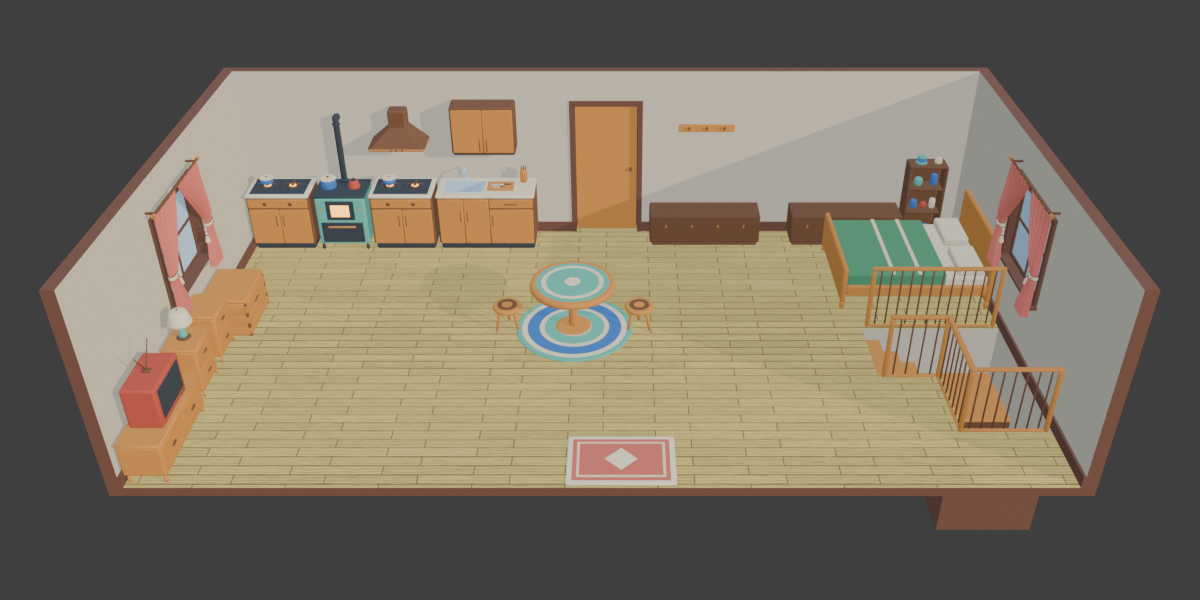
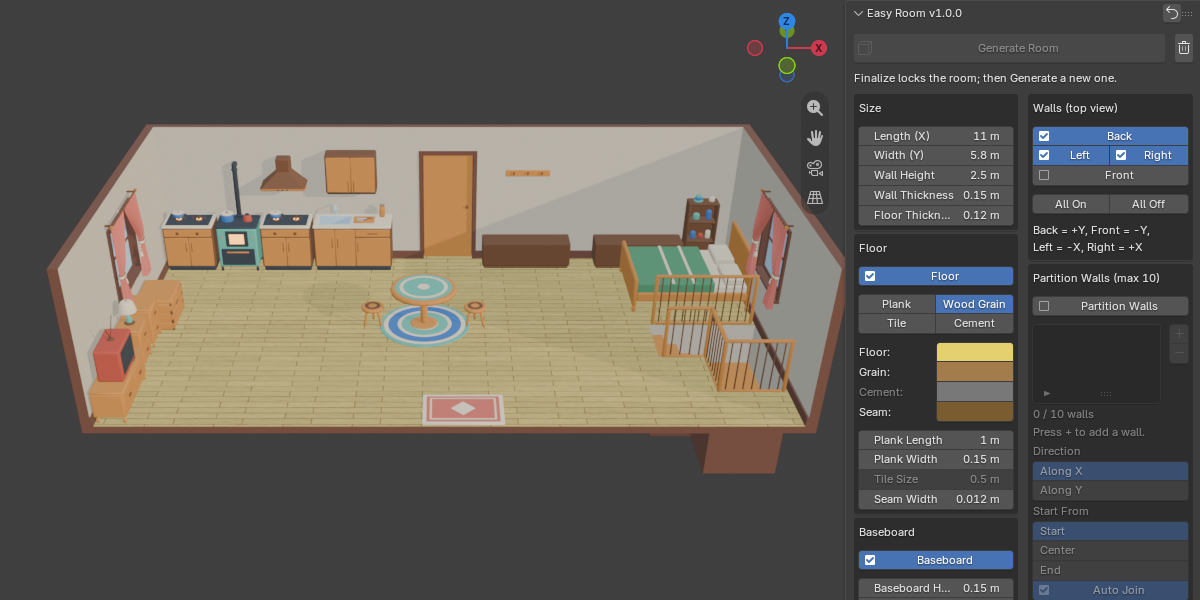
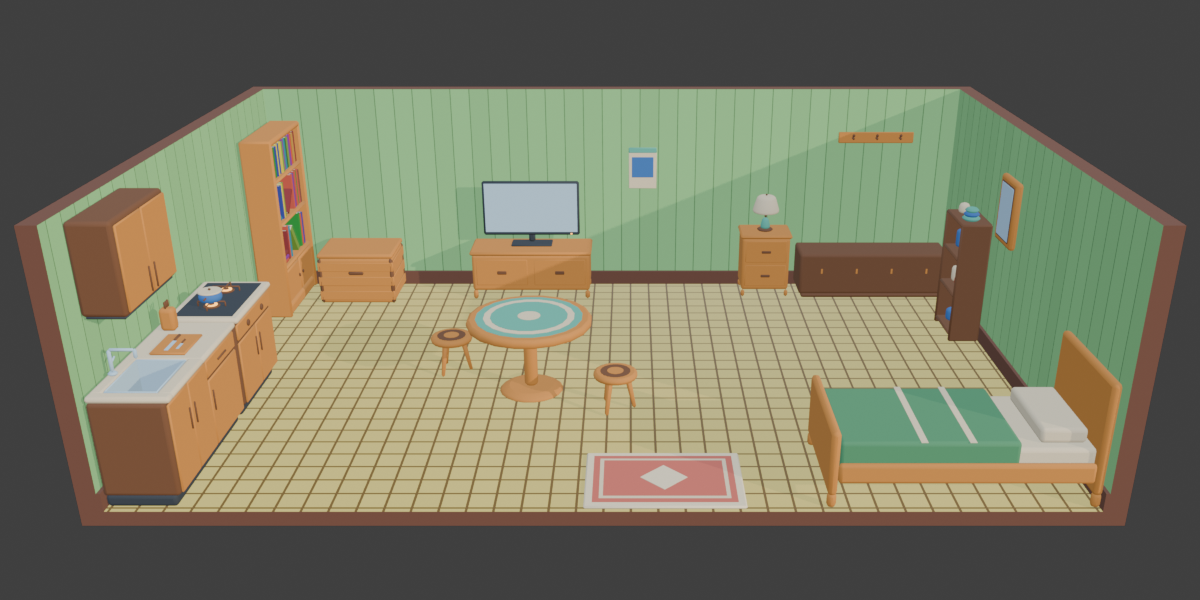
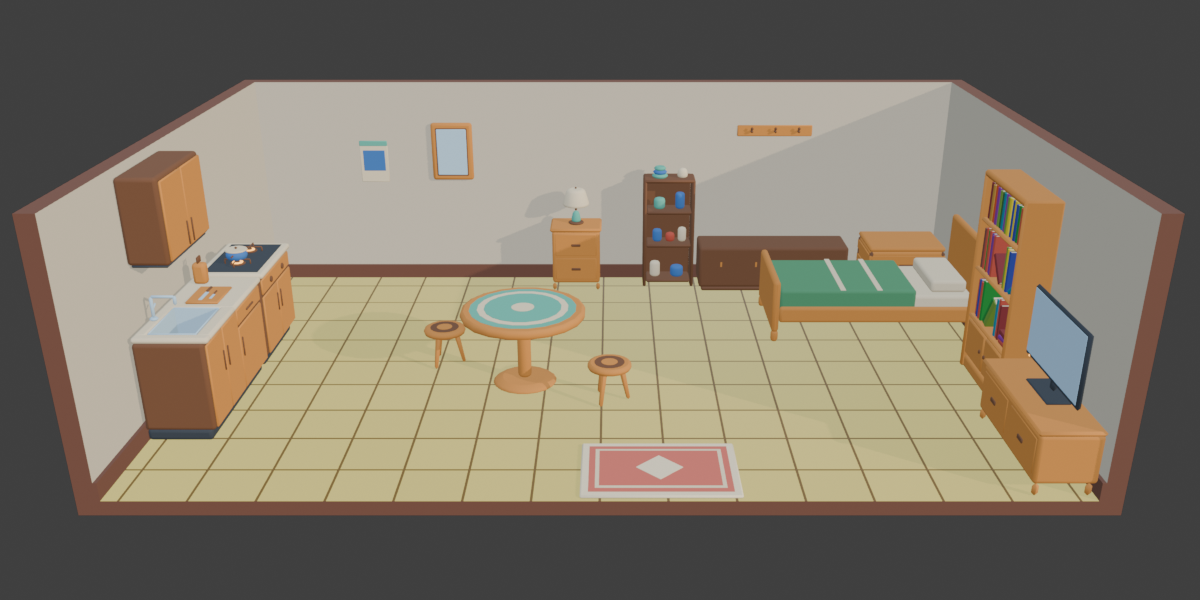
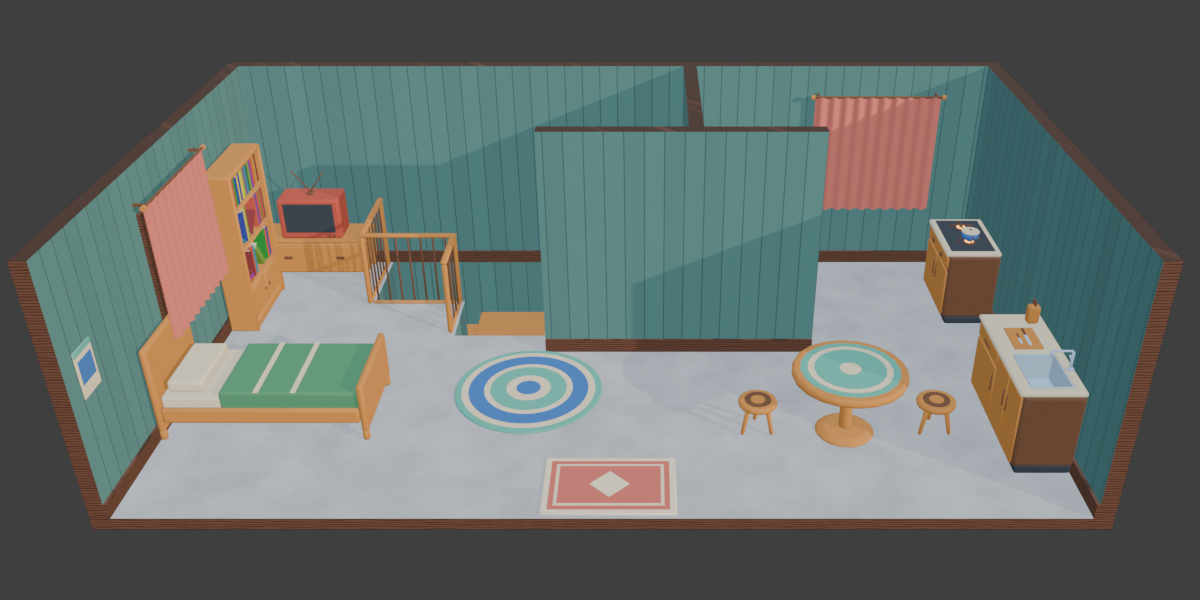
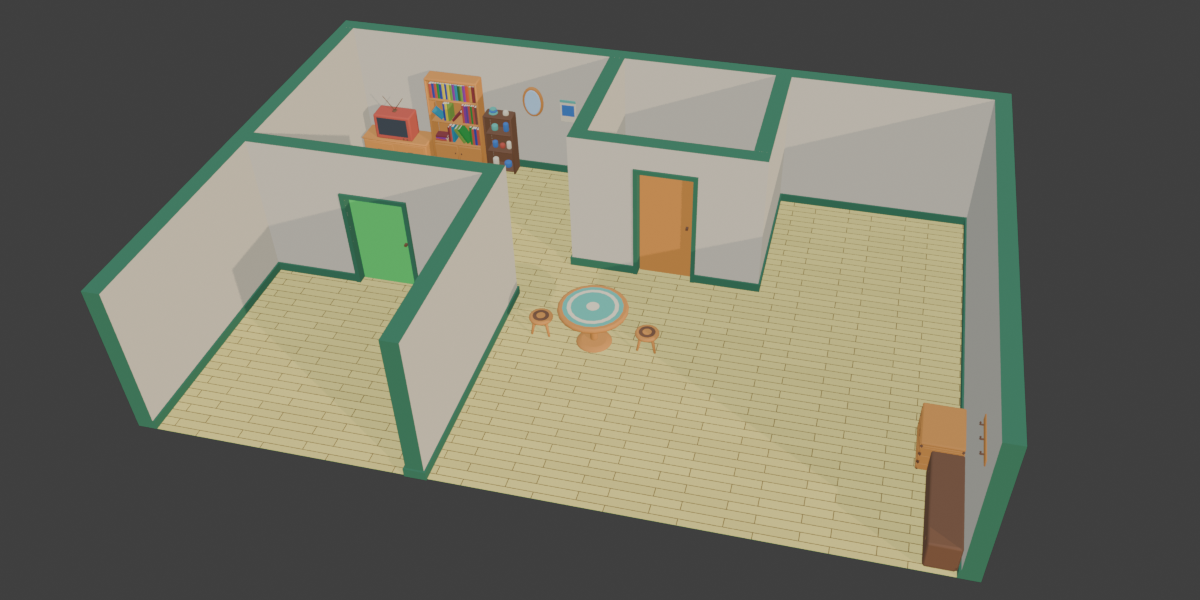
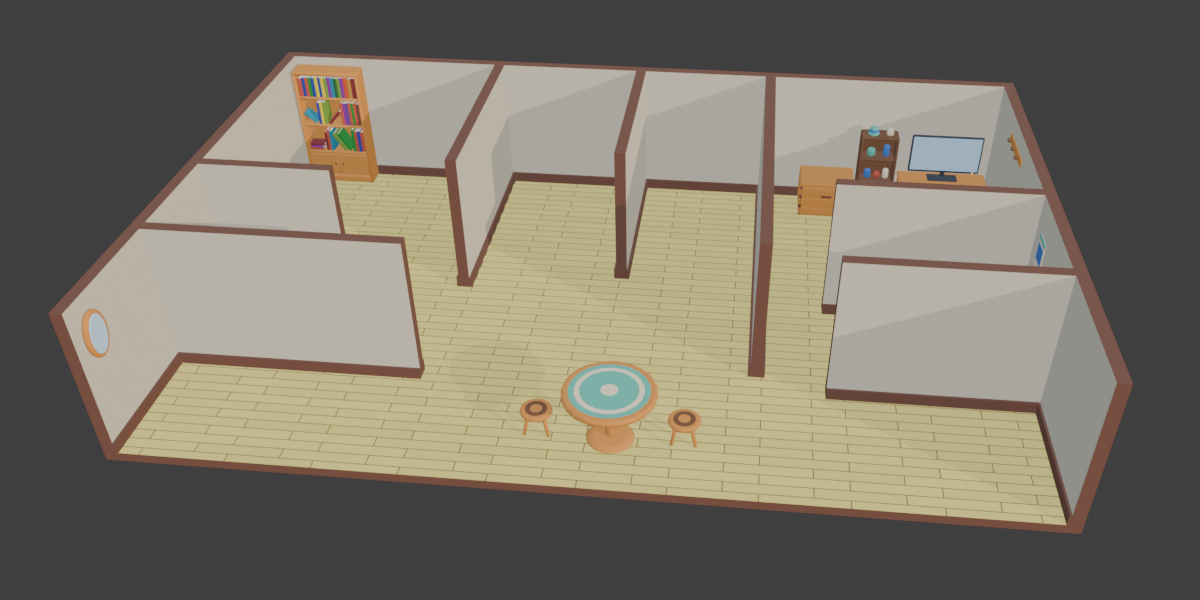
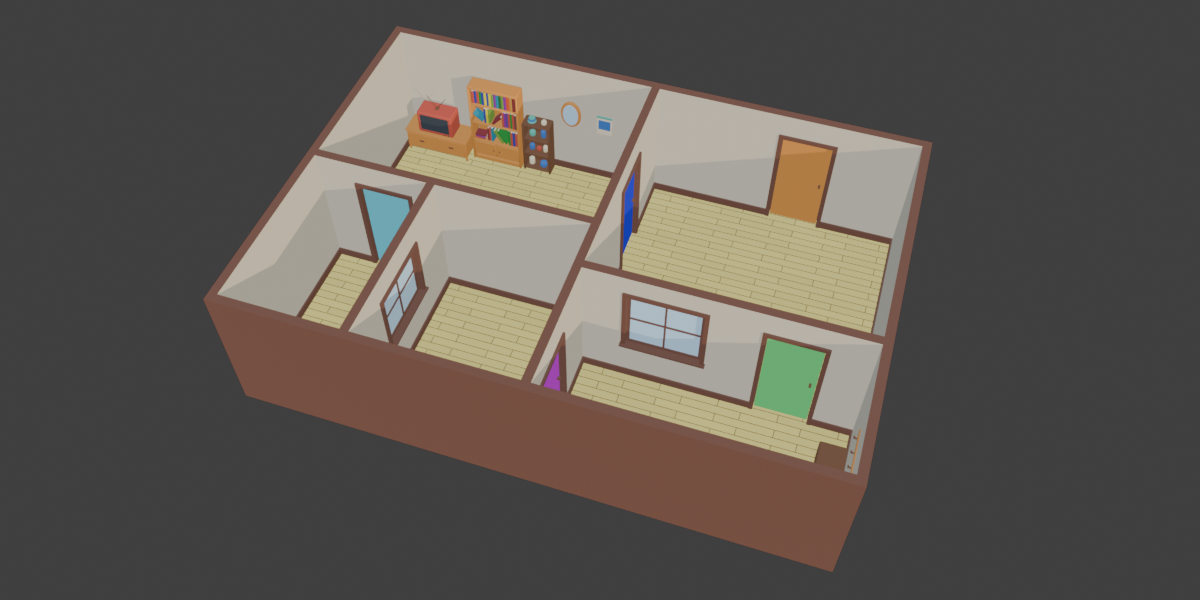
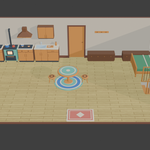
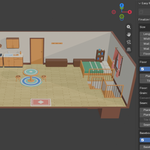
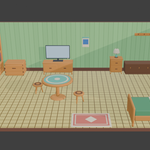
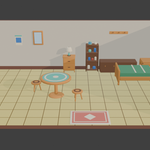
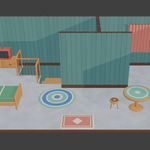
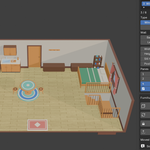
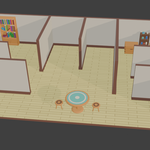
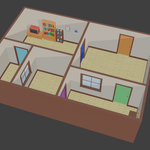
Easy Room Documentation
Installation
- In Blender, open Edit > Preferences > Add-ons.
- Open the small arrow menu at the top right and choose Install from Disk.
- Select the downloaded
.zipfile, then make sure Easy Room is ticked. - Open the 3D Viewport, press N, and click the Easy Room tab.
Requires Blender 5.2 or newer.
Quick start
- Press Generate Room.
- Change the size, floor, walls, doors, windows and curtains with the sliders. The room updates live.
- Press Choose Furniture..., click thumbnails to add pieces, then press Done.
- Press Random Layout for a new arrangement, or use Edit Furniture to move pieces yourself.
- Press Export GLB, or Finalize to keep the room as a normal mesh.
The whole room (walls, floor, partitions, curtains and furniture) is built as a single mesh object.
Main buttons
- Generate Room: creates the room. It only works when there is no room yet, because an existing room already updates live.
- Trash icon: deletes the room.
- Reset icon (panel header): puts every setting back to its default and clears all partition walls, doors, windows and hand-moved furniture. The room stays and is rebuilt.
- Finalize: locks the room. It becomes a normal mesh object that the sliders no longer change, and you can press Generate Room to make a new one.
Room
- Length (X), Width (Y), Wall Height, Wall Thickness, Floor Thickness.
- Front / Back / Left / Right: switch each outer wall on or off. By default the front wall is off so you can see inside.
Floor and baseboard
- Floor Type: Plank, Wood Grain, Tile or Cement.
- Plank type: Plank Length, Plank Width, Seam Width. Tile type: Tile Size. Each type has its own colours.
- Baseboard: add a baseboard around the inner base of the walls, with Height and Depth.
- Trim Surface: the baseboard, wall edges and floor edge can be Plain, Wood (with a grain colour) or Cement.
Walls
- Wall Surface: Plain (one colour), Plank (boards, set the width and Vertical on or off) or Pattern.
- Pattern: Stripe, Dots or Diamond, with a pattern colour and Pattern Size.
Partition walls
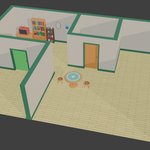
- Tick Partition Walls to add up to 10 divider walls.
- Each wall has Direction (Along X or Along Y), Start From, Length, Height, Position and Slide.
- Use the drag button to move a partition with the mouse in the 3D view. Left click confirms, right click or Esc cancels.
Doors and windows
- Tick Door & Window to add up to 8 openings.
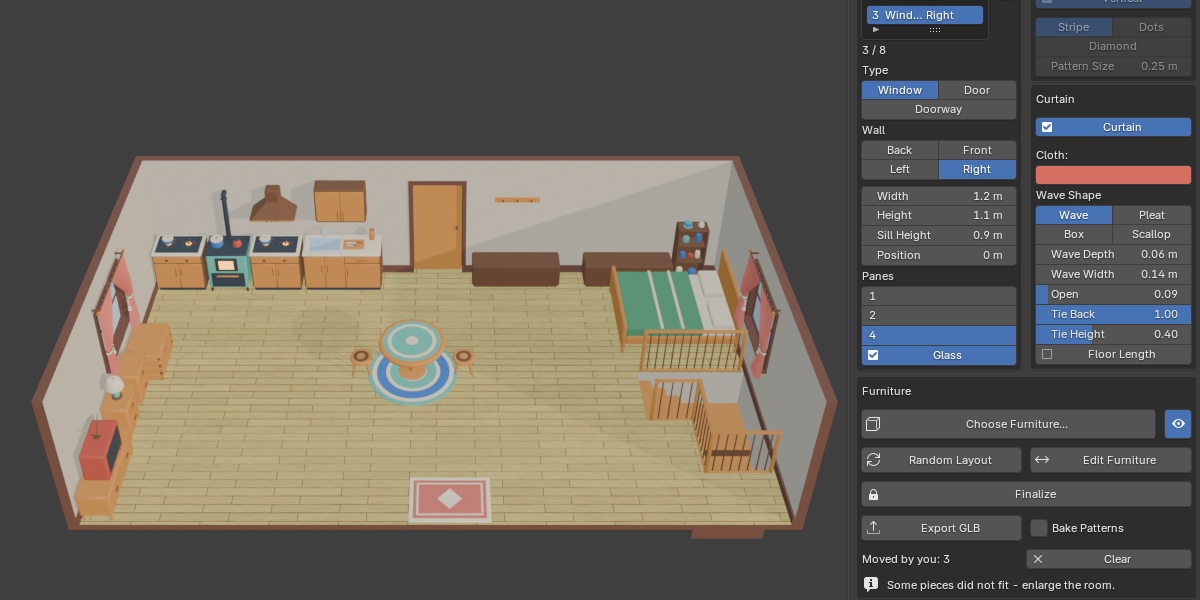
- Each opening has a Type (Window, Door or Doorway), the Wall it is cut into (Back, Front, Left or Right), Position, Width and Height. Windows also have a Sill Height.
- The wall has to be switched on for an opening to appear.
Curtain
- Wave Shape: Wave, Pleat, Box or Scallop.
- Wave Depth, Wave Width, Open (0 = drawn shut, 1 = pulled fully to the sides), Tie Height, Floor Length, and the cloth colour.
Furniture
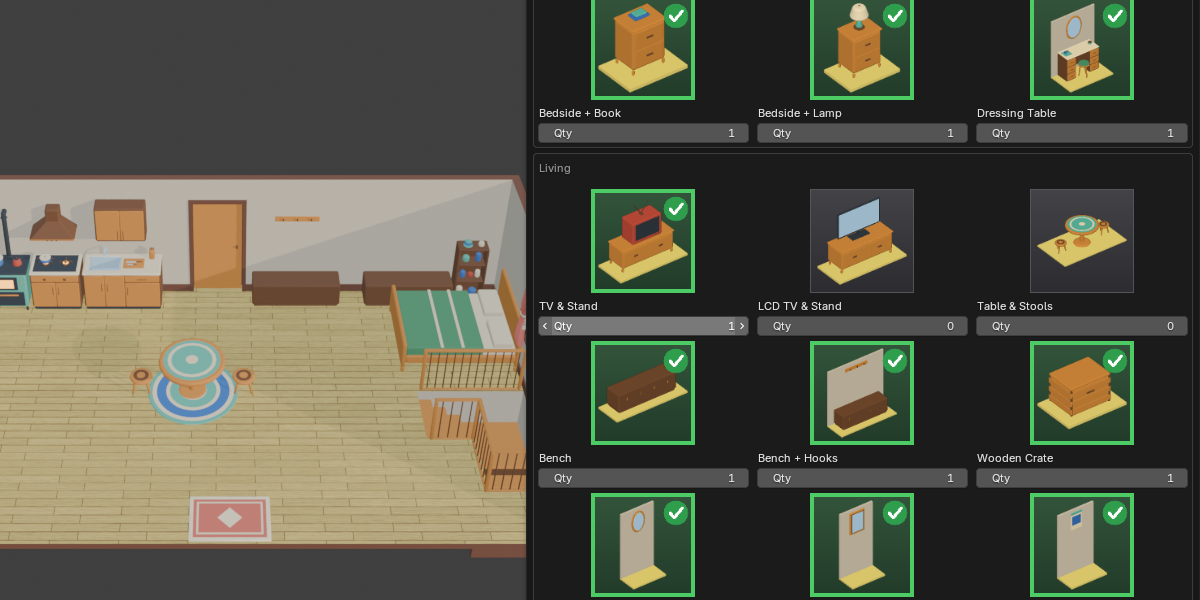
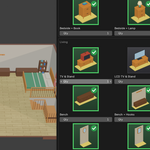
Press Choose Furniture... to open the furniture window.
- Click a thumbnail to add one copy, or type a number in its Qty box. Qty 0 means the piece never appears.
- Random Layout makes a new arrangement. Layout seed repeats a layout (0 is the classic layout). Flip Layout mirrors it left to right.
- Quick set: Living Room, Bedroom, All or Clear.
- Stairs: straight, L-shaped (left or right) and down stairs, in 3, 5, 8 and 15 steps. Set Stair Wall Height and Railing Height in the Stairs section. Down stairs cut a hole in the floor, and have a Railing checkbox.
- Shape - round the corners: set all pieces to Sharp, Soft or Round, or set Bevel and Seg for each piece.
- The eye icon next to Choose Furniture shows or hides all furniture.
- Pieces that do not fit are skipped. The panel tells you when something did not fit, so enlarge the room or lower a Qty.
Edit Furniture
Press Edit Furniture to move pieces by hand. The rest of the panel is locked while it runs. Press Finish Edit when done.
- Move: click a piece (or hover over it and press G), move the mouse, click to drop.
- Rotate: hold the right mouse button and drag sideways, or press R, move the mouse and left click to confirm. Ctrl snaps to 15 degrees, Shift gives fine control.
- Scale: press S, move the mouse away from the piece to enlarge or towards it to shrink, then left click.
- Delete: press Delete or X on a piece.
- Pieces you placed by hand stay put when you press Random Layout. The panel shows Moved by you: n, and Clear removes them all.
Export GLB
- Set up your room, then press Export GLB and choose a file name.
- Optional: tick Bake Patterns next to the button and choose a Texture Size (1024, 2048 or 4096 px) in the file window.
- While the export runs, the button turns into a progress bar from 1% to 100%. Press Esc between steps to cancel.
What happens:
- Bake Patterns on: the floor, wall and trim patterns are baked into image textures, so the GLB keeps them. It is a flat colour bake, so lights, shadows and shading are never baked in. Cycles is used for the bake.
- Bake Patterns off: the patterns are saved as plain colours.
- The export works on a private copy, so your room is never changed. The export includes the walls, floor, partition walls and furniture.
Export GLB works on the live room, so export before you press Finalize.
Easy Room FAQ
Which Blender versions are supported?
Blender 5.2 and newer.
Do I need to switch my render engine to Cycles?
No. Cycles is only used during Bake Patterns. Easy Room switches to it for the bake and puts your engine back afterwards.
My exported GLB has plain colours instead of patterns.
Tick Bake Patterns before exporting. With it off, patterns are saved as plain colours because glTF cannot carry procedural patterns.
Does the bake include lighting or shadows?
No. It is a flat colour bake, so only the pattern colours end up in the textures.
How long does Bake Patterns take?
Usually a few seconds. Larger texture sizes take longer. The progress bar shows how far along it is, and it can pause between steps while Blender works.
What if the bake fails?
Easy Room shows a warning and saves the GLB with plain colours instead.
The Export GLB button is greyed out.
It needs a live room, and it is unavailable while Edit Furniture is running, while another export is running, and after the room has been finalized. Leave Edit Mode as well if the room is in it.
I get “Could not export the GLB”.
Make sure Blender’s built-in glTF 2.0 add-on is enabled in Preferences, then try again.
Can I export after pressing Finalize?
The Export GLB button works on the live room, so export first and finalize afterwards. A finalized room is a normal mesh object that you can also handle with Blender’s own tools.
Some of my furniture is missing.
Pieces with Qty 0 never appear, and pieces that do not fit are skipped. Enlarge the room, lower some quantities, or move walls and openings out of the way.
Will Random Layout undo the pieces I moved?
No. Pieces you placed with Edit Furniture stay where they are. Use Clear next to “Moved by you” to remove them.
Can I put the same piece in the room more than once?
Yes. Set its Qty to the number you want.
How many partition walls, doors and windows can I add?
Up to 10 partition walls and up to 8 doors, windows and doorways.
Why can’t I press Generate Room again?
A room already exists and updates live as you change settings. Press Finalize to lock it, or delete it with the trash icon, then generate a new one.
Is the room one object or many?
One mesh object, containing the walls, floor, partitions, curtains and furniture.
Can I restore the default settings?
Yes. Press the reset icon in the panel header. It also clears partition walls, doors, windows and hand-moved furniture.
Have questions about this product?
Login to message
| Blender Extension Compatible | Yes |
| Dev Fund Contributor | |
| Published | 6 days ago |
| Blender Version | 5.2 |
| Extension Type | Add-on |
| Render Engine Used | Cycles, Eevee |
| License | GPL |
Discover more products like this
3D game development Interior Design furniture Curtain floor and wall House stairs door and window 3d-asset-game Room Generator anime 3d low poly