Easy Seam Sharp
 Onion365studio
EASY SEAM SHARP DOCUMENTATION
1. INTRODUCTION
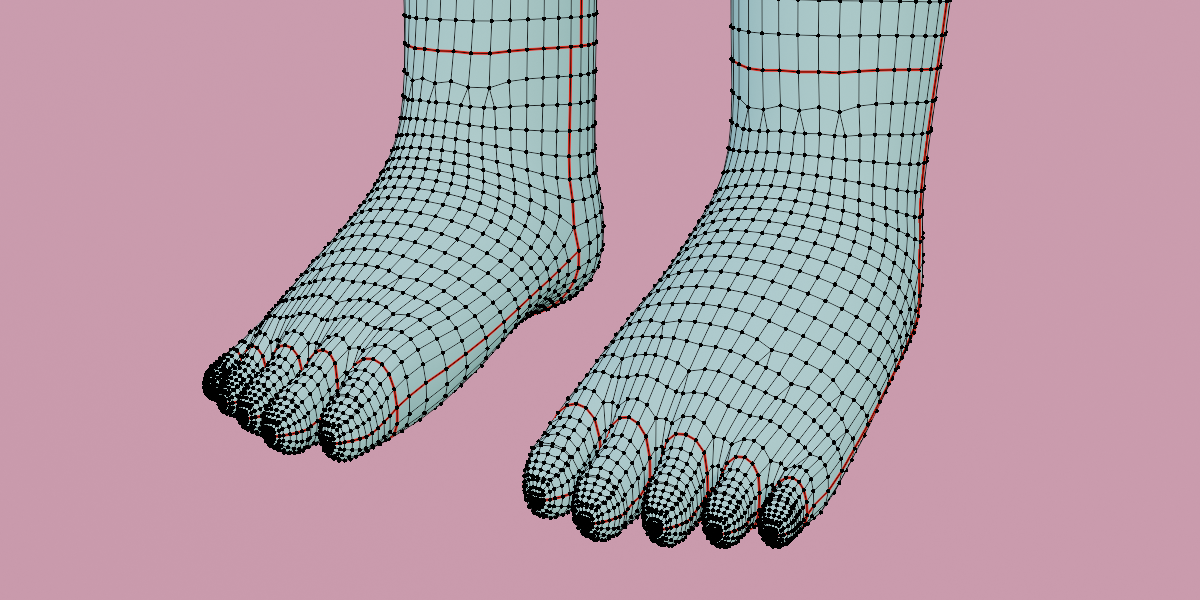
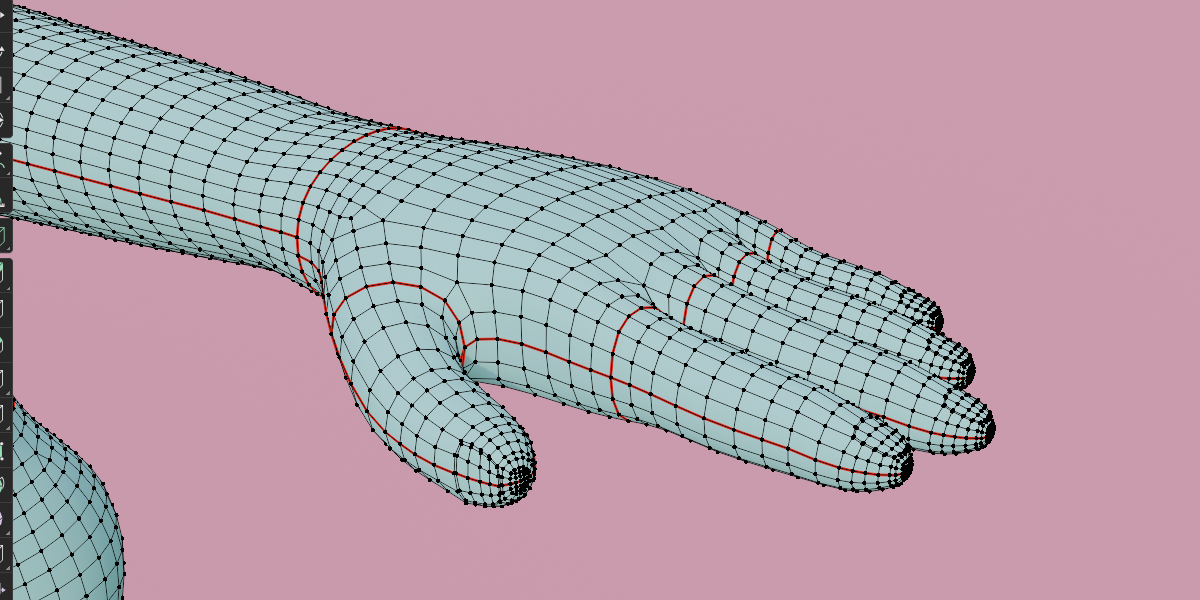
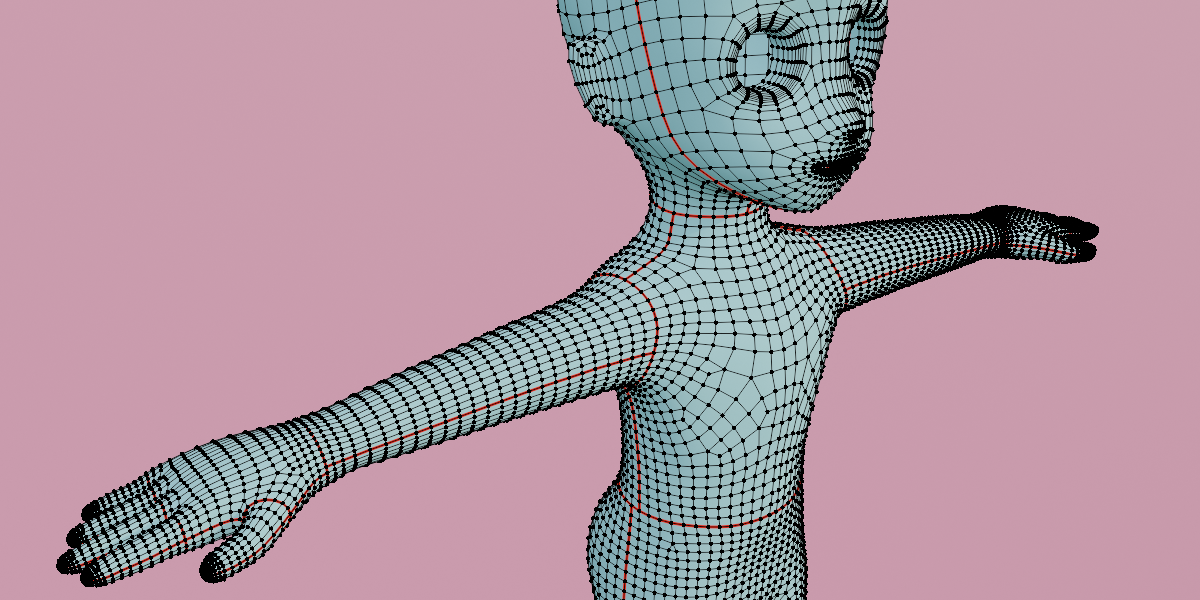
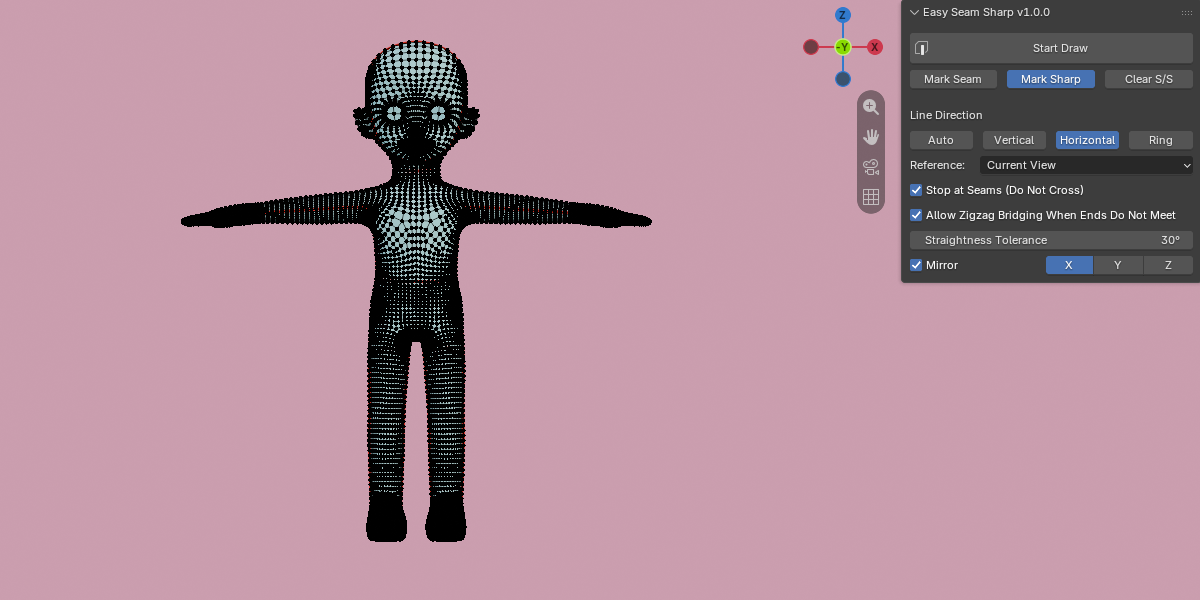
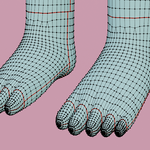
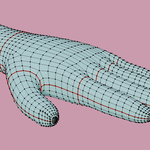
Easy Seam Sharp lets you mark UV seams and sharp edges by drawing straight lines on your mesh. Hover over the model and a line is previewed under your cursor. Left-click and the line is applied. Seams and sharp edges are the standard Blender edge flags, so everything works with Blender's own UV unwrapping and shading tools.
2. INSTALLATION
1. Open Edit, Preferences, Add-ons.
2. Click the dropdown arrow in the top right and choose Install from Disk.
3. Select the add-on zip file and confirm.
4. Enable Easy Seam Sharp in the add-on list.
5. In the 3D Viewport, press N to open the sidebar and click the tab named Easy SS.
(The exact wording of the menu can differ slightly between Blender versions.)
3. QUICK START
1. Select your mesh object (or enter Edit Mode on it).
2. In the Easy SS tab, choose an action: Mark Seam, Mark Sharp or Clear S/S.
3. Choose a line direction: Auto, Vertical, Horizontal or Ring.
4. Click Start Draw.
5. Move the cursor over the mesh. A yellow line previews what will be marked.
6. Left-click to apply the line. Repeat as many times as you like.
7. Press Esc or right-click to exit.
If you start from Object Mode, the add-on switches to Edit Mode for you and returns to Object Mode when you exit.
4. PANEL REFERENCE
Start Draw
Starts the interactive drawing session in the 3D Viewport. The viewport header shows the current direction, mirror state and the number of lines drawn.
Action
Mark Seam: marks the previewed line as UV seams.
Mark Sharp: marks the previewed line as sharp edges.
Clear S/S: removes both seams and sharp edges along the previewed line.
Line Direction
Auto: starts as Vertical and switches automatically by following your mouse movement. Move the mouse mostly sideways to get Horizontal, mostly up and down to get Vertical.
Vertical: a straight line running up and down the surface.
Horizontal: a line that wraps horizontally around the model.
Ring: detects the direction of a limb, wrist, ankle, neck and similar tube-like parts, then draws a ring around it, perpendicular to that direction.
Reference
World Z: uses the world Z axis as the up direction. Best for upright characters. On surfaces where this direction cannot be used (for example flat top or bottom faces), it falls back to the current view automatically.
Current View: uses your screen up and right as the directions. The lines change as you rotate the view.
Stop at Seams (Do Not Cross)
On by default. New lines end where they reach an existing seam instead of crossing it. If a line runs out of straight edges just before a seam, the add-on also tries to connect it to that seam with a short path. This option is ignored when the action is Clear S/S, so clearing always follows the full line.
Allow Zigzag Bridging When Ends Do Not Meet
On by default. When a Horizontal or Ring line goes all the way around the model but its two ends do not meet, a short zigzag is used to close the gap so you get a closed loop.
Straightness Tolerance
The maximum angle each step of the line may deviate from the target direction. Default is 45 degrees, range is 10 to 80. A smaller value gives straighter lines. A larger value lets the line get past obstacles more easily.
Mirror and Axis (X / Y / Z)
When enabled, the symmetric line is drawn on the other side as well. See the Mirror section below.
5. CONTROLS WHILE DRAWING
Left mouse button: apply the previewed line
V: Vertical mode
H: Horizontal mode
R: Ring mode
A: Auto mode
M: toggle Mirror on and off
Ctrl+Z: undo the last drawn line (Cmd+Z on Mac)
Ctrl+Shift+Z: redo
Esc or right mouse button: exit
Viewport navigation (middle mouse, scroll wheel, trackpad gestures, numpad views, 3D mouse) and Alt+left mouse work as normal, so you can orbit, pan and zoom while drawing. The navigation gizmo in the corner of the viewport keeps working too, and the preview is hidden while your cursor is over it.
The line preview is drawn in yellow. It is shown faintly through the mesh and solid where it is visible.
6. MIRROR
Mirror reflects each point of the line across the object's own local axis plane, so the object origin must sit on the symmetry center (for example, the middle of a character for X mirror). Choose the axis with the X / Y / Z buttons. X is the usual left and right symmetry.
Symmetric vertices are matched with a small tolerance, so the mesh should be properly symmetric. If there is no matching vertex on the other side, the header shows "no symmetric vertex here" and only the original line is drawn. If you start a line on the center itself, no extra mirrored line is needed and none is added.
You can press M at any time during drawing to turn Mirror on or off.
7. UNDO AND REDO
While drawing, Ctrl+Z and Ctrl+Shift+Z step back and forward through the lines you drew in this session. After you exit, one Ctrl+Z undoes the whole session at once.
8. Ignore Triangulation Edges
When a quad mesh has been triangulated, every quad gets an extra diagonal edge. Those diagonals can pull the preview line off course, so it zigzags instead of following the original edge flow. With this option on, the add-on treats triangulated quads as quads and skips those diagonals when it traces a line.
How it works:
- Neighboring triangles are paired back into quads, best-shaped pair first, similar to Blender's Tris to Quads.
- The edge shared by each pair is treated as the diagonal and is skipped.
- Edges already marked as seam or sharp are never treated as diagonals.
- Hidden faces and edges are ignored.
- Your mesh is never modified. The option only changes which edges the line is allowed to walk along.
The option is off by default, so existing behavior stays the same until you turn it on. It also applies to the mirrored line when Mirror Drawing is enabled.
FAQ
Q: Where do I find the add-on after installing it?
A: In the 3D Viewport, press N to open the sidebar and click the tab named Easy SS. If you do not see the tab, make sure the add-on is enabled in Edit, Preferences, Add-ons.
Q: Which Blender versions are supported?
A: Blender 5.2.2 and newer.
Q: Do I need to be in Edit Mode?
A: No. Select the mesh in Object Mode and click Start Draw. The add-on switches to Edit Mode and goes back to Object Mode when you finish.
Q: Does the add-on change my mesh geometry?
A: No. It only changes the seam and sharp edge flags on edges. Vertices, edges and faces are not moved, added or removed.
Q: Are these normal Blender seams and sharp edges?
A: Yes. They are the standard flags, so you can unwrap, edit or clear them with Blender's own tools at any time.
Q: Nothing is previewed when I move over the mesh. Why?
A: Check that your cursor is over a visible face of the active mesh, and not over the sidebar, the header or the navigation gizmo. Hidden faces are ignored, so reveal them with Alt+H if needed.
Q: I get the message "No line can be drawn here". What does it mean?
A: The line is blocked by an existing seam, or there are no edges straight enough in that direction. Try another spot, switch the direction mode, or raise Straightness Tolerance.
Q: Ring mode says it cannot detect the limb direction. What should I do?
A: Ring mode needs a clearly tube-shaped area, such as an arm, leg or neck. On flat or irregular areas, move the cursor to a more tube-like part, or press H to use a Horizontal line instead.
Q: The line stops before it goes all the way around. How can I fix it?
A: Check whether Stop at Seams is stopping it at an existing seam. If not, increase Straightness Tolerance a little. For Horizontal and Ring lines, make sure Zigzag Bridging is on so small gaps are closed.
Q: The line wanders away from a straight path.
A: Lower Straightness Tolerance. A smaller angle forces straighter lines.
Q: What is the difference between World Z and Current View?
A: World Z always uses the world up axis, which is best for upright characters. Current View uses your screen up and right, so the lines depend on how you are looking at the model. Use it for objects that are not upright.
Q: Mirror does not draw the other side. Why?
A: Mirror works on the object's local axis, so the object origin should be on the symmetry center and the mesh should be symmetric. Also check that the right axis is selected. If no matching vertex is found, the header shows "no symmetric vertex here".
Q: Can I use Blender's Mirror modifier instead?
A: Mirror in this add-on is its own feature and does not read modifiers. It draws real marks on both sides of the base mesh.
Q: Does it work with modifiers?
A: The add-on works on the base mesh. Modifiers do not affect the preview or the result.
Q: Can I draw on several objects at once?
A: No. Only the active mesh object is used.
Q: Can I still orbit, pan and zoom while drawing?
A: Yes. Middle mouse, scroll wheel, trackpad gestures, numpad views and 3D mouse input all work during a drawing session.
Q: How do I undo a line?
A: Press Ctrl+Z (Cmd+Z on Mac) while drawing to undo the last line, and Ctrl+Shift+Z to redo. After you exit, one Ctrl+Z undoes the whole session.
Q: How do I remove seams or sharp edges I marked by mistake?
A: Set the action to Clear S/S and draw over the same line, or use Ctrl+Z.
Does this change or retriangulate my mesh?
No. It only affects how the preview line is traced. The geometry stays exactly as it is.
Why is it off by default?
Some meshes contain real triangles that you want lines to follow. Keeping it off means nothing changes unless you ask for it.
Does it work with Mirror Drawing?
Yes. The mirrored line skips the same diagonals.
It skipped an edge it shouldn't have, or followed a diagonal it should have skipped. Why?
Diagonals are detected by pairing triangles that look like they came from a quad: roughly flat together and roughly rectangular. Very irregular triangles or sharply folded areas may not be recognized. If you hit a case like this, turn the option off for that area.
Does it affect quads or n-gons?
No. It only looks at pairs of triangles. Quads and n-gons are traced as usual.
Can I protect a diagonal so it's never skipped?
Yes. Mark it as a seam or sharp edge first. Edges that already carry either mark are never treated as diagonals.
Have questions about this product?
Login to message
| Blender Extension Compatible | Yes |
| Dev Fund Contributor | |
| Published | 5 days ago |
| Blender Version | 5.2 |
| Extension Type | Add-on |
| Render Engine Used | Cycles, Eevee |
| License | GPL |
Discover more products like this
clear-sharp auto-mark-sharp generate-seam mark-seam quick-seam-sharp auto-mark-seam generate-sharp easy-mark-seam uv easy-mark-sharp unwrapping mark-sharp