Easy Signpost
 Onion365studio
Easy Signpost: Documentation
1. Overview
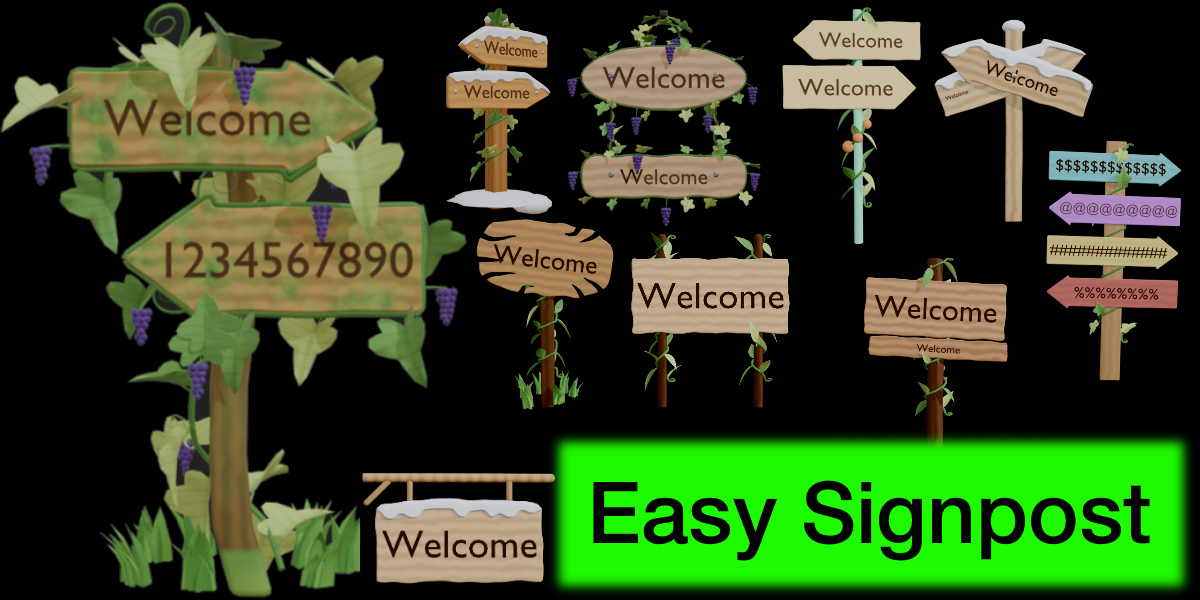
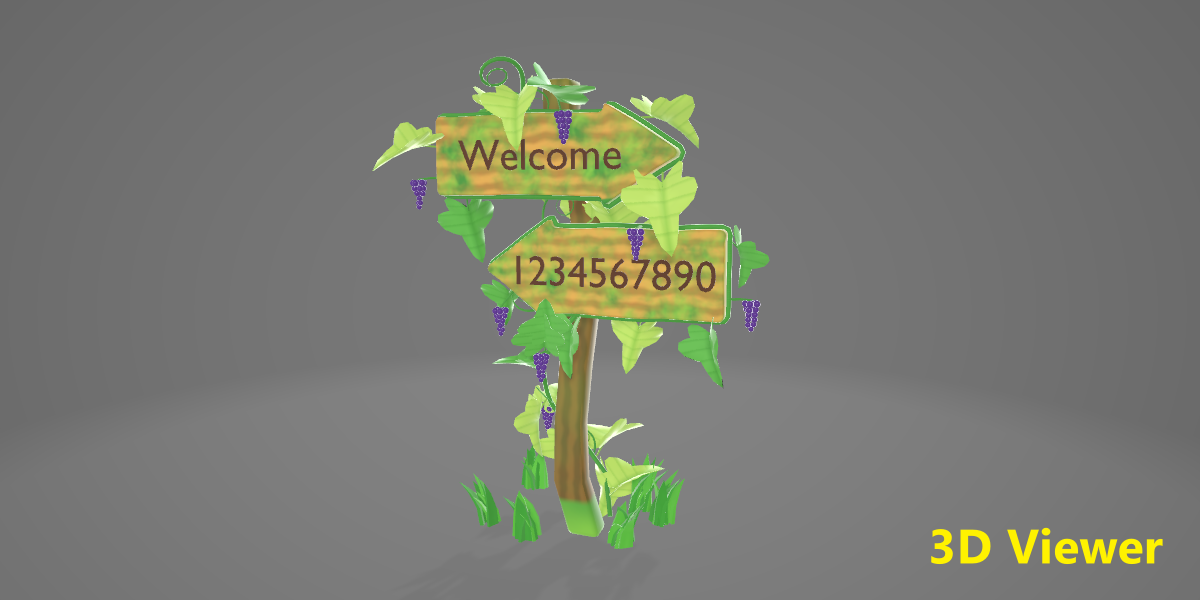
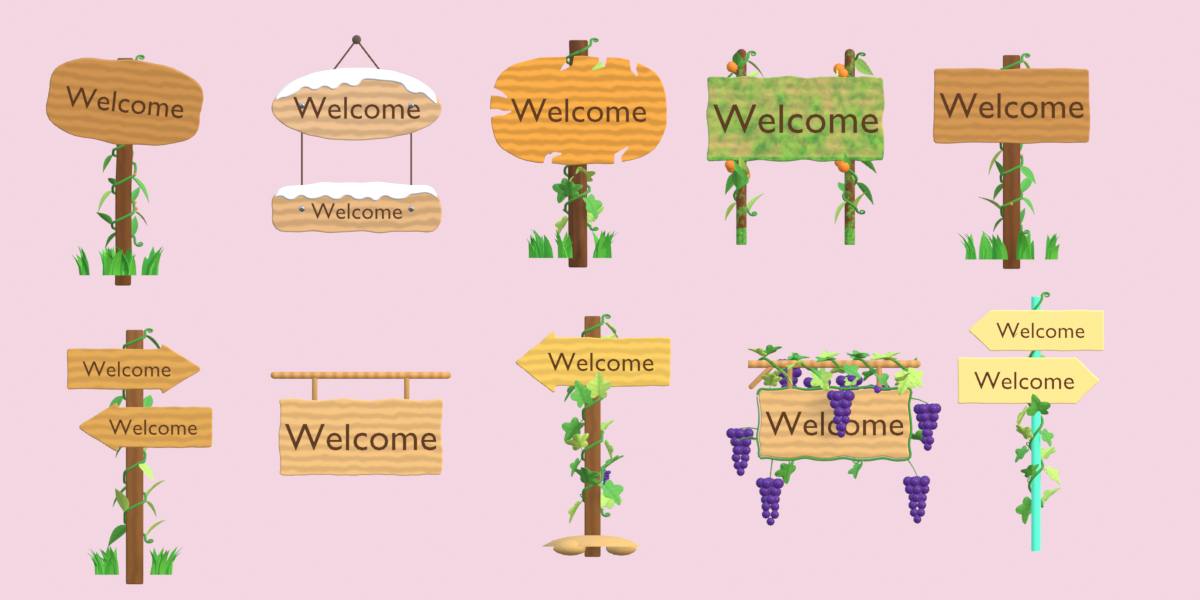
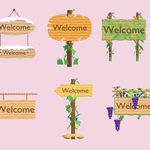
Easy Signpost builds anime / cartoon-style wooden signs from a single panel, with every setting adjustable in real time. It covers posts, two-post boards, hanging beam signs, rope-and-nail signs, crossed arrows, ribbons, snow, grass, vines (leafy, fruit, grapes), algae, cracks and 3D text. When you are done, it bakes all materials into a texture and exports a game-ready GLB.
Highlights
- 16 ready-made presets, plus Snow and Vine versions of most of them (45 variants in total)
- 4 mount types: Single Post, Two Posts, Hanging Beam, Rope & Nail
- Any number of boards per sign, 6 board styles, real 3D text with your own fonts
- Nails, cracks (real notches and surface lines), grass, stones, dirt and snow mounds
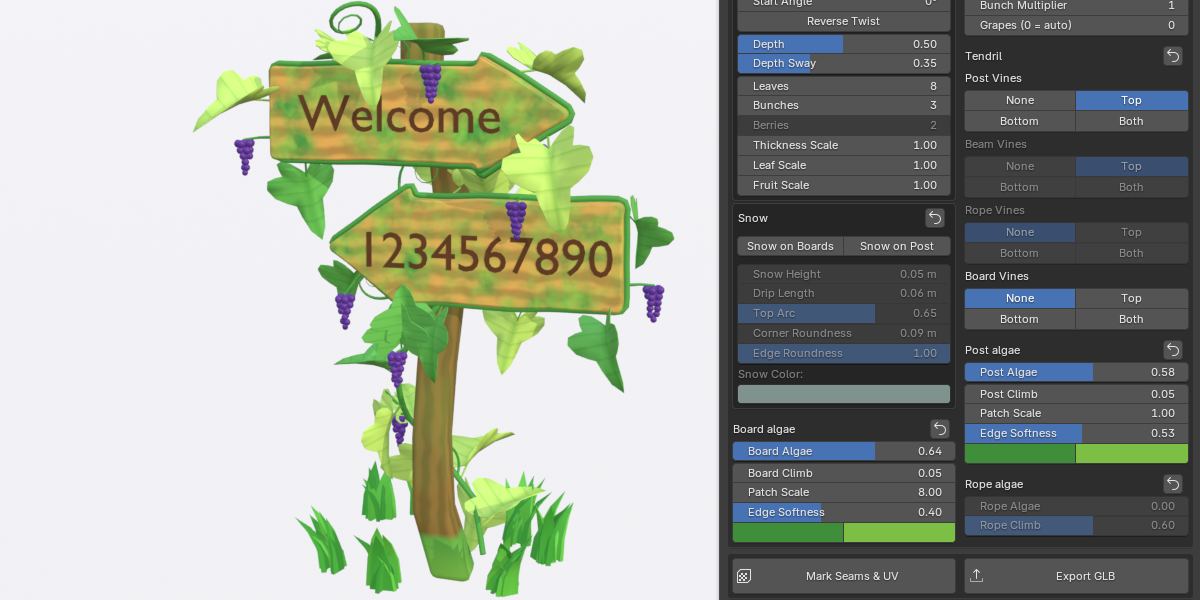
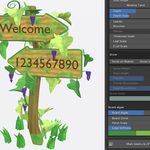
- Vines winding around posts, beams, ropes and the outline of every board, with leaves, berries and grape bunches
- Use your own leaf, fruit or grape models on the vines
- Algae, snow and wood grain are procedural, with no external textures
- One-click Export GLB with the materials baked into a single texture
How it works. A signpost is one ordinary mesh object. All of its settings are stored on that object. Whenever you change a setting, the mesh is rebuilt from scratch. This is why everything updates live, and also why manual mesh edits are replaced by the next rebuild (see Tips).
2. Requirements & Installation
- Blender 5.2 or newer
Install
- Download the Easy Signpost
.zipfrom Blender Market. Do not unzip it. - In Blender: Edit → Preferences → Add-ons.
- Open the drop-down in the top-right corner and choose Install from Disk…, then select the
Easy Signpost.zip. - Tick the checkbox next to Easy Signpost to enable it.
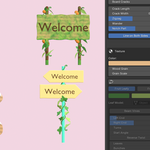
- In the 3D Viewport press N and open the Easy Sign tab.
3. Quick Start
- Open the Easy Sign tab in the sidebar (N).
- Click a preset button, for example Double Arrow.
- Move the 3D cursor where you want the sign, then click Add Signpost.
- With the signpost selected, change anything in the panel. The sign updates immediately.
- Type your own text in the board list (the text field on each row).
- Click Random Signpost for inspiration, or Ctrl+Z to go back.
- Click Export GLB when you are happy with it.
4. Presets
The 16 base presets (buttons in the panel):
Crossed Arrows · Oval + Plank · Two-Post Board · Hanging Sign · Oval Rope Sign · Vine Board · Grape Vine · Double Arrow · Single Arrow · Plain Board · Wobbly Board · Snowy Arrows · Pastel Ribbons · Cream Arrows · Cracked Board · Bracket Sign
Snow and Vine versions. Right after clicking Add Signpost, open the Adjust Last Operation panel (bottom-left of the viewport) and use the Preset drop-down. It lists all 45 variants, for example “Snow Plain Board” or “Vine Double Arrow”. The same variants are used by Random Signpost.
Clicking a preset with a signpost selected switches that signpost to the preset. Your changes are lost, but Ctrl+Z restores them. The ↺ button next to the Signpost label resets the selected sign to its current preset.
Reset buttons. Every group label in the panel has a small ↺ button. It puts only that group back to its default values. It is undoable.
5. Mount
Choose how the boards are held. Hanging mounts (Beam, Rope) have no post, ground base or post snow.
| Mount | What it is | Key settings |
|---|---|---|
| Single Post | Boards on one central post | Post settings (section 8) |
| Two Posts | Boards in front of two posts, one near each end | Post Inset: distance from each board end to its post (negative = posts outside the board) |
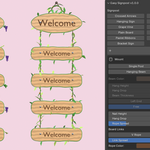
| Hanging Beam | Boards hang from a horizontal beam on two short hangers | Hang Height, Hang Drop, Beam Thickness, Beam Overhang, Hanger Thickness, Hanger Inset, Beam Color |
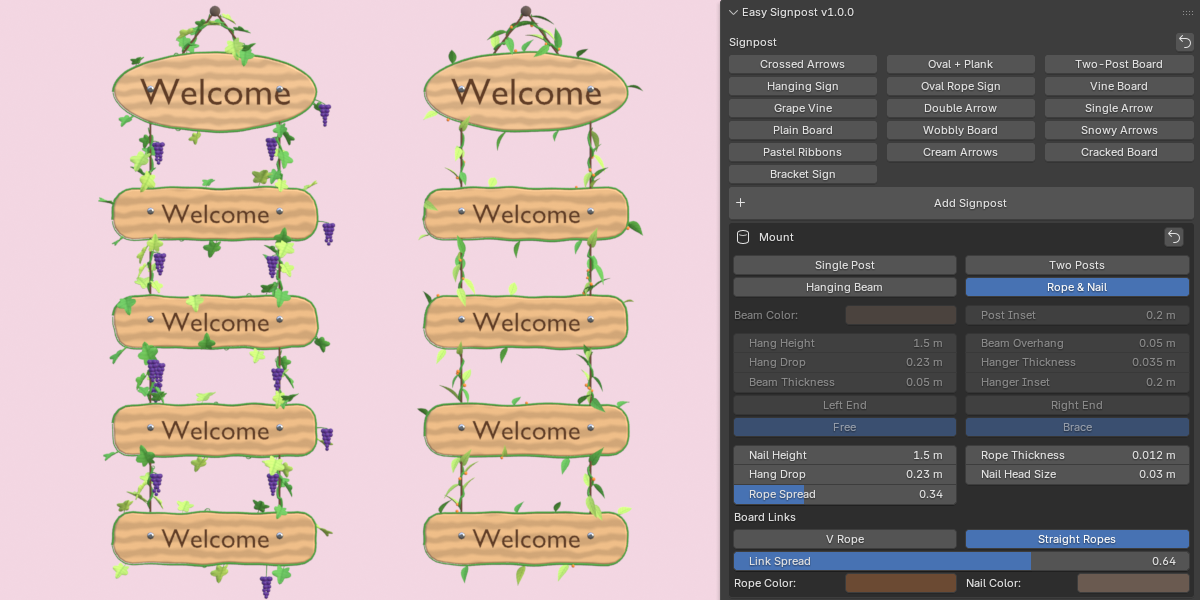
| Rope & Nail | Board hangs from a nail on a V-shaped rope; further boards hang below | Nail Height, Hang Drop, Rope Spread, Rope Thickness, Nail Head Size, Rope Color, Nail Color |
Hanging Beam, Fixed End. Choose Left End or Right End to make that end of the beam flat, like a bracket sign that is fixed to a wall or post. Brace adds a diagonal support under the fixed end. The wall itself is not modelled, so place the sign against your own geometry.
Rope & Nail, Board Links. This sets how boards below the first one hang from the board above:
- V Rope: two ropes meeting in a point under the board above
- Straight Ropes: two vertical ropes, positioned by Link Spread
6. Boards & Text
Board list
- + adds a board below the active one, copying its settings
- − removes the active board (a sign always keeps at least one)
- ▲ / ▼ change the order (top to bottom)
- Type the text directly in the list row
Board styles
Rectangle · Arrow · Pill · Oval · Ribbon · Wobbly Blob.
Direction (Right / Left / Both) applies to Arrow and Ribbon.
Shape (active board)
| Setting | Effect |
|---|---|
| Length / Height / Thickness | Size of the board |
| Tip / Notch | Arrow tip length or ribbon notch depth |
| Head Flare | How far the arrow head sticks out above and below the body |
| Corner Radius | Rounded corners (Rectangle, Arrow, Ribbon) |
Bend & Position (active board)
| Setting | Effect |
|---|---|
| Wobble | Hand-cut roughness of the outline |
| Bend | Bows the board up (+) or down (−) in the middle |
| Rotation | Turns the board around the post (Single Post only) |
| Tilt | Rotates the board in its own plane |
| Slide | Slides the board along its length relative to the post |
| Height Offset | Moves the board up or down |
Spacing and Bevel (all boards)
- Board Gap: vertical space between stacked boards
- Top Margin and Mount Gap: distance from the post top to the first board, and the gap between boards and post (post mounts only)
- Edge Bevel, Bevel Segments, Corner Segments: smoothness of edges and corners
Text
- Text Size is relative to board height. Text Depth is the extrusion.
- Text is real 3D geometry and is shrunk automatically to fit inside the board.
-
Text Color and Font: click the folder icon in the Font field to load any
.ttf/.otf. Blender’s default font has no Chinese, Japanese or Korean glyphs, so load a font that contains them for those languages. - To hide the text on a board, clear its text field.
7. Post
(Single Post and Two Posts mounts.)
| Setting | Effect |
|---|---|
| Height / Width | Size of the post |
| Sides | 4 = square, 8 or more = round |
| Taper | Top width ÷ bottom width |
| Sink | How deep the post goes into the ground |
| Post Color | Wood color |
| Post Top | Flat · Chamfer · Dome · Pointed |
| Bevel | Edge bevel of the post |
| Wobble | Crooked, hand-made post. Boards, vines and snow follow the bend |
| Lean / Lean Direction | Tilts the post up to 35° in a direction you choose |
8. Nails
Enable Nails, then choose a position mode:
| Mode | Placement |
|---|---|
| Board Ends | Two nails near the ends of every board |
| At Post | Two nails where each board meets the post |
| Cross Point | One nail at the post or crossing point (used by Crossed Arrows) |
| At Ropes | Two nails where the ropes of a hanging board are tied |
Nail Size, Nail Color and the four Distance from edges sliders (Left / Right / Up / Down) fine-tune the placement. Nails use a metallic material.
9. Base (ground)
The Base box has two buttons: Grass and Stones. Other base styles (none, grass patch, dirt mound, snow mound) come with presets and keep their own settings.
| Setting | Used by |
|---|---|
| Base Radius | All base styles |
| Tufts / Stones | Grass, Stones |
| Blades per Tuft, Grass Height | Grass |
| Mound Height | Dirt, Snow and Grass Patch mounds |
| Grass / Grass 2 colors | Grass, Grass Patch |
| Dirt / Stone color | Dirt, Stones |
The Pattern and Pattern Scale sliders (shown under the Base box) control the surface pattern on snow, grass, leaves, vines, berries, dirt, stones and nails. Wood uses Wood Grain instead.
10. Cracks
- Board Cracks (0–8) sets how many cracks the active board has. The other crack settings are shared by all boards.
-
Crack Style
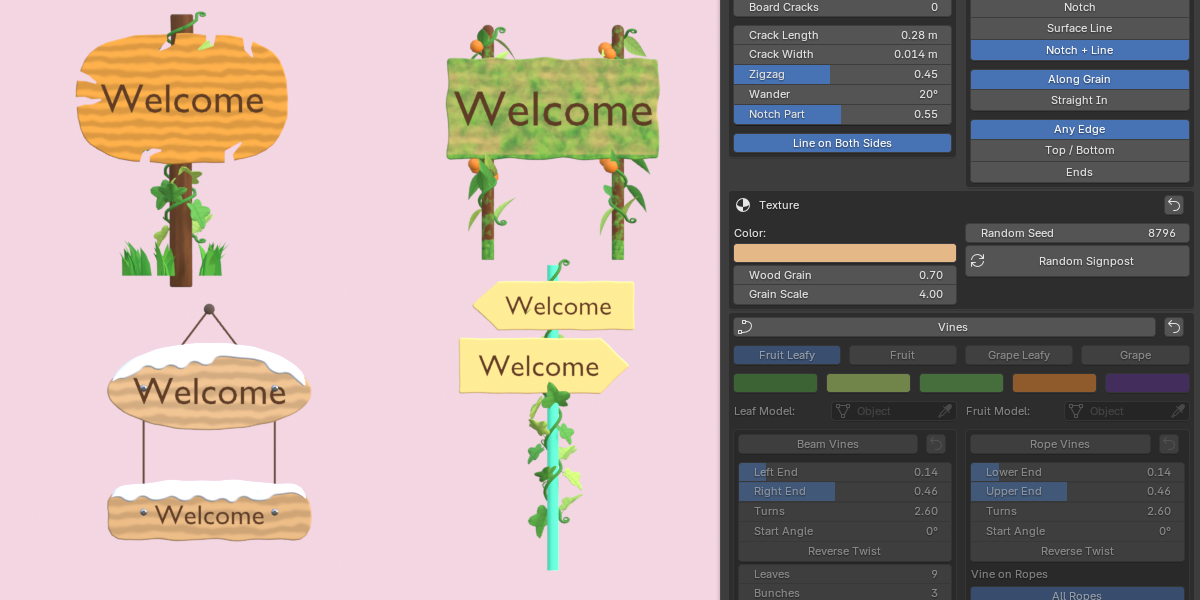
- Type: Notch (real geometry cut into the edge), Surface Line (a line drawn on the face), or Notch + Line (a notch that continues as a line)
- Direction: Along Grain or Straight In
- Starts On: Any Edge, Top / Bottom, or Ends
- Crack Length, Width, Zigzag and Wander shape the cracks.
- Notch Part is the share of the crack that is cut out (Notch + Line only).
- Line on Both Sides draws the surface line on the back too.
Crack positions depend on the Random Seed.
11. Texture & Random
- Color is the active board’s wood color.
- Wood Grain is the strength of the grain. Grain Scale is its size.
- Random Seed drives every random element: wobble, cracks, vine layout and so on.
- Random Signpost picks a random preset (including snow and vine versions) and a new seed.
All materials are procedural Principled BSDF shaders, so they work in both EEVEE and Cycles. Use Material Preview or Rendered view to see the colors.
12. Vines
Turn on Vines, then choose a type:
| Type | Result |
|---|---|
| Fruit Leafy | Smooth leaves only |
| Fruit | Leaves and small round berries |
| Grape Leafy | Lobed grape leaves and curly tendrils |
| Grape | Grape leaves, tendrils and hanging bunches of grapes |
Colors: Vine, Leaf, Leaf 2, Berry, Grape.
Vine groups
Each group is switched on and adjusted on its own. A group greys out when it doesn’t fit the current mount.
| Group | Grows on |
|---|---|
| Post Vines | The post(s) |
| Beam Vines | The hanging beam |
| Rope Vines | The ropes (Vine on Ropes: All / Nail Ropes / Board Links) |
| Board Vines | The outline of the boards (Board: 0 = every board, 1 = first board, …) |
Settings in each group:
- Bottom / Top set how much of the support is covered. On boards the labels are Start / End, on beams Left / Right End, on ropes Lower / Upper End.
- Turns (on boards: Sways), Start Angle, Reverse Twist
- Path (boards): Around Board runs clockwise round the whole outline starting at the top-left corner, Top Edge runs only along the top
- Depth and Depth Sway (boards): where across the thickness the vine runs and how far it sways
- Leaves, Berries, Bunches, Thickness Scale, Leaf Scale, Fruit Scale
- Tendril (None / Top / Bottom / Both): curly tendril at the end(s) of the vine
All vines
- Vine Thickness, Looseness (how far the vine floats off its support), Wobble
- Tendril Size, Tendril Curls
- Leaf Length, Width, Droop, Fold, Spread
- Leaves on Boards: share of leaves that lie over a board’s front face. Leaves that would poke into a board are never placed.
- Leaf Angle Random
- Berry Size, Grape Size, Bunch Length (rows of grapes), Bunch Multiplier, Grapes (0 = automatic)
Your own models
Pick a mesh object in Leaf Model, Fruit Model or Grape Model:
- Leaf Model: model it lying flat, with the tip along +X, the stem end at −X and the top facing +Z. Its length along X becomes the leaf length. Leaf Width is ignored. Droop and Fold still bend it.
- Fruit Model: its largest side becomes twice the Berry Size, standing upright.
- Grape Model: it hangs from the stem, and its height becomes the bunch length.
- Models keep their own materials. Modifiers are applied.
- There is one copy per leaf, berry or bunch, so keep the models low poly.
- Leave the field empty to use the built-in shapes.
13. Snow
- Snow on Boards adds a slab on the top edge of every board, with optional drips.
- Snow on Post adds a cap on top of the post(s).
- Snow Height, Drip Length, Top Arc, Corner Roundness, Edge Roundness, Snow Color
14. Algae
Algae is shader-based and grows upward from the ground or from the lower edge of the object.
| Group | Sliders |
|---|---|
| Post algae | Amount, Post Climb (share of post height), Patch Scale, Edge Softness, two colors |
| Board algae | Amount, Board Climb, Patch Scale, Edge Softness, two colors |
| Rope algae | Amount and Rope Climb (Rope & Nail mount only). Uses the Board algae colors, scale and softness |
Edge Softness: 0 = hard cartoon edges, 1 = soft fade.
15. Mark Seams & UV
The Mark Seams & UV button unwraps the selected signpost for painting or your own baking.
- Smart UV Project splits the mesh into islands.
- Seams are marked from those islands.
- Every island is unwrapped.
- Islands get the same texel size and are packed into the 0–1 square.
- The unwrap goes into its own UV map called ES_Unwrap. The sign’s original UV map stays the render map, so wood grain and other materials look exactly the same.
- A progress bar shows the job. Click × or press Esc to cancel.
- Do this last. Changing any setting afterwards rebuilds the mesh and resets the UVs.
- You do not need this step before exporting a GLB, because the export unwraps a temporary copy for you.
16. Export GLB
- Select one or more signposts (Object Mode).
- Click Export GLB.
- Choose the file name and location. In the file window’s side panel, pick the Texture Size: 512, 1024, 2048 (default) or 4096.
- Confirm. The button turns into a progress bar: Preparing → Unwrapping → Baking textures → Exporting GLB.
What happens
- The export works on temporary copies, so your signpost, materials and UVs are untouched. The copies are removed afterwards.
- All materials of a signpost are baked into one texture (base color only), and each material keeps its roughness and metallic values. If the sign was already unwrapped with Mark Seams & UV, that unwrap is used.
- Baking temporarily uses Cycles on the CPU with a few samples. Your scene settings are restored afterwards.
- The file is exported through Blender’s glTF exporter (Y-up, modifiers applied). Several selected signposts go into one GLB.
17. Tips
- Finish the settings first, then edit the mesh. Any slider change rebuilds the sign and replaces manual edits. For hand-editing, export a GLB and import it into a separate file, or stop touching the sliders once you start sculpting.
- Keep it light for games. Vines, grape bunches (Bunch Multiplier, Grapes) and high Bevel / Corner Segments add the most geometry.
- Smaller textures export faster. 1024 is plenty for small props. Use 2048 or 4096 for close-ups.
- Use the ↺ buttons to undo experiments on one group without losing the rest.
- Switching to Grape makes untouched board vines run all the way round the board outline with a bunch on each side.
- Change the seed for a different layout of the same design.
FAQ
Which Blender versions are supported?
Blender 5.2 and newer. Older versions are not supported.
Does it work with EEVEE and Cycles?
Yes. All materials are procedural Principled BSDF shaders and are never linked to external image files.
Can I use the signs in Unity, Unreal, Godot, Sketchfab or the web?
Yes. Export GLB produces a standard glTF binary with one baked texture per sign.
Are normal maps, roughness maps or alpha exported?
No. The baked texture holds base color only. Roughness and metallic are exported as constant values per material, and there is no transparency.
How many boards can a sign have?
As many as you add. Use + in the board list.
Can I write text in Chinese, Japanese or other languages?
Yes, but you must load a font that contains those characters (Font → folder icon). Blender’s default font does not.
Can I use my own leaf, fruit or grape model?
Yes. See section 12, “Your own models”.
I changed a setting and my manual mesh edits disappeared.
Signs are rebuilt from their settings on every change, so manual edits are replaced. Finish the settings first, or export the GLB and continue in another file.
Can I turn the base (grass, stones) off?
The Base box has Grass and Stones buttons. Presets such as Hanging Sign, Two-Post Board or Pastel Ribbons come without a ground base. Hanging mounts never have one.
Can I scale, move or rotate the sign object?
Yes, use Blender’s normal transform tools. The object origin sits at ground level, where the sign was placed at the 3D cursor. Sizes should still be set in the panel (Height, Length and so on) so that wood grain, vines and bevels stay in proportion.
Can I edit several signposts at once?
The panel edits the active signpost. Export GLB exports every selected signpost in one file.
Do I have to run “Mark Seams & UV” before exporting?
No. The export unwraps and bakes automatically.
Does it need internet or other add-ons?
No. It only needs Blender’s built-in glTF exporter and Cycles, which are enabled by default.
Have questions about this product?
Login to message
| Blender Extension Compatible | Yes |
| Dev Fund Contributor | |
| Published | about 1 hour ago |
| Blender Version | 5.2 - 5.3 |
| Extension Type | Add-on |
| Render Engine Used | Cycles, Eevee |
| License | GPL |