Easy Terrain
 Onion365studio
Documentation
1. Installation
- In Blender, go to Edit > Preferences > Add-ons.
- Click the dropdown arrow in the top-right corner and choose Install from Disk…
- Select the Easy Terrain
.zipand enable the add-on. - In the 3D Viewport, press N and open the Easy Terrain tab.
Requires Blender 5.2 or newer.
Quick Start
- Place the 3D cursor where you want the terrain. The terrain is created at the cursor.
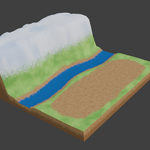
- Click Generate Terrain. A terrain and a first river curve appear.
- Click a curve point (it turns white). Press G to move it, or double-click a curve to add a new point. No Edit Mode is needed.
- Click the + button in the Curves list to add more curves. Use the type buttons (Land, River, Yard, Road, Cliff, Desert, Snow, Lava) to choose what each curve does.
- Change the sliders and the terrain updates live.
- When you are happy, click Mark Seam & Unwrap UV, or Export GLB.
Panel Overview
- Generate Terrain: creates the terrain. The two small icons next to it restore every setting to its default and delete the terrain with all its curves.
- Land Shape: square or circle.
- Land: size, resolution, thickness and hills.
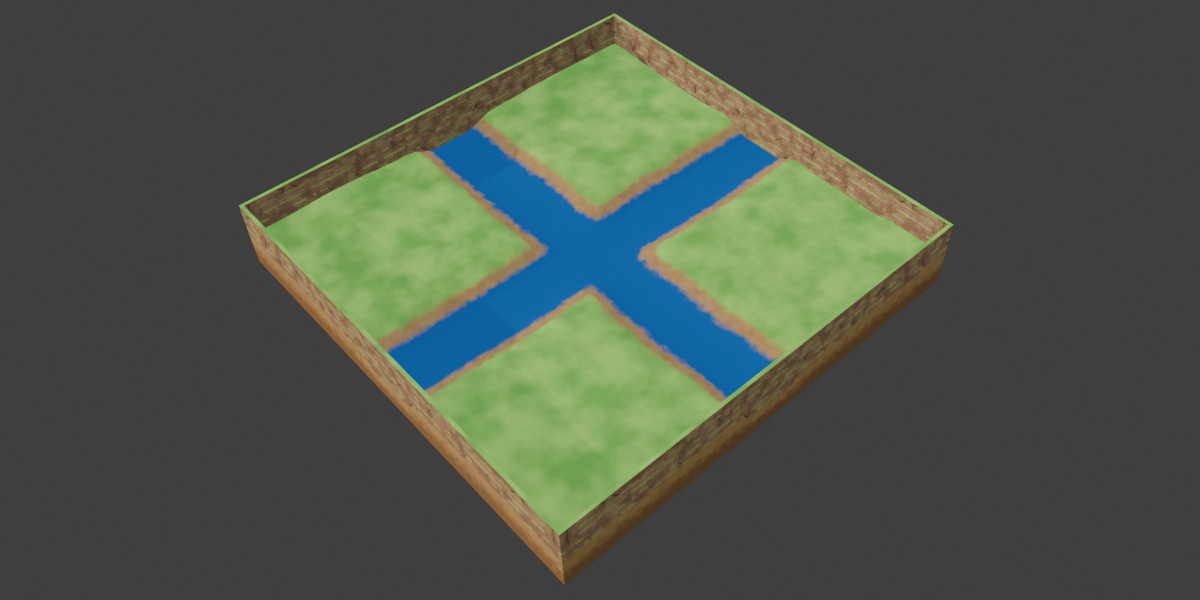
- Walls: walls on the four edges.
- Material: colors and texture sizes.
- Curves: the curve list and the settings of the selected curve.
- Mark Seam & Unwrap UV and Export GLB: game-ready output.
- Every section has a small reset icon that restores only that section.
Land
- Size X and Size Y: the size of the ground.
- Resolution: the number of grid cells along the longest side. Higher values give smoother rivers and cliffs, but more vertices. The panel shows the grid size, vertex count and cell size.
- Mesh Adapt: moves vertices toward steep slopes so cliff walls do not turn into long thin faces. Raise Resolution as well for very tall cliffs.
- Thickness: the depth of the soil slab under the ground. Set it to 0 for no sides.
- Soil Faces: switch the left, right, front, back and bottom faces of the soil slab on or off.
- Hill Height, Hill Scale and Seed: the shape of the rolling hills.
- Flat Area and Flat Falloff: the flat area in the middle and how softly it blends into the hills.
- Terraces and Terrace Softness: turn the hills into stepped levels.
Walls
- Left, Right, Front and Back: switch each wall on or off.
- Wall Height and Wall Thickness: the size of the walls. The wall top does not rise when a cliff is raised. Where a cliff is higher than the wall top, that part of the wall is left out.
- Material: Plain, Brick, Stone Wall or Mud Wall.
- Color Preset and colors: color choices for the wall and the wall top.
- Grass Top: covers the top of the walls with grass.
- Grass on Wall and Wall Grass Amount: small patches of grass on the wall.
Curve Types
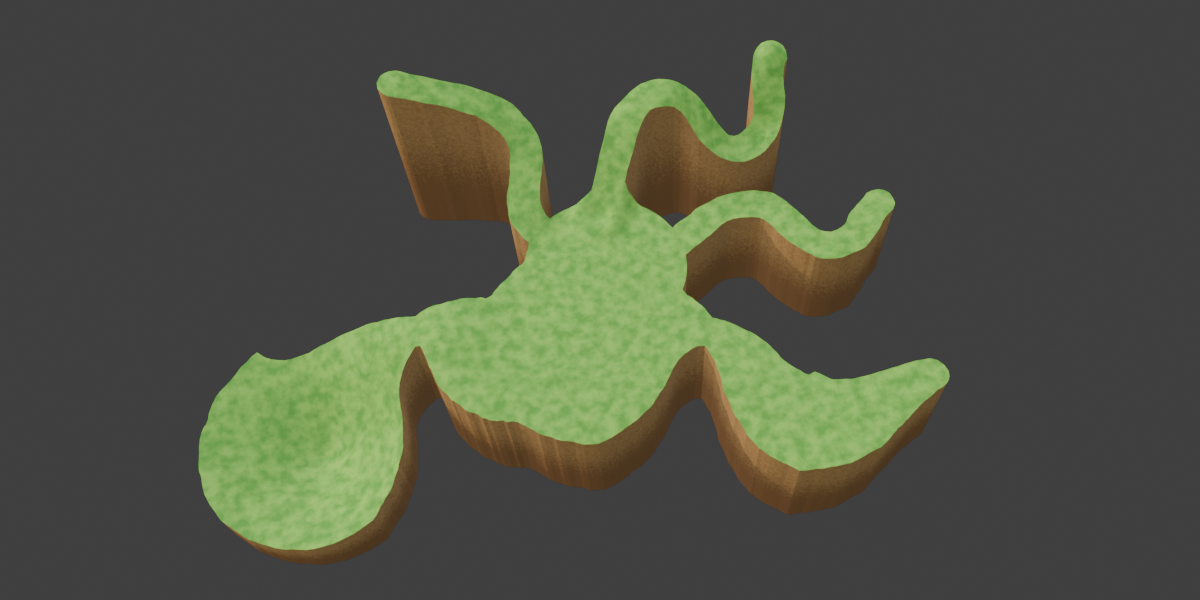
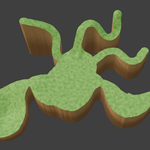
- Land: a curve that grows the ground beyond the original square.
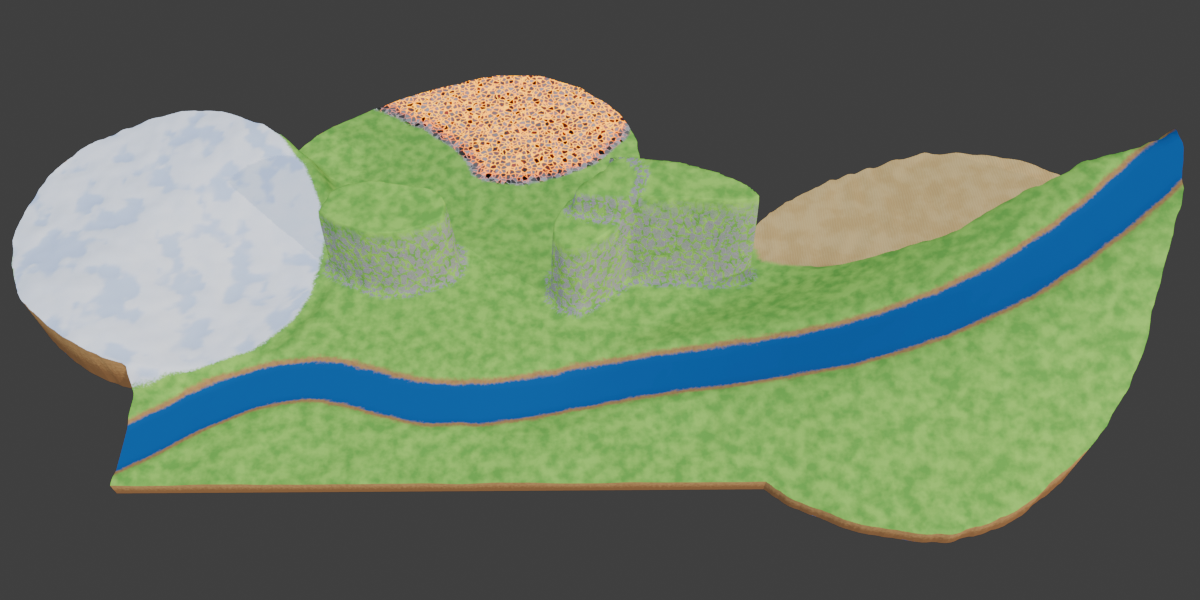
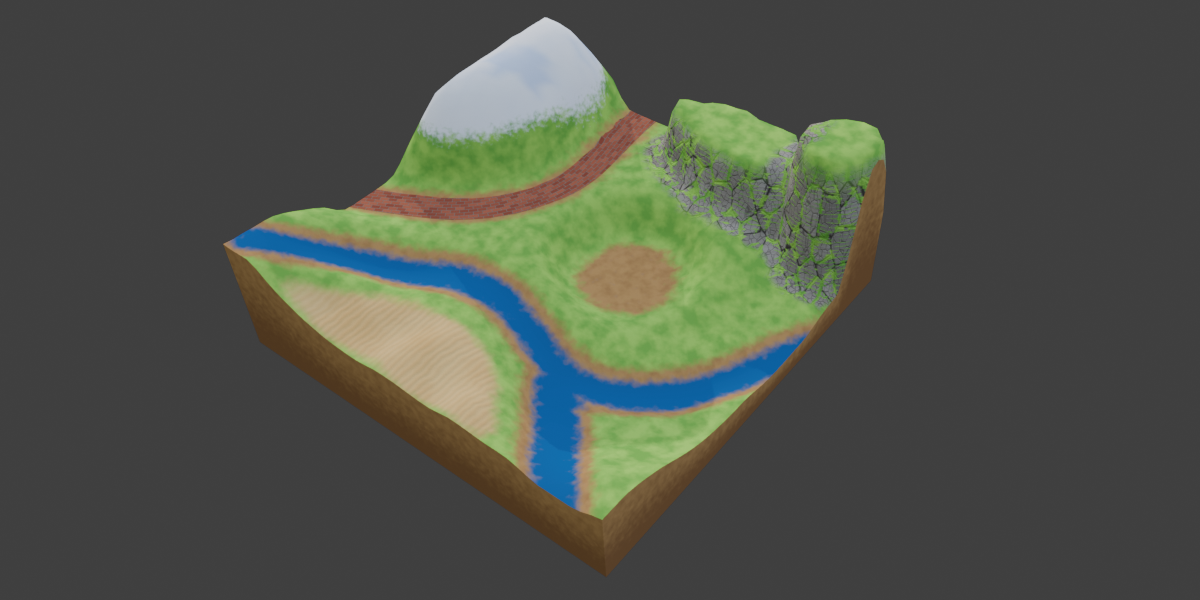
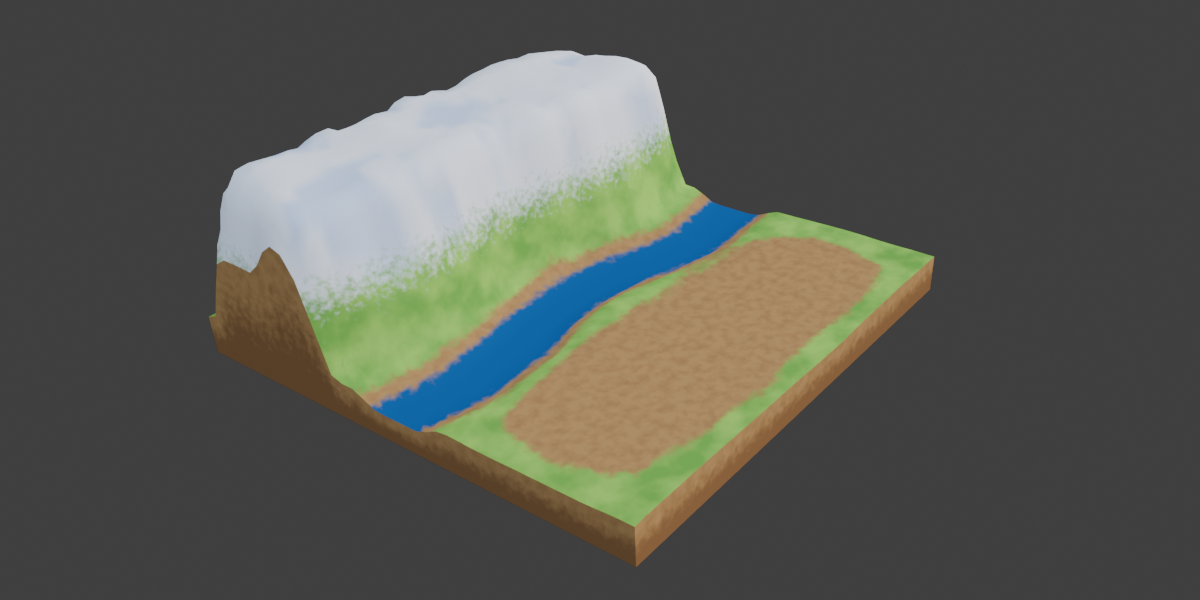
- River: carves a river channel. Settings include Width, Depth, Bank Width, End Width and Downhill.
- Yard: a grass-free clearing for a house, with a smooth slope to the surrounding land.
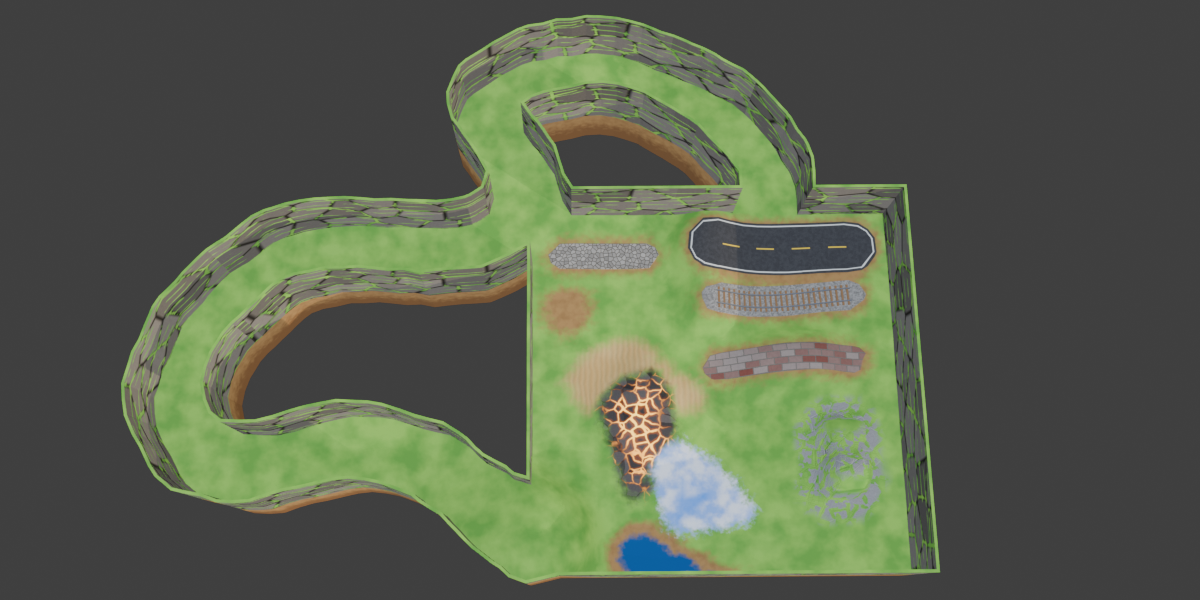
- Road: Stone Road, Dirt Road, Brick Road, Vehicle Road (with center and edge lines) or Railway (gravel bed, 3D sleepers and steel rails). Roads level the ground and follow the hills.
- Cliff: raises the ground inside a closed curve into a plateau with rock walls. Settings include Height, Cliff Width, Top Cover and Rock Bumps. A negative Height digs a pit.
- Desert: rippled sand with dunes.
- Snow: white snow with soft drifts.
- Lava: cooled-rock plates with glowing cracks.
Editing Curves
- Click a point to select it. Press G to move it, R to rotate its handles, Alt+S to enlarge or shrink the land around it.
- Press G, then Z to move a River, Land, Road or Cliff point up or down. Tilt the view a little, because the up and down direction cannot be judged from a straight top view. Yard, Desert, Snow and Lava use their Height value instead.
- Double-click a curve to add a point.
- Select a curve in the 3D view and the Curves list jumps to it. Click a row in the list to select that curve in the 3D view.
- Use the eye icon to hide a curve in the viewport (the land is not affected), and the up and down arrows to change the layer order. A curve higher in the list lies on top where curves cross.
Material
- Colors for grass, dirt, river bed, cliff rock, lava, railway and roads.
- Cliff Rock Size, Grass on Rock and Rock Grass Amount control the cliff look.
- All materials are procedural. No image textures are needed.
Exporting
- Mark Seam & Unwrap UV: marks seams on sharp edges and unwraps the UVs of the terrain and its walls. Nothing is baked and no file is exported.
- Export GLB: marks seams, unwraps the UVs, bakes the terrain material into a texture and exports the terrain with its walls and rails as a .glb file.
- Texture Size for the baked texture: 1024, 2048, 4096 or 8192. Larger sizes are sharper but take longer. The viewport pauses for a few seconds while baking.
FAQ
Which Blender versions are supported?
Easy Terrain is made for Blender 5.2 and newer.
Do I need image textures?
No. All materials are procedural, so everything works right after you generate the terrain. Image textures are only created when you use Export GLB, which bakes the material into a texture.
Does the terrain update automatically?
Yes. When you change a slider, or move, add or remove a curve, the terrain rebuilds by itself. If it feels slow, lower the Resolution while you work and raise it again at the end.
Can I edit the terrain mesh by hand?
The terrain is rebuilt whenever a setting or curve changes, so manual mesh edits on the Terrain object would be overwritten. Make a copy of the terrain and its walls first, and edit the copy.
How do I move a curve point up or down?
Click the point, press G, then press Z, and tilt the view a little. This works for River, Land, Road and Cliff curves. Yard, Desert, Snow and Lava curves are raised or lowered with their Height value.
Why are my cliff walls stretched or uneven?
Tall cliffs need more vertices. Keep Mesh Adapt at 1, and raise Resolution until the faces on the cliff look even.
Can I use the terrain in a game engine?
Yes. Click Export GLB. The terrain, walls and rails are exported as a .glb file with a baked texture, which can be imported by any engine or tool that supports glTF, such as Godot.
Why does Blender pause for a few seconds when I export?
Export GLB bakes the terrain material into a texture, and the viewport pauses while the bake runs. A smaller Texture Size makes it faster.
Can I add more than one river, road or cliff?
Yes. Add as many curves as you like with the + button. Use the up and down arrows to decide which curve lies on top where they cross.
How do I start over?
Click the reset icon next to Generate Terrain to restore every setting, or the trash icon to delete the terrain and all its curves. Each section also has its own reset icon.
Curves and Editing
How do I move a curve point up or down?
Click the point, press G, then press Z, and tilt the view a little. This works for River, Land, Road and Cliff curves. Yard, Desert, Snow and Lava curves are raised or lowered with their Height value.
Can I add more than one river, road or cliff?
Yes. Add as many curves as you like with the + button in the Curves list.
What happens where two curves overlap?
The curve that is higher in the Curves list lies on top. Use the up and down arrows next to the list to change the order. This works for roads and for areas such as yards, cliffs, deserts, snow fields and lava grounds.
Can I hide the curves while I work?
Yes. Click the eye icon on a row to hide that curve in the viewport, or use the eye icon beside the list to hide all of them. Hiding a curve does not change the land.
How do I make the ground bigger after generating it?
Raise Size X and Size Y, add a Land curve to grow the ground beyond the original square, or select a curve point and press Alt+S to enlarge or shrink the land around it.
Can the whole ground be round?
Yes. Set Land Shape to Circle. The round ground fits inside the Size X by Size Y box.
Can I make an S-shaped or ring-shaped curve?
Yes. Use the Straight, S-Curve and Ring shape buttons in the Curves section, then reshape the curve by moving its points.
What is the difference between Yard, Cliff, Desert, Snow and Lava?
They are all closed curves that change the ground inside them. A Yard is a flat, grass-free clearing for a house. A Cliff raises the ground into a plateau with rock walls. A Desert turns the ground into rippled sand with dunes, Snow covers it with soft white drifts, and Lava turns it into dark rock plates with glowing cracks.
Does the river contain water?
Easy Terrain carves the river channel and paints a river bed, but it does not create a water surface. Add your own water plane or water shader inside the channel.
Can a river flow downhill from a raised area?
Yes. Raise a Yard with its Height value, start the river inside it and keep Downhill turned on. The river bed then slopes down from the raised ground.
Can I dig a pit instead of raising a cliff?
Yes. Give the Cliff curve a negative Height value and it digs a pit with rock walls.
Can one side of a cliff be higher than the other?
Yes. Select a point on the cliff curve, press G, then Z, and move it up or down. The top of the cliff follows the heights of the points.
Can the top of a cliff be bare dirt instead of grass?
Yes. Turn off the Grass option for the cliff curve. The cliff walls are always stone-mountain rock.
Walls and Materials
Why don’t the walls rise when I raise a cliff?
The wall top follows the ground as it would be without cliffs, so walls keep their Wall Height. Where a cliff is higher than the wall top, that part of the wall is left out, because the cliff itself forms the edge.
Can I grow grass on the walls?
Yes. Turn on Grass Top to cover the top of the walls with grass, and Grass on Wall to grow small patches of grass on the wall itself. Wall Grass Amount controls how much.
How do I change the colors?
Open the Material panel. It has color groups for grass, dirt, river bed, cliff rock, lava, railway and roads, and every group has its own reset icon. Wall colors are in the Walls section.
Export and Game Engines
Can I use the terrain in a game engine?
Yes. Click Export GLB. The terrain, walls and rails are exported as a .glb file with a baked texture, which can be imported by any engine or tool that supports glTF, such as Godot.
Do I need to switch to Cycles to export?
No. Export GLB switches to Cycles by itself for the bake and returns to your own render engine when it is done.
Why does Blender pause for a few seconds when I export?
Export GLB bakes the terrain material into a texture, and the viewport pauses while the bake runs. A smaller Texture Size makes it faster. The size can be 1024, 2048, 4096 or 8192.
What does Mark Seam & Unwrap UV do?
It marks seams on the sharp edges and borders, then unwraps the UVs of the terrain and its walls, so you can see them in Edit Mode and in the UV Editor. Nothing is baked and no file is exported. Export GLB does the same two steps first.
Why are my cliff walls stretched or uneven?
Tall cliffs need more vertices. Keep Mesh Adapt at 1, and raise Resolution until the faces on the cliff look even.
Have questions about this product?
Login to message
| Blender Extension Compatible | Yes |
| Dev Fund Contributor | |
| Published | about 8 hours ago |
| Blender Version | 5.2 |
| Extension Type | Add-on |
| Render Engine Used | Cycles, Eevee |
| License | GPL |