Eye Features Set
 Dean Zarkov


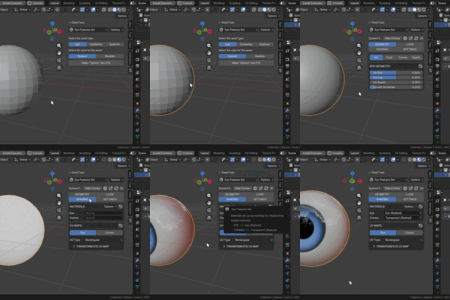
Why can't I see the Gizmos?
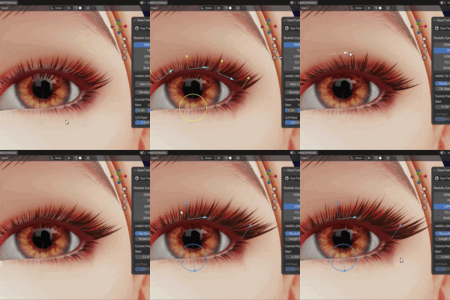
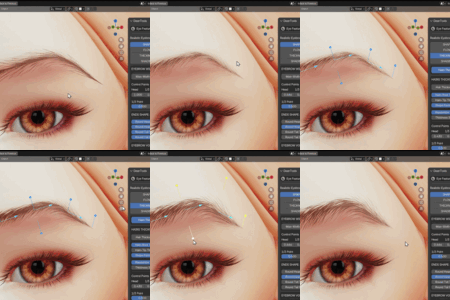
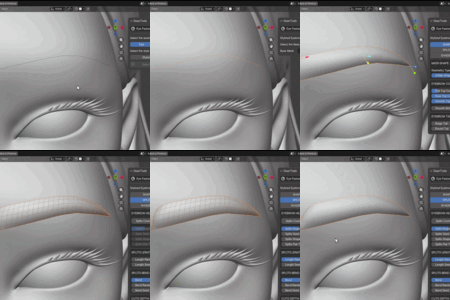
By default, Blender shows any custom gizmos on the selected object and it's active modifier. Make sure the "Show All Gizmos" toggle in the add-on UI is enabled. Also check if the global "Show Gizmo" toggle is enabled (Ctrl `). Finally, make sure the asset object is selected and the "Eye features Set" modifier is also selected (it might not be if there are other modifiers in the stack).
Now, when you select any settings section in the add-on UI, the relevant gizmos will be displayed.NOTE: Some Sections, like "SHADING" and "SETTINGS" don't have any gizmo controls, so nothing will be displayed.
Can I use my custom materials?
Yes. All assets feature a generated UV map that can be use for texture mapping. You can access it through a "UV Map" or "Texture Coordinate" node in the Shader Editor. If you convert the assets to a mesh, the UV Map will be able to be edited in the UV Editor.
In addition to that, Eye Features Set also provide convenient shader nodes that help with the material creation for the EFS assets. These nodes are called Eye Shades, Eyelashes Shades and Eyebrow Shades and can be imported to the scene with the "Options" menu in the "SHADING" section if the add-on UI (N-panel > DT tab) of each asset.
The generated Eyelashes or Eyebrows grow towards the inside of my character.
Check the character mesh face normals. If they are inverted, you can fix them with the "Recalculate Normals" operator (Edit mode > Shift N).
Are the generated assets usable in an animation?
Yes, but don't expect perfect results out-of-the-box. The best effect can be achieved through manual animation of the assets, by converting them to mesh and treating them as any other object.
If you don't want to do that, here are some tips:
Eyes can be used as regular eye sphere objects, since they don't require a base mesh. They also have the "Look Target" capability that allows the gaze to be directed using a target object, which requires the Geometry Nodes modifier to be present (not applied).
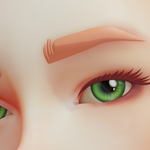
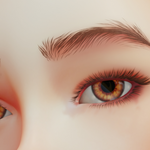
For eyelashes and eyebrows, you can make them follow the deformation of the character base mesh by using a "Surface Deform" modifier on the guide mesh line, used for the eyelashes/eyebrow generation. That modifier needs to be before the "Eye Features Set" modifier in the stack. You can then use it to bind the movement of the guide mesh line to the surfaces of the face.
Parenting (binding) any asset to an armature is best done via a direct bone parent, rather than with an "Armature Deform" modifier. For that, select the asset, then the armature, go to Pose mode, select the bone (usually the head bone) and parent with Ctrl P > Bone.
Can I further customize the generated assets to fit them to any specific use case?
Yes. In fact, it is encouraged. The add-on works best by doing the first 90% of the work, then finishing the last 10% by hand to fit it to the scene requirements (parenting to an armature/rig, manual mesh editing, etc.). This is best done by converting the generated geometry to a mesh. Doing so, you will lose the procedural aspects, since the Geometry Nodes modifier will be applied.
The best practice is to duplicate the generated asset to keep a copy of it in a backup collection, so you can always return to it if you want to make changes.
Which Blender versions are supported?
The add-on uses a Geometry Nodes setup that is compatible with Blender 5.0 and above. Using it with older version will give missing nodes errors and the generator will not work.
Discover more products like this
realistic eye 3D Eyes stylized-eyelashes eyebrow Procedural Eye Material eye material realistic-eyelashes stylized-eyebrow stylized eye Eye realistic-eyebrow eyelashes