 Fox Tools
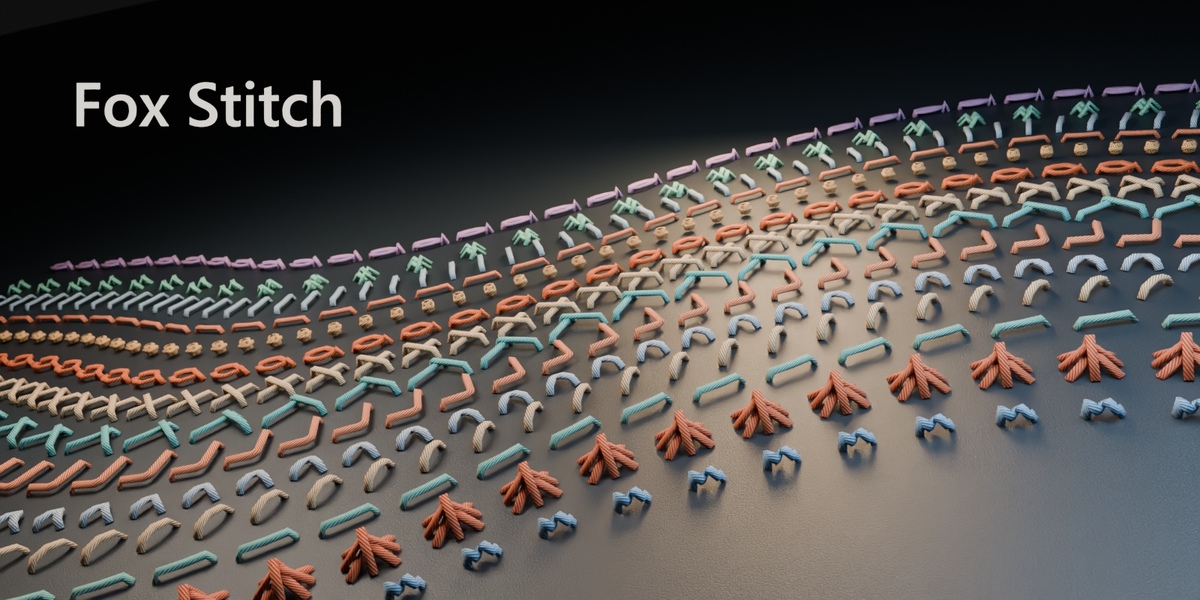
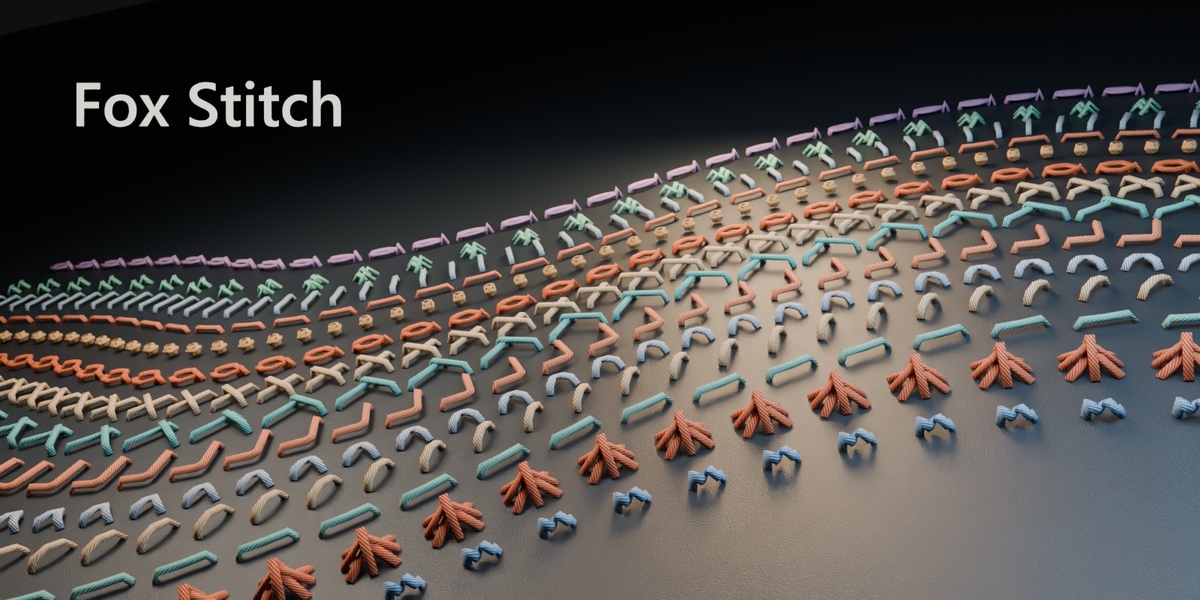
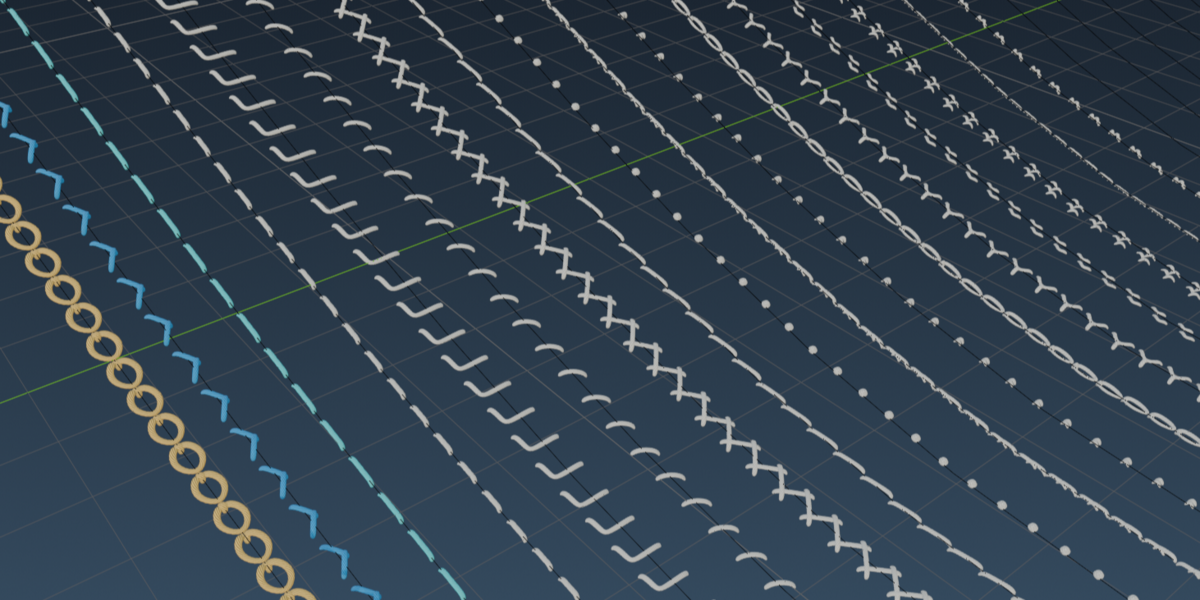
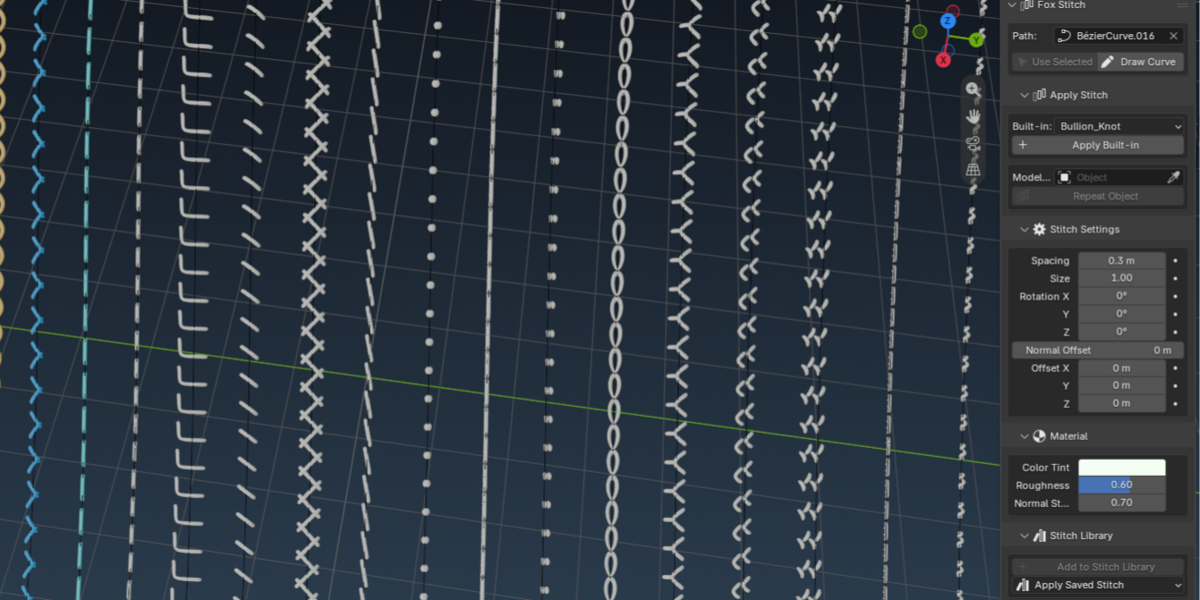
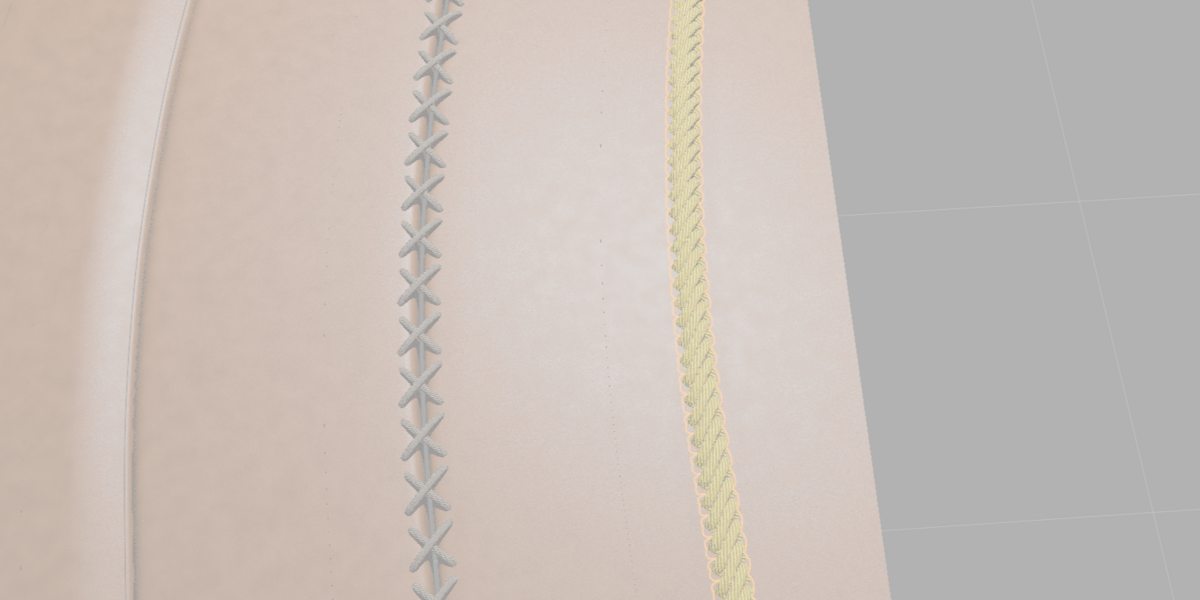
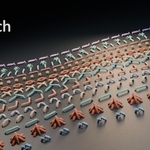
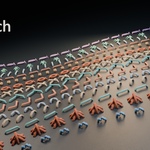
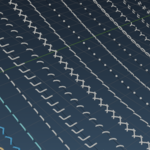
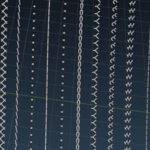
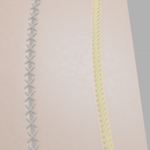
Fox Stitch repeats 3D stitch models along an editable curve. You can use one of the 36 supplied stitch models, choose a simple procedural stitch, or repeat a model of your own. This guide covers Fox Stitch 1.4.3 for Blender 5.3.
## Install Fox Stitch
1. Open **Edit → Preferences → Get Extensions**.
2. Open the menu in the upper-right corner and choose **Install from Disk**.
3. Select the Fox Stitch ZIP as downloaded. Enable Fox Stitch in Preferences if Blender leaves it disabled.
4. In the 3D Viewport, press **N** and open the **Fox Stitch** tab.
## Make your first seam
1. In **Object Mode**, select a curve and click **Use Selected**, or pick the curve in the **Path** field. Use a curve without bevel, extrusion, or fill.
2. To create a new path instead, click **Draw Curve**, drag in the viewport to draw a spline, then click **Finish Drawing**.
3. Under **Apply Stitch**, choose a model in **Built-in** and click **Apply Built-in**. **Running_Stitch** is a good starting point.
4. Fox Stitch selects the generated stitch run. Open **Stitch Settings** to adjust it. To reshape the seam, select the original curve and edit its points in **Edit Mode**.
## Adjust a stitch run
Select the generated stitch object to see its settings.
| Control | What it does |
| --- | --- |
| **Spacing** | Sets the distance between repeats measured along each spline. Each spline starts its own sequence. Increase spacing if neighboring stitches overlap. |
| **Size** | Scales each stitch uniformly. Spacing is adjusted separately. |
| **Rotation** | Rotates each stitch in its local curve frame. Rotate around X to roll the stitch around the path. |
| **Offset** | Moves stitches in the local curve frame. X is along the path, Y is sideways, and Z is up or down relative to the curve frame. |
| **Normal Offset** | Adds to the Z component of **Offset**. Positive values lift the stitches and negative values lower them. Adjust it while inspecting the seam from the side to see how the stitches sit against your model. |
Fox Stitch follows the curve you give it. For a seam on a curved surface, shape the path to follow that surface, then use **Normal Offset** to fine-tune the placement.
## Repeat your own stitch model
1. Set the **Path** in the Fox Stitch tab.
2. Under **Apply Stitch**, choose your source object in **Modeled Stitch** and click **Repeat Object**.
3. Use the resulting run's **Stitch Settings** to set the spacing and orientation.
The source object's origin is the placement point and its local +X axis follows the path. Use a source with UVs for the bundled thread texture. Fox Stitch accepts meshes, curves, surfaces, and text objects. Sources need visible geometry to make a visible seam.
## Save and reuse a custom stitch
1. In **Object Mode**, select the object or objects that make up the stitch.
2. In **Stitch Library**, click **Add to Stitch Library**. Give a single stitch a name. With multiple objects selected, choose **Separate Presets** to save one preset per object, or **One Composite** to preserve the objects' arrangement as a single repeat. For a composite, the active object's origin and axes define the placement frame.
3. In this or another Blender project, set a **Path**, open **Apply Saved Stitch**, and choose your preset.
The library saves snapshots of the selected objects' evaluated geometry in your Blender user profile. Save a new preset to capture later changes to the source objects.
## Change the thread material
Select a stitch run, switch the viewport to **Material Preview**, and open **Material** in the Fox Stitch tab. New runs each get their own copy of the bundled thread shader.
- **Color Tint** changes the thread tint while preserving its texture variation. White leaves the underlying shader color as it is.
- **Roughness** adjusts the thread's sheen. Higher values give it a more matte finish.
- **Normal Strength** adjusts the strength of the shader's surface detail. This control appears for materials that have a supported Bump or Normal Map node.
## Troubleshooting
**Apply is unavailable.** Switch to **Object Mode** and set a **Path**. If you just drew the curve, click **Finish Drawing** first.
**The path is selected but the stitch controls are missing.** Select the generated stitch run in the viewport or Outliner to open **Stitch Settings** and **Material**.
**The stitches overlap or sit too far apart.** Adjust **Spacing** for the current stitch **Size**. To move the thread closer to the surface, try a small negative **Normal Offset**.
**The stitch direction looks wrong.** Check the source object's local +X axis and adjust the run's **Rotation**. The curve direction determines which end is the start of the seam.
**A built-in run still uses an older model after updating Fox Stitch.** Select the run and click **Refresh Built-in Model** under **Stitch Settings**. This swaps in the current bundled model while keeping the path, material, and placement settings.
Have questions about this product?
Login to message
| Blender Extension Compatible | Yes |
| Published | about 1 hour ago |
| Blender Version | 5.2 - 5.3 |
| Extension Type | Add-on |
| Render Engine Used | Cycles, Eevee |
| License | GPL |
Discover more products like this
sewing Topstitching embroidery leather stitching fabric 3D stitches clothing bags leatherwork Stitching upholstery seams