 Jose Mora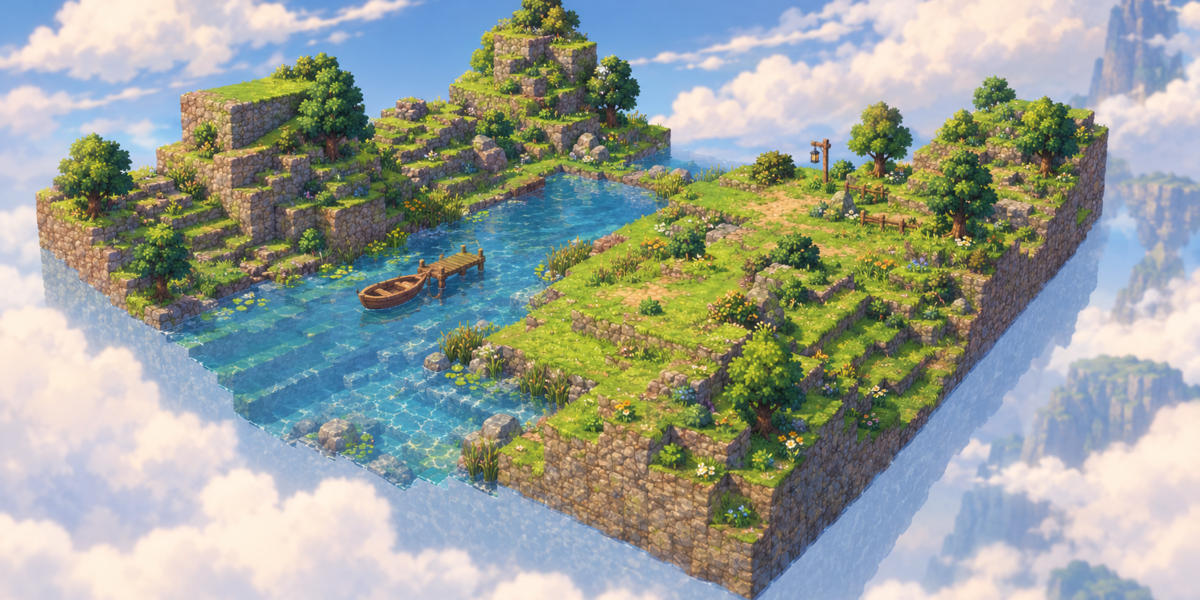
GridWorld Creator — Installation & Quick Start Guide
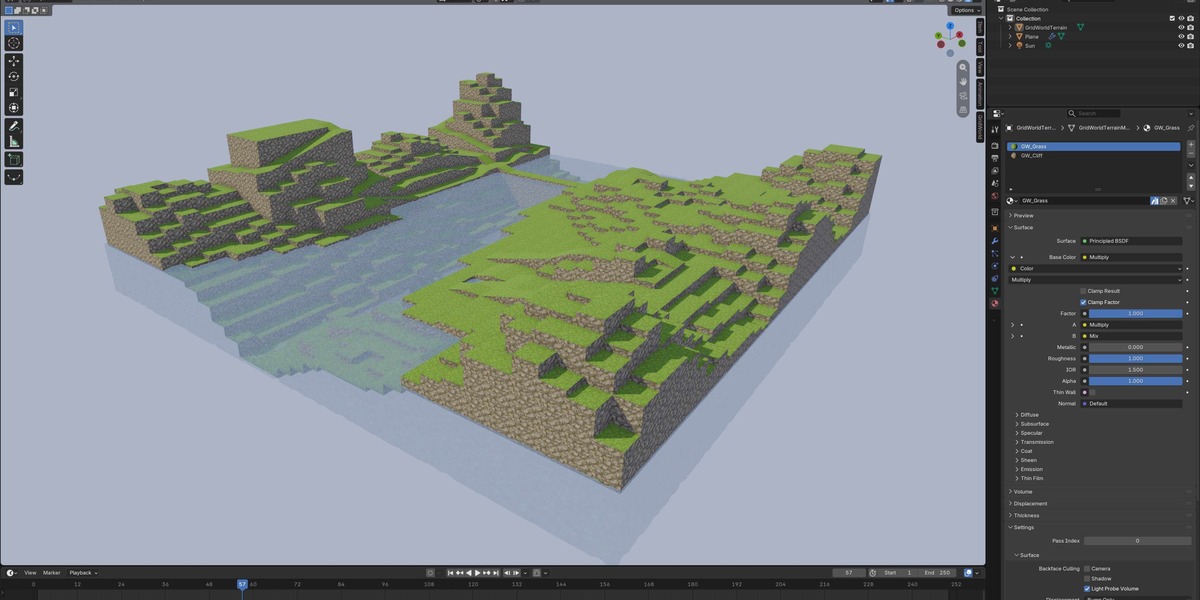
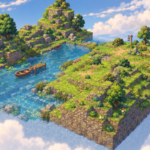
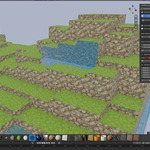
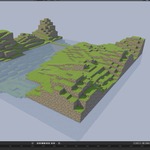
GridWorld Creator is a grid-based heightfield terrain and multi-material level editor extension designed for Blender 4.2+ and 5.x LTS, with one-click export for Godot 4, Unity, and Unreal Engine 5.
1. System Requirements & Compatibility
| Software | Supported Versions | Notes |
| Blender | 4.2.0 LTS, 4.3+, 5.x LTS | Uses official Blender Extension standard (`blender_manifest.toml`). |
| Operating Systems | Windows 10/11, macOS (Intel & Apple Silicon), Linux | Pure Python & standard BMesh/GPU APIs. |
| Target Engines | Godot 4.x, Unity 2022/6+, Unreal Engine 5.x | glTF 2.0 (`.glb`) export with multi-material slots. |
IMPORTANT
Blender 4.2+ Changed How Addons Are Installed!
Do NOT use `Preferences > Add-ons > Install...` from older Blender versions. Blender 4.2+ manages extensions through the Get Extensions menu. Follow the instructions below.
2. Installation (Step-by-Step)
1. Download the Addon ZIP:
- Keep the downloaded archive (e.g. `gridworld_creator-1.0.0.zip`) intact. Do not unzip it.
2. Open Blender (4.2+):
- Navigate to the top menu: Edit > Preferences.
3. Open the Extensions Manager:
- Select the Get Extensions tab on the left sidebar.
4. Install from Disk:
- In the top-right corner of the Preferences window, click the Repositories dropdown arrow (or the small arrow next to the header).
- Select Install from Disk...
- Browse to your downloaded `gridworld_creator-1.0.0.zip` and click Install from Disk.
5. Verify Activation:
- GridWorld Creator will be installed and enabled immediately.
- You can verify it under Preferences > Add-ons / Extensions search for `GridWorld Creator`.
3. Quick Start Workflow
Step 1: Open the Sidebar Panel
- In the 3D Viewport, press N to toggle the sidebar.
- Click on the GridWorld tab.
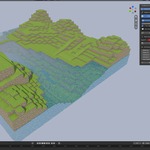
Step 2: Generate a Terrain Grid
1. Set your Grid Dimensions (e.g., Width: `16`, Depth: `16`).
2. Adjust the Cell Size (e.g., X: `1.0`, Y: `1.0`, Height Step Z: `0.5`).
3. Click Create Terrain Grid.
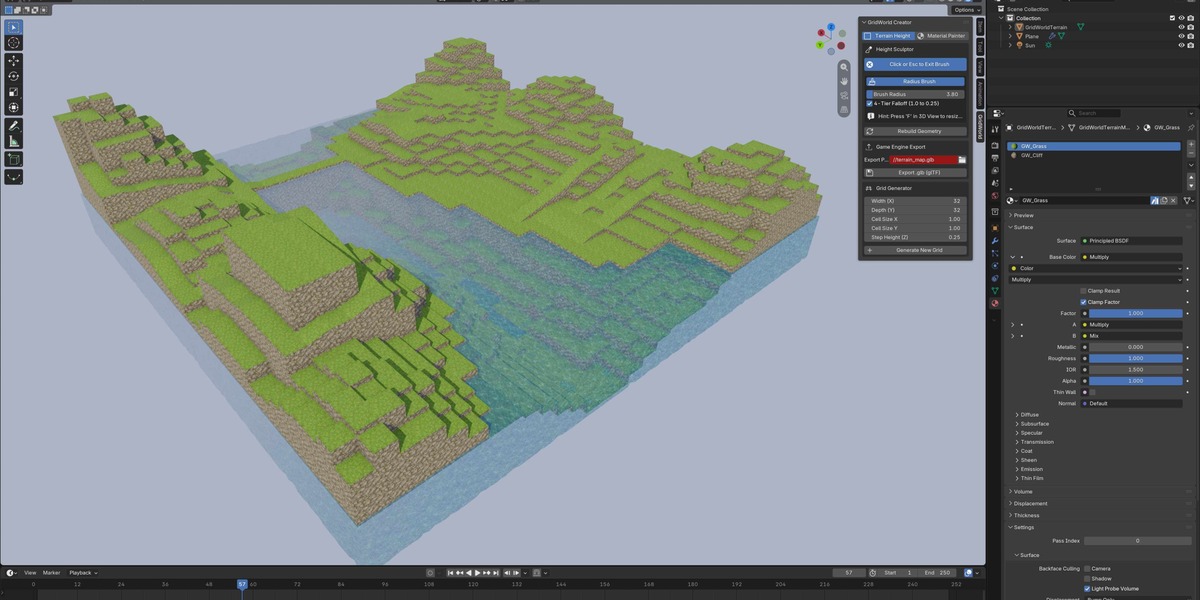
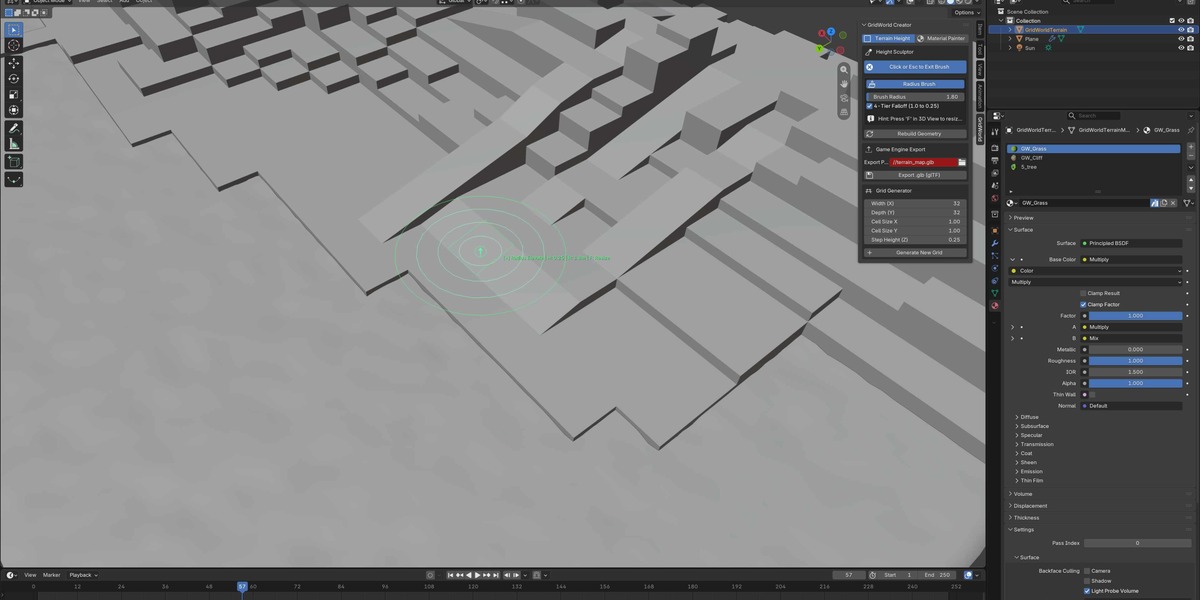
- A new grid mesh object named `GridWorldTerrain` will appear with starter materials (`GW_Grass`, `GW_Cliff`).
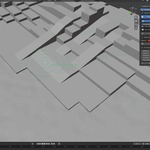
Step 3: Sculpt Heights (Terrain Mode)
1. In the N-panel, ensure Editor Mode is set to `Height (Elevate / Lower)`.
2. Click Start Terrain Brush to enter interactive modal mode.
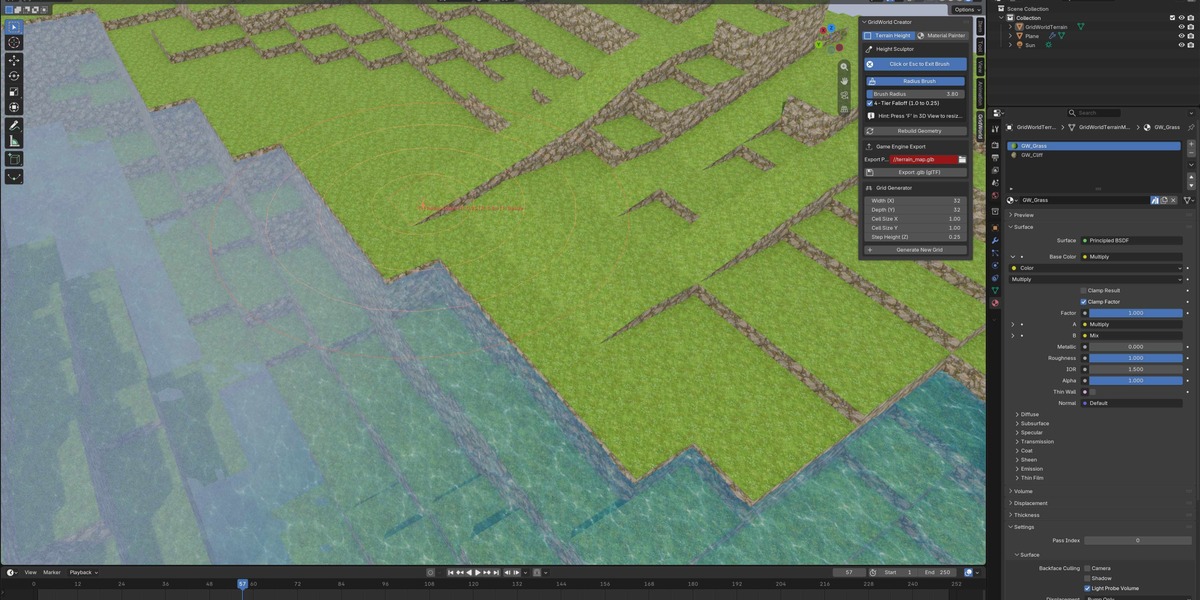
3. Hover over the terrain — you will see a 3D bounding box cursor and a real-time HUD elevation badge.
- Left-Click (or Drag): Raise cell elevation by +1 step.
- Shift + Left-Click (or Drag): Lower cell elevation by -1 step.
- ESC or Right-Click: Exit the brush.
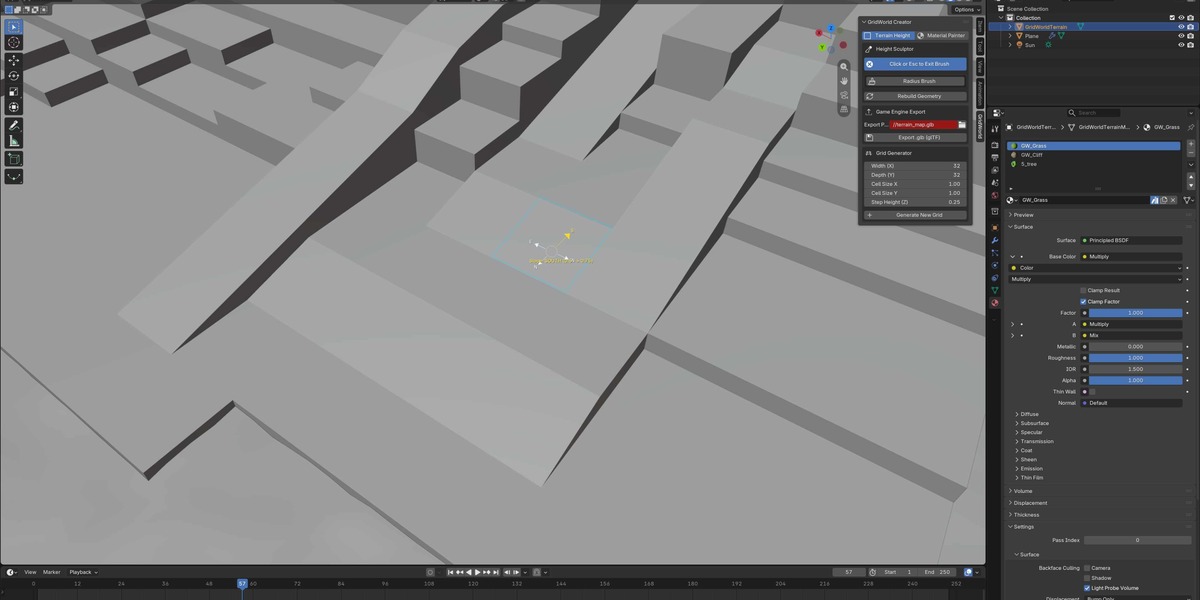
Step 4: Sculpt Cardinal Slopes & Ramps
1. Select a target cell or position.
2. In the N-panel under Slope Options, pick a cardinal direction (North, East, South, or West).
3. Click Apply Cardinal Slope.
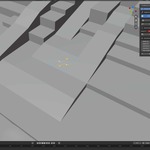
- The cell will automatically ramp towards that direction, dynamically snapping height differences with adjacent neighbors.
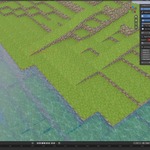
Step 5: Paint Materials (Material Mode)
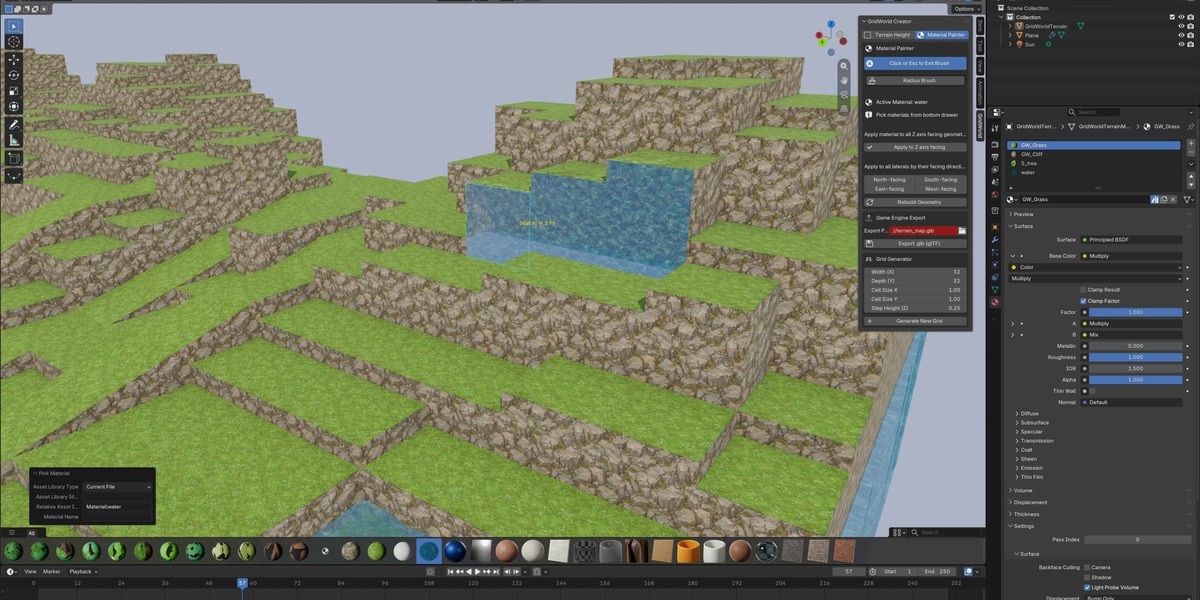
1. Switch Editor Mode to `Material (Paint Top / Lateral)`.
2. Pick an active material from the palette or the bottom drawer Asset Shelf.
3. Click Start Terrain Brush:
- Left-Click Top Face: Assigns the material to the horizontal surface.
- Left-Click Cliff Wall: Assigns the material specifically to that vertical face!
- Shift + Left-Click: Eyedropper — samples the material under the cursor.
- ESC or Right-Click: Exit the brush.
Step 6: Export to Game Engines
1. In the N-panel under Game Engine Export, set your target export file path (e.g. `res://terrain/level_01.glb`).
2. Click Export .glb (glTF).
3. The generated `.glb` includes:
- Optimized vertex normals.
- Accurate UV projections for vertical cliffs (preventing texture stretch).
- Distinct material slots for each painted surface.
4. Game Engine Setup Guide
Godot 4.x
1. Drop the exported `.glb` into your Godot project folder.
2. Select the `.glb` in the FileSystem dock and open the Import Dock:
- Under Physics, set collision generation to create static body collision if desired, or right-click the imported mesh in Godot and select Create Trimesh Static Body.
3. Materials and texture slots are automatically mapped from Blender's Principled BSDF shaders.
Unity
1. Drag the `.glb` into your `Assets/` folder.
2. Add a `MeshCollider` component to the imported object.
3. Extract materials via the Model Import Settings tab if you want to assign custom Unity URP/HDRP shaders.
Unreal Engine 5
1. Drag the `.glb` into the Content Browser.
2. Open the Static Mesh Editor and enable Complex Collision as Simple or generate convex hulls.
5. Controls & Shortcuts Cheat Sheet
| Raise Cell Elevation | `Left-Click` or `Drag` (Height Mode) |
| Lower Cell Elevation | `Shift + Left-Click` or `Drag` (Height Mode) |
| Paint Top Surface | `Left-Click` on top face (Material Mode) |
| Paint Lateral Cliff | `Left-Click` on vertical wall (Material Mode) |
| Eyedropper (Sample Material) | `Shift + Left-Click` (Material Mode) |
| Exit Brush Mode | `ESC` or `Right-Click` |
| Navigate 3D Viewport | `MMB` (Rotate), `Shift + MMB` (Pan), `Wheel` (Zoom) |
---
## 6. Troubleshooting & Support
- "Addon not showing up after install": Ensure you installed via Preferences > Get Extensions > Install from Disk... in Blender 4.2+ and that the extension is toggled on.
- "Brush cursor is not appearing": Ensure you have selected a valid GridWorld terrain object in the viewport and clicked Start Terrain Brush.
- Documentation: https://github.com/jlrazr/rpg-terrain-editor/blob/main/docs/README.md
$2.50
Have questions about this product?
Login to message
| Blender Extension Compatible | Yes |
| Published | 1 day ago |
| Blender Version | 4.2 - 5.2 |
| Extension Type | Add-on |
| Render Engine Used | Cycles, Eevee |
| License | GPL |