GrimTopo
 Grim Edge Studio
GrimTopo Documentation
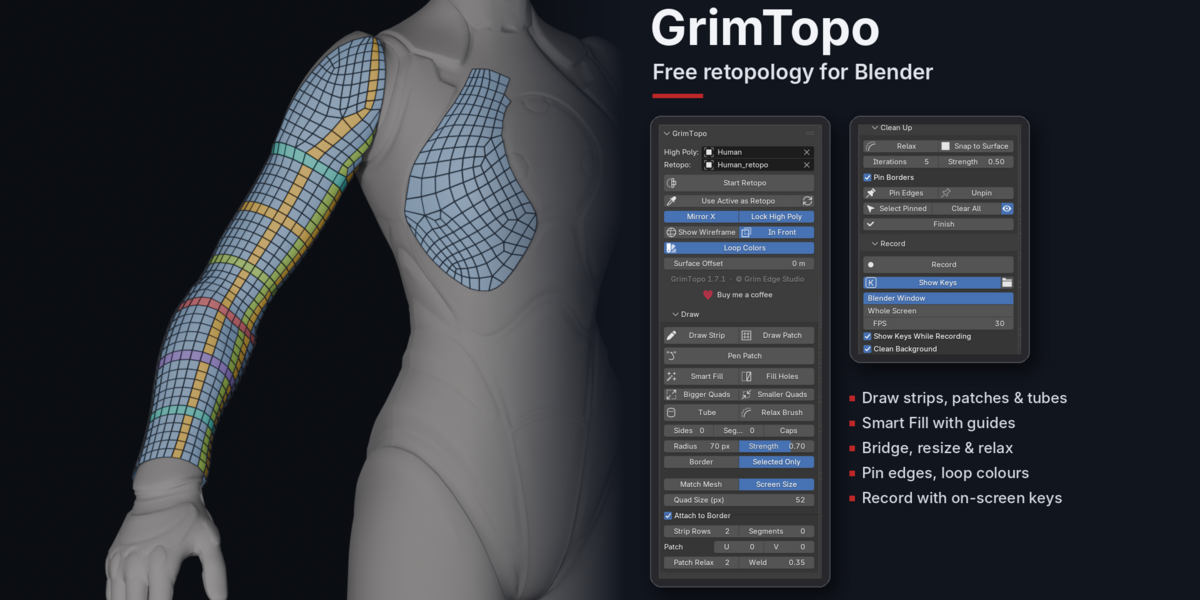
GrimTopo is a free retopology toolkit for Blender 4.2 and newer, by Grim Edge Studio. Draw quads straight onto a sculpt or scan, outline patches with a Pen Tool, let Smart Fill complete holes, fit a template head in one click, or quad-remesh props. Everything snaps to your high poly and stays fully editable Blender geometry. Version 1.0.0.
1. Installation
- Download the GrimTopo .zip file. Do not unzip it.
- In Blender, go to Edit > Preferences > Get Extensions.
- Open the dropdown arrow menu and choose Install from Disk, then select the .zip.
- Open the 3D Viewport, press N, and go to the GrimTopo tab.
Requires Blender 4.2 or newer (tested on 5.1). Pure Python, no external dependencies, no internet access needed.
2. Quick Start
- Select your high poly and press Start Retopo. GrimTopo creates a new mesh named after it with “_retopo”, locks the high poly and turns on the retopology overlay.
- Use Draw Strip, Draw Patch or Pen Patch to build topology. New quads weld onto existing ones nearby.
- Use Relax to clean up, then press Finish.
3. Tools
- Draw Strip: drag along the surface to lay down a strip of quads (edge loops).
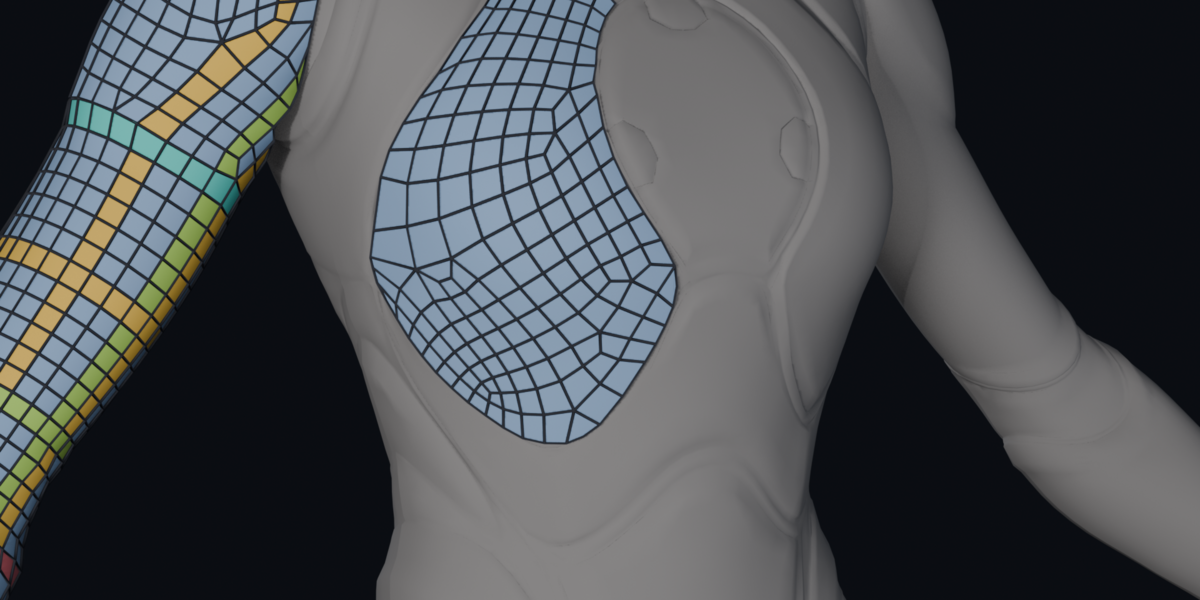
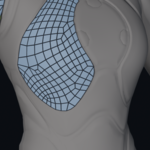
- Draw Patch: draw a closed loop and it fills with a quad grid.
- Pen Patch: click dots like a Pen Tool to outline a patch. Drag, insert, delete and scale the dots, and the quads update live. They never leave the border, from any view angle.
- Smart Fill: hover any hole and a ghost preview of clean quads appears, with poles placed automatically for odd shapes. Click to accept and press Tab to cycle other layouts. You can also draw a guide from border to border, scribble over a gap between two patches to bridge them, draw a closed loop around an existing loop (ring), or draw a closed loop on empty surface, and the region is filled for you.
- Fill Holes: one click fills every hole, or just the selected border loop, with the best layout. It never caps a patch’s outer border.
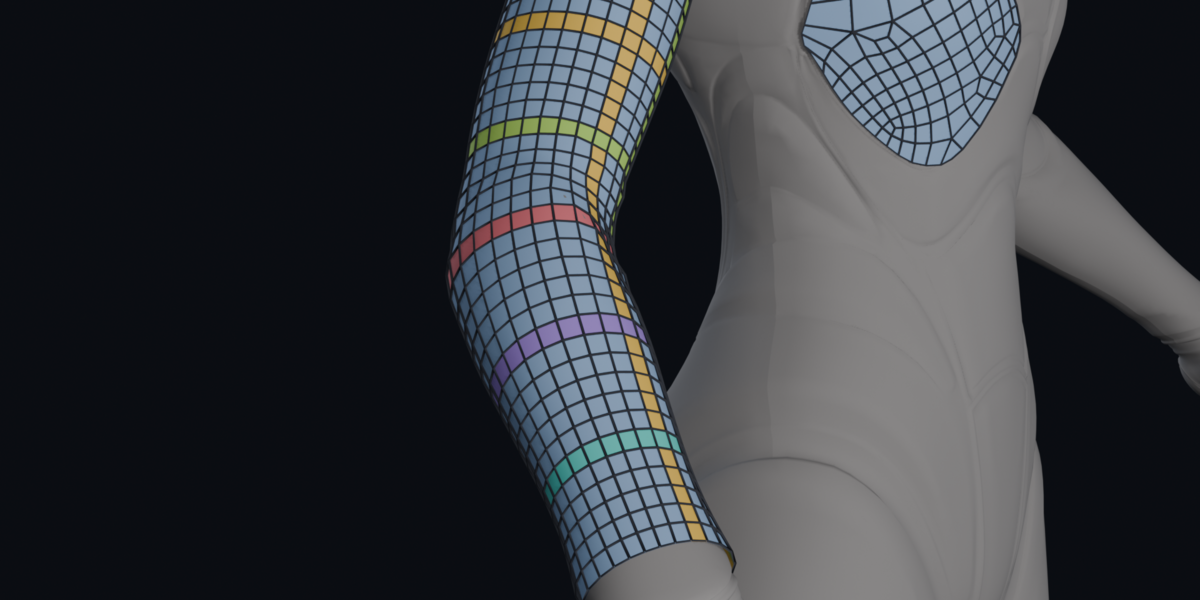
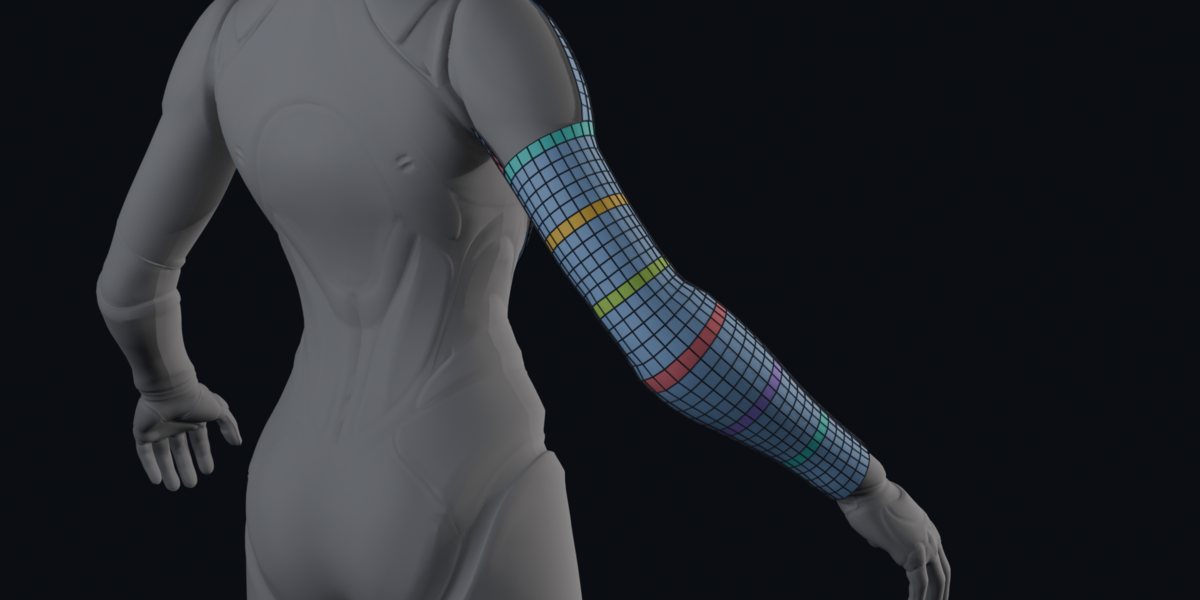
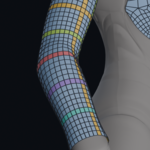
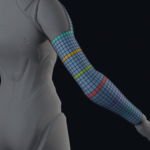
- Tube: click along a cylindrical part such as an arm, leg or cable (2 clicks for straight, more for bends) and quad rings wrap around it. It continues an existing open tube end with the same vertex count.
- Bigger / Smaller Quads: re-quad a selected area at a new size.
- Relax, Relax Brush and Pin Edges: even out spacing while staying on the high poly, and pin edges you want to protect.
- Auto Head: fit a clean template head onto a sculpt (see section 6).
- Quick Quad: one-click QuadriFlow remesh for props, snapped back onto the high poly.
- Mirror X: symmetric workflow using a clipped Mirror modifier, with automatic centering.
- Record and Show Keys: record your screen and show pressed keys on screen, for tutorials.
4. Keys While Drawing
Draw Strip and Draw Patch:
- Draw: left mouse drag
- Quad size: [ and ] or Ctrl + mouse wheel
- Strip rows: - and + or Shift + mouse wheel
- Finish: right mouse button, Esc or Enter
Pen Patch:
- Place a dot: left click (drag a dot to move it)
- Insert a dot: click on the outline
- Delete a dot: hover it and press X, Delete or Backspace
- Quad size: [ and ] or Ctrl + mouse wheel
- Scale the shape: - and + or Shift + mouse wheel
- Next patch: Enter
- Finish: right mouse button or Esc
Smart Fill:
- Hover a hole to preview
- Click or Enter: accept
- Tab / Shift + Tab: cycle layouts
- Drag: draw a guide
- [ and ]: guide density
- Backspace: clear the guide
- Right mouse button or Esc: exit
Tube:
- Ctrl + wheel: sides
- Shift + wheel: segments
- C: toggle caps
- Enter: make the tube
Every tool also updates live when you change its fields in the sidebar.
5. Settings
Main panel:
- High Poly: the sculpt or scan the new topology snaps to.
- Retopo: the low-poly mesh being built.
- Mirror X (default on): work symmetrically across local X.
- Lock High Poly (default on): makes the high poly unselectable while you retopologize.
- Loop Colors: tints the flow loops so edge flow is easy to read.
- Surface Offset (default 0): pushes new vertices out along the surface normal.
Draw panel:
- Density: Match Mesh makes new quads use the edge length of your existing retopo mesh. Screen Size makes quads a fixed pixel size on screen.
- Density Scale (default 1.0): multiplier on the matched edge length. Below 1 gives smaller quads.
- Quad Size px (default 30): screen-space size of one quad.
- Attach to Border (default on): a strip drawn next to an existing border extends it one-to-one.
- Strip Rows (default 1) and Segments: quads across and along a strip.
- Patch U and V (default 0 = auto): quads along the long and short side of a patch.
- Patch Relax (default 2): relaxing applied to new patches.
- Weld (default 0.35): merges new vertices onto existing ones closer than this fraction of a quad.
- Tube Sides, Segments and Caps: tube settings (0 = taken from density).
- Brush Radius (default 60 px) and Strength (default 0.5): Relax Brush size and power.
- Brush Border and Selected Only: let the brush move open border vertices, or only selected ones.
Clean Up panel:
- Iterations (default 5) and Strength (default 0.5): how much Relax smooths.
- Pin Borders (default on): keeps border vertices fixed while relaxing.
- Pin Edges, Unpin, Select Pinned, Clear All, Show Pins: manage pinned edges.
Quick Quad panel:
- Target Faces (default 3000): polycount of the remesh.
- Preserve Sharp (default on): keeps sharp edges.
Record panel:
- Capture: Blender window or whole screen.
- FPS (default 30), Clean Background (hides grid and gizmos while recording), Show Keys While Recording, and the output folder.
- Smooth 30 fps recording needs ffmpeg. Without it, GrimTopo uses a slower fallback.
6. Auto Head
One-time setup:
- Open a clean base head (quads, UVs, mirror applied).
- In Edit Mode, select a vertex, pick a landmark from the list and press Assign.
- Repeat for at least 4 landmarks (10 or more works best).
- Save the template to your library with the disk icon.
For each sculpt:
- Set the High Poly and the Template.
- Press Place Markers and click the landmarks as the on-screen prompt asks. Left-side markers auto-mirror to the right.
- Press Fit Template. Density adds subdivision levels for a higher polycount, and Warp Stiffness makes the warp smoother but less exact.
The template’s loops and UVs are kept.
7. Tips
- Draw your main flow lines first, such as around the eyes, mouth and joints, then use Smart Fill for the rest.
- Use Pen Patch for larger clean areas and strips for edge flow.
- Use Tube for arms, legs and cables.
- Save your .blend file before big retopology sessions.
9. Help and Community
Bugs or feature requests: Grim Edge Discord, https://discord.gg/Fp9c88BSXV
License
Copyright © 2026 Grim Edge Studio. Free and open source under the GNU GPL v3 or later. The names Grim Edge Studio and GrimTopo and the Grim Edge logo are trademarks of Grim Edge Studio and are not covered by the GPL.
Have questions about this product?
Login to message
| Blender Extension Compatible | Yes |
| Published | about 23 hours ago |
| Blender Version | 4.3 - 5.3 |
| Extension Type | Add-on |
| Render Engine Used | Cycles, Eevee |
| License | GPL |