supakpit


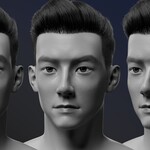
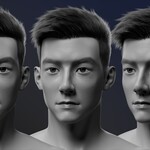
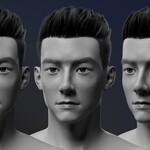
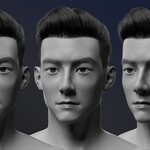
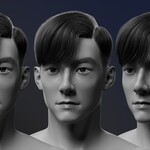
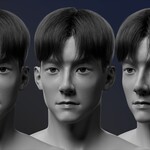
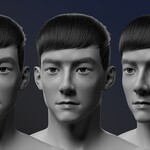
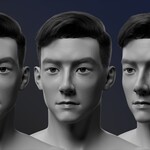
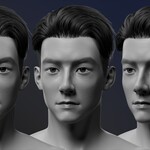
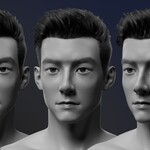
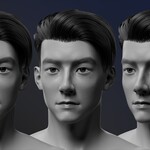
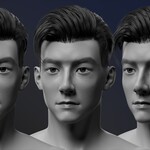
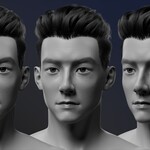
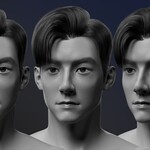
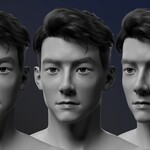
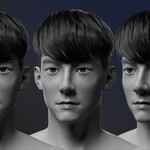
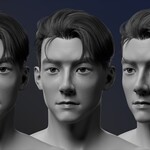
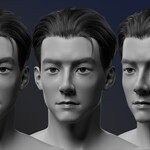
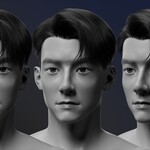
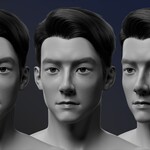
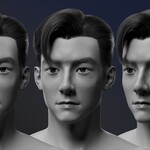

Bring your characters to life with HairCraft Library – 20 Asian Short Hairstyles
A premium collection of 20 professionally crafted short hairstyles, inspired by clean and fashionable Asian aesthetics. Whether you're creating cinematic characters, stylized portraits, or game-ready assets, this library is built for high-end results and a fast, drag-and-drop workflow.
Each style is built using Geometry Nodes in Blender, allowing quick adjustments and clean deformation to fit any male head model.
✨ Perfect for:
- Character artists- Animation & cinematic projects
- Realistic or stylized renders
- Anyone needing high-quality, drag-and-drop hair assets
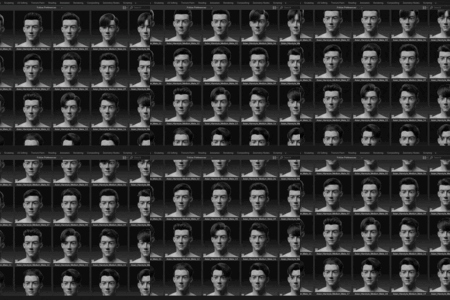
✨ All 20 Asian Hairstyles:
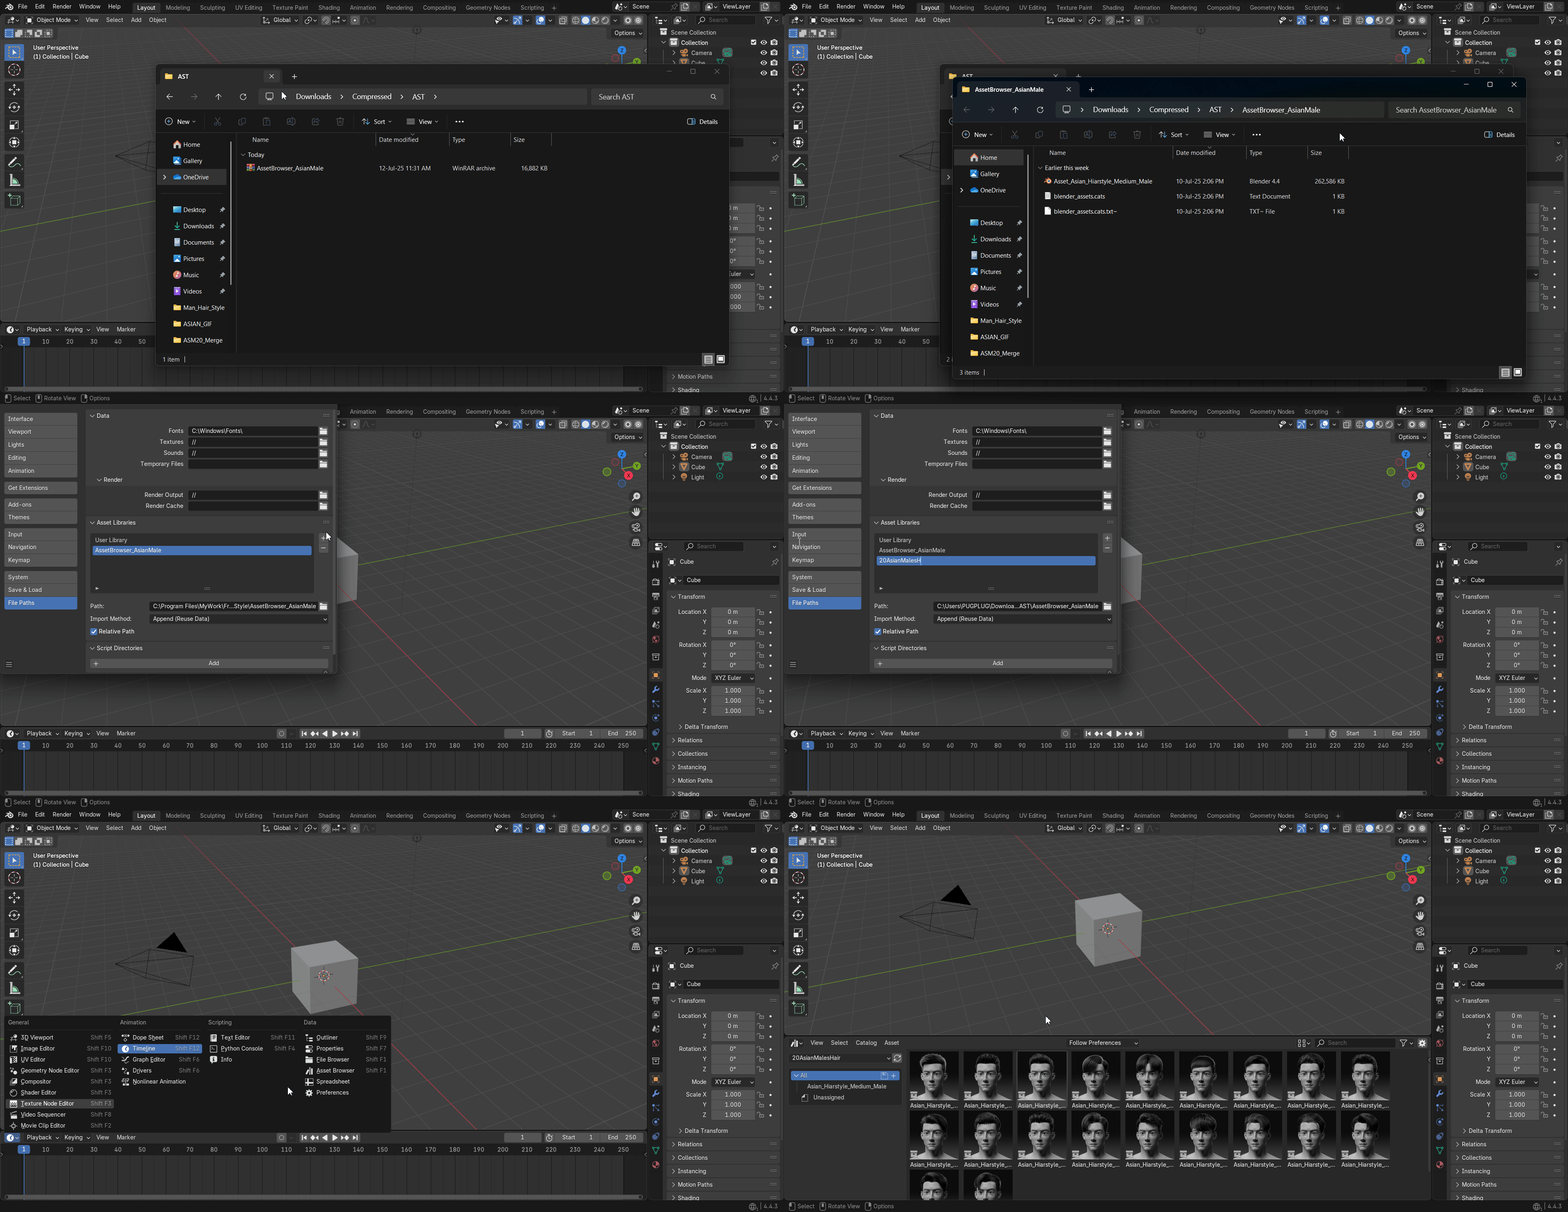
📁 How to Add This Asset to Your Asset Browser
1. Right-click the downloaded ZIP file and choose “Extract All” to unzip it.2. Copy the file path of the folder where the files were extracted.
3. In Blender, go to Edit → Preferences → File Paths.
Under Asset Libraries, click the “+” button to add a new library.
Then paste the extracted folder’s file path, click “Add Asset Library”, and optionally give it a custom name.
🛠 How to Use
1. Open the Asset Browser (or press Shift + F1) from any part of the Blender interface. If the Asset Browser doesn’t appear at first, simply press Shift + F1 again.
2. Drag and drop the desired hair asset into your workspace. Once placed, look at the small pop-up menu on the bottom-left corner of the screen titled “Add Collection”.Here, uncheck the “Instance” option.
3. You can now move the hairstyle freely.
(Tip: It’s best to move the Mesh object, not the hair curves themselves.)
4. Use the “Shrinkwrap” modifier to make the “Hair Surface” stick to the surface of the character’s head. Then, apply the modifier to finalize the deformation.
5. Click on the "Hair Side," "Hair Top," or any other curve object that requires attachment. Then, use the "Attach Hair Curves to Surface" modifier and select the Hair Surface using the eyedropper. Finally, apply the Geometry Nodes modifier to complete the attachment.
⚠️ Note:
Please follow all steps step by step to avoid errors. Apply the modifier only if you plan to sculpt — otherwise, it's not needed.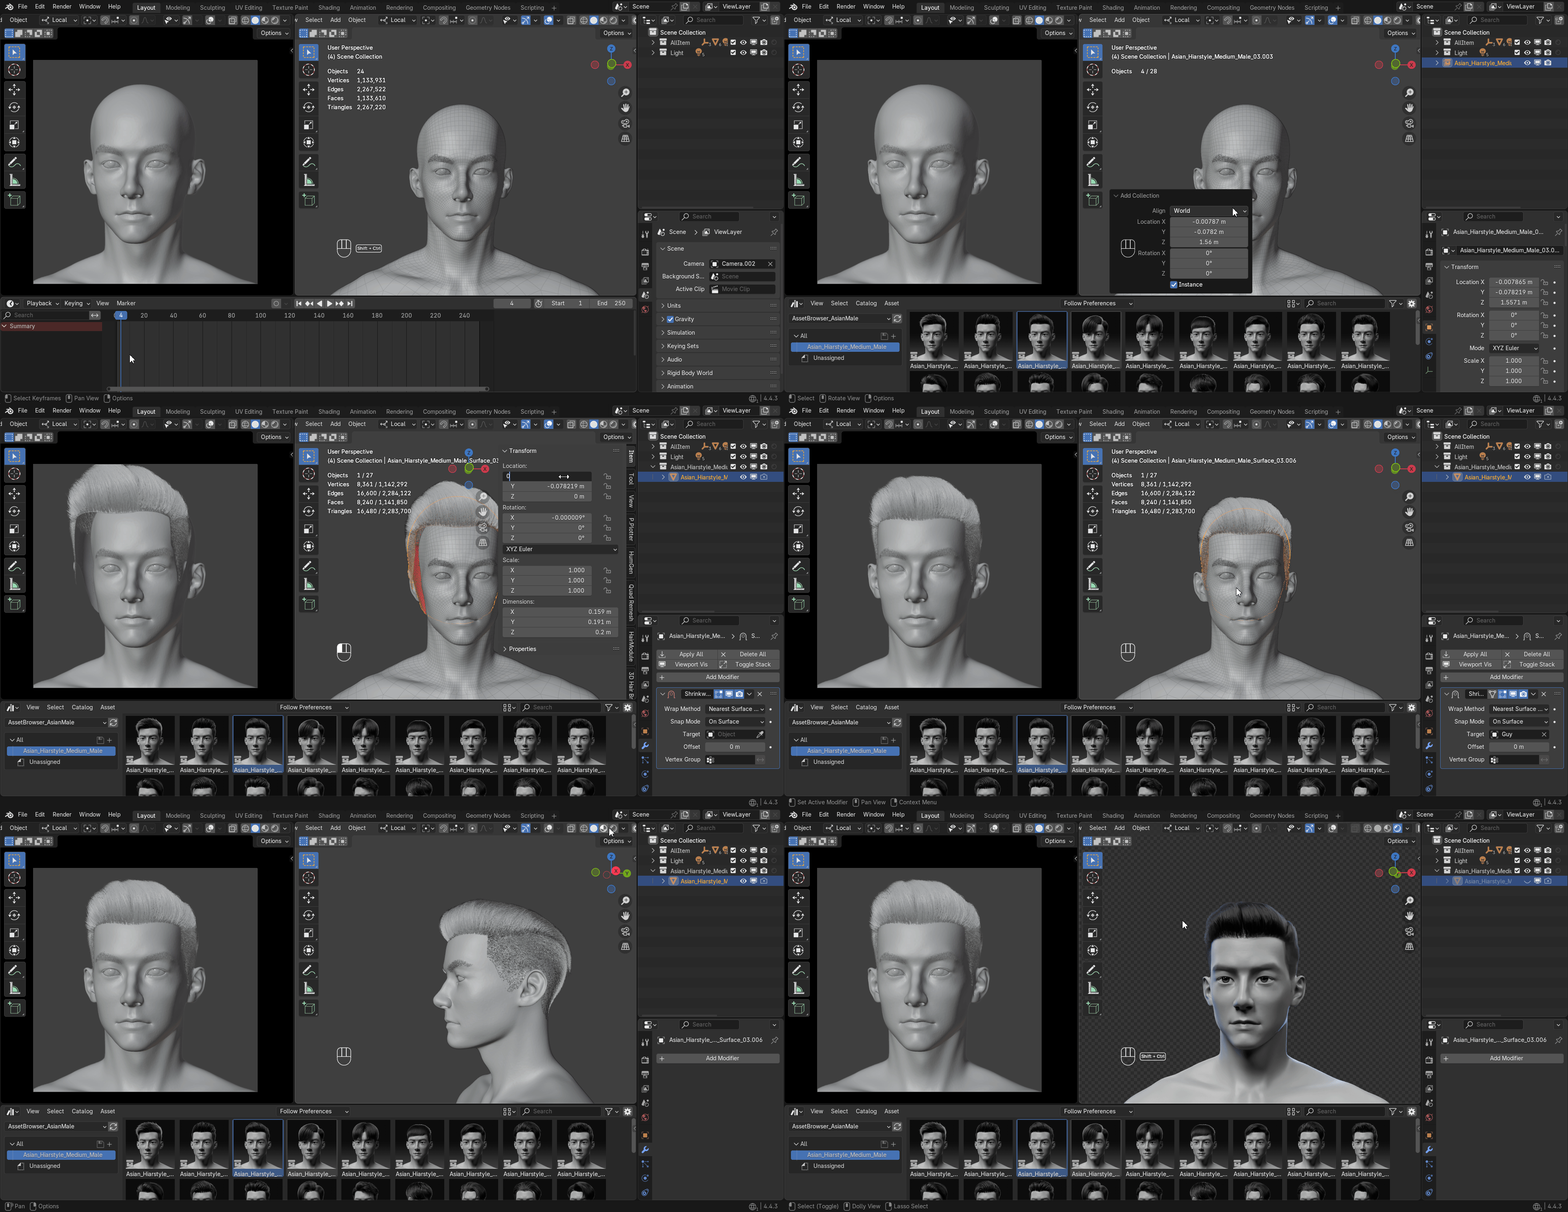
🧵 If the Hair Looks Low Poly in Your Scene:
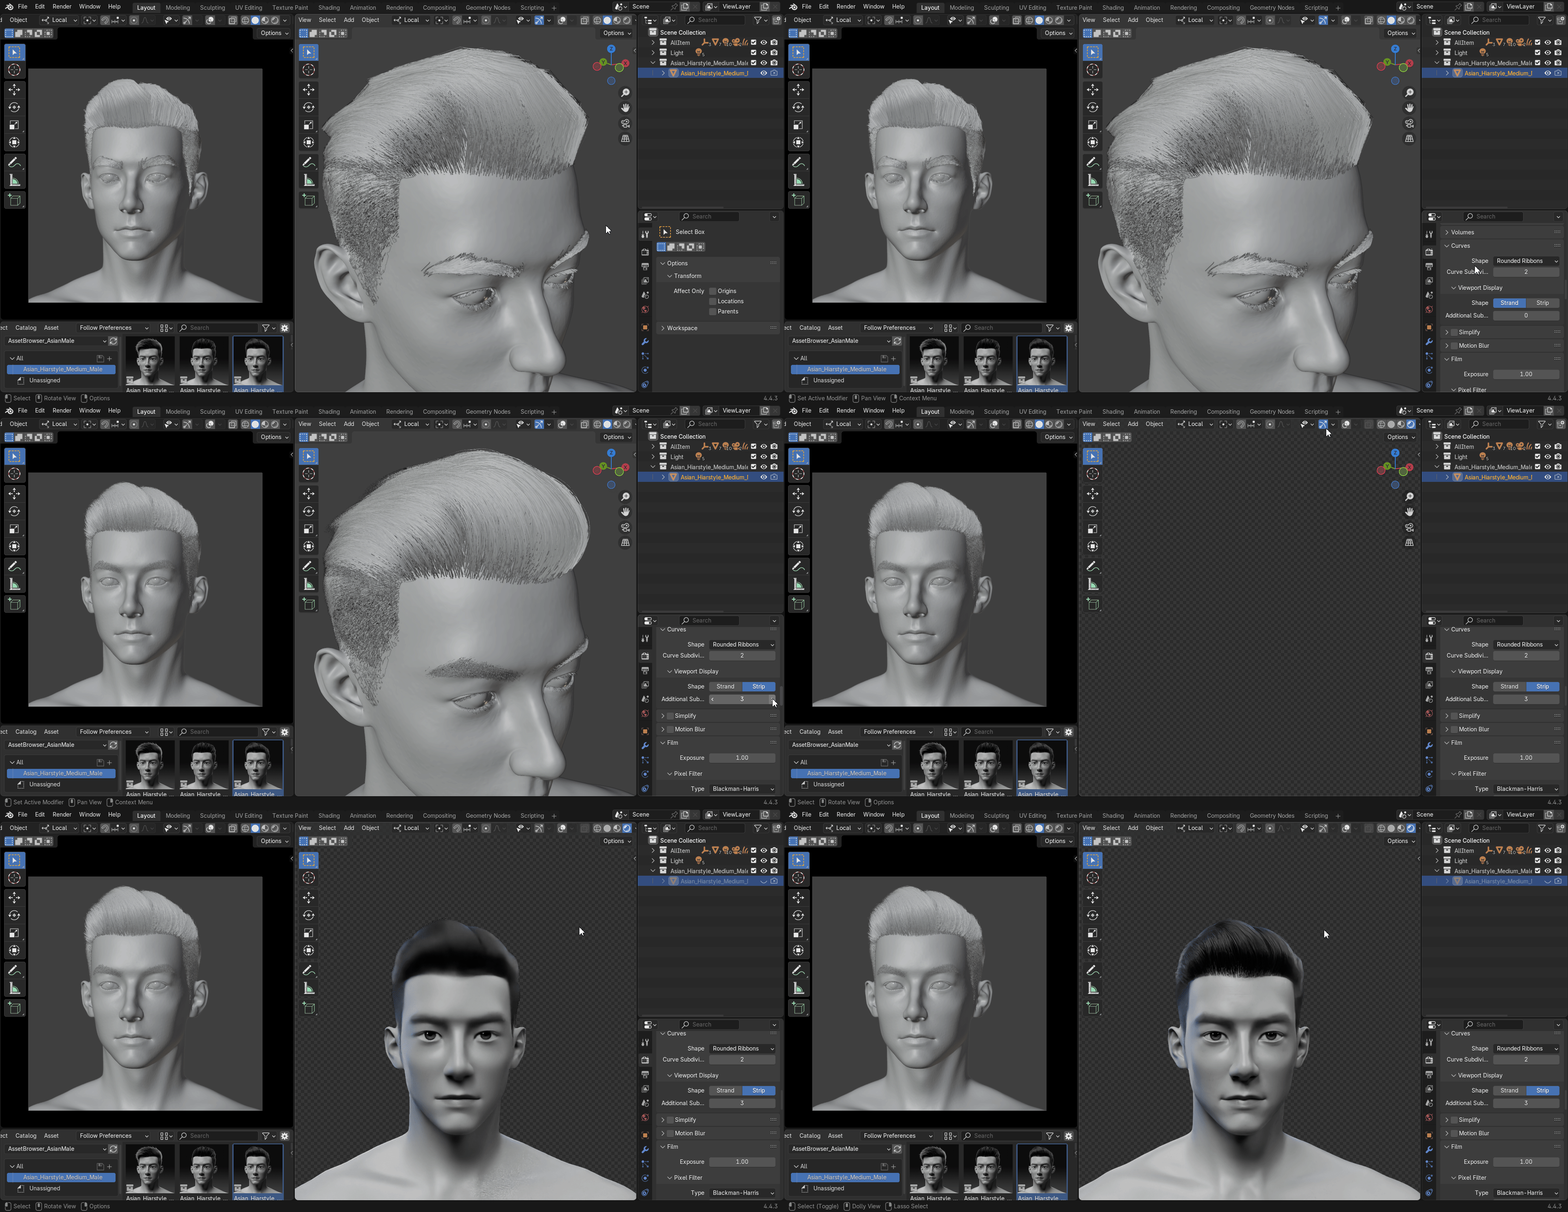
Go to the Render Properties panel on the right, then scroll down to the Curves section. Here, change the Shape from "Strand" to "Strip" and increase the Additional Subdivision to 2 or higher for smoother, higher-quality hair rendering.