 young
young
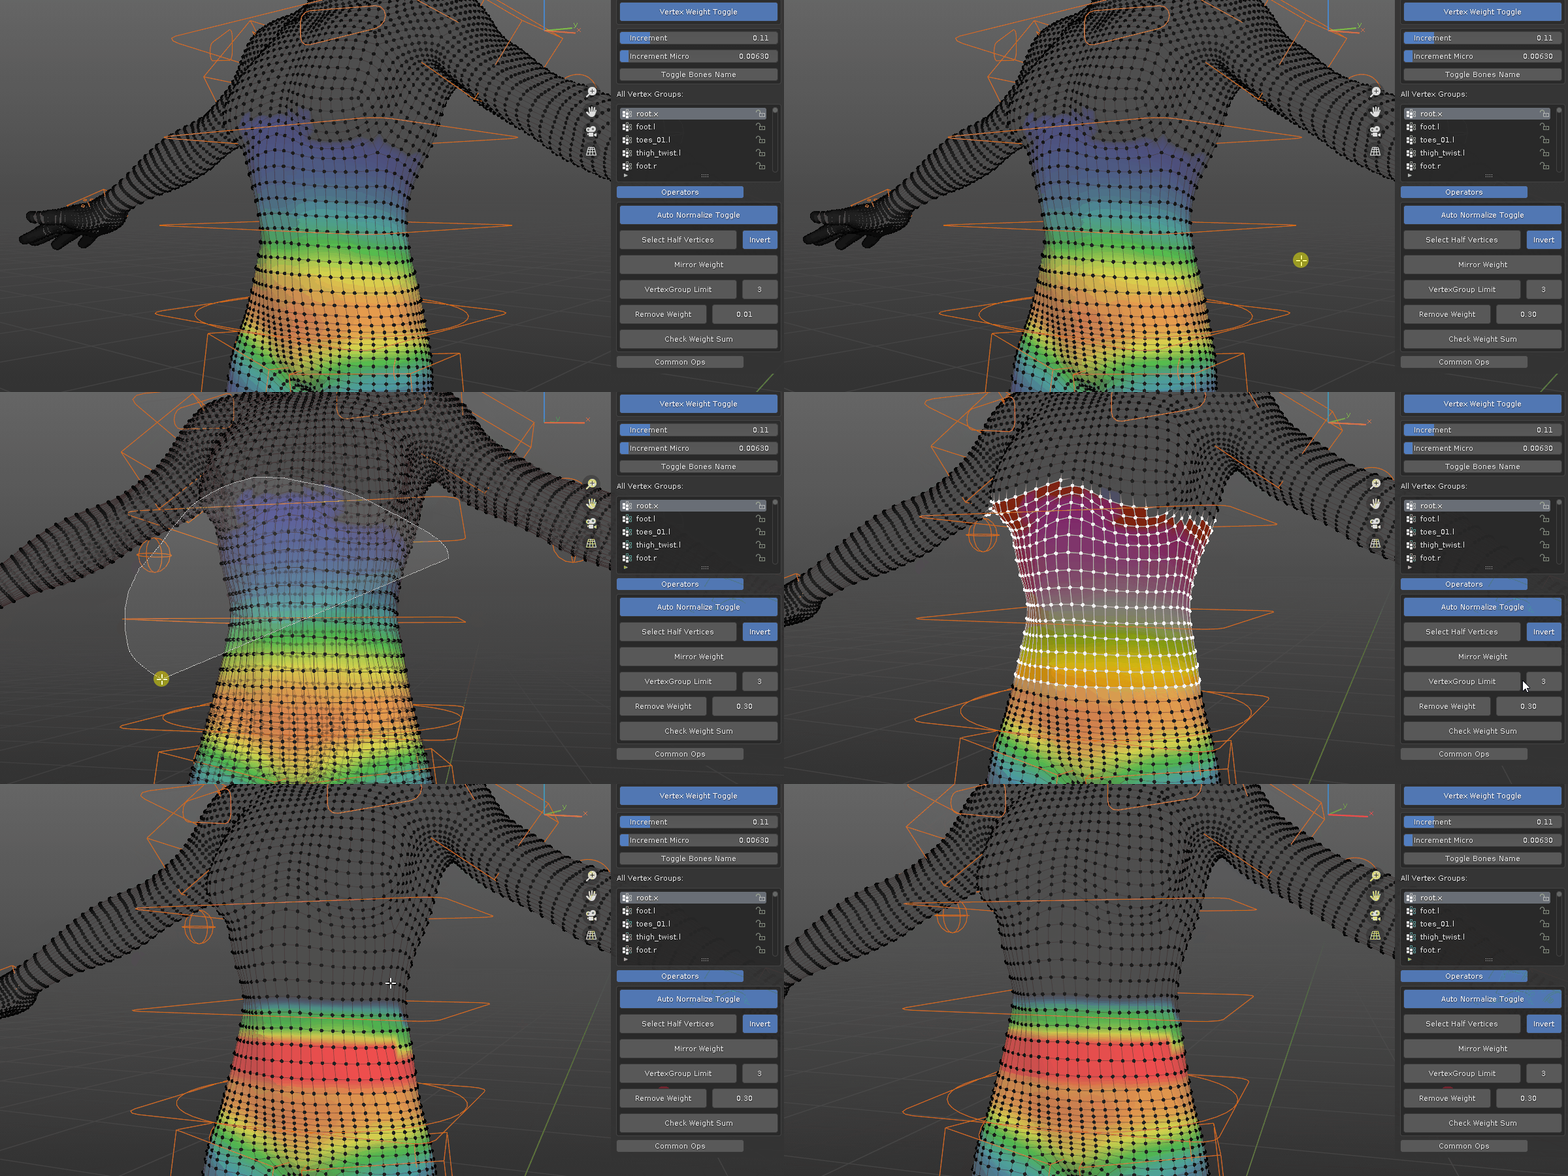
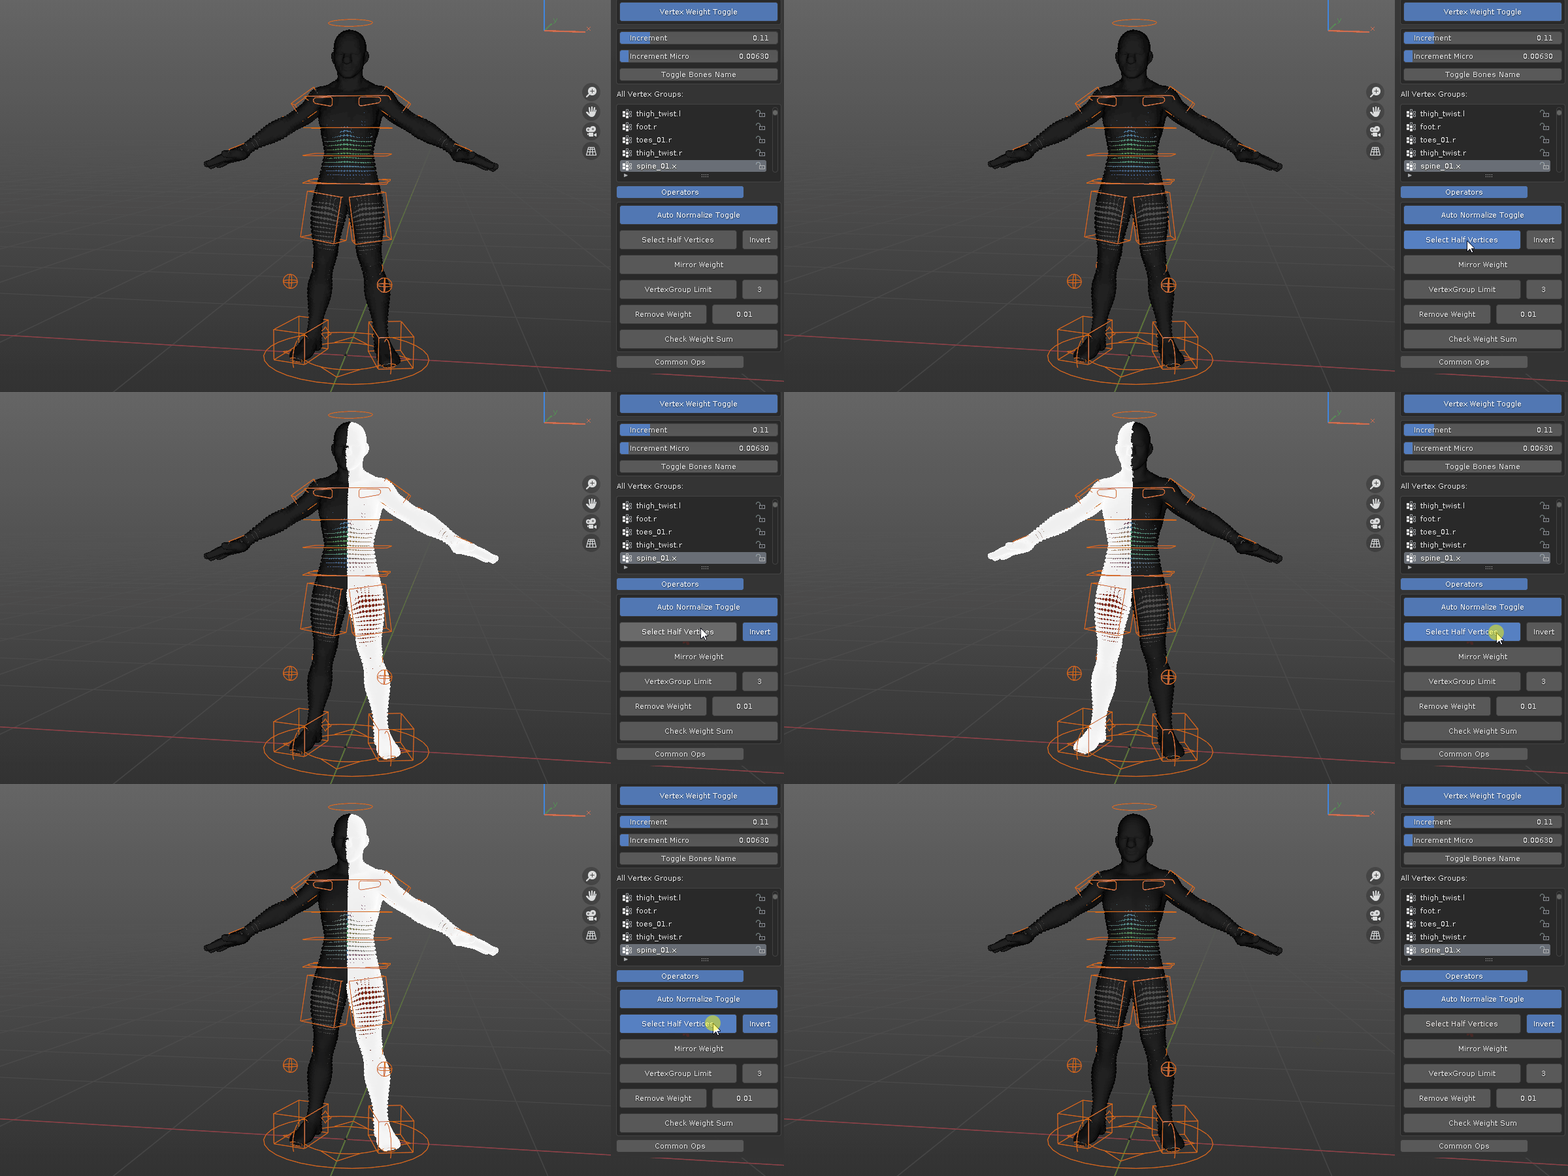
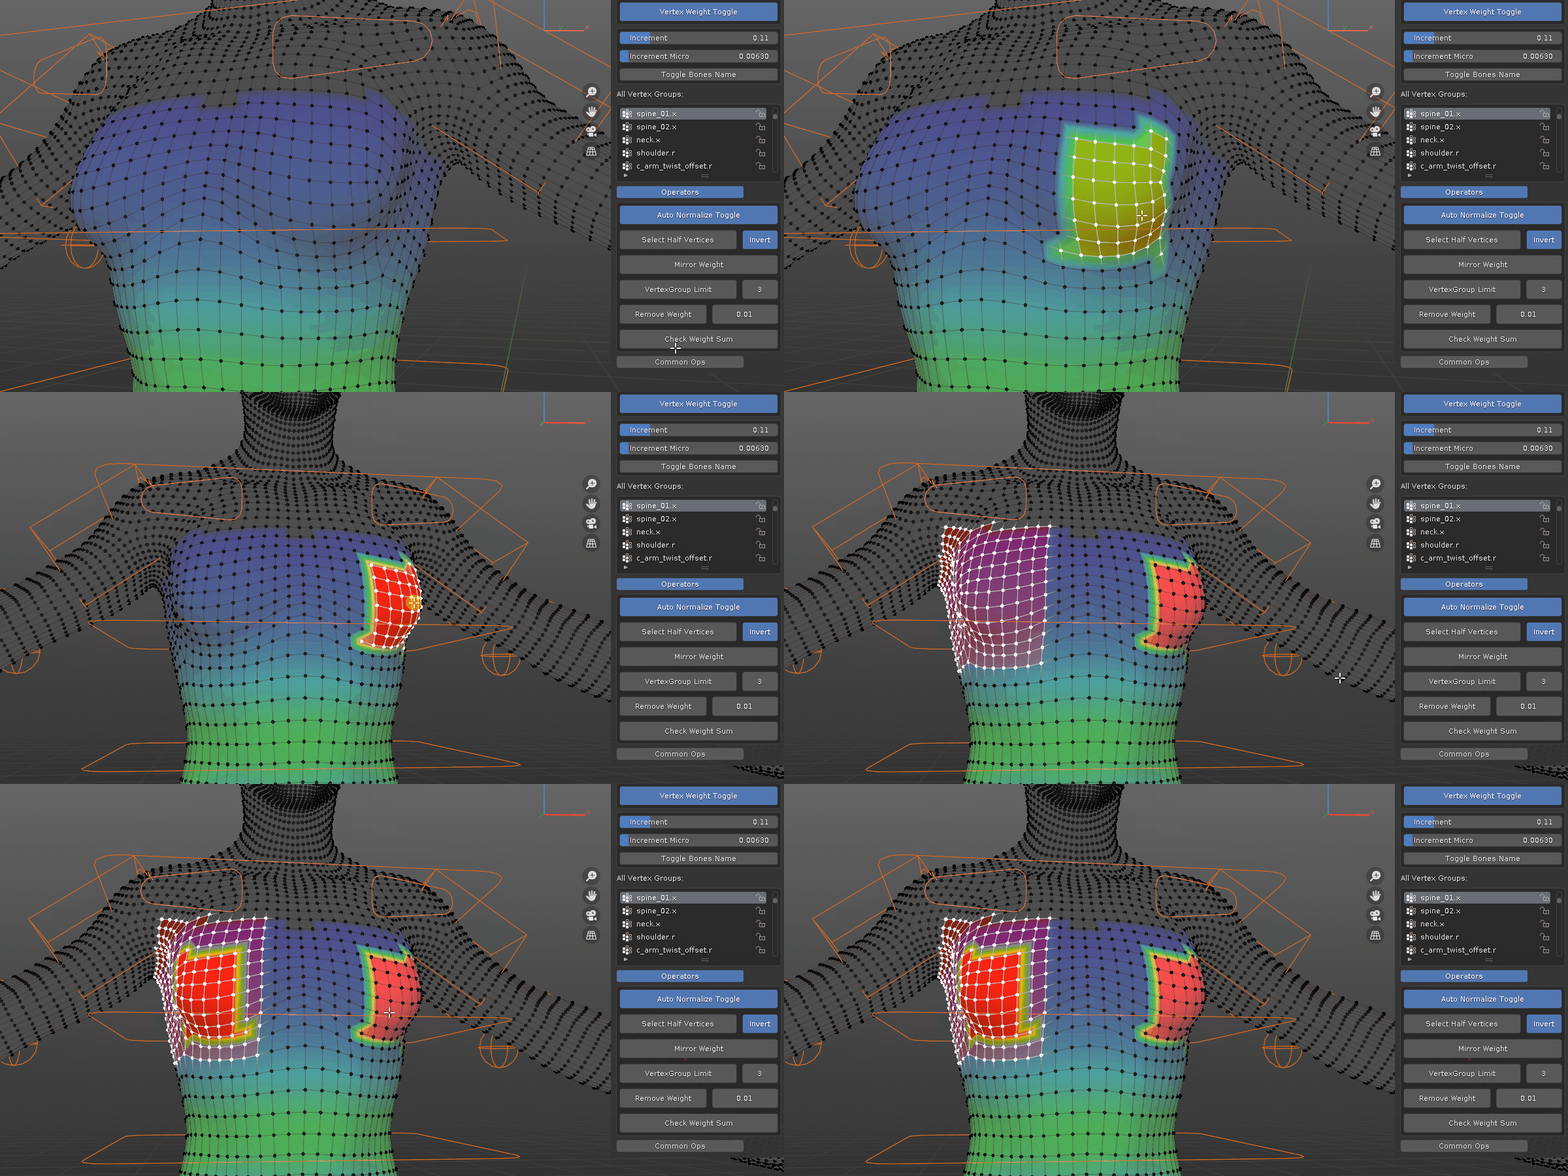
apply transform on the armature will do, otherwise, there is an offset from armature on object level.
***************************************************************************
Q: The default "J" scrub timeline/rotate bone does not work
make sure there are no conflict in hotkeys binding, for example, I use industry compatible keymap, the default "J" for scrub timeline works fine, but for Blender keymap, the "J" key is bind to Vertex Connect Path, you need to bind either function to a different key to avoid conflict
***************************************************************************


4, to clear the GPU drawing of stick, toggle isolate active bone off, or vertex weight toggle off

***************************************************************************
Q: I don't understand the scrub timeline operator, explain it in details.
there are several areas for the scrub operator, they serve two purposes: yellow area for timeline change and X,Y,Z areas for active bone rotation.

let me use a cylinder as example. get a mesh with proper topology.

create armature

bind mesh to armature

go to mesh edit mode and turn on Vertex weight toggle to enable addon functions. select active bone you want to rotate with switch VG or switch bone operator

identify the areas corresponding to bone rotation, X or Y or Z in 3d viewport. please note, the X Y Z is in local axle with XYZ Euler mode not global axle.
move mouse to the area. for example I want to rotate the active bone around X, move mouse to red area. press and hold the scrub key (default "J", can be changed in addon preference), then move mouse left or right, further away from the start point, more the bone rotates. release the scrub key, bone stops rotating. double click "J" key to reset the bone rotation to default.

to rotate bone along different axle like Y or Z. repeat previous step with green zone Y or blue zone Z.

to scrub timeline, simply use a different start point of the yellow zone outside of these X, Y, Z zones, repeat previous step and see timeline changes. in this case, I use the top portion as start point.

***************************************************************************
weight painting in a nutshell is adjusting bone influence on vertices. when a bone is moving or rotating, how much influence it has on vertices so that those vertices move along with the bone.
here are some general steps:
1. initial binding. have your character mesh and armature ready, parent the mesh to the armature with automatic weights or other method to bind the mesh to the bones.
2. adjust weight. after the binding, usually it is not perfect, some manual tweak is required. select relevant vertices and vertex group, use increase/ decrease weight and smooth weight to change the value. if you are new to weight painting, the default settings is easy to understand: red means most influence by the active bone, lighter the color, less the influence. when done, switch to another bone and adjust the color/value. balance the influence between different bones so that when it move/rotate, the mesh deforms to your expectation.
3. optimize weight. when the target platform is not in Blender but others like game engines, some requires max bone influences. for example, for a given vertex, it might have 8 bones influences to deform perfectly, but the target platform is VR, hence it could have max bones of 3. another example would be for hero character, 8 bone influence is good, but for NPC the max could be 5. so reduce max influence is a must.
also for some small bone influence, you can totally remove it to optimize the performance.
4. final check. check if the mesh deforms properly, check if it meets the target platform bone requirement, check if there is any abnormal weight, such as total weight is not 1.
***************************************************************************
Q: How to use the two modify weight methods?
there are two methods to modify weight of selected vertices.
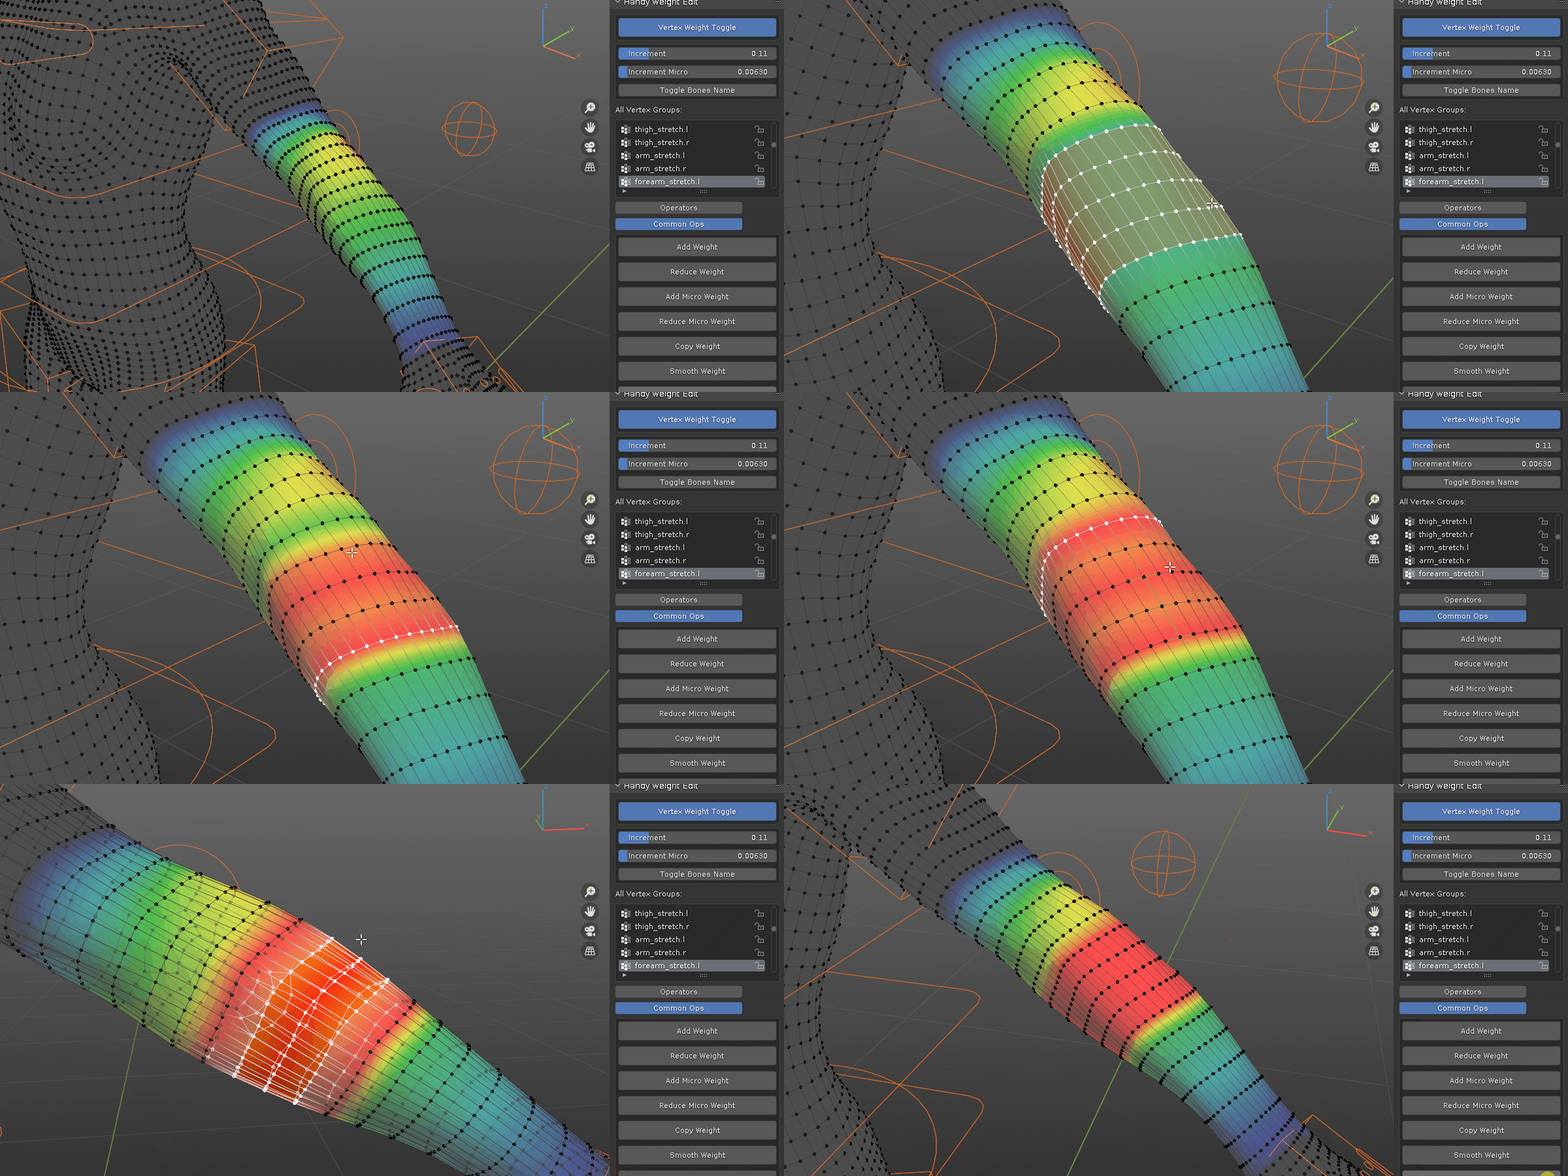
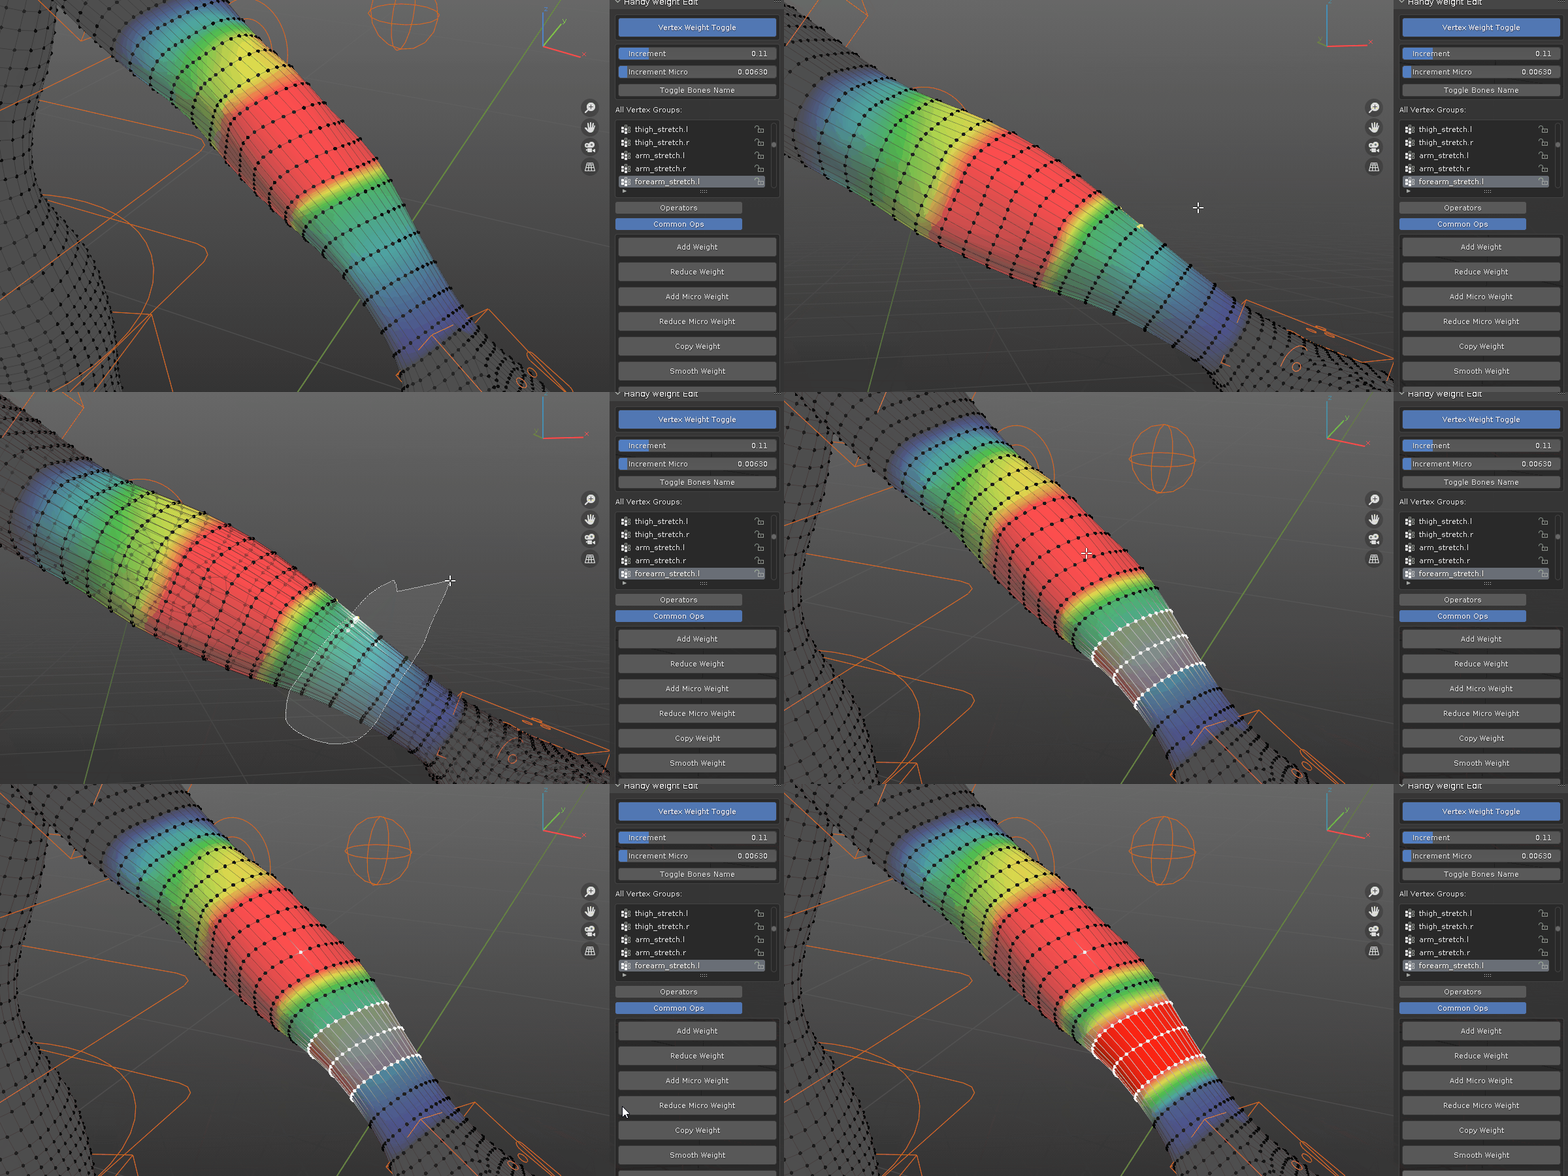
first one will uniformly fill the vertices weight value. for example, the middle portion forearm bone would have 100% influence.

whereas the tip and root of the bone is transition area to meet with other bones influence, I would use smooth weight and mothed two to fine tune the weight influence. since method two would modify weight value on a per vertex level.

this is especially useful for bending kneel area:

***************************************************************************
1. select a single mesh object and go to edit mode. (the addon works on single selected active object)
2. locate the addon tab enable "Vertex Weight Toggle"
3. there should be some vertex groups on the mesh after binding, for other scenarios, if there is not any vertex groups, add some and start to modify weight value with included tools.
4. any operators from the addon that can change the weight value will only work on selected vertices, if nothing is selected, it would do nothing.
first I recommend setup the shortcut according to your habit in addon preference.
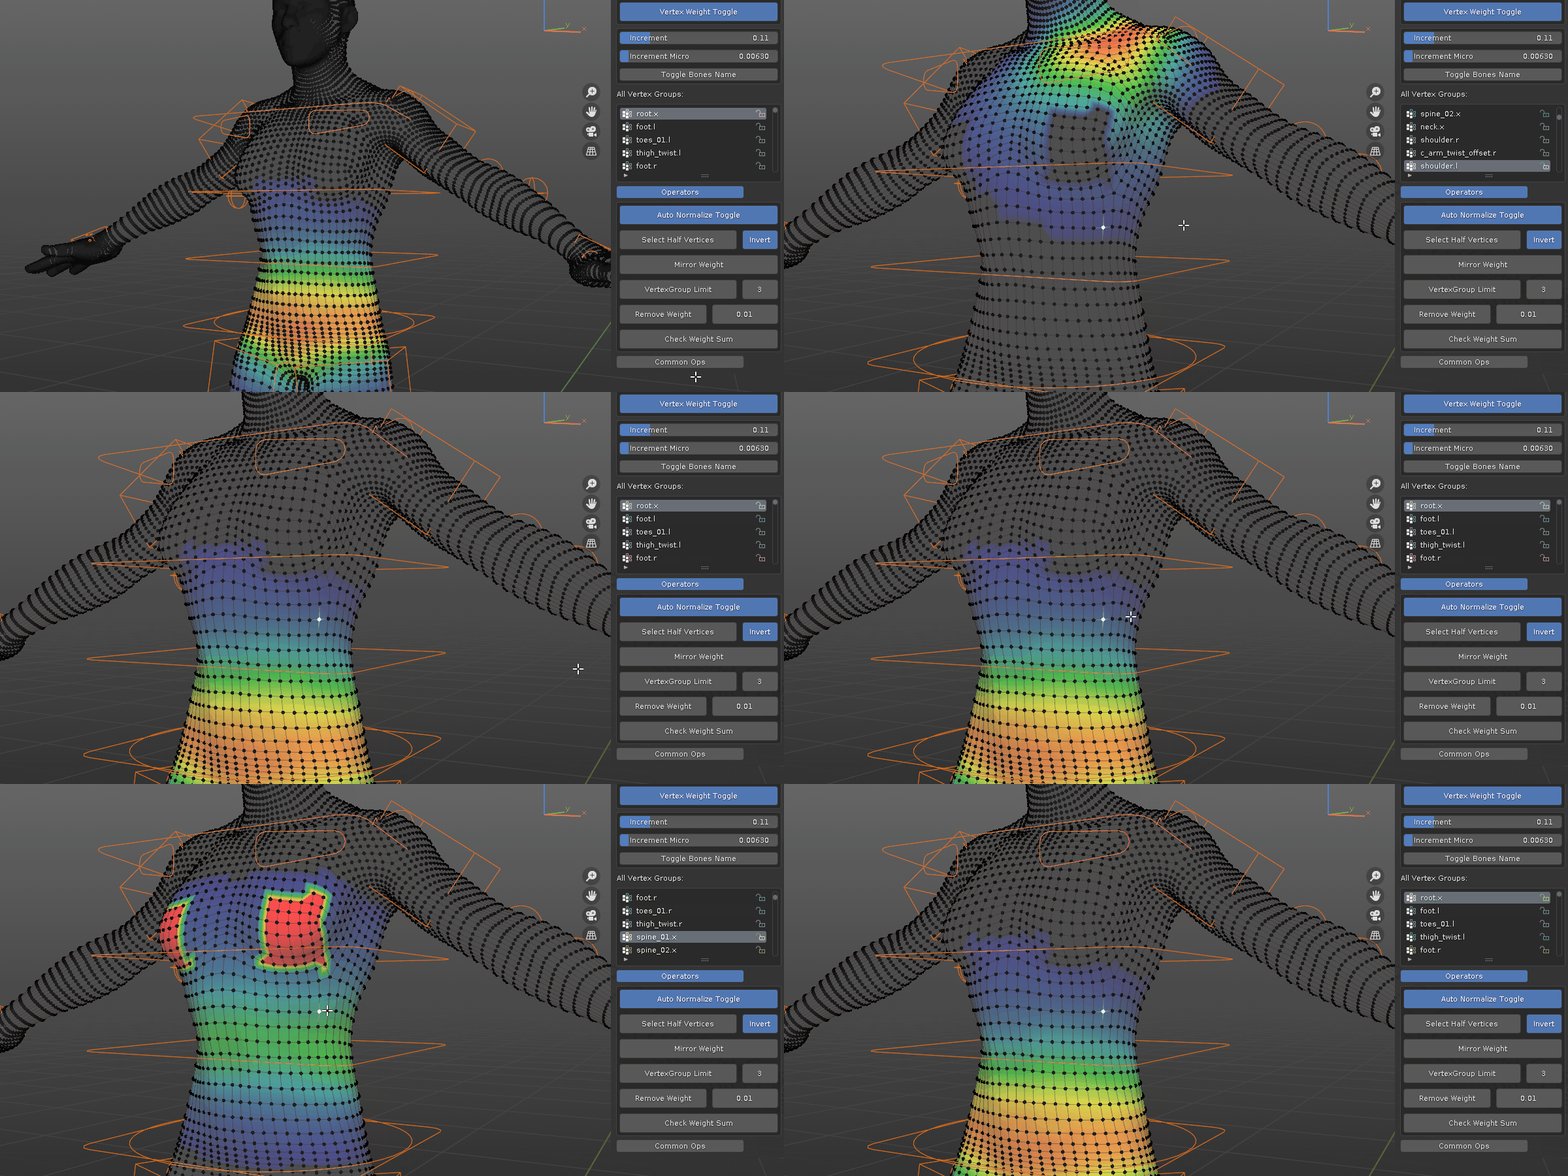
With nothing selected or more than 1 vertex selected, you can move mouse cursor near a bone and use shortcut to run the operator. it will switch to the vertex group under the mouse cursor.

it is useful if you have already select some vertices to modify weight and you'd like to check different bone's influence.
under the hood, it samples what is under the mouse cursor and compare the weight of influenced vertex groups and set whichever is greatest as active vertex group.
for more complex area, select a single vertex and cycle all its influenced vertex groups, such as chest area.

***************************************************************************
check the naming of the bones/vertex groups. they should follow the naming convention so that blender recognized them, more here: https://docs.blender.org/manual/en/latest/animation/armatures/bones/editing/naming.html of it is required for certain naming convention that does not follow the standard, you can set custom prefix/suffix in addon preference, enable custom Custom Prefix and/or Custom Suffix toggle, enter the custom name, it is case sensitive. then the mirror weight operator will treat them as if they are pairs. take a look at document page for more details.
***************************************************************************
-
$27
-
$120
Have questions about this product?
Login to message
| Sales | 1800+ |
| Rating | 29 ratings |
| Published | about 4 years ago |
| Blender Version | 3.6 - 5.2 |
| License | GPL |

Discover more products like this
painting vertex group skinning spring24 skin weight paints weight paint weight painting loveblender summer24 winter24 tool addon weight bfcm24 rigging Character rigging vertex weight armature handy