 Nicolai
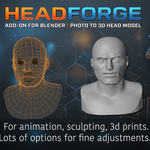
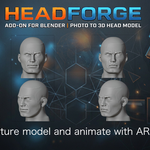
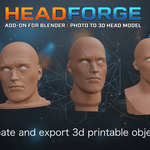
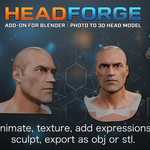
PLEASE READ FIRST: NOT A BEGINNER'S ADD-ON
HeadForge is a professional tool with many options. It is not a one-click "photo to 3D" button.
To get good results you should already be comfortable with Blender:
- moving around the 3D viewport and the sidebar (N panel)
- cameras and camera view
- Object Mode and Sculpt Mode
- exporting STL / OBJ and preparing a file in your slicer
The add-on guides you step by step (numbered panels and a "Next step" hint), but it assumes you know your way around Blender. Good photos also matter: the better and more consistent the photos, the better the likeness.
WHAT IT DOES
From photos to head
- Load 5-8 photos of one person (front, three-quarter, profiles). Each photo gets its own camera.
- Auto Align finds 478 face landmarks in every photo, places the cameras, estimates the focal length and fits the head shape automatically.
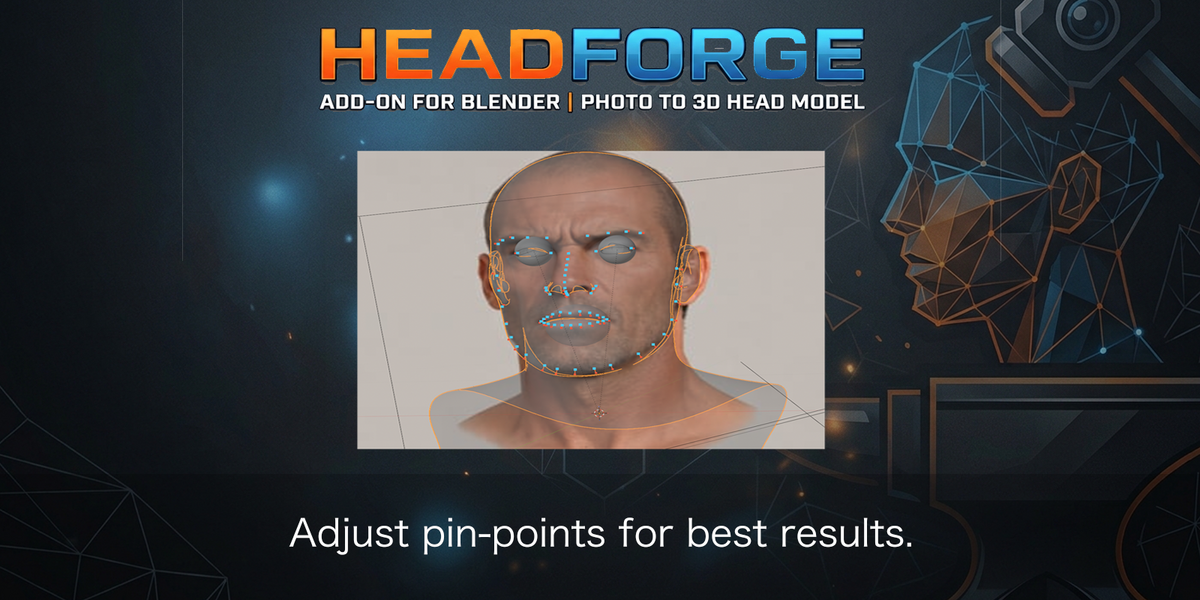
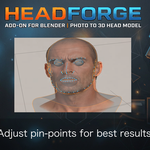
- Correct the fit by hand with pins: drag a point on the head to the right spot in the photo. A guided mode helps you pin the ears point by point.
- Optional outline fit uses the person's silhouette in each photo to refine the skull and profile.
- Sliders for fine-tuning: face and ear morphs, lips, nose tip, cheeks, chin.
- Eyeballs that are placed and aimed from the photos.
Fine detail
- Procedural details: chin dimple, cheek dimples, nasolabial folds, frown lines, each with depth, width and position.
- A sculpt layer for your own detail on the head.
- Optional "Detail from photos" takes folds and wrinkles from the photos with an AI model (see requirements below).
3D print
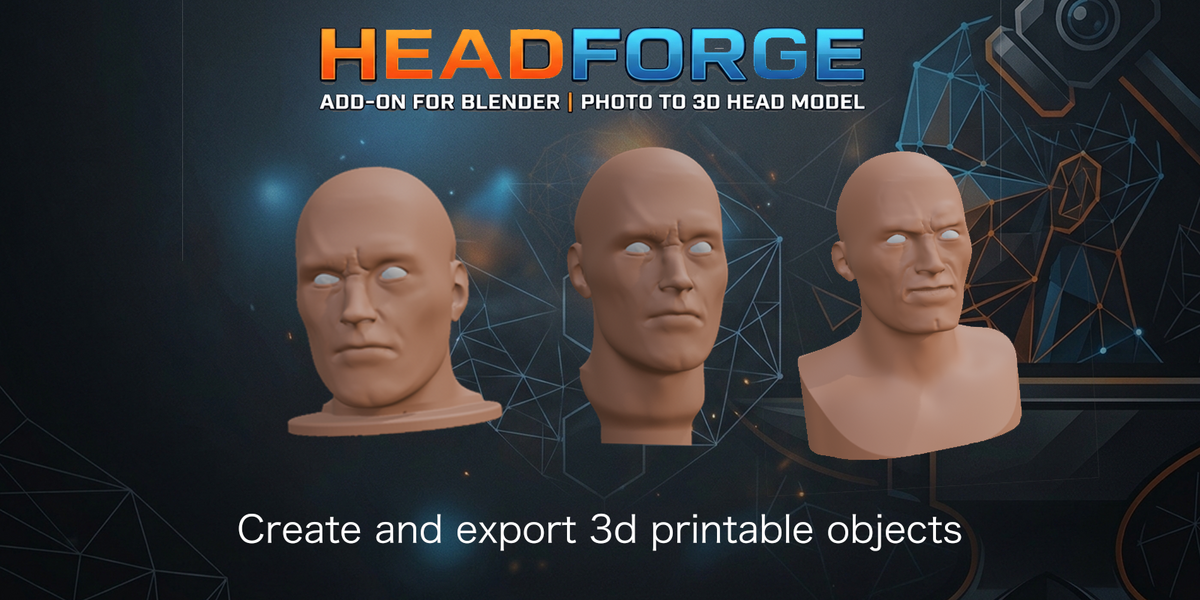
- One button builds a closed, watertight print model in a few seconds.
- Filament (solid) or resin (hollow, with drain and vent holes and a minimum wall).
- Sized by head circumference and/or total height in millimetres.
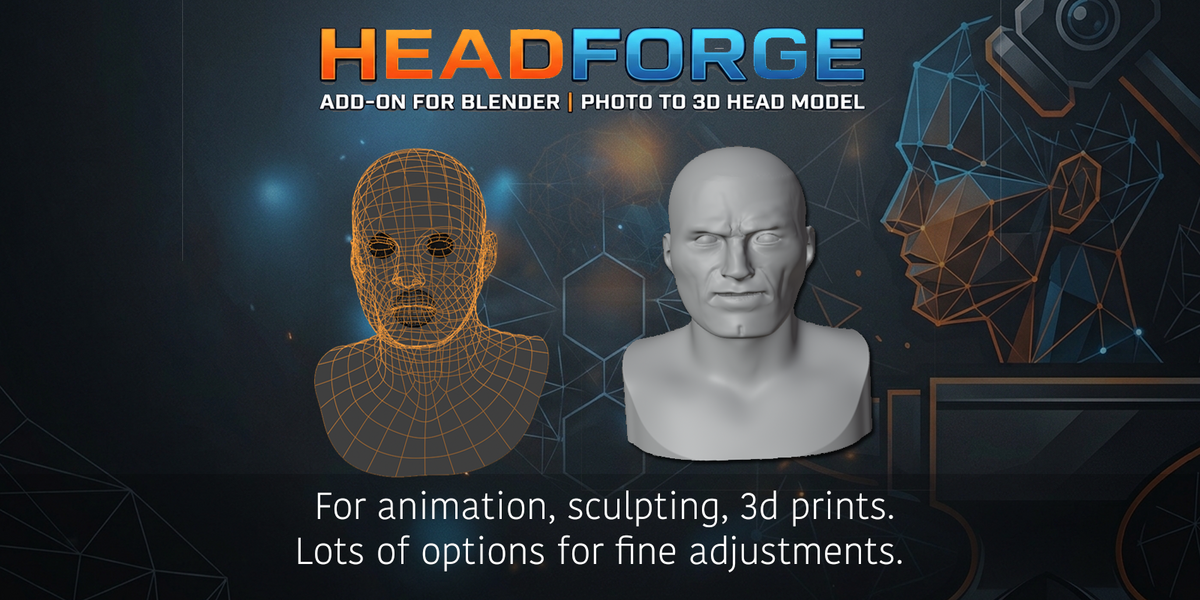
- Bases: neck, round plinth, mannequin neck (with pin hole for headless mannequins), bust with chest and shoulders, or a face mask (eye, nose and mouth openings can each be switched off).
- Automatic repair (merged ears, closed slits, one clean shell), automatic thickening of thin parts, and a thickness check on every point with a coloured overlay of thin areas.
- The eyeballs can be merged into the print, ready to paint.
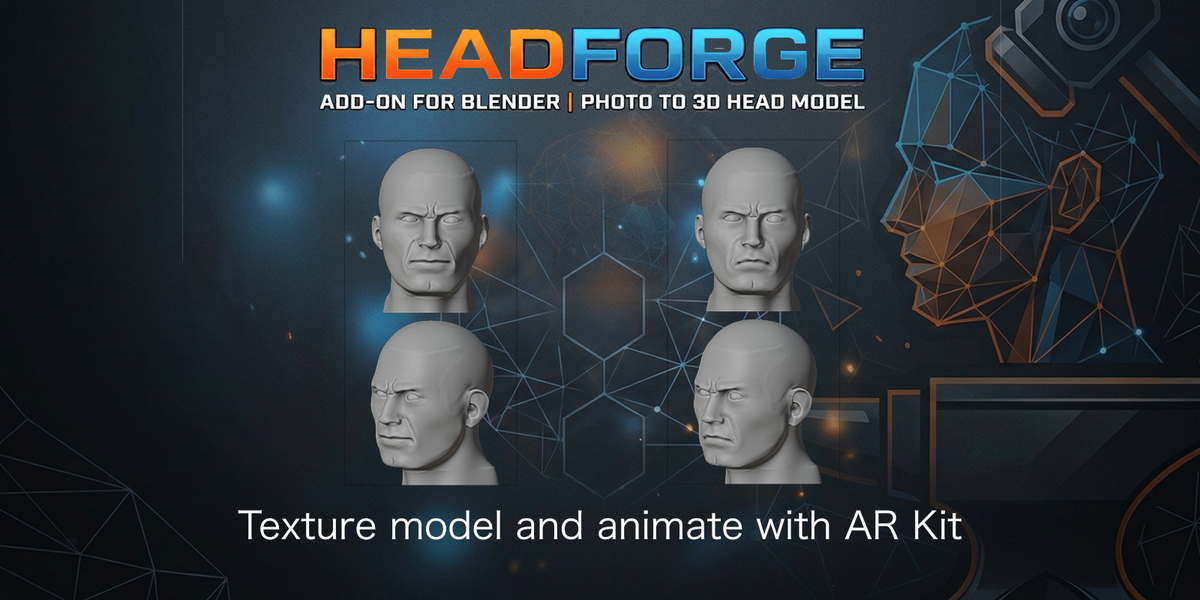
- Expressions on the print: presets (smile, smirk, surprised, frown, laugh, shout and more) or sliders based on the ARKit expression set. Open-mouth expressions get a mouth cavity, teeth and a tongue.
- Hand sculpting on the print model is kept when you rebuild it with other settings.
- A report with all sizes, wall thickness and what was repaired.
For your client
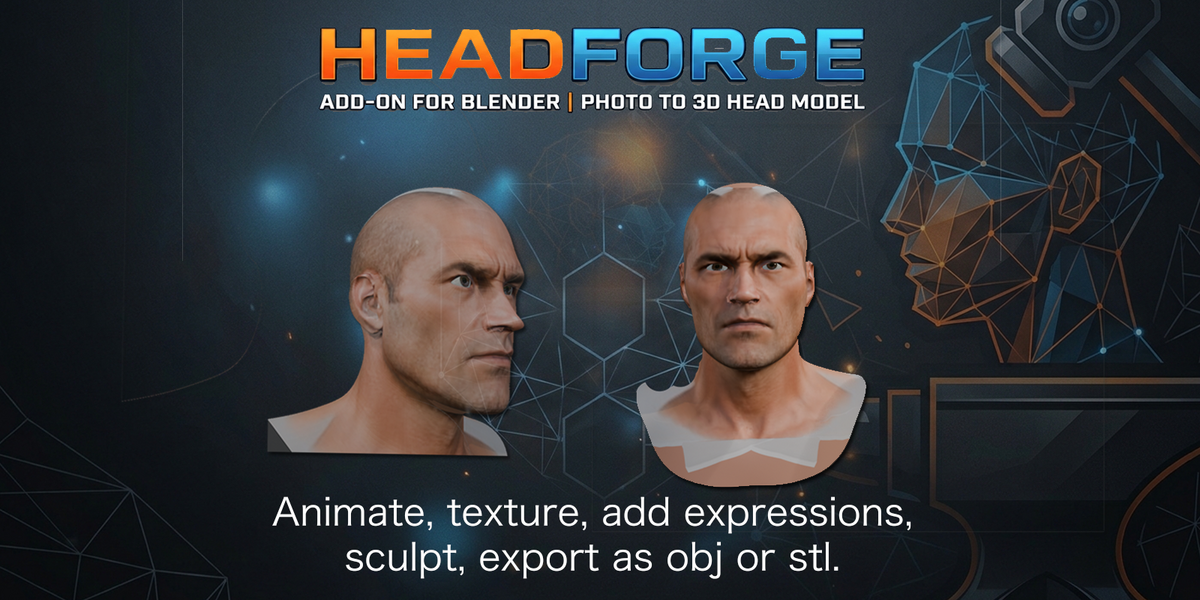
- Client render: the photo, the textured head and the print model side by side, ready to send.
- Turntable video.
- Export Order: STL, client image, report, a GLB model the client can turn around in a browser, and a .blend copy, all in one order folder.
Other exports
- Textured head from the photos.
- FBX / GLB / OBJ with 52 ARKit blendshapes, plus import of Live Link Face CSV recordings.
REQUIREMENTS
- Blender 5.0 or newer (developed and tested on Blender 5.3)
- Windows (64-bit), macOS on Apple Silicon (M1 or newer), or Linux (64-bit). Intel Macs are not supported.
- Download the zip for your system. Everything Auto Align needs (MediaPipe, OpenCV and the face models) is included: nothing extra to install and no internet connection needed.
- 16 GB RAM recommended. Building a print model takes about 5-15 seconds; a resin model takes longer.
Optional "Detail from photos" only:
- A separate Python installation with PyTorch (for example a conda or venv environment), about 3 GB of free disk space for the model, and an internet connection for the one-time model download. HeadForge works fully without this feature.
INSTALLATION
1. Download the zip for your system:
headforge-1.0.0-windows_x64.zip, headforge-1.0.0-macos_arm64.zip or headforge-1.0.0-linux_x64.zip. Do not unzip it.
2. In Blender: Edit > Preferences > Get Extensions. Open the menu at the top right (the small arrow) and choose "Install from Disk...". Select the zip.You can also drag the zip into the Blender window. Give it some time to install correctly.
3. HeadForge is enabled straight away. Open the 3D viewport sidebar (N) and click the HeadForge tab.
Updating: install the new zip the same way; it replaces the old version.
Uninstalling: Edit > Preferences > Add-ons, find HeadForge, and choose
Uninstall from its menu.
QUICK START
The panels in the HeadForge tab are numbered in the order you use them. The "Next step" box at the top always tells you what to do now.
0. Take the photos: one person, one session, same camera, no zoom changes. Front, three-quarter left and right, both profiles. Even, soft light, no glasses, hair away from forehead and ears if possible, a plain background. Stand 1.5-2 m away and avoid wide-angle selfies.
1. Head: press Create Head and set the Male/Female slider.
2. Photos: press Add Photos and select all photos. Leave "Estimate focal length" on if you don't know the focal length.
3. Auto Align: press Auto Align All Views. This takes a few seconds per photo.
4. Check & Correct: click each photo in the list. Green = good, yellow = check, red = fix. Use Pin Mode to drag pins that are off, and Ear Pins to pin the ears.
5. Shape: adjust the fit and the sliders; press Solve after changing fit settings.
6. Eyes: press Add Eyes and fine-tune their position.
7. Details: add folds and dimples if you like.
8. 3D Print: choose filament or resin, the size, the base and (optionally) an expression, then press Create Print Model. Check the Report, then Export for 3D Print (STL or OBJ, in millimetres).
9. Client Render & Order: render the client image and export the order.
DOCUMENTATION
Photos
- Use the original photos, uncropped (or all cropped the same way): the add-on assumes the centre of each photo is the centre of the lens.
- At least one photo should be clearly turned (20 degrees or more), so the focal length and the depth of the face can be estimated.
- Photos with a different expression are fine: mark them as expressive in the photo list and they get their own expression.
Pins (4 Check & Correct)
- In Pin Mode: drag a pin to move it; left-click on the head to add one; right-click or X deletes a pin; Shift+X deletes all pins of this photo; mouse wheel / Shift+middle mouse to zoom and pan; Enter or Esc to leave.
- Only pin clearly recognisable points: eye corners, nostrils, mouth corners, chin tip. Never pin hair or background.
- Ear Pins (or E in Pin Mode) asks for five points per ear and shows where each one is on the model. S skips a point.
Shape (5 Shape)
- Rigidity: higher = smoother and closer to the base head; lower = follows the pins more closely.
- Symmetric is off by default; switch it on when you only have photos of one side.
- Lips, nose, cheeks and chin sliders work live, no Solve needed.
3D Print (8 3D Print)
- Size: "Circumference + height" scales the head to the circumference (measured like a tape just above the brows) and adds neck to reach the height. With a plinth, the plinth counts in the height.
- Mannequin: enter the head circumference, the neck circumference and length of the mannequin, and the diameter of its pin (measure it, add 0.5-1 mm of play).
- Mask: wall thickness and the eye, mouth and nose openings.
- Quality: keep Repair and Thicken on for printing. Min thickness 0 = automatic (resin 1.0 mm, filament 1.6 mm).
- Expression: tick Expression, pick a preset or set the sliders, then Create Print Model. The eye icon shows the expression on the head while you set it. Open-mouth expressions get teeth and a tongue in the print (the head in the viewport only shows the jaw).
- Hand sculpting: press Sculpt Print Model and sculpt. When you rebuild the print with other settings, your sculpting is carried over. The previous model is always kept hidden as a backup.
- Export only rebuilds the print model when something changed; otherwise it exports exactly what you see, with your hand sculpting.
- Esc stops a build; the previous print model stays.
Client render and order (9 Client Render & Order)
- Set an order name and folder (save your .blend first).
- Render Client Image shows the photo, the textured head and the print model side by side. Make the texture first (Extra: Texture) for a coloured head.
- Export Order writes all files for the order into one folder.
Common problems
- A flat or bulging face: the focal length is wrong. Leave Estimate focal length on, or enter the real value before adding photos.
- Auto Align finds no face: the photo is too small, too dark or a true profile. Pin that photo by hand.
- Outline fit gives a strange skull: a busy background or a cap spoils the outline. Switch it off or lower its weight.
- After updating HeadForge, save your file and restart Blender.
LICENCE AND CREDITS
HeadForge is licensed under the GNU General Public License v3 or later. The full source code is included in the download.
Included third-party components: MediaPipe and its face landmark and segmentation models (Google, Apache 2.0), OpenCV (Apache 2.0), absl-py and flatbuffers (Apache 2.0), certifi (MPL 2.0). The optional Detail from photos uses Marigold Normals (ETH Zurich, Apache 2.0), downloaded on request. See THIRD_PARTY_NOTICES.txt in the download.
Make sure you have permission from the people whose photos you use.
SUPPORT
Questions and bug reports: please send a message through this product page.
Include your Blender version, your operating system, what you did and what happened (a screenshot of the HeadForge panel and the Report helps).
Have questions about this product?
Login to message
| Blender Extension Compatible | Yes |
| Published | 25 minutes ago |
| Blender Version | 5.1 - 5.3 |
| Extension Type | Add-on |
| Render Engine Used | Cycles, Eevee |
| License | GPL |
Discover more products like this
STL export 3d head model Head Sculpt 1. surface detail detail modelling face animate buste 2D Image to 3D Model