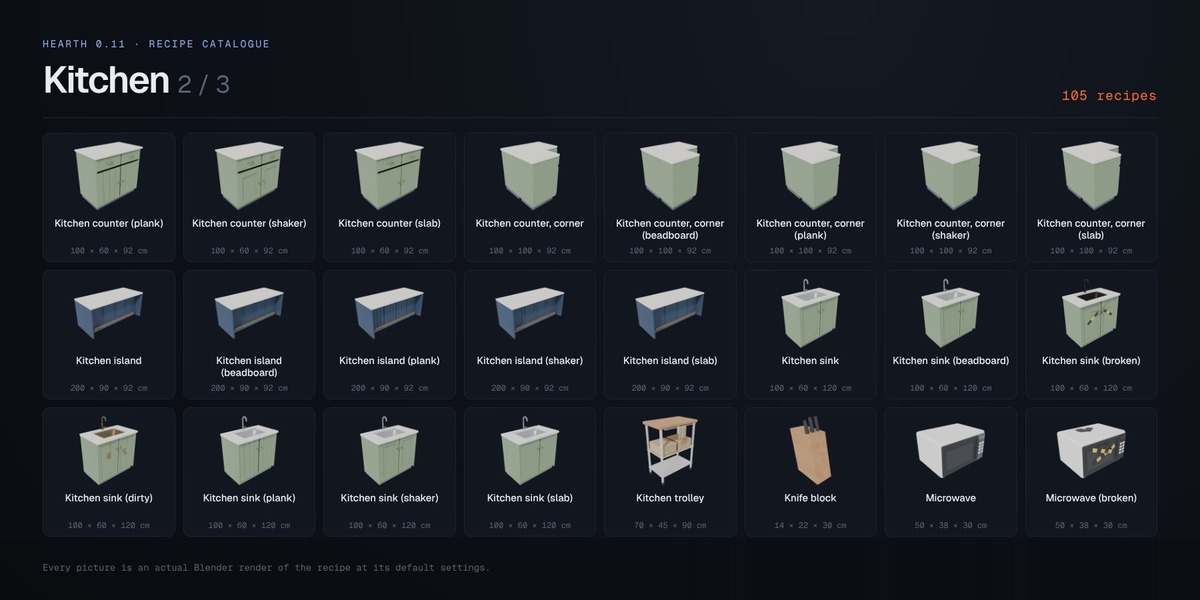
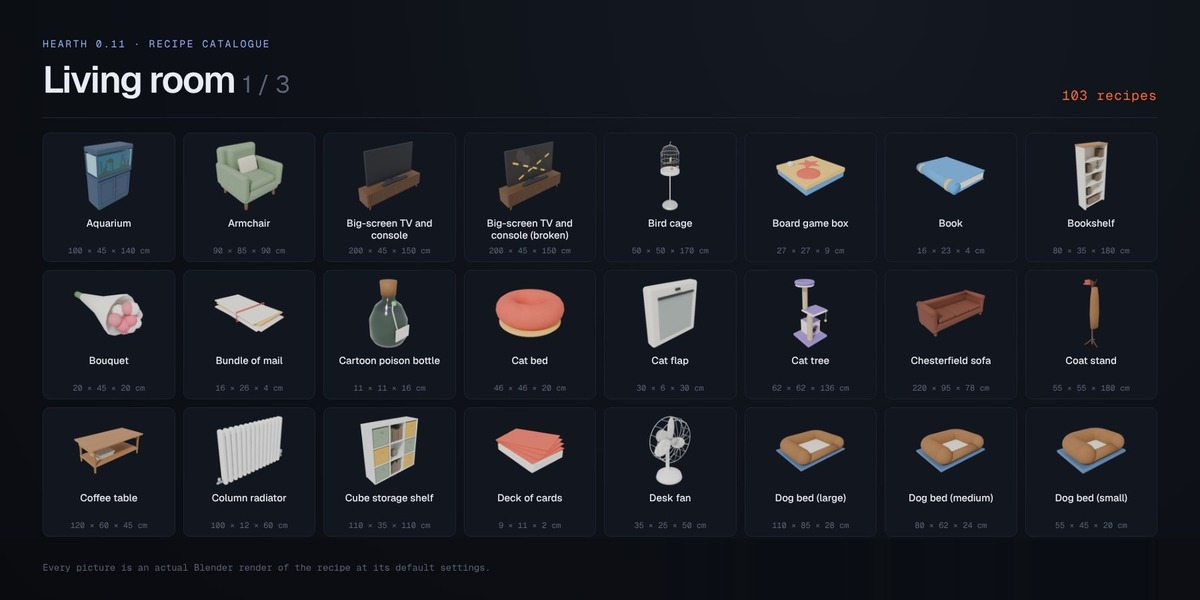
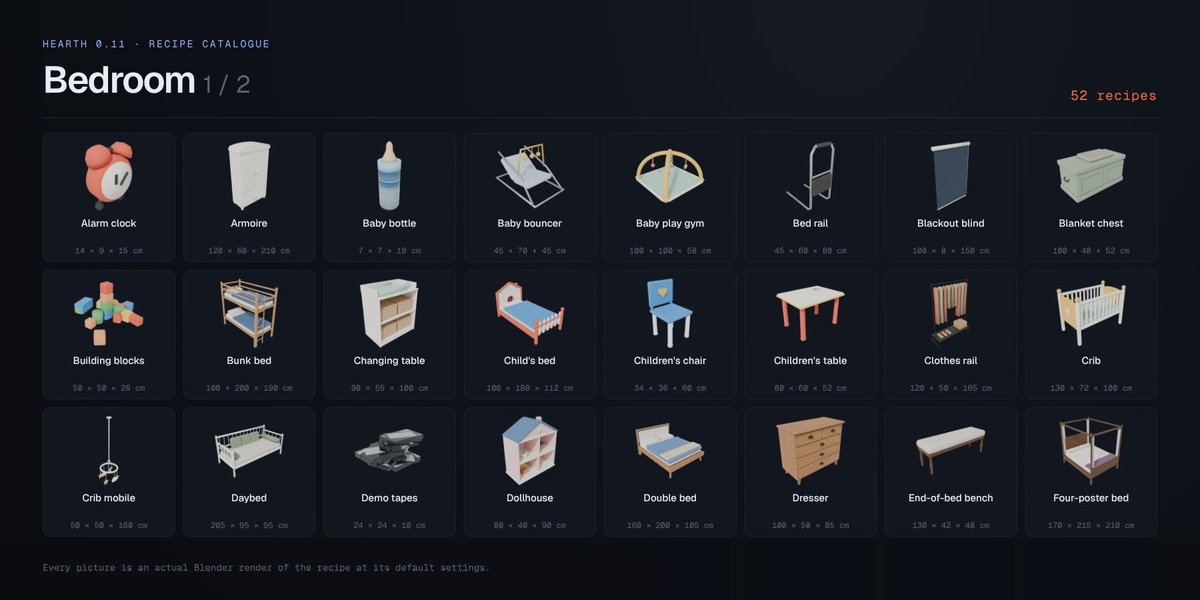
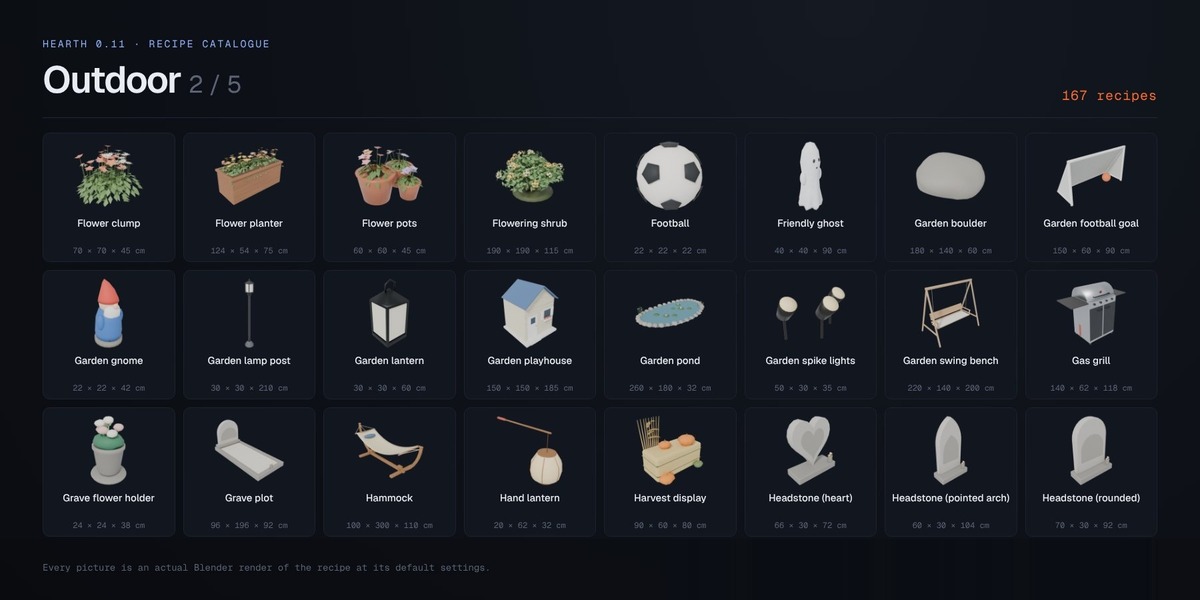
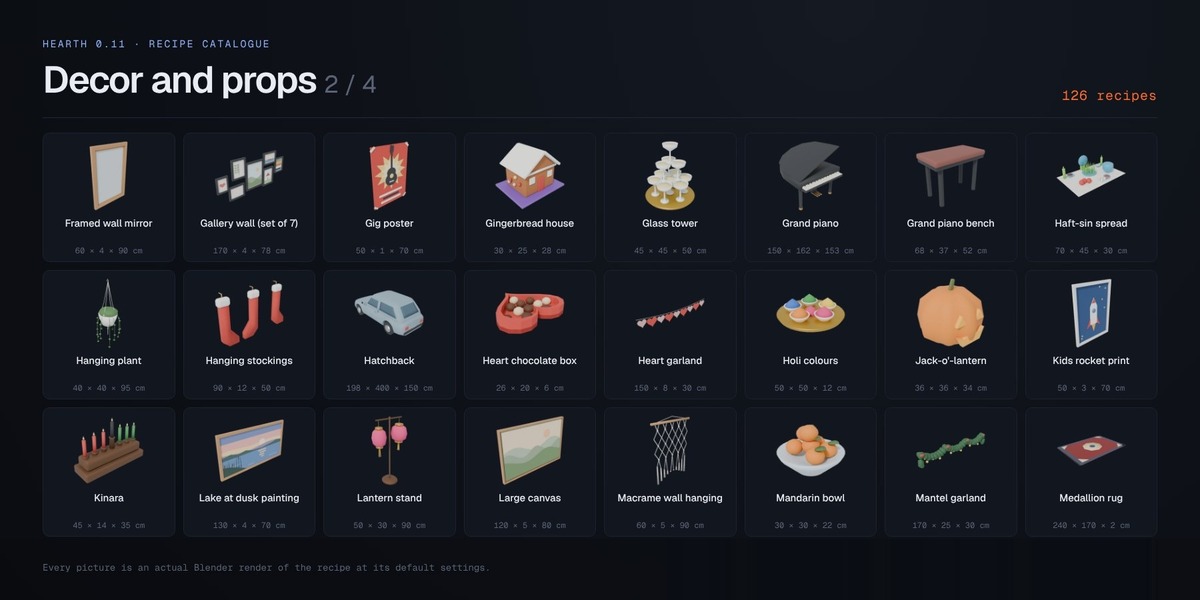
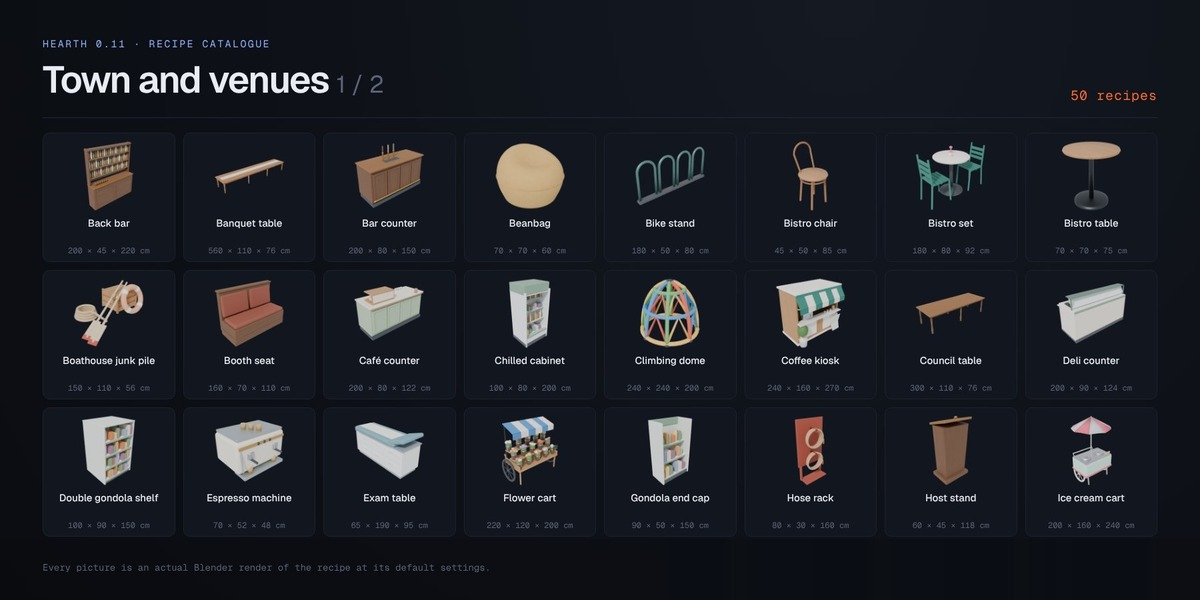
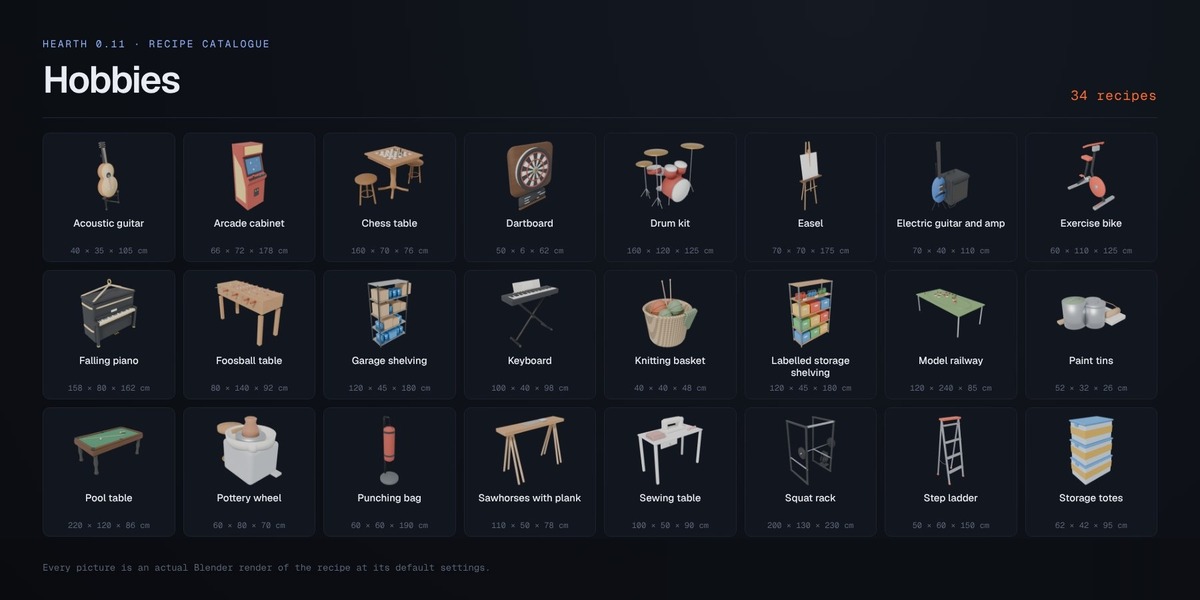
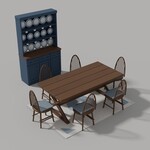
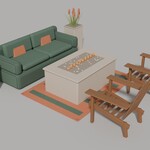
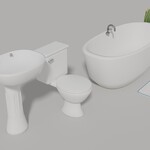
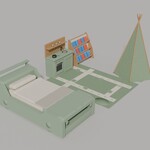
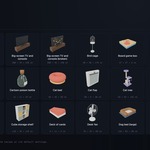
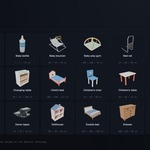
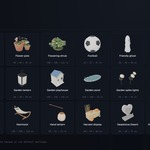
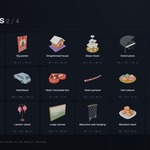
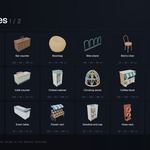
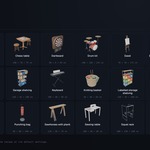
Hearth: Furniture Workshop – 745 Editable Furniture Recipes
 Stonefletcher productions LLC
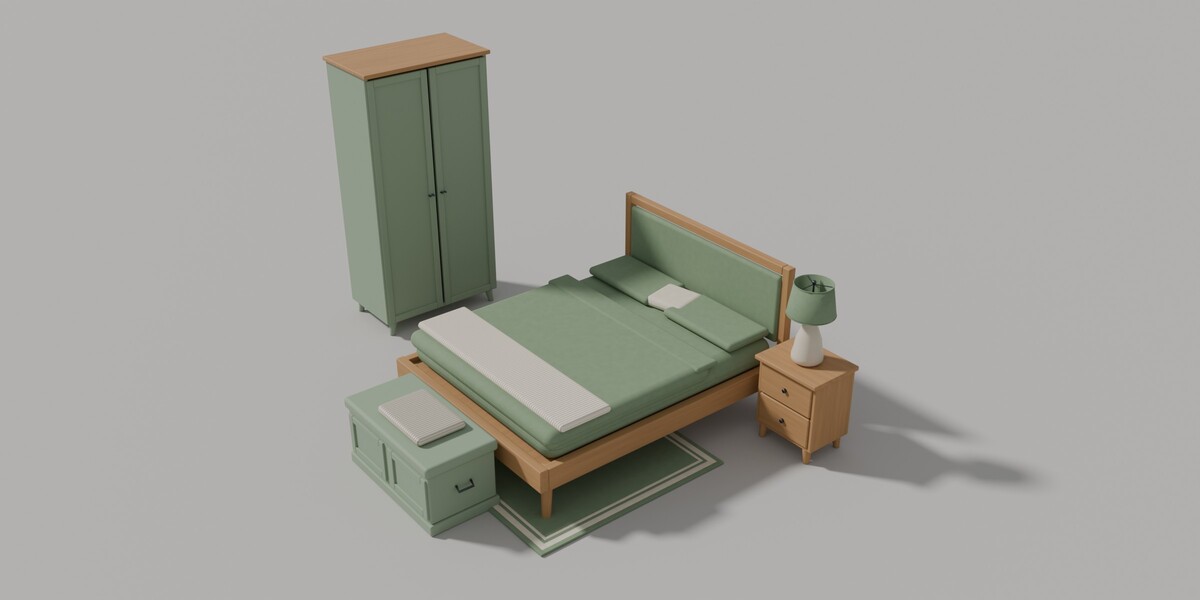
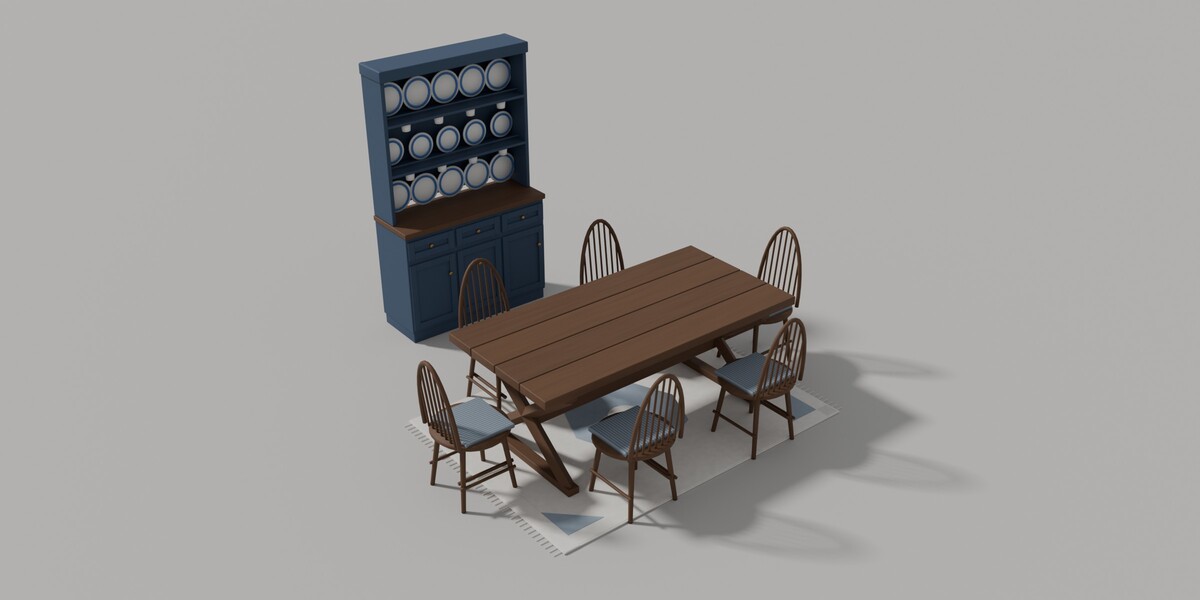
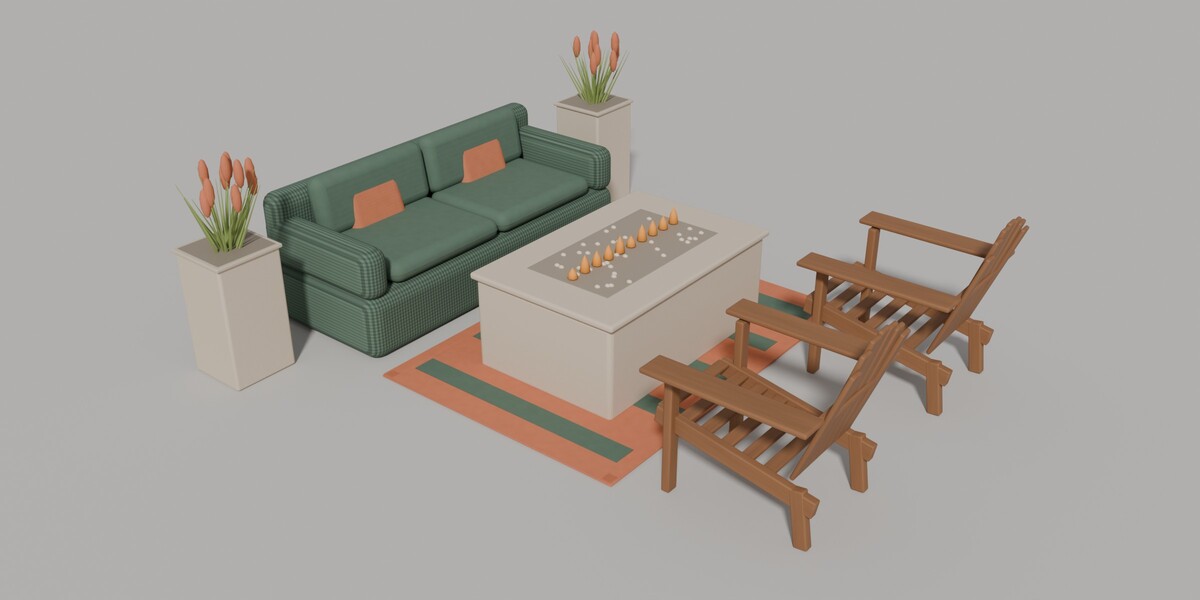
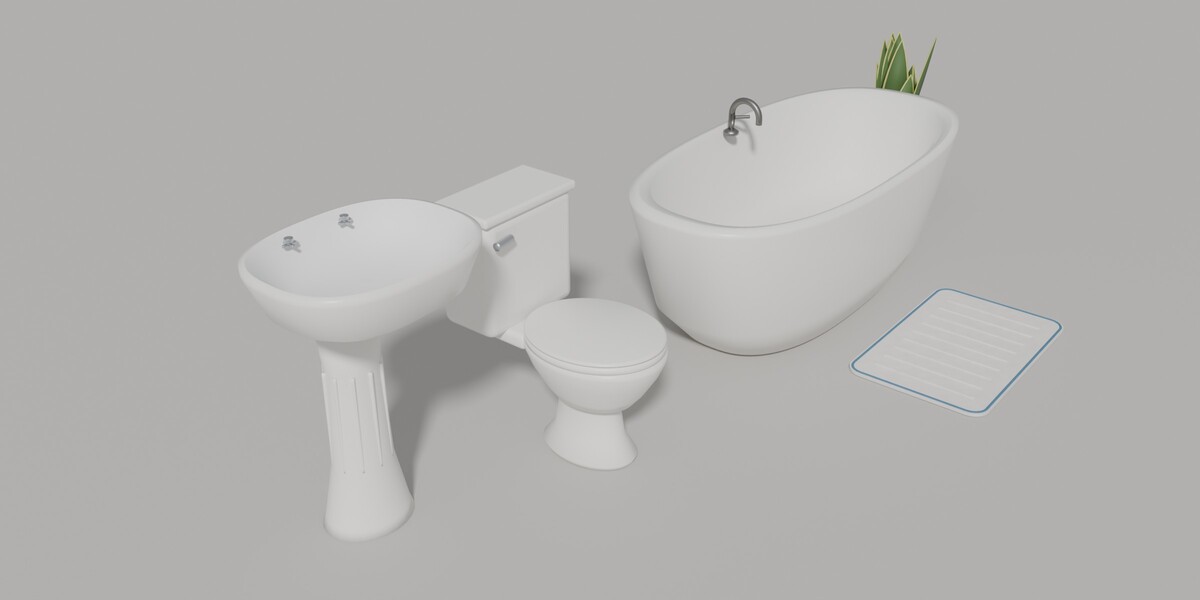
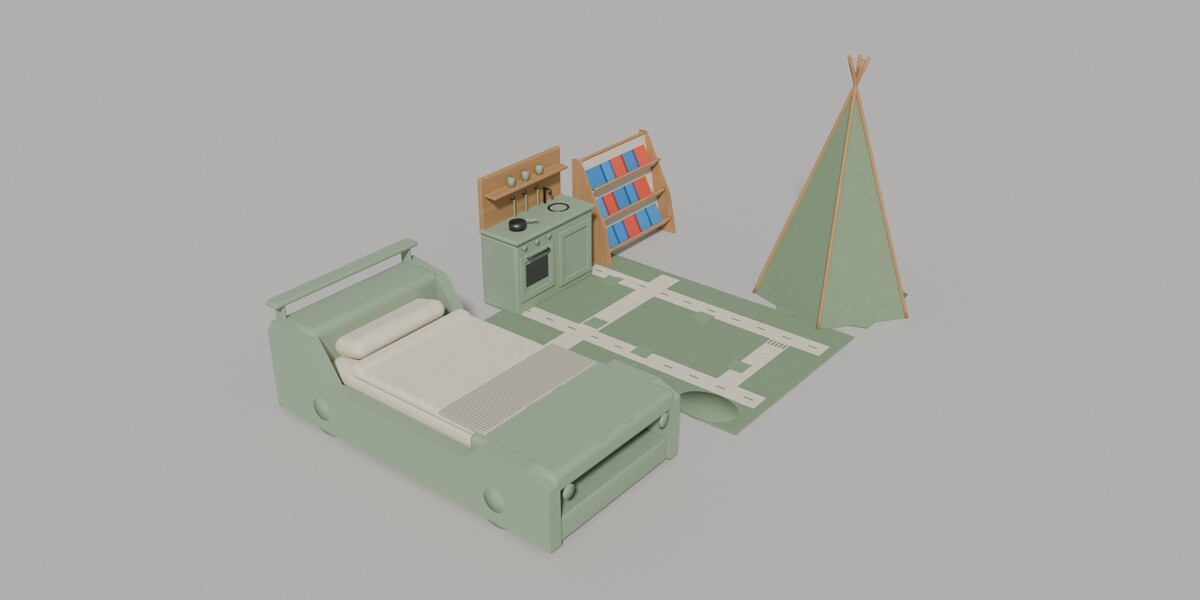
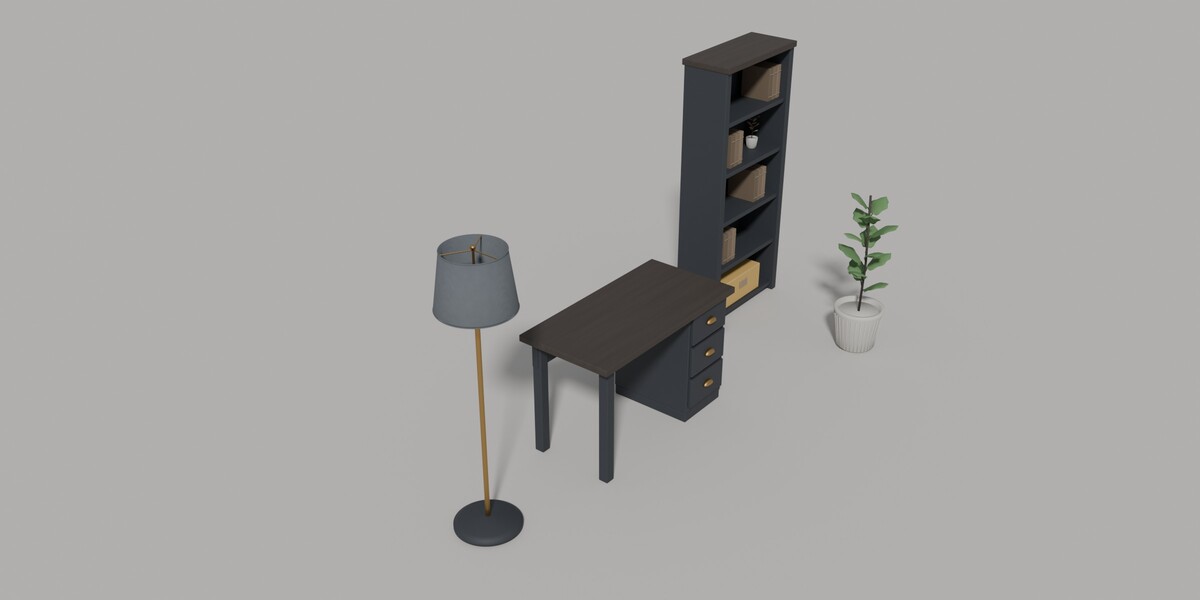
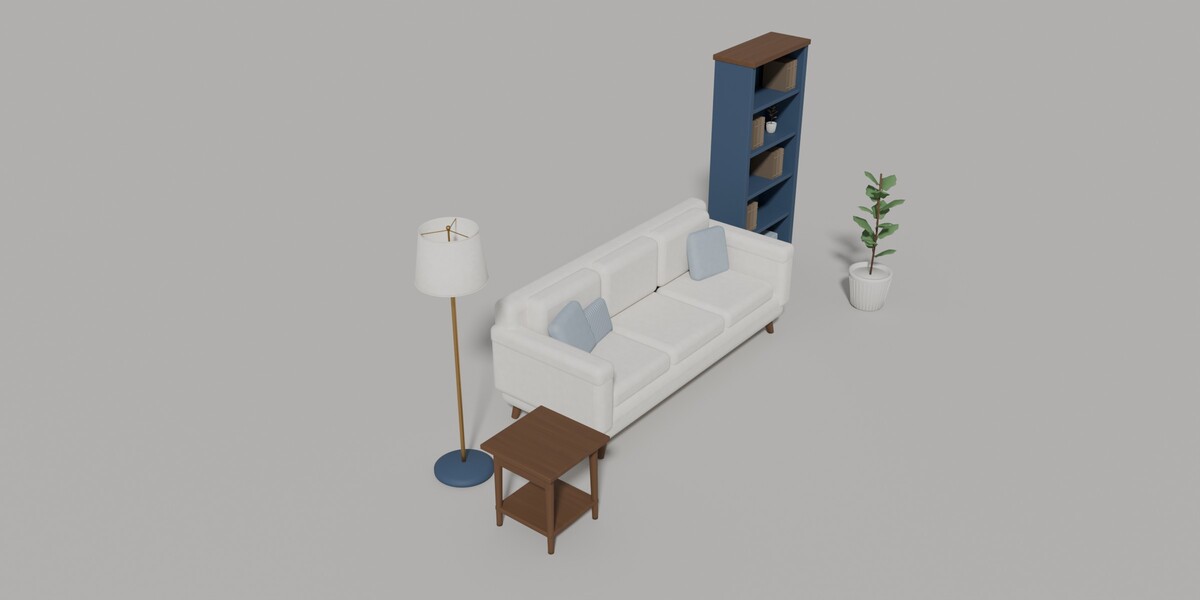
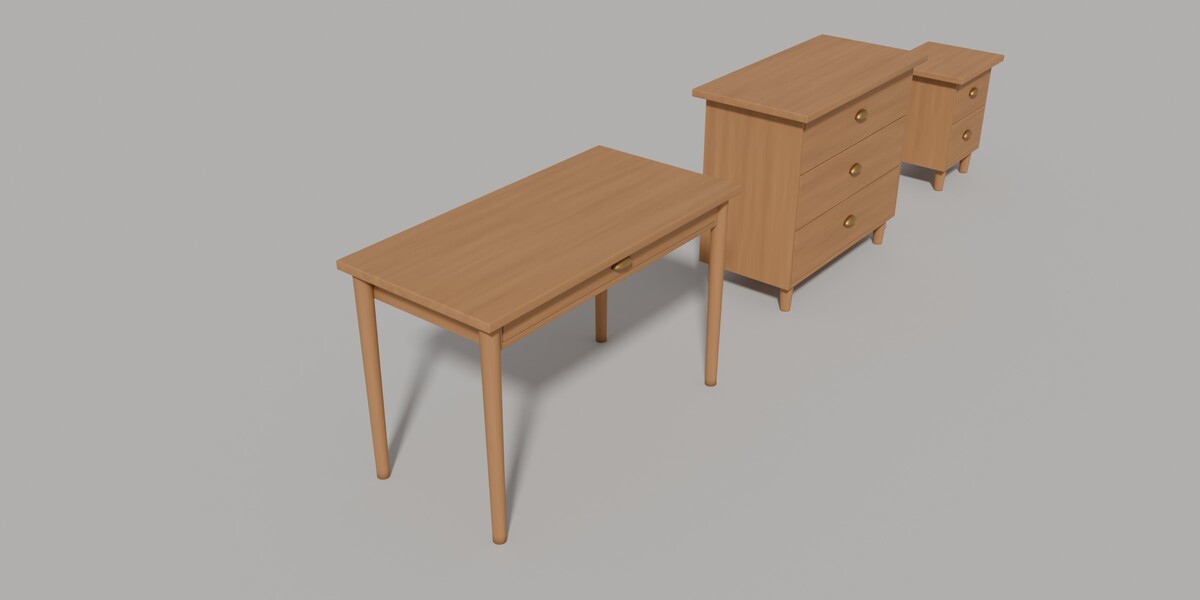
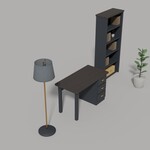
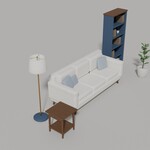
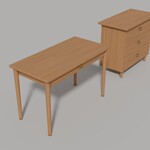
Installation
- Download
hearth-0.11.0.zip. Do not unzip it. - In Blender 5.2, open Edit > Preferences > Add-ons.
- Click the drop-down arrow at the top right and choose Install from Disk…, then select the ZIP.
- Tick Hearth in the add-on list to enable it.
- In the 3D Viewport press N and open the Hearth tab.
To update, install the new ZIP over the old one in the same way. Existing scenes and saved furniture are unchanged.
Building your first piece
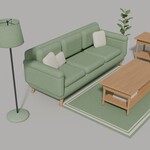
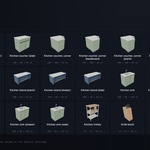
- In the Hearth tab (panel Furniture Workshop), click Find Furniture and type a name such as "sofa", or browse the list.
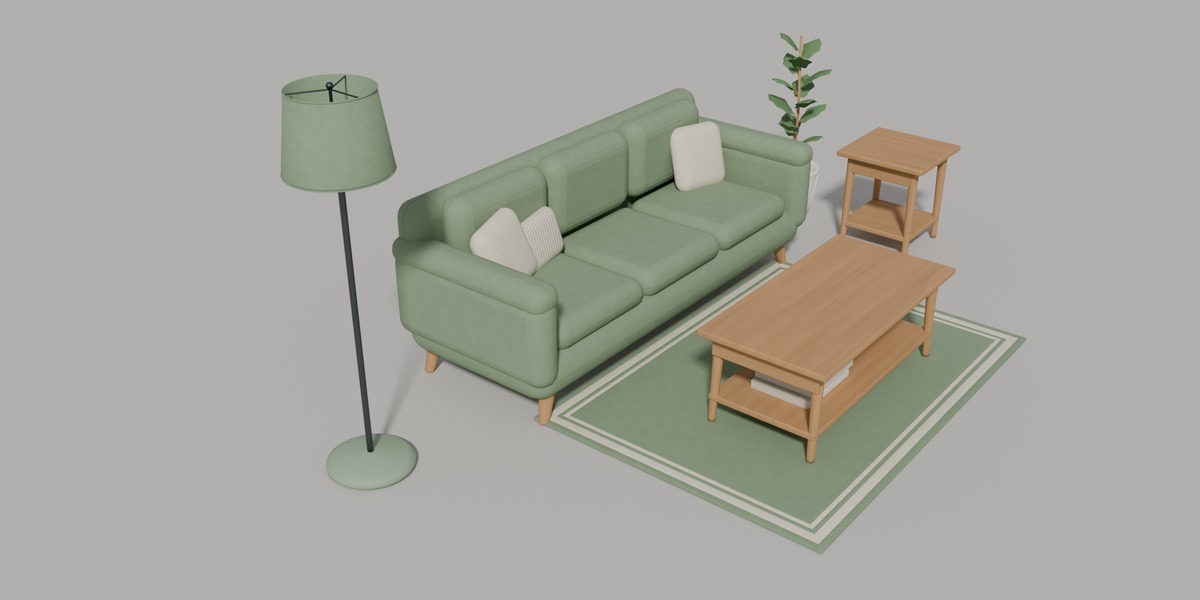
- Click Create Furniture. The finished piece appears at the 3D cursor.
- With the piece selected, change its supported dimensions in the panel and click Regenerate (Keep Previous). If you prefer the earlier version, click Restore Previous Version.
- To line pieces up, use Add Anchor at 3D Cursor and Snap to Anchor.
Furnishing a whole room
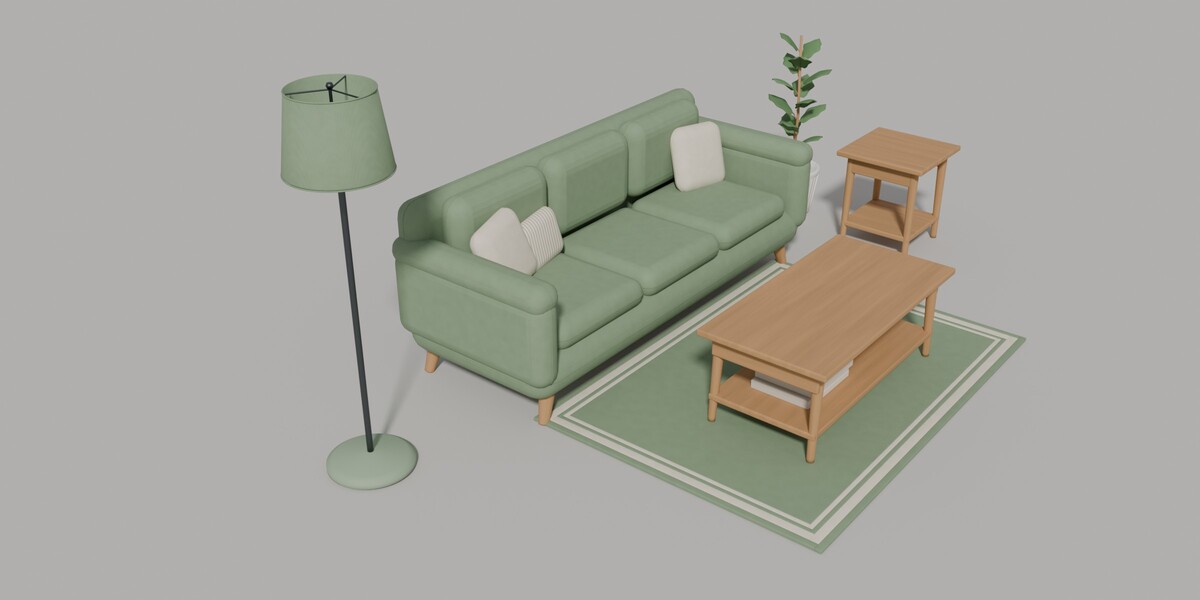
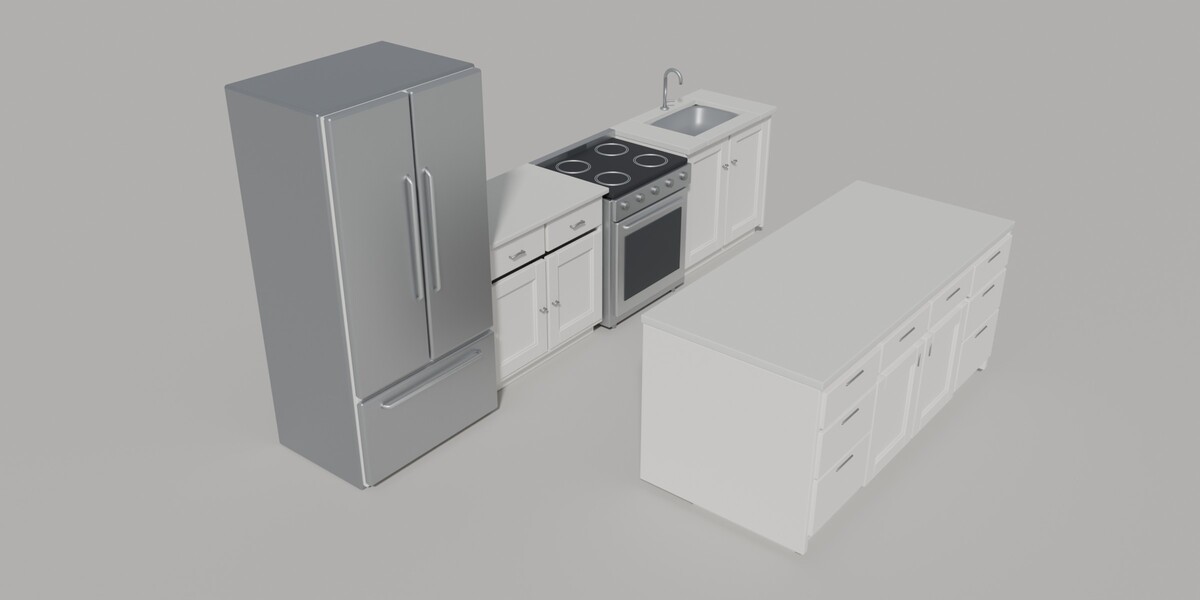
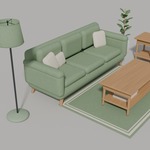
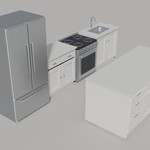
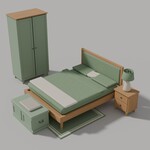
- Choose a room layout, such as Living room or Kitchen, and click Create Room Kit.
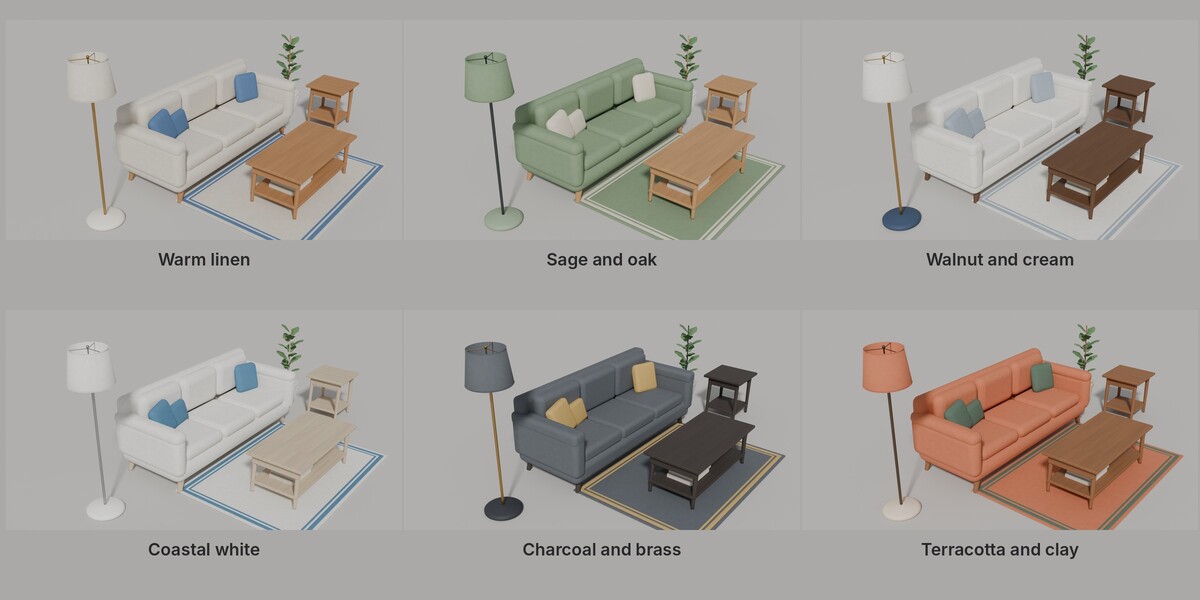
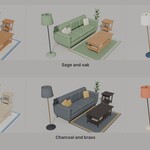
- Pick one of the six styles and click Use Room Style, or select some pieces and click Apply Style to Selected.
- Save Style File and Load Style File keep your own colour schemes for later projects.
Exporting
Select a piece and click Bake a Copy in Background. Hearth writes a separate model-and-texture copy and leaves your editable scene untouched. Refresh Bake Status shows when it has finished.
Help
Help and Tutorial in the panel opens the included guide.
Optional AI setup
Extract a separate copy of the ZIP and read hearth/AUTOMATION.md. It explains how to connect the optional hearth/mcp_server.py adapter to a compatible assistant and your own Blender MCP bridge. Keep the original ZIP for installing.
Requirements
Blender 5.2 or later. Tested with Blender 5.2.2 LTS on Windows; other platforms are not certified.
Have questions about this product?
Login to message
| Published | 28 minutes ago |
| Blender Version | 5.2 |
| Extension Type | N/A |
| Render Engine Used | Cycles, Eevee |
| Misc Data | Textured |
| License | GPL |
Discover more products like this
parametric Interior Design bedroom props furniture procedural ArchViz stylized asset library game assets kitchen living room