 KVD
KVD


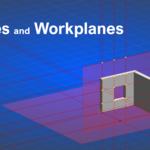
Helplines and workplanes blender Add-on:
Blender version 4.0 to 4.4 : use 'Helplines_and_Workplanes_V1'
Blender version 4.5+ : use 'Helplines_and_Workplanes_V1_1'
Blender version 5.0+ : use 'Helplines_and_Workplanes_V1_2'
Blender version 5.0+ : use 'Helplines_and_Workplanes_V1_3'
The CAD like helplines and workplanes for modeling in blender.
HELPLINES:
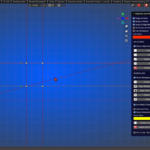
You can add a selectable horizontal helpline, or construction line if you want to call it that way, to where you click in the X-Y top view.
Adding horizontal or vertical lines is continuous, and pressing 'Esc' or LMB will cancel it.
Freely adding the angled line, is done by picking 2 points.
Pressing 'Shift' and 'LMB' after adding the first point, gives you the possibility to add an angle for the line.
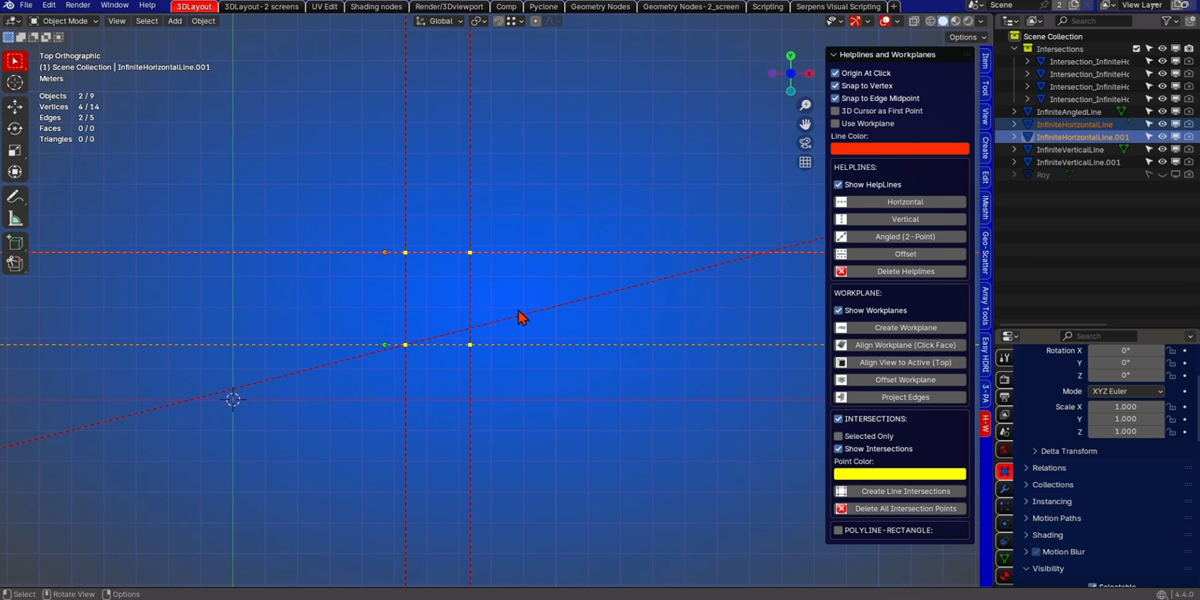
The checkbox '3D cursor as first point', will add the lines always to the location of the 3D cursor, for precise adding of the lines.
The color of the helplines can be changed to your likings.
Offsetting the lines is also possible. just select your line and press the 'offset' button.
Add the distance and after pressing ok, you select the side you want your offset line to be added.
Offsetting is continuous, until 'Esc' or 'RMB' is pressed.
Where the lines intersect, you can add points by using the 'intersections' part in the panel.
Just press the 'create line intersection' button.
When adding new helplines, just press the button again.
If 'snap to vertex' is enabled, the points can be used to snap your line to them.
The delete button, will remove all the intersection points that were added.
Using the 'select only' option, will add intersection points to the helplines you have selected.
Unchecking it, and pressing the 'create line intersections' again, will add points to all lines.
And of course, you can change the color of the points.
Any of the added helplines can be moved, and the intersection points will move along with them, to where the new intersection is.
WORKPLANES:
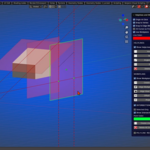
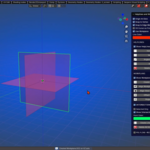
The 'create workplane', will add a workplane to the world origin.
You can move and rotate it as you need.
The 'align view to active button', will give you the top view of the selected workplane.
So adding horizontal, vertical and angled helplines is done properly.
Do not forget to enable the 'use workplane' checkbox, otherwise the lines will be added to the x-y.
Intersection points can now be added if needed.
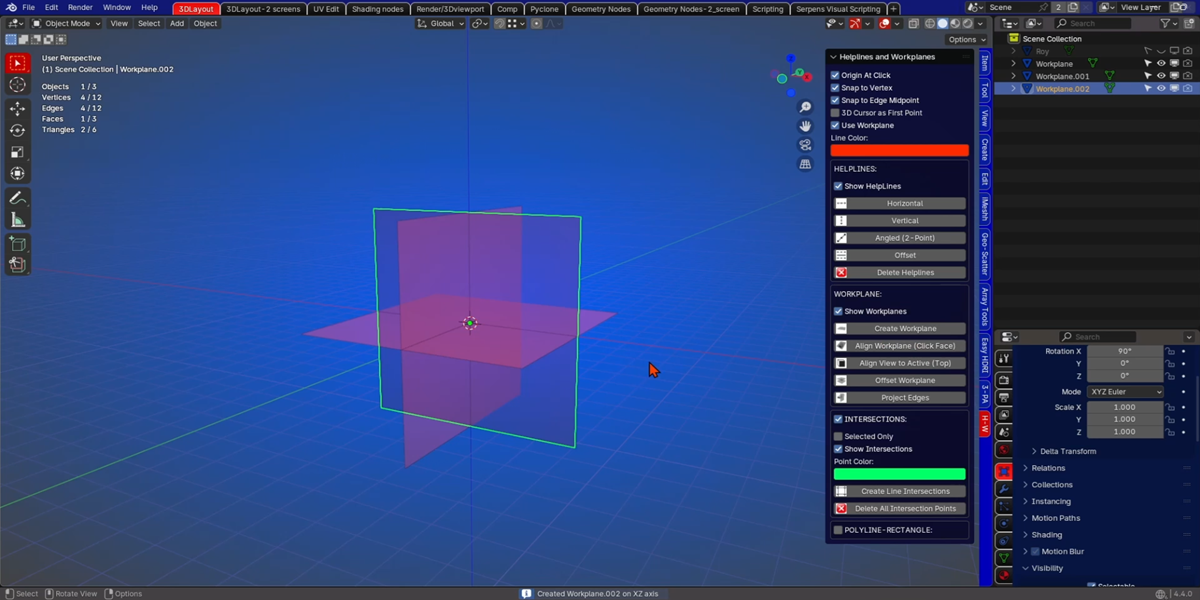
Workplanes can be added to a desired axis.
Just select the one in the dropdown menu.
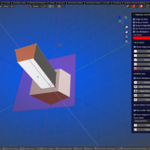
A workplane can also be added directly, by selecting a face of a mesh object.
The 'align view to active', will give you the needed topview to add your helplines.
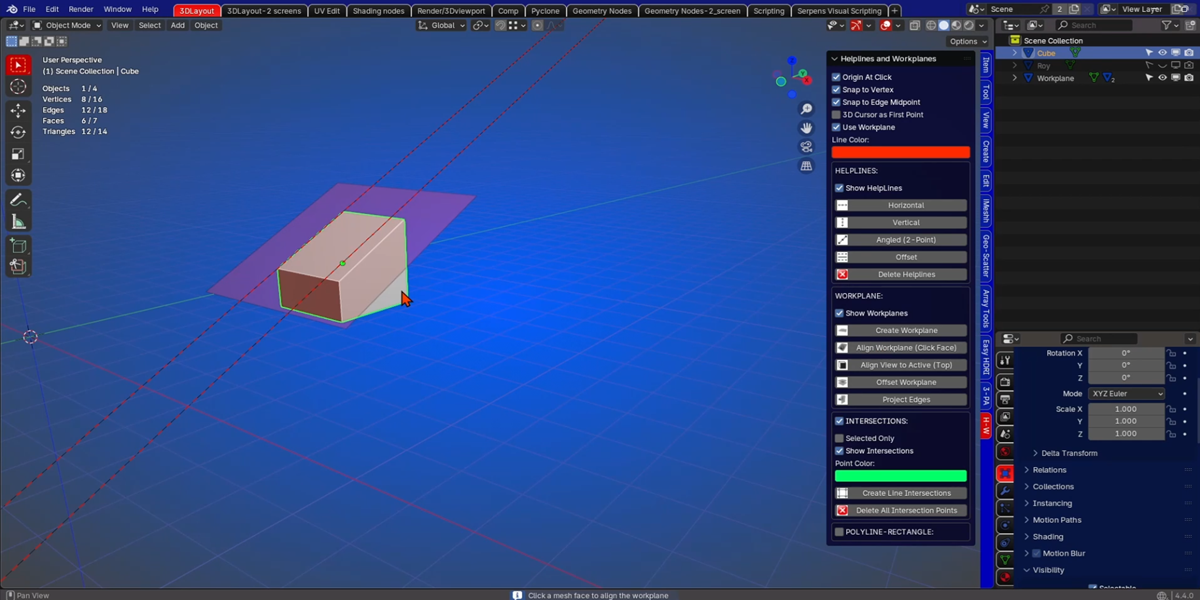
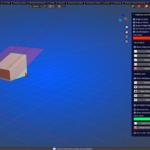
Multiple workplanes can be added, and you can use the offset to the selected workplane.
Just add a distance and press ok.
A negative value, will add the offsetted workplane to the other side.
You can project the edges of the selected mesh object, to the workplane you selected last.
Just press the project edges button.
This projection can be used as a guide, to add helplines or you can just modify the projected mesh.
The helplines and intersection points will follow the movement and rotation of the workplane.
POLYLINE:
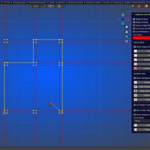
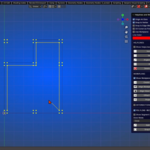
There are 3 types of polyline.
The open type 'Polyline', to just draw a continuous line, with the possibility to add a length and angle, if shift and Left mouse is pressed after a point is picked.
The 'close' type, that closes the line segments when 'Esc' or 'RMB' is pressed.
And the 'close and fill' type, where after closing, a face is created.
Pressing 'o' when drawing the lines, will activate ortho.
Pressing 'Ctrl' will snap to the grid.
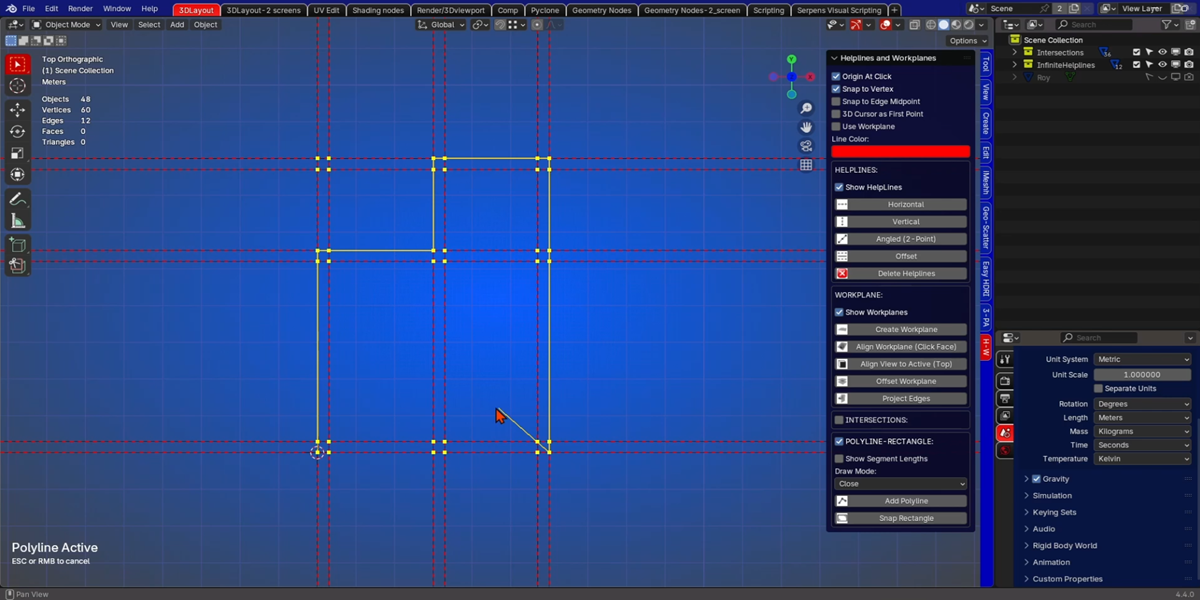
The polyline can also be used in combination with the workplane.
Just select the workplane first and select the type of polyline.
After that you can start drawing.
You can always check the length of the line segments if needed, by enabling the checkbox.
RECTANGLE:
The snap rectangle, draws a rectangle from where you pick your first point.
Or here like in this example, from the location of the 3d cursor.
The rectangle is added by using snapping points.
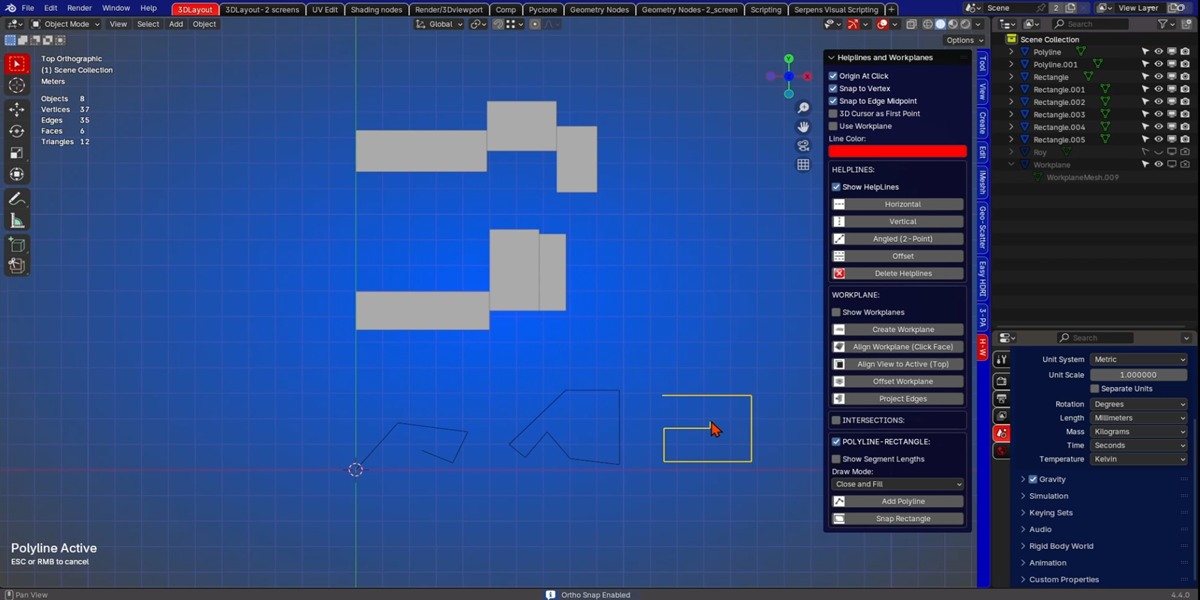
Or the rectangle can be drawn precisely, by using the 'Shift' and 'LMB', where you can add the length and width.
Just pick you first point and add the values, and the rectangle is added.
You can use the snapping and value method when needed.
The rectangle can also be used on the workplanes.
Just do not forget to enable the 'use workplane' checkbox, and select your workplane.
Changelog V1.0:
- Initial release for Blender version 4.0 to 4.4
Changelog V1.1:
- For Blender version 4.5+
Changelog V1.2:
- For Blender version 5.0+
- The Polyline has an update where you now can start typing your dimension when dragging the line, using the numpad.
- Pressing the Shift key is now also changed to just adding the desired angle and where you now also add the length while draging the line segment or just picking a point or snapping.
- The Polyline and rectangle have now visible marker points when dragging.
Changelog V1.3:
- For Blender version 5.0+
Polyline:- The Polyline has an update where you now can start typing your dimension when dragging the line, using the numpad or the keyboard numbers.
- After a point is picked, no more need to press shift + LMB to call the angle popup. Only Shift is needed.
Rectangle:- After a point is picked, no more need to press shift + LMB to call the dimension popup. Only Shift is needed.
- When dragging the rectangle there is now a 'guide' dimension visible.
Workplane: - The workplane now gets a transparent material when created.
- issue resolved where the workplane was visible in render when toggle 'Show Workplanes' was used
