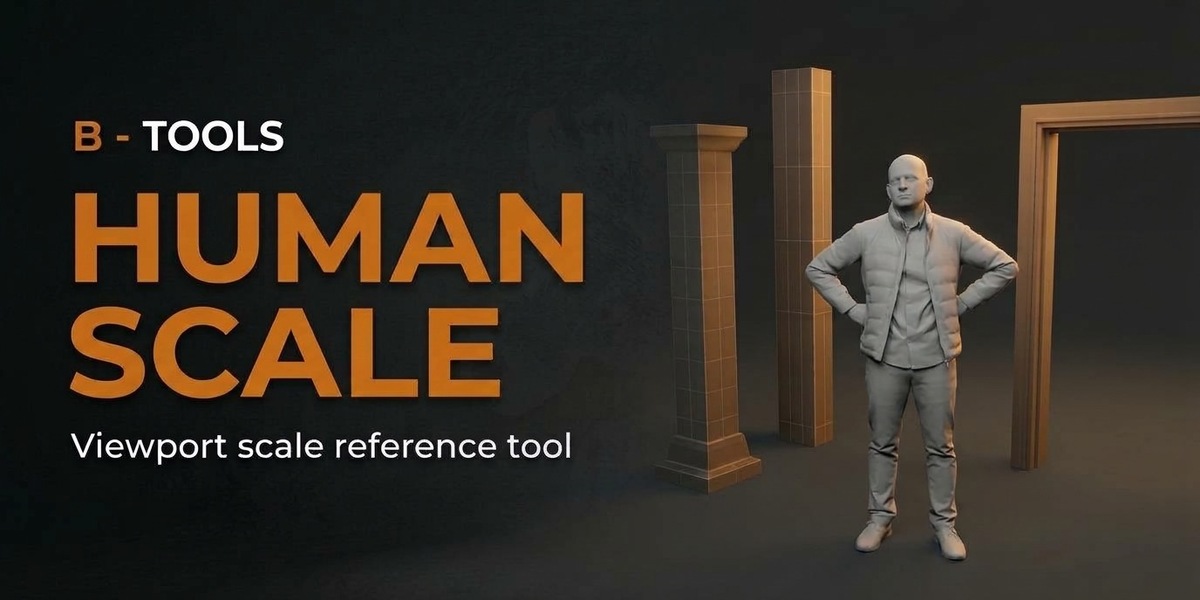
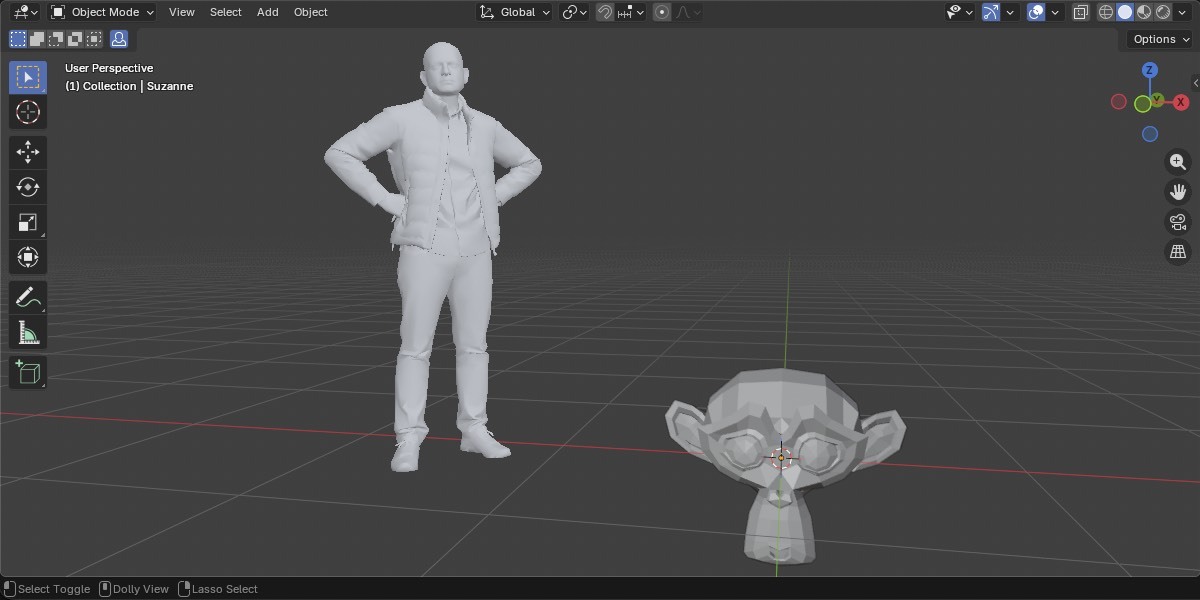
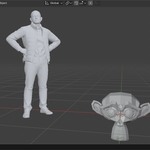
A figure in the 3D Viewport, so the scene has a size.
01
Start
1.1 What you get, and what this add-on does not do
B- Human Scale draws a person in the 3D Viewport. The feet stay on the ground, next to the world origin, so you can judge the real size of a scene.
It is a viewport guide. It is not an object. You cannot select it. It does not show up in the outliner, and it does not render. Saving the file keeps Show and the placing numbers for that scene. It does not keep a mesh in the scene.
The figure you pick, and where the button sits, belong to the add-on. They stay the same in every file. Show, height, offset, facing, shading, and the flat color belong to the scene. A second file can have the figure off, or a different height, and still use the same character.
1.2 Install, Blender 4.2–5.2
Use Blender 4.2 through 5.2. In Edit → Preferences → Get Extensions, choose Install from Disk and pick the zip. Enable B- Human Scale. The button appears in the 3D Viewport header, just before Global. The figure stays hidden until you click it.
This package is an extension. Legacy Add-ons → Install is not the path. The license is GPL-3.0-or-later.
1.3 The button
Click shows the figure. Click again and it is gone. The button stays pressed while the figure is on. Shift-click opens the settings. Right-click opens the same panel.
That panel is also in Edit → Preferences → Add-ons, on B- Human Scale. Show is at the top of both. Under it: Button Placement, then Placing, then Shading. Placing holds height, offset, left or right, and Facing Camera. Shading holds the style, the flat color, Always on Top, and the figure.
One click. The figure is there.
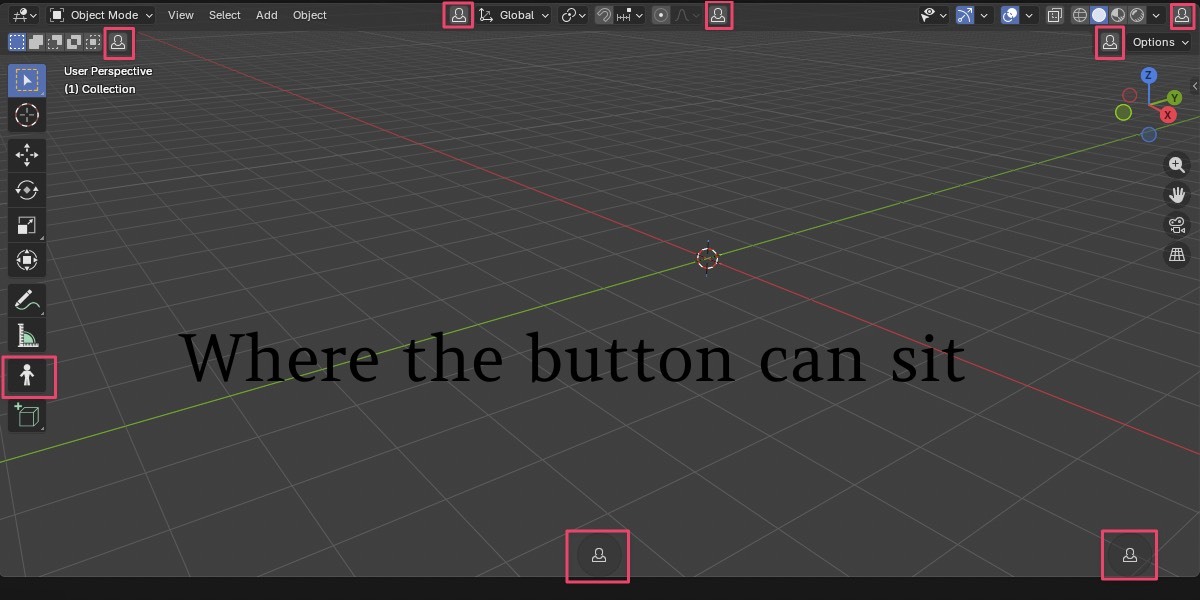
1.4 Where the button can sit
One place at a time. Pick it under Button Placement. It is an add-on setting, so opening another file does not move it. The default is the header, just before Global.
Header, before Global — the default, in the 3D Viewport header. Header, after Proportional — the same header, just after proportional editing. Header, right end — the far right of that header. Tool header, left — the tool settings header, on the left. Tool header, right — the tool settings header, on the right. Viewport, bottom center — a button drawn at the bottom of the view. Viewport, bottom right — a button drawn at the bottom right of the view. Toolbar, under Measure — a tool icon under Measure, in Object Mode and Edit Mode.
The header spots use the person icon. The two bottom spots are buttons in the view. They light up while the figure is on. The toolbar icon does the same job as the others: click shows or hides the figure, then you are back on the tool you had. Shift-click still opens the settings. The icon stays pressed while the figure is on.
02
Place
These four controls are under Placing. They are saved with the scene.
2.1 Feet on the ground
The lowest point of the mesh is put on Z = 0. The mesh is centered over that point. That point starts at the world origin. Offset then slides it sideways, along the ground.
The figure does not follow an object, an empty, or the 3D cursor. It stays next to the world origin.
2.2 Height
Height is the world size from the lowest point of the mesh to the highest. The default is 1.8 m. Blender shows that length in the unit of the scene. The slider runs up to 3 m. You can type a larger number, up to 100 m. The smallest height is 0.05 m.
A standing figure at 1.8 m is about a person. A mesh that is already crouched is scaled until that crouched shape is 1.8 m tall. Height does not guess a standing size the pose does not have.
2.3 Offset, left or right
Offset is the sideways distance from the world origin, along the ground. The default is 1.5 m. Left and Right are the left and right of the view you are looking through, including a camera view. Orbit the scene and the figure stays on that side of the origin. It does not lock to world X or world Y. Set Offset to 0 and the feet sit on the origin.
The slider runs up to 5 m. You can type a larger number, up to 50 m. Each 3D Viewport uses its own view, so two views can put the figure on two different sides of the same origin.
2.4 Facing the camera
Facing Camera is on by default. The front of the figure turns toward the view, around the vertical axis. It does not tilt up or down. Turn it off and the figure keeps its own direction in the world. Which way is “front” is in 4.4.
03
Look
Shading is saved with the scene. The figure is always a solid draw. Materials and textures from an FBX are not kept.
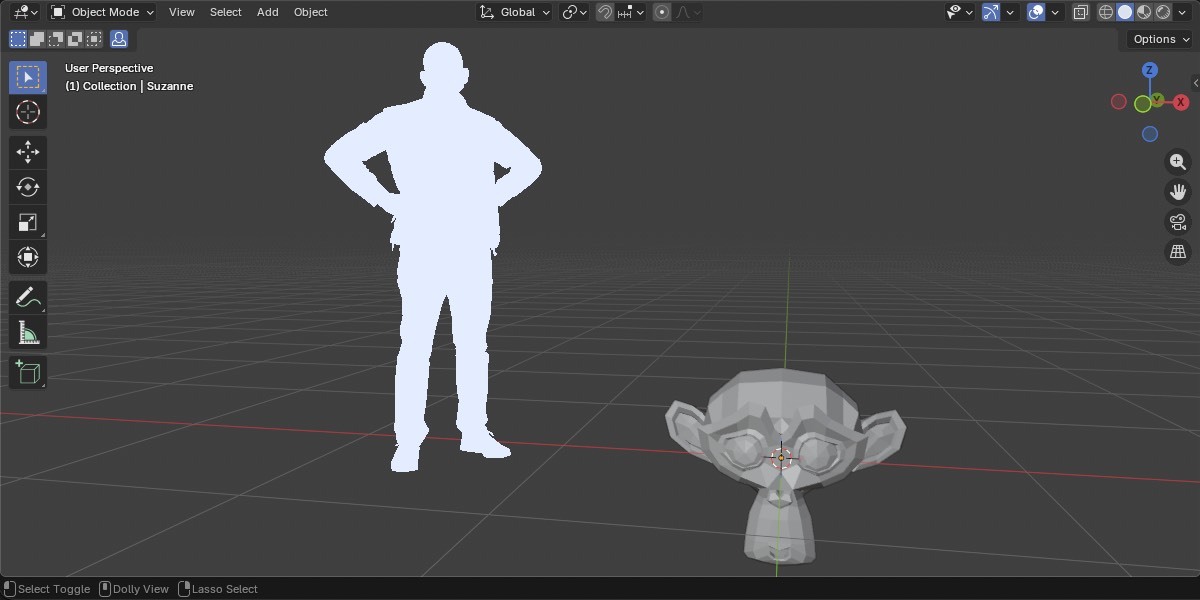
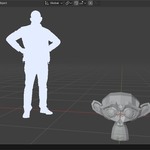
3.1 Shaded, or one flat color
Shaded lights the figure from the view. That is the default. Flat draws it in a color you pick. The color control shows only while Flat is on. The default flat color is a neutral gray.
Shaded, or one flat color.
3.2 Always on Top
Always on Top is on by default. The figure draws over the scene, and it still hides its own back faces. Turn it off and a mesh in front of the figure hides it, the same way one object hides another.
04
The figure
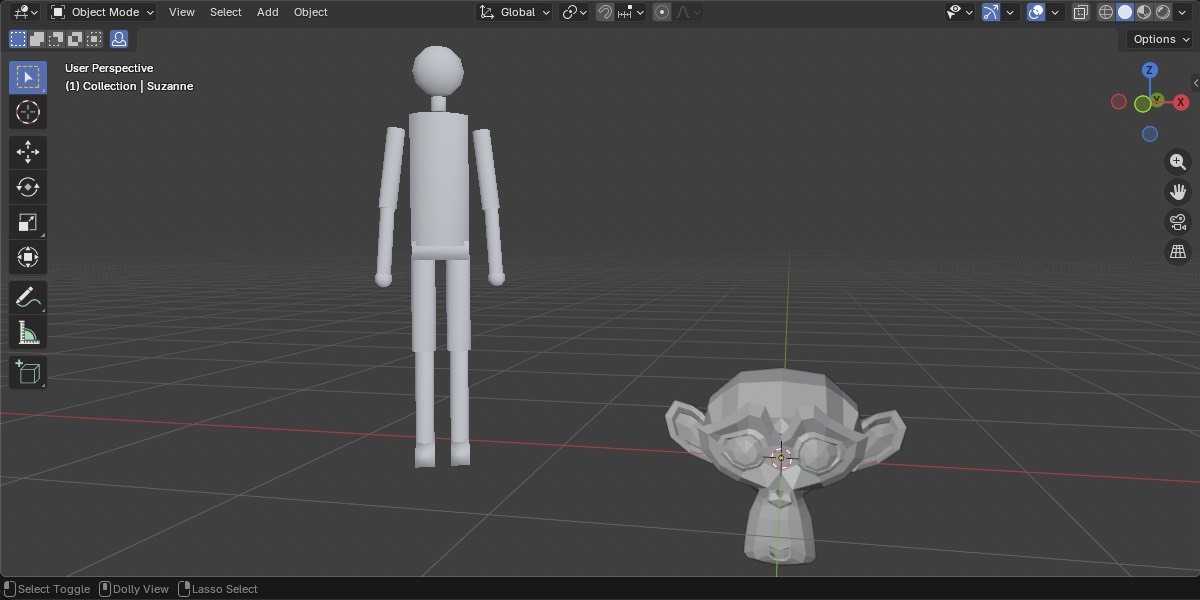
The choice is under Figure, in Shading. It is stored with the add-on and reused in every file. Bones are not kept. You cannot pose the figure after it is loaded.
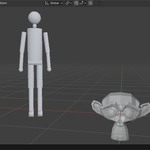
Dissapointed Man, Procedural Guy, or a character from disk.
4.1 Dissapointed Man
The default. Built in. Nothing to set up. His front is -Y, which is the front view in Blender.
4.2 Procedural Guy
The mannequin from Foliage Fusion. Also built in. His front is +Y. At Height 1.8 m he is his native size.
4.3 A character from disk
Choose FBX. The file is read, the meshes in it are joined as they stand, and the result is saved next to the add-on. The imported objects are removed. Nothing is left in the scene, and the character is not in the outliner. The same character then shows up in every file.
Be in Object Mode when you choose the file. If Blender cannot leave the current mode, the add-on stops and asks you to switch. After a successful read, the info bar names the file and its native height. Height in the scene then scales that mesh. A file with no mesh is refused. Clear forgets the stored character.
The extension asks permission to read the FBX you choose and to save it with the add-on. Reinstalling the extension replaces that folder, so choose the FBX again after a reinstall. If Custom FBX is selected and no file has been chosen, the figure does not draw.
4.4 Front
Front is which axis of the FBX is the face. It is used when Facing Camera is on. The default is -Y, Blender’s front view. +Y, -X, and +X are the other choices. If the character looks away from you, switch Front. This control is stored with the add-on, not with the scene.
Dissapointed Man and Procedural Guy do not use this control. Their fronts are built in.
 RobertRoss_VFX