 IK3D
IK3D
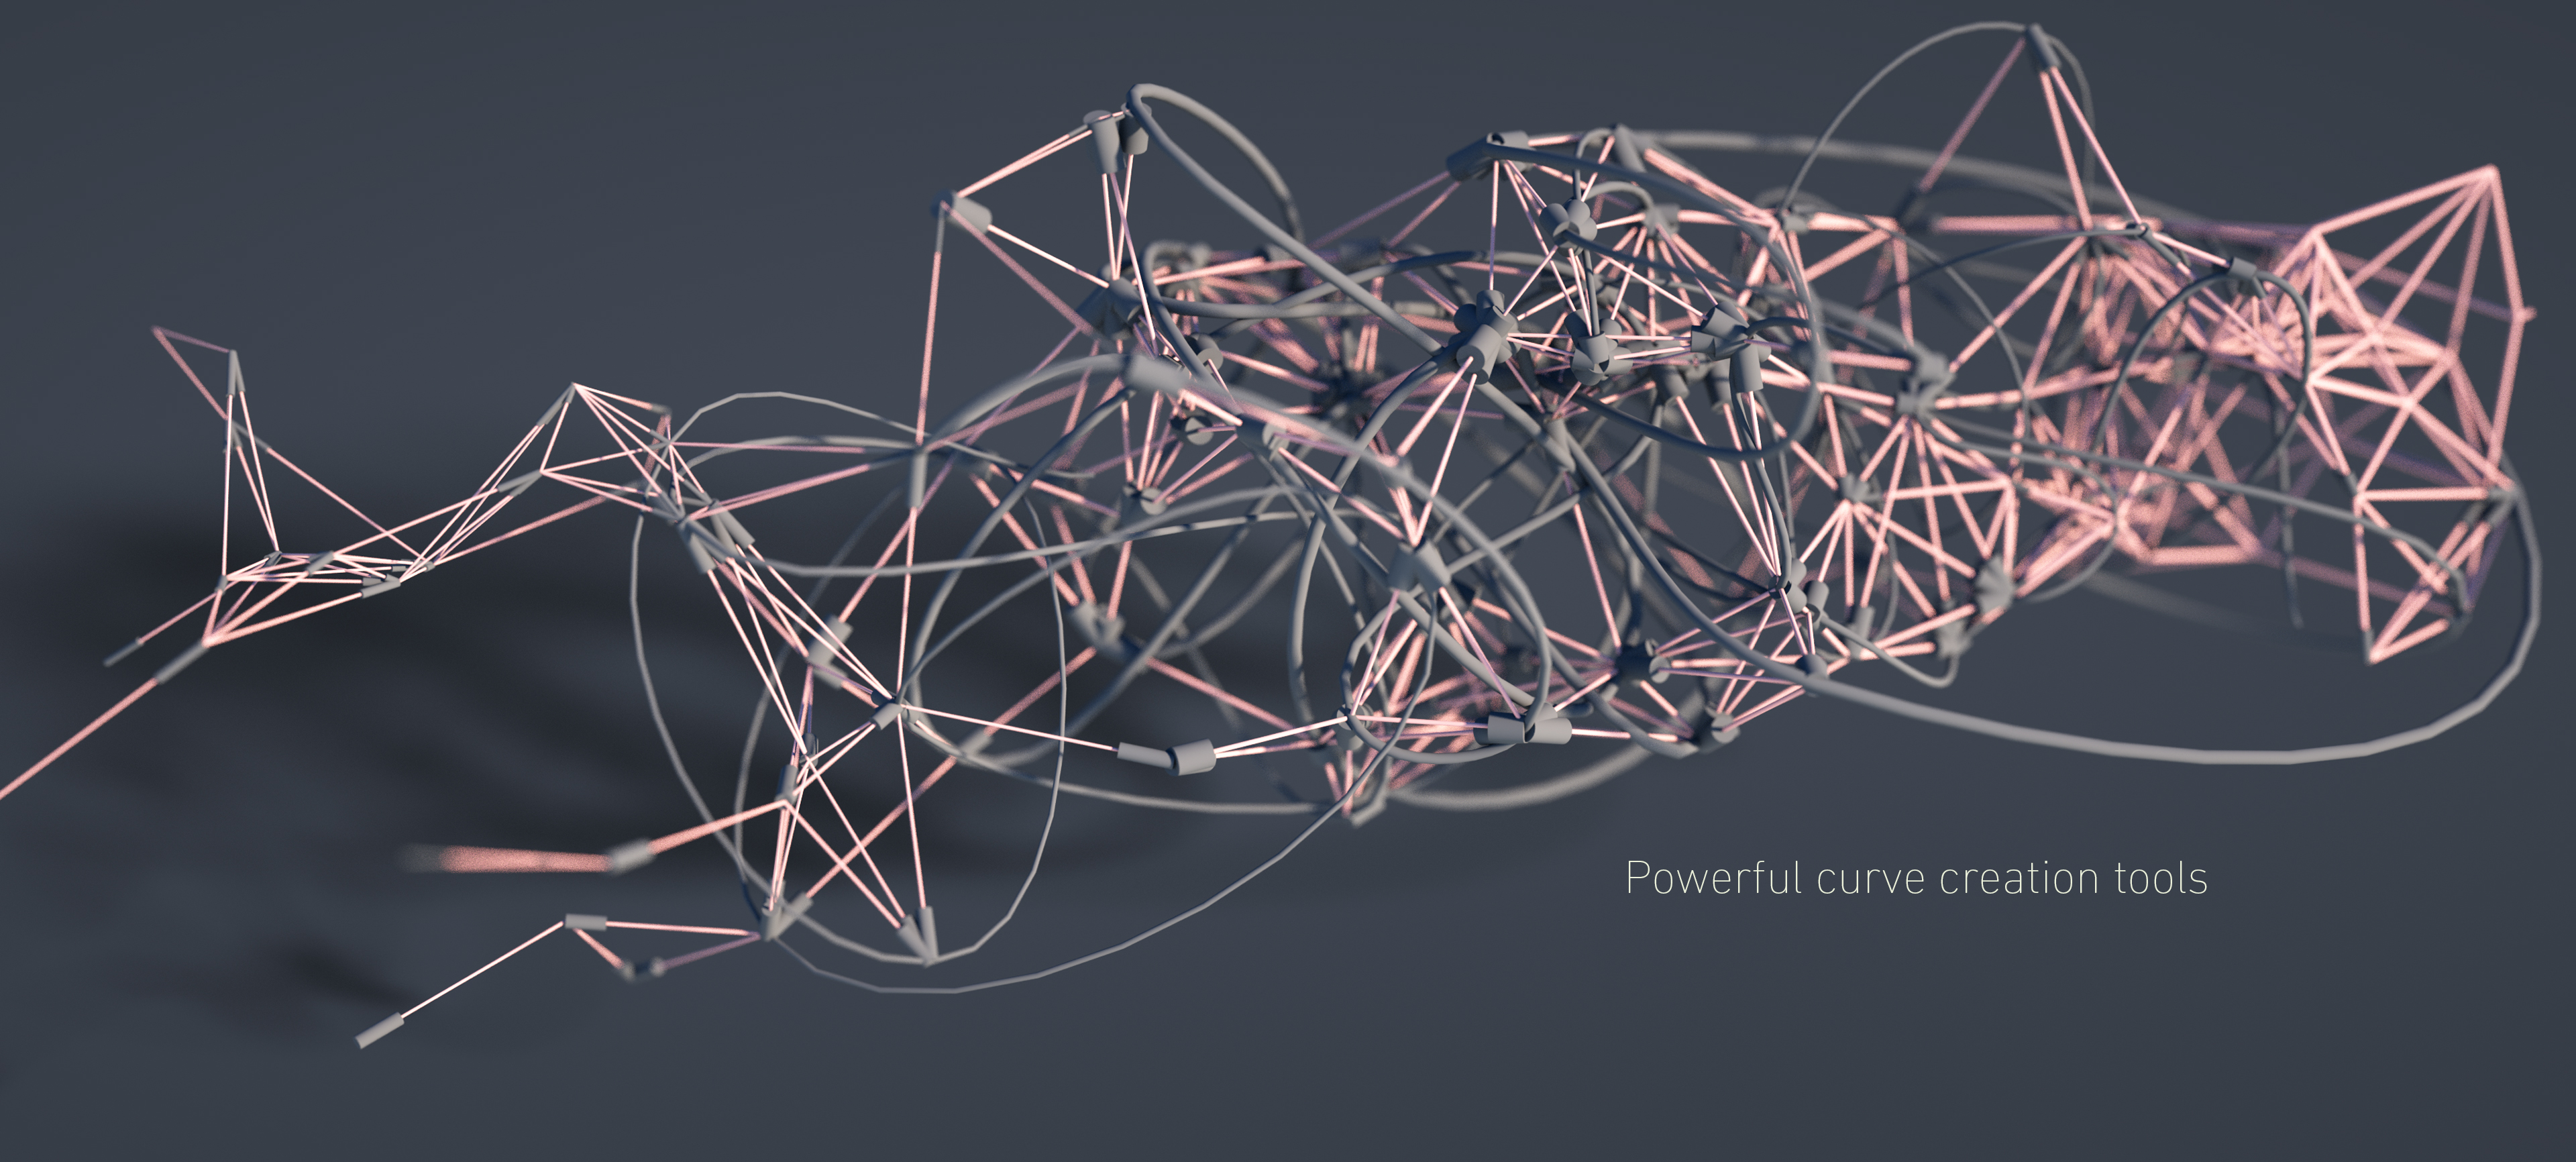
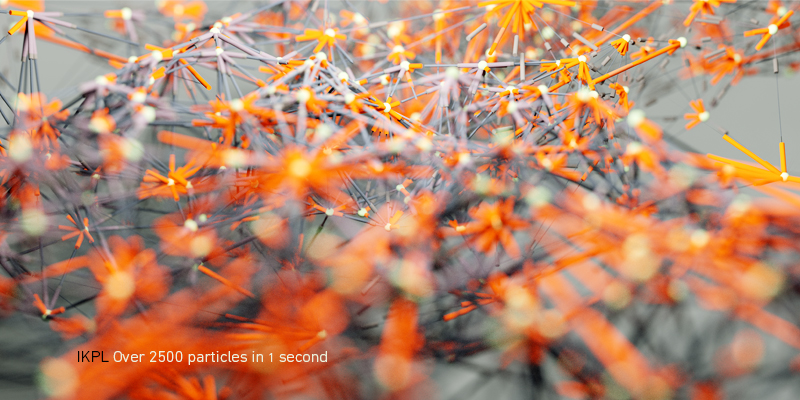
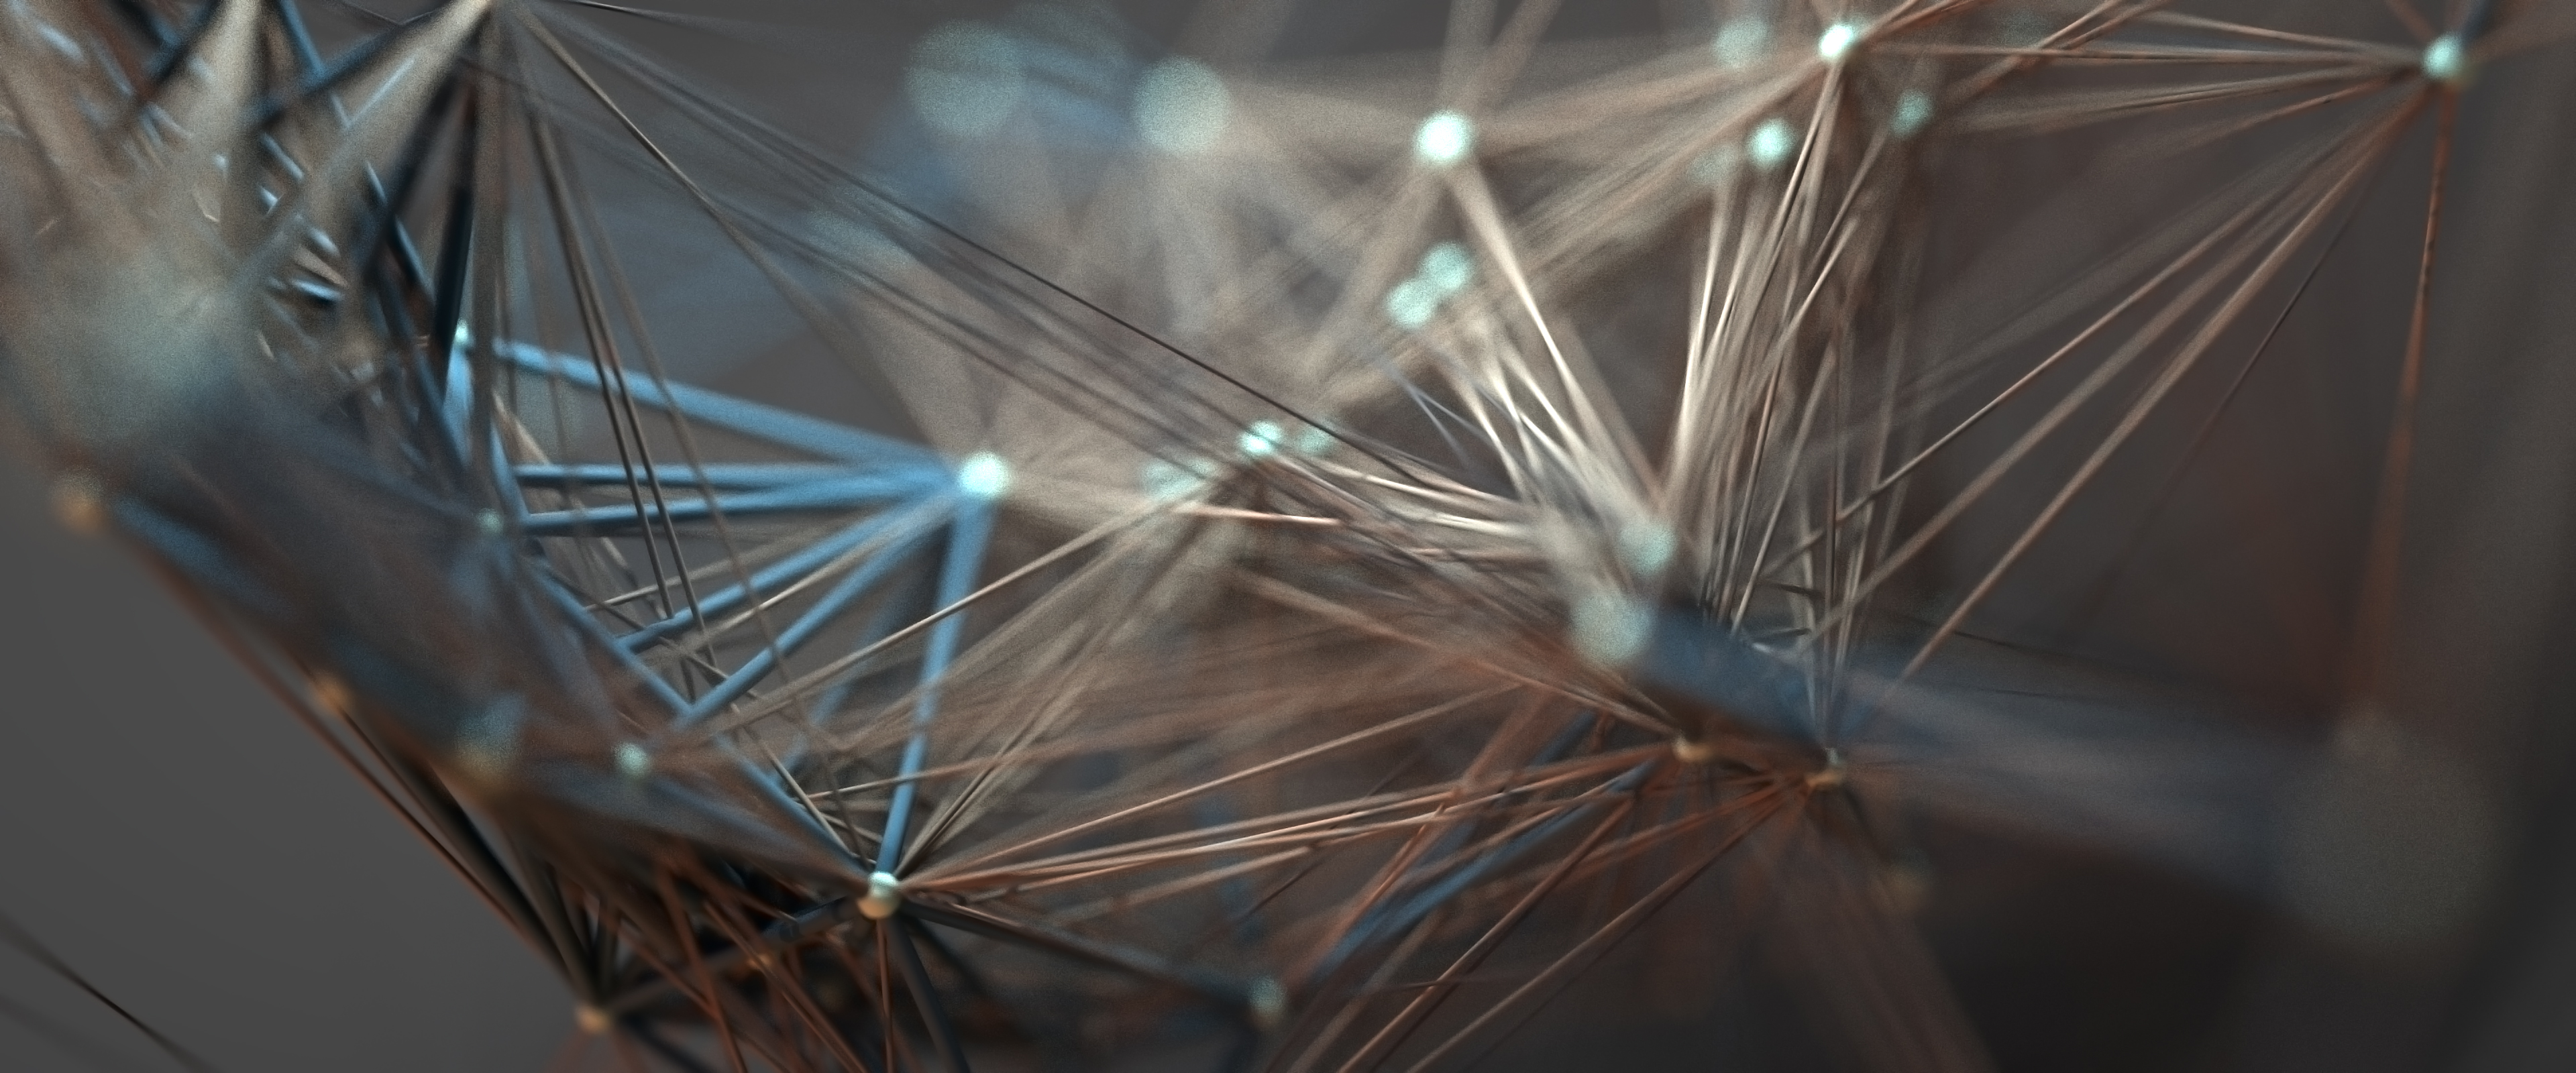
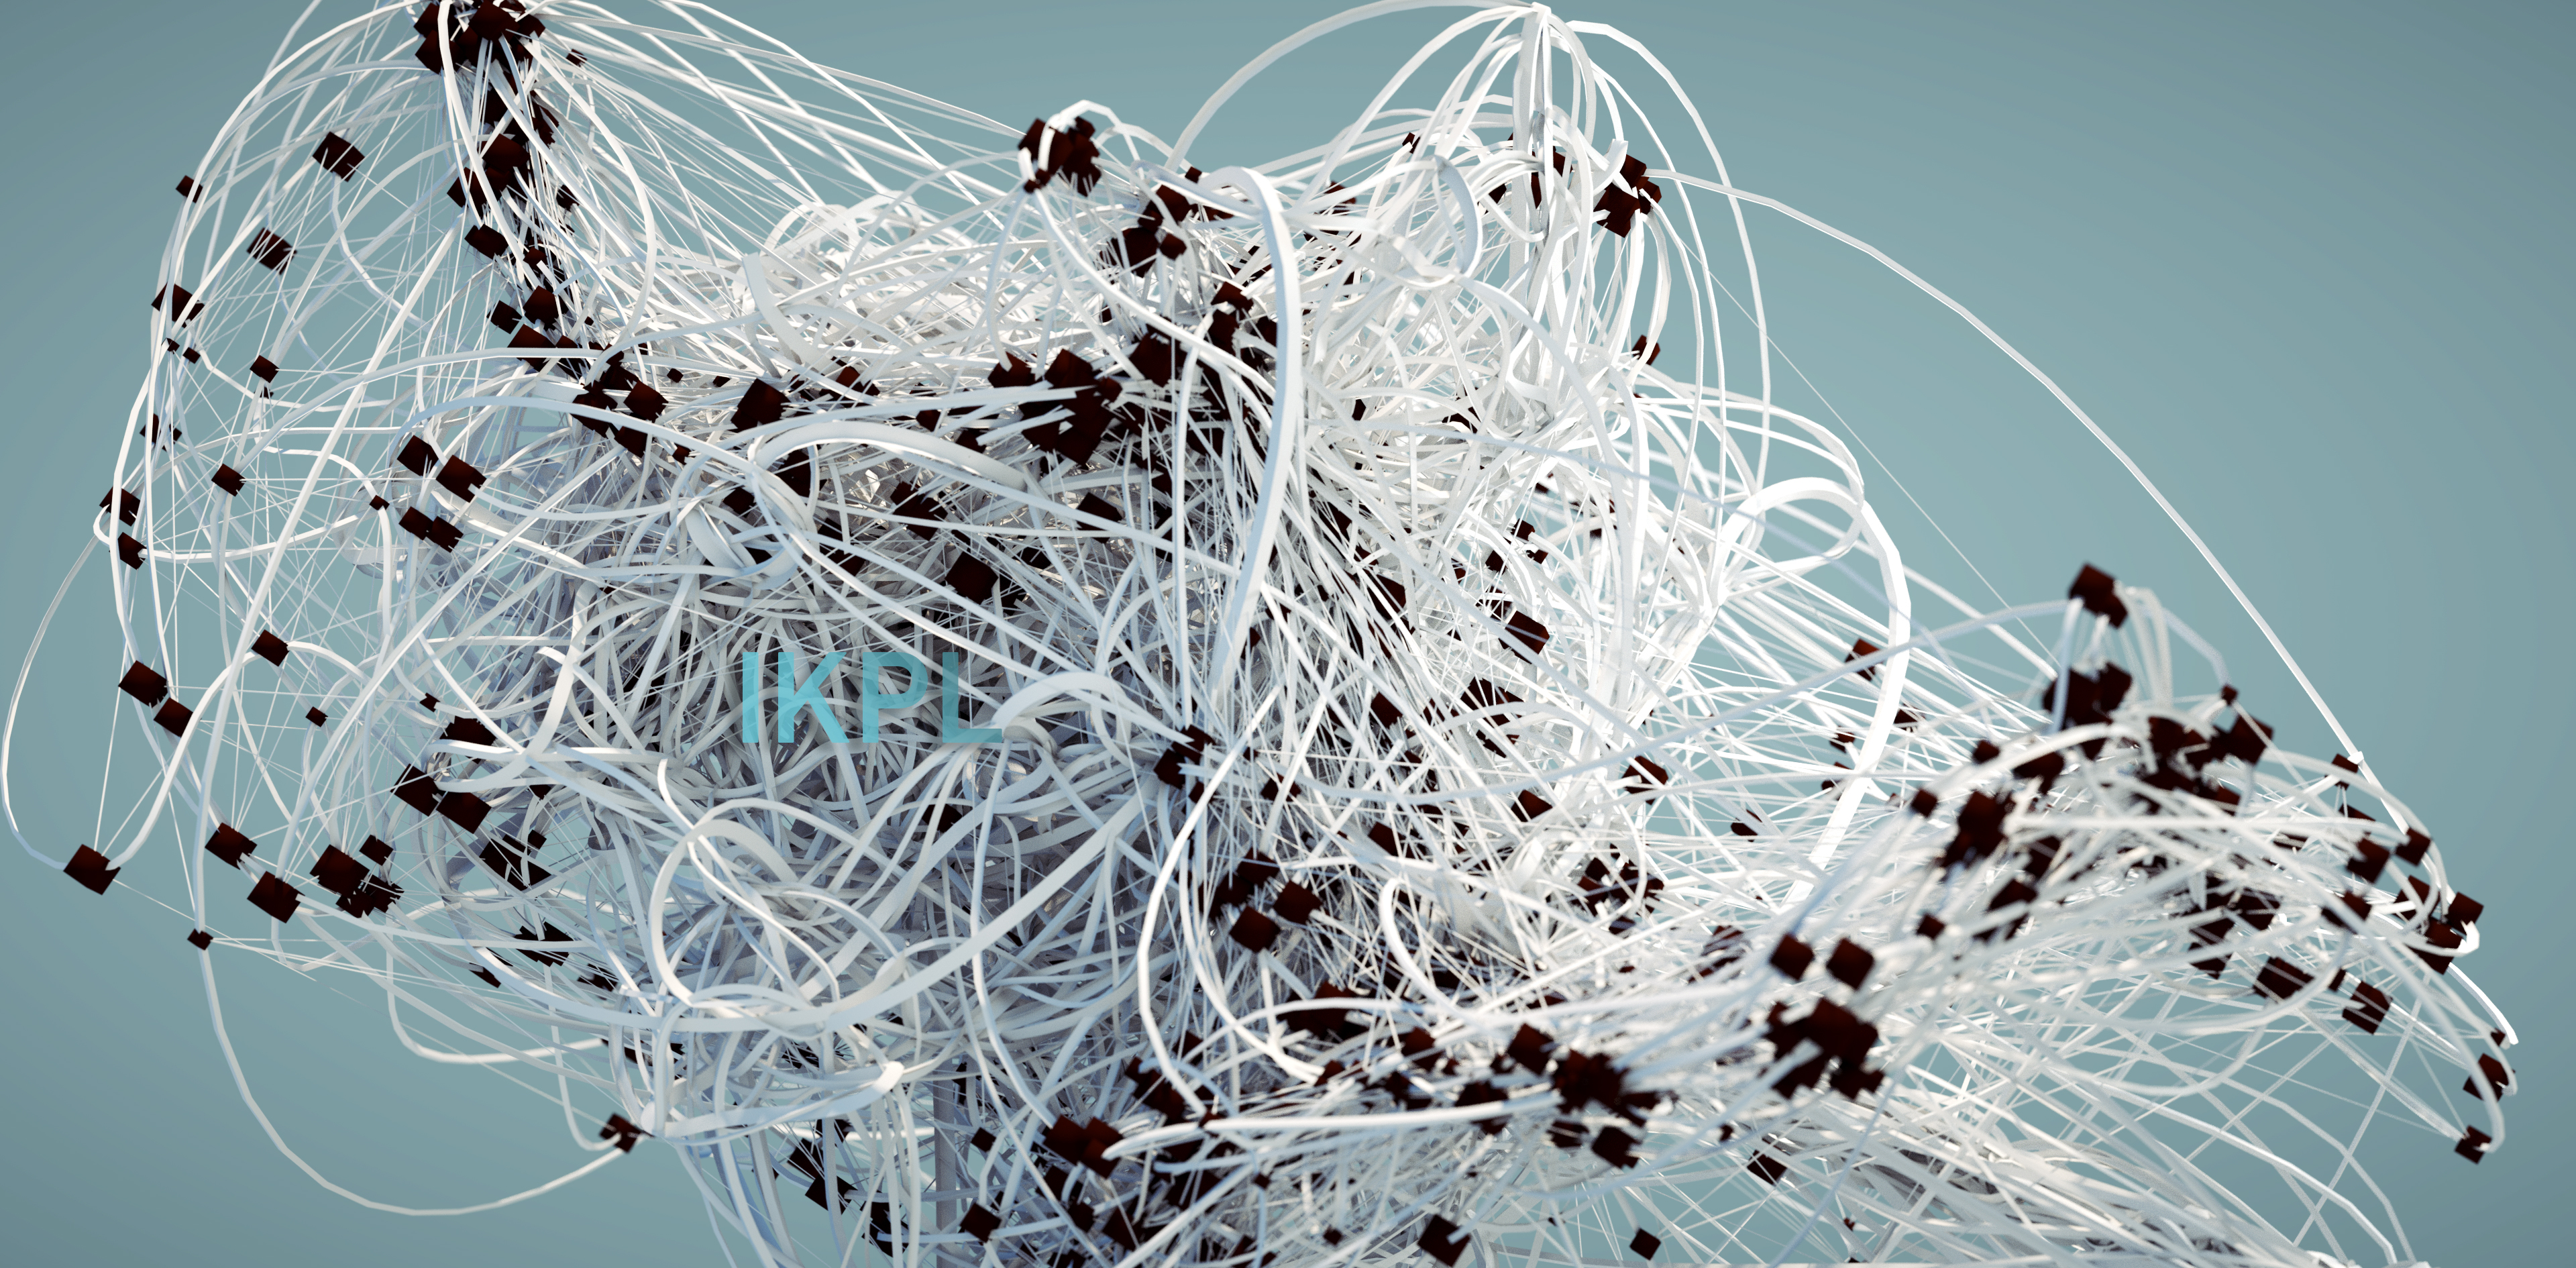
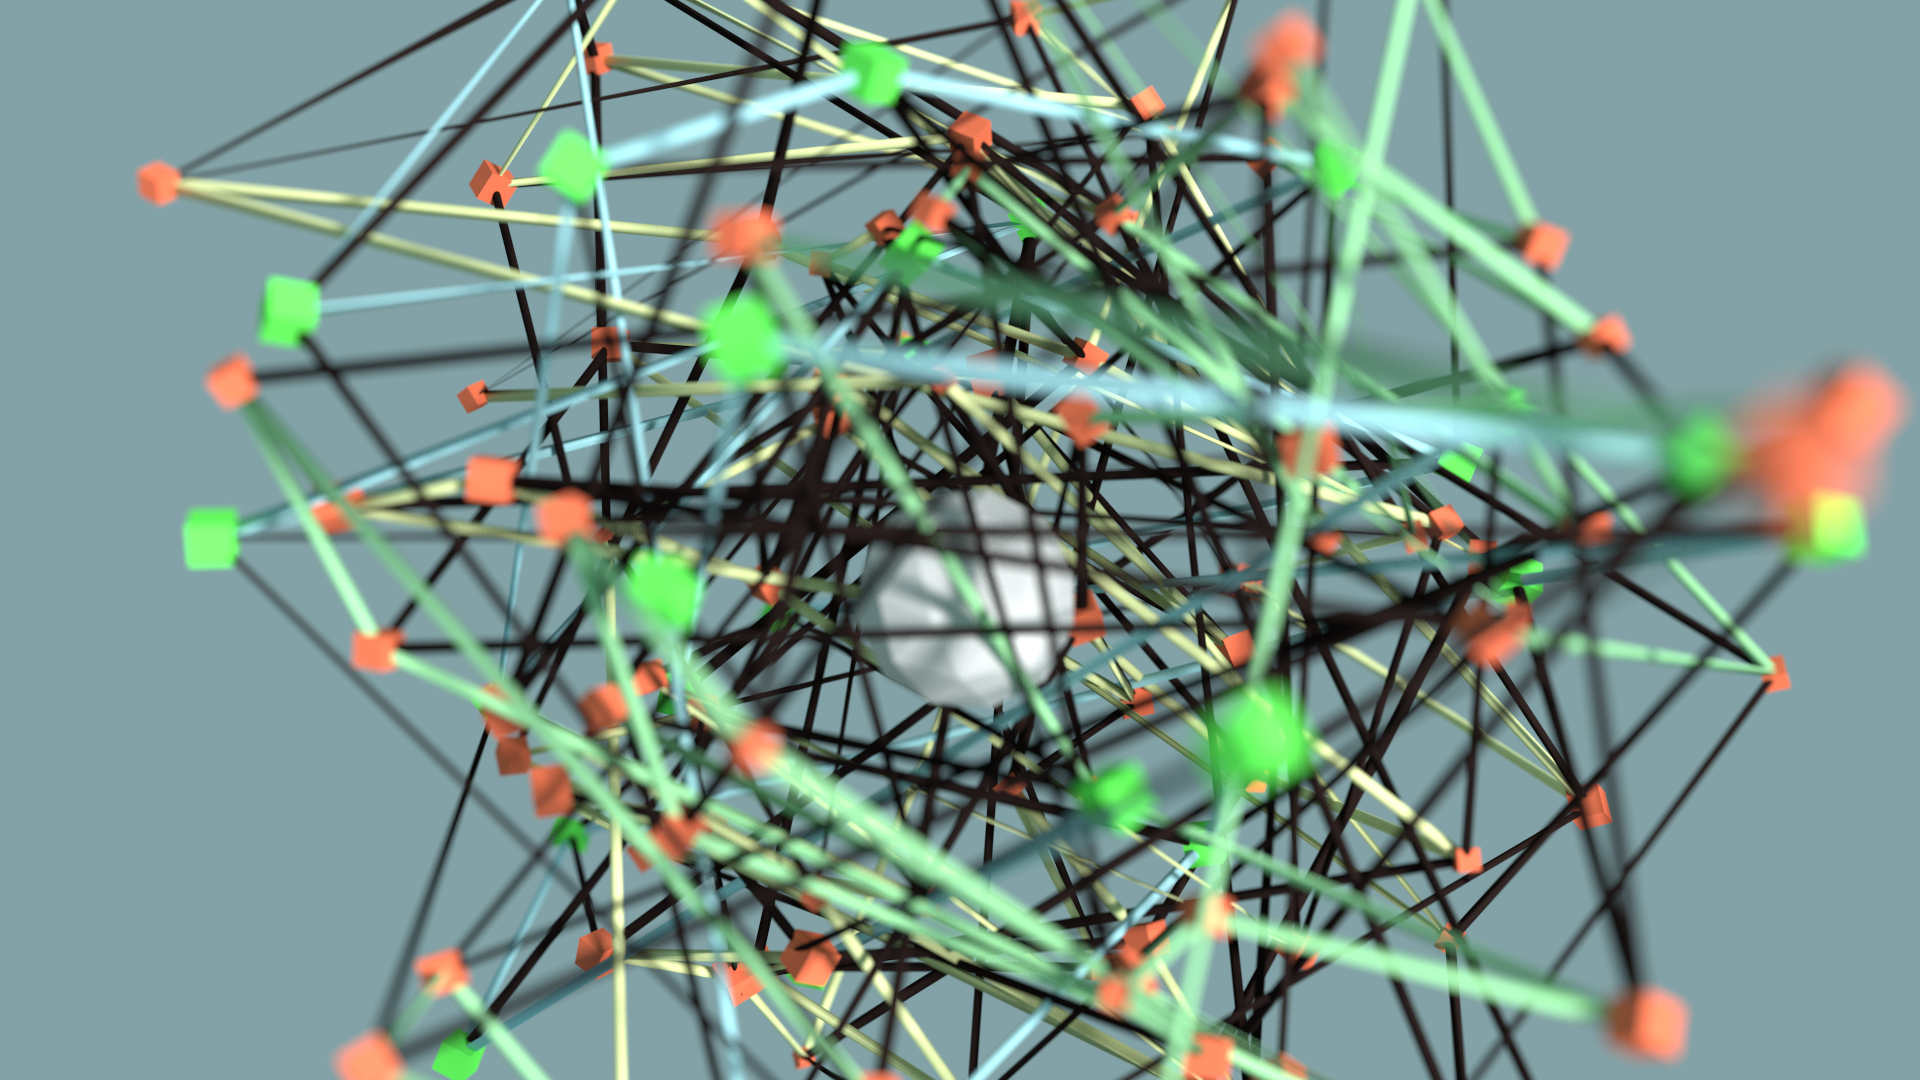
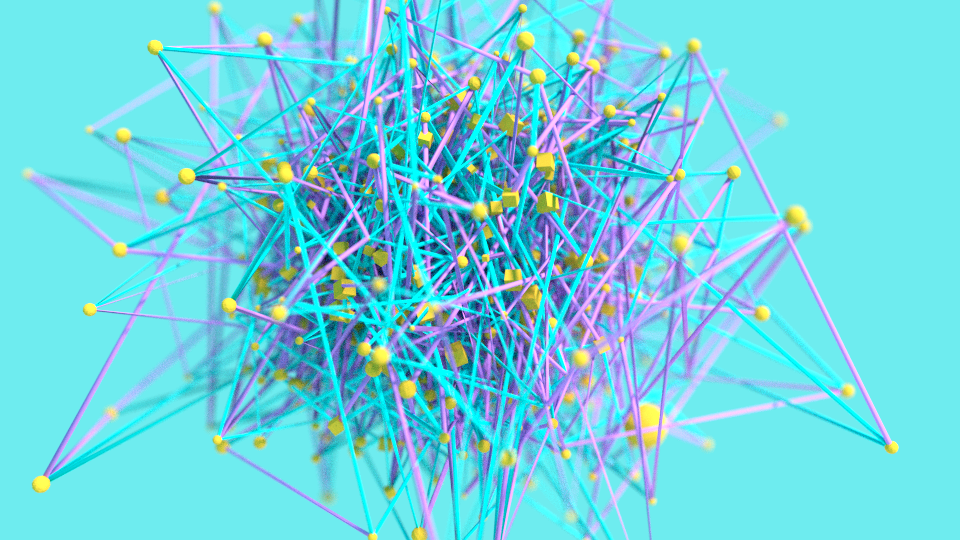
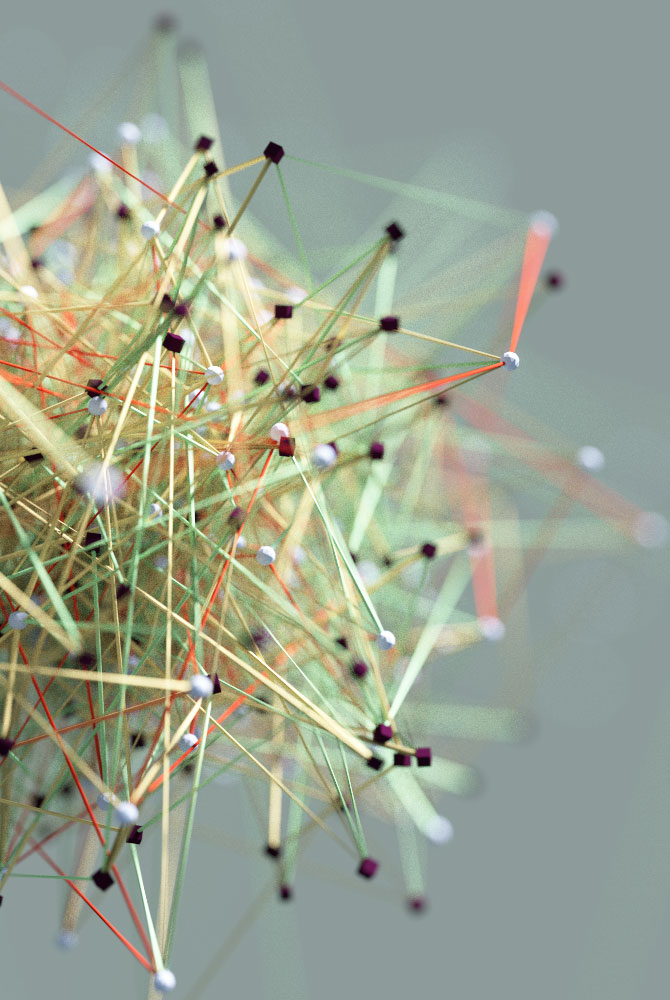
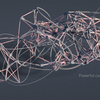
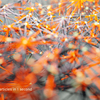

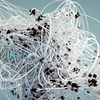
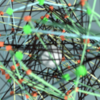
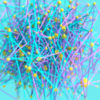
Particles Link v5.0
Installation:
From Edit > Preferences > Add-ons > ‘Install from Disk’, enable the add-on, save preferences, then restart Blender.
Workflow:

Particles Link:
When you start a new project, select an object that has a particle system applied (or a point cloud from Geometry Nodes), then add a Particle Link by pushing the "Link Particles" button. A curve is added to the active particle system — play the timeline to see it update.
Linking settings:
Here you can choose a connection mode and adjust its settings to build a custom graph.
Baking:
This feature is very convenient for fast viewport playback, and also for sharing your project, render farms, etc. The animation is saved as an Alembic cache (.abc) in the folder you set. Don't forget to apply a geometry to the curve to bake it properly — take a look at the "Geometry" section covered later in the doc.
Linking modes:
In some cases you need to bake the particle system first to make sure everything works properly.
Choose how the particles are connected together:
-
Flow Line: one continuous curve threading through every live particle.
-
Network: links every particle to all neighbours within range, forming a web.
-
Tree: connects all particles into a single branching tree, with no loops.
-
Clusters: links each particle to its closest neighbours, forming tight clusters.
-
Hair: grows aligned strands that follow the local flow direction, like hair.
-
Current: draws flow lines that follow each particle's velocity.
-
Cobweb: a sparse, organic web that links only nearby standalone particles.
-
Orb Web: a spider-web shape with a center, radial spokes and connecting rings.
-
Loops: tries to draw closed circles around each cluster of particles.
- Tracer: each particle leaves a trail of its past positions over time.

Link settings:


-
Mode — choose how the particles are connected (see the list above).
-
Distance (Flow Line) — order the points by distance from the Start object before linking them.
-
Shortest (Flow Line) — connect the points by walking from the nearest to the farthest.
-
Distance (Network and other web modes) — search radius: particles closer than this distance get linked.
-
Branches — maximum number of connections kept per particle.
-
Trail (frames) (Tracer) — number of past frames kept in each particle's trail.
- Start — object used as the start point that sets the flow direction of the links.

Geometry:
With an IKPL curve selected, you'll find the Geometry settings to change the curve handles (Interpolation), set the Resolution and Tension, vary the radius, and apply a bevel object.

Enable ‘Vary Radius’ in the Geometry panel to apply a custom radius curve.

Tips:
You can add a couple of links over the same particles, then play with the Clip Start / Clip End settings to slice the curves (under Geometry > Bevel).
Known issues:
Unfortunately, the latest Blender versions don't allow add-ons to access keyed particles.
More: tutorial 1
Have questions about this product?
Login to message
| Blender Extension Compatible | Yes |
| Sales | 900+ |
| Rating | 15 ratings |
| Dev Fund Contributor | |
| Published | over 11 years ago |
| Blender Version | 3.6 - 5.1 |
| Extension Type | Add-on |
| License | GPL |
