Instant Physics | A Space Switching Addon
 Isaac Burke



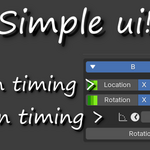


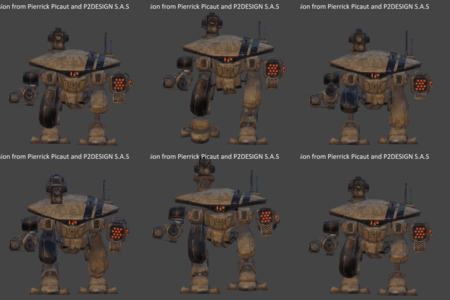
Welcome to instant physics!
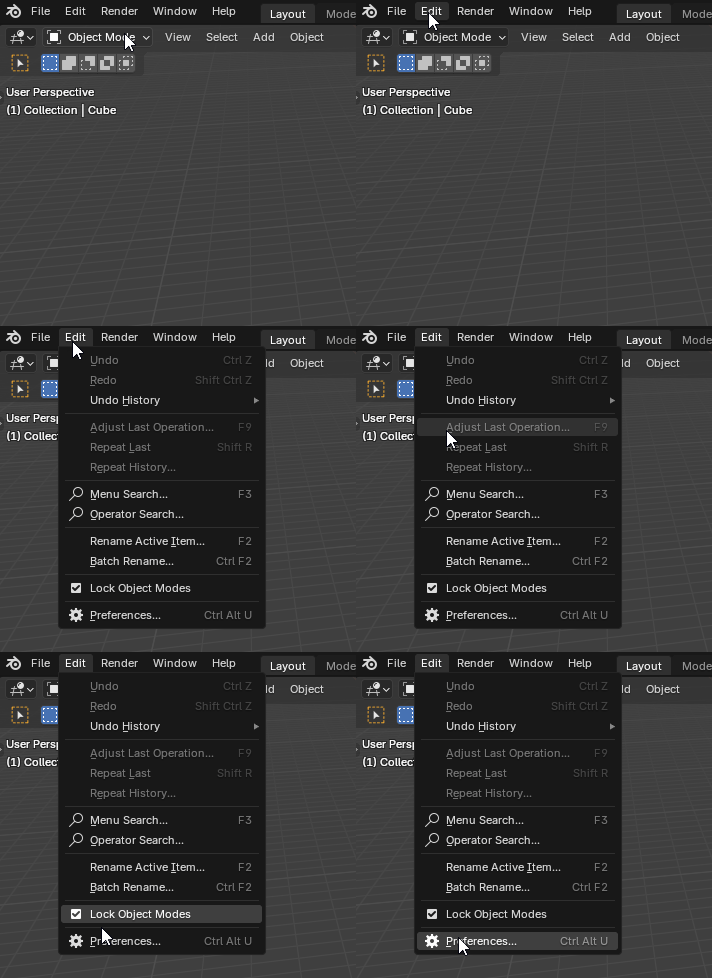
Installation: Select Edit > Preferences
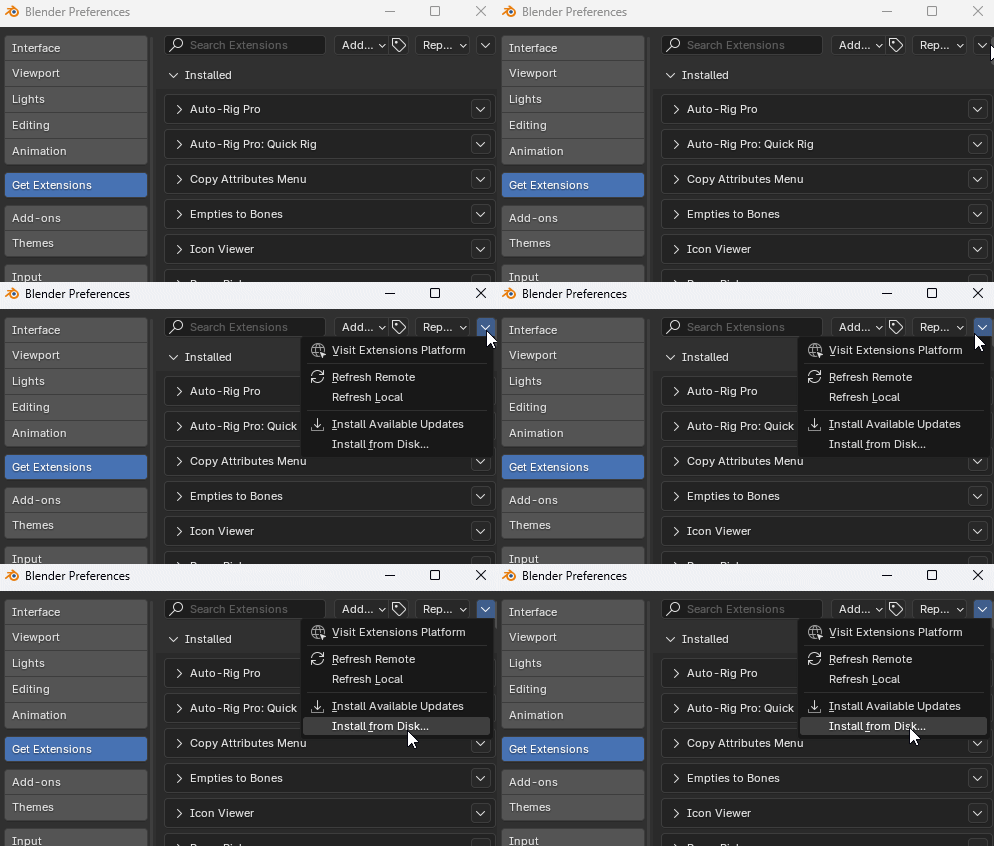
Select "Get Extensions." In the dropdown menu, on the top right, select "Install from Disk..."
Finally, select your 'instant_physics.zip' file to install.
Getting Started
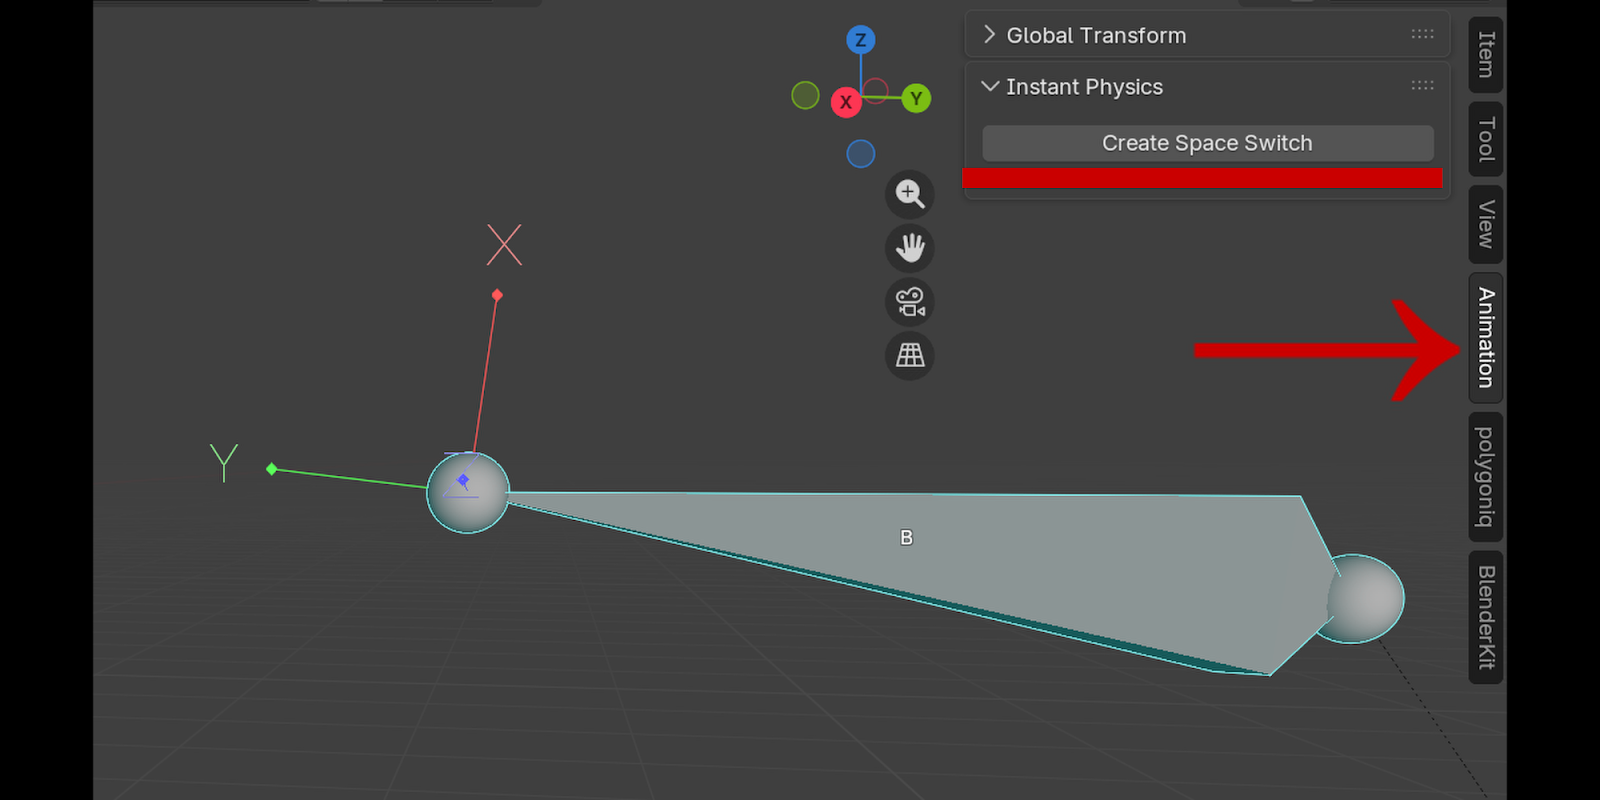
To start:
Select a bone
Select the Animation submenu
under the Instant Physics tab, select "Create Space Switch"
NOTE: This will create a switcher for every bone that is currently selected. It is seamless to create multiple switchers at once.

For your first switcher, you must set your armature-level attributes:
Frame Start/End: The animation range that you want your switchers to work on. If your animation is already looping perfectly in the viewport, you don't have to adjust any settings here.
Loop Animation: Check this for seamless looping animations.
For non-looping animations: Uncheck 'Loop Animation.' Furthermore, I recommend you add extra frames to your start frame and end frame to capture the full, extended animation after alteration. This can be easily adjusted later.
After switcher creation, you will see empties attached to your pose bone in the viewport. These are your source of truth, and your bone will track these unless you remove the switcher or turn off location and rotation in the UI.

Armature settings (Armature.003):
A collapsible folder that contains the UI for every switcher in your armature.
Eyeball: Will hide every empty object ("switcher") in the viewport.
Checkmark: Bakes and removes every switcher on the armature.
X: Deletes every switcher on the armature.
Finally, an option to reset your frame range (This will re-bake switchers) or turn off 'loop' settings.
Bone settings ("B")
Refresh space switch: Will 'rebake' the switcher, and optionally any switchers parented to it. This is Useful if you manually adjusted the bone's keyframes and want switchers to reflect it.
Individual switchers have the exact same Bake and Delete function that armatures have.
Whenever a switcher, its related bone, or an armature is selected in the viewport, it will also be highlighted in the UI panel.

Location:
This setting can only appear if your bone is disconnected from its parent bone, meaning it can freely move about its location axes.
The 'location' button will disable all 3 axes at once. You can also disable any single 'x', 'y', or 'z' axis.
Finally, the spatial timing value determines your spatial offset. Values can be scrubbed at whole-frame intervals, or typed for greater precision (e.g., "0.5"). Values can be set to negative, which may result in an 'anticipation' rather than a 'follow-through.'

Rotation:
First row is similar to Location, except there is also a "Strength" parameter. The "Angular timing" value sits below Rotation axis control, and controls your rotation offset.
NOTE: X/Y/Z and 'STRENGTH' are animatable. No other properties are currently animatable, but may be in the future if there is demand.
Rotation offset:
This is a toggle for when you need more advanced rotation settings. This setting will convert 'angular timing' to 'rotation timing,' which will now inherit both location and rotation values from the base animation. This will activate the 'switcher offset,' which usually lives on the head of your bone.
Axis: The axis that your bone will offset from. Typically, the default value works best.
Rotation intensity: The overall amplitude of your rotation, controlled by the distance of your 'switcher offset' relative to your 'switcher.'
NOTE: This setting works by emulating a 'damped track' constraint. So, the switcher's rotation tracks the 'switcher offset' location.
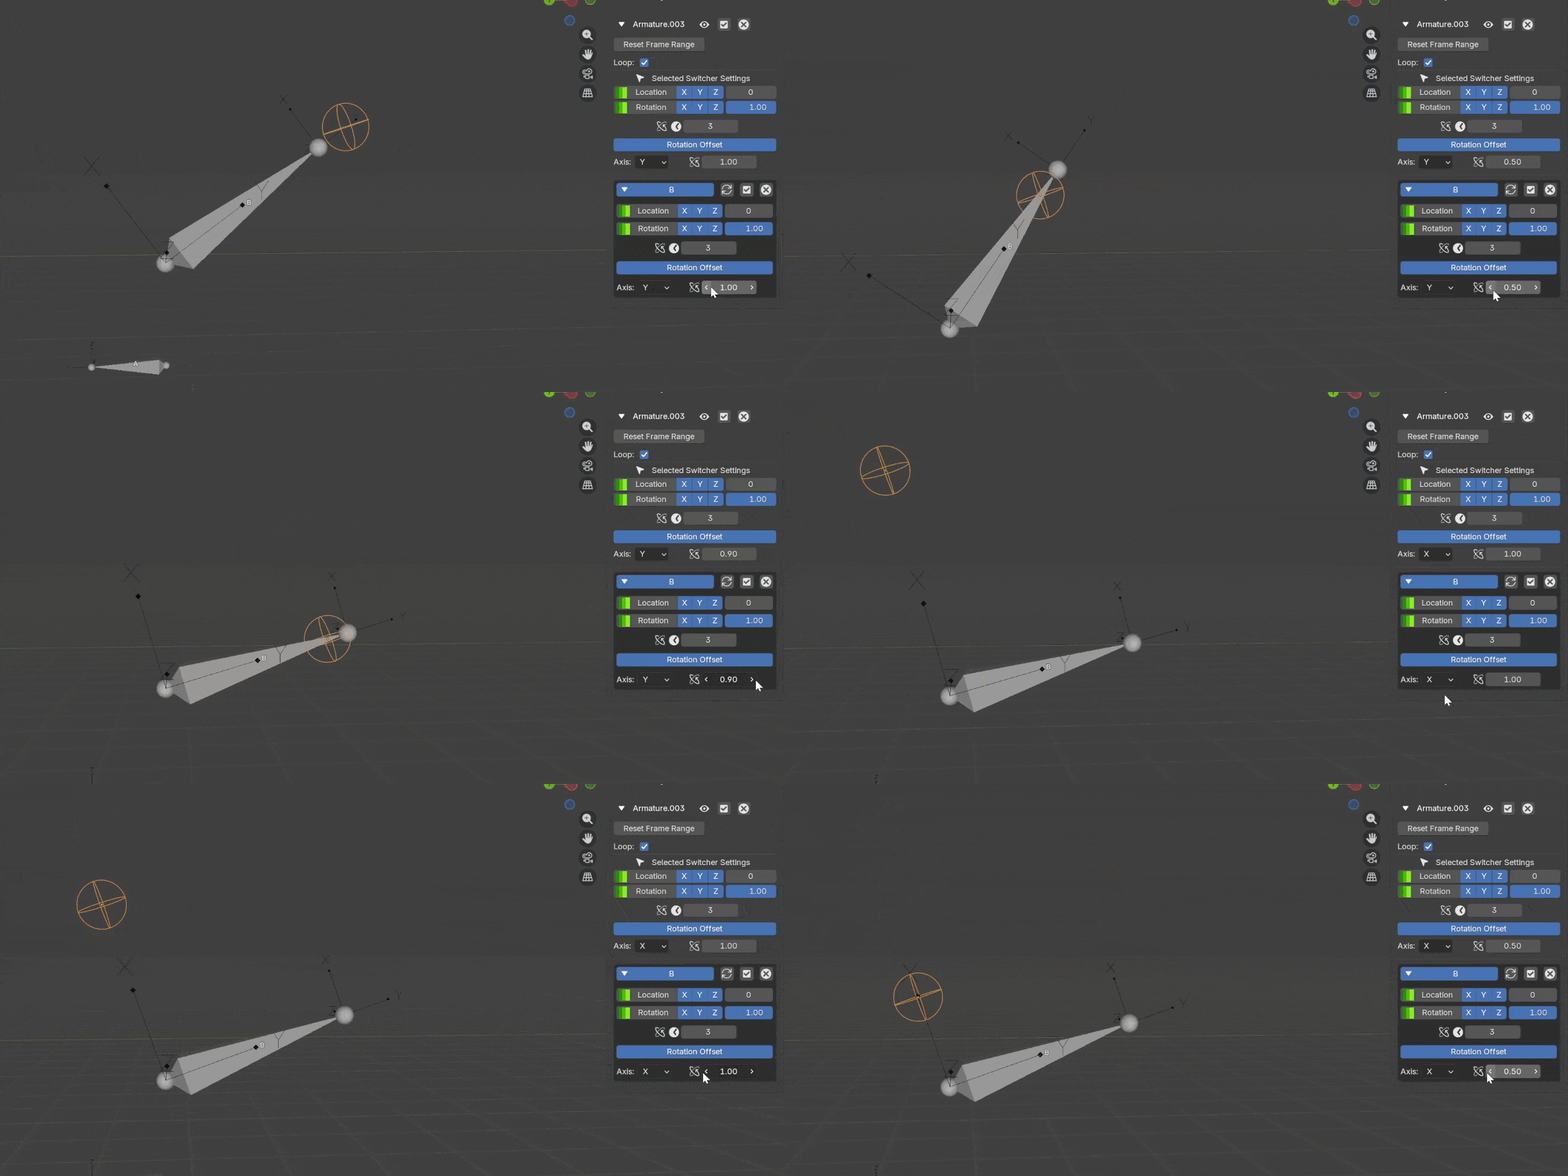
Selected Switcher Settings:
Whenever a switcher or set of switchers are selected in an armature, you can adjust all of their settings at once by entering a value in the "Selected Switcher Settings" pane. This will apply the new value to every switcher at once.

Bake Settings
Interpolation mode select: You can select whether you want your curves to be Bezier, constant, or linear. Bezier is default.
Decimate: Will automatically decimate the baked fcurves. Value is set extremely low to avoid jitter and detail loss.
Make Cyclic: Will automatically make the animation cycle. Useful if it's a looping animation.
Clear Constraints: Will clear ALL constraints from pose bone. My addon's custom constraints are always deleted automatically.
Have questions about this product?
Login to message
| Blender Extension Compatible | Yes |
| Sales | 10 |
| Dev Fund Contributor | |
| Published | 7 months ago |
| Blender Version | 5.0 |
| Extension Type | Add-on |
| Render Engine Used | Arnold, Blender-Internal, Blender-Game-Engine, Cycles, Eevee, Freestyle, Luxrender, Mental-Ray, Octane, Vray, Yafaray |
| License | GPL |
