 Blender Master Pro


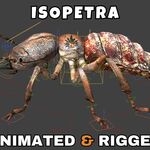
Isopetra Animated And Rigged 3D Model

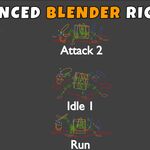
Advanced Blender Rigging:

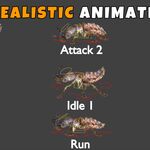
Realistic Isopetra Animations:

Isopetra Animations List:_
🚀 Quick Start: Bring Your Scorpion to Life!
Getting your new animated model into your project is a breeze. Follow these 3 simple steps to get rendering in seconds:
1️⃣ Import the Collection
-
For a perfect setup with all meshes, armatures, and materials intact, Append the Collection instead of individual objects.
In your new scene, go to File > Append.
Locate the isopetra_Rigged_and_Animated_3d_model.blend file.
Open the Collection folder.
Select "Isopetra_Main" and click Append.
For a perfect setup with all meshes, armatures, and materials intact, Append the Collection instead of individual objects.
In your new scene, go to File > Append.
Locate the
isopetra_Rigged_and_Animated_3d_model.blendfile.Open the Collection folder.
Select "Isopetra_Main" and click Append.
2️⃣ Bring in the Animations
-
To ensure every custom movement is available in your new project:
Go to File > Append again (same file).
This time, open the Action folder.
Select all listed animations (e.g., Walk, Attack, Idle) and click Append.
To ensure every custom movement is available in your new project:
Go to File > Append again (same file).
This time, open the Action folder.
Select all listed animations (e.g., Walk, Attack, Idle) and click Append.
3️⃣ Activate & Play!
-
Now, simply "plug in" the animations to the rig:
Select the Armature (the bones) in your 3D view.
Switch your bottom window to the Action Editor (found inside the Dope Sheet).
Click the Browse Action icon (the small picture button).
Pick an animation from the list—your Isopetra will instantly snap into action!
Now, simply "plug in" the animations to the rig:
Select the Armature (the bones) in your 3D view.
Switch your bottom window to the Action Editor (found inside the Dope Sheet).
Click the Browse Action icon (the small picture button).
Pick an animation from the list—your Isopetra will instantly snap into action!