 Blender Easy


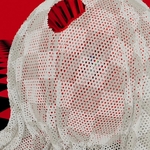
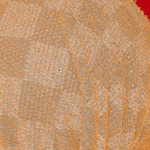
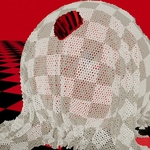
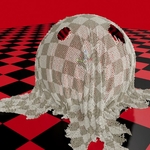
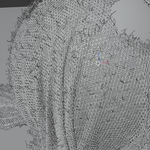
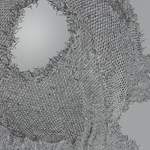
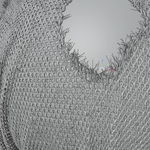
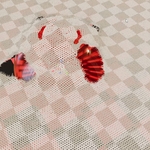
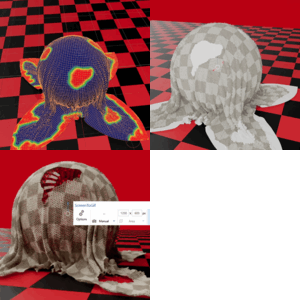

The KnitGen allows you to create realistic fabric with ease. Use your own custom thread interlacements to generate the perfect fabric for your 3D projects.
It fully supports animated objects and uses hair curves to construct the fabric, ensuring maximum performance with minimal memory usage.
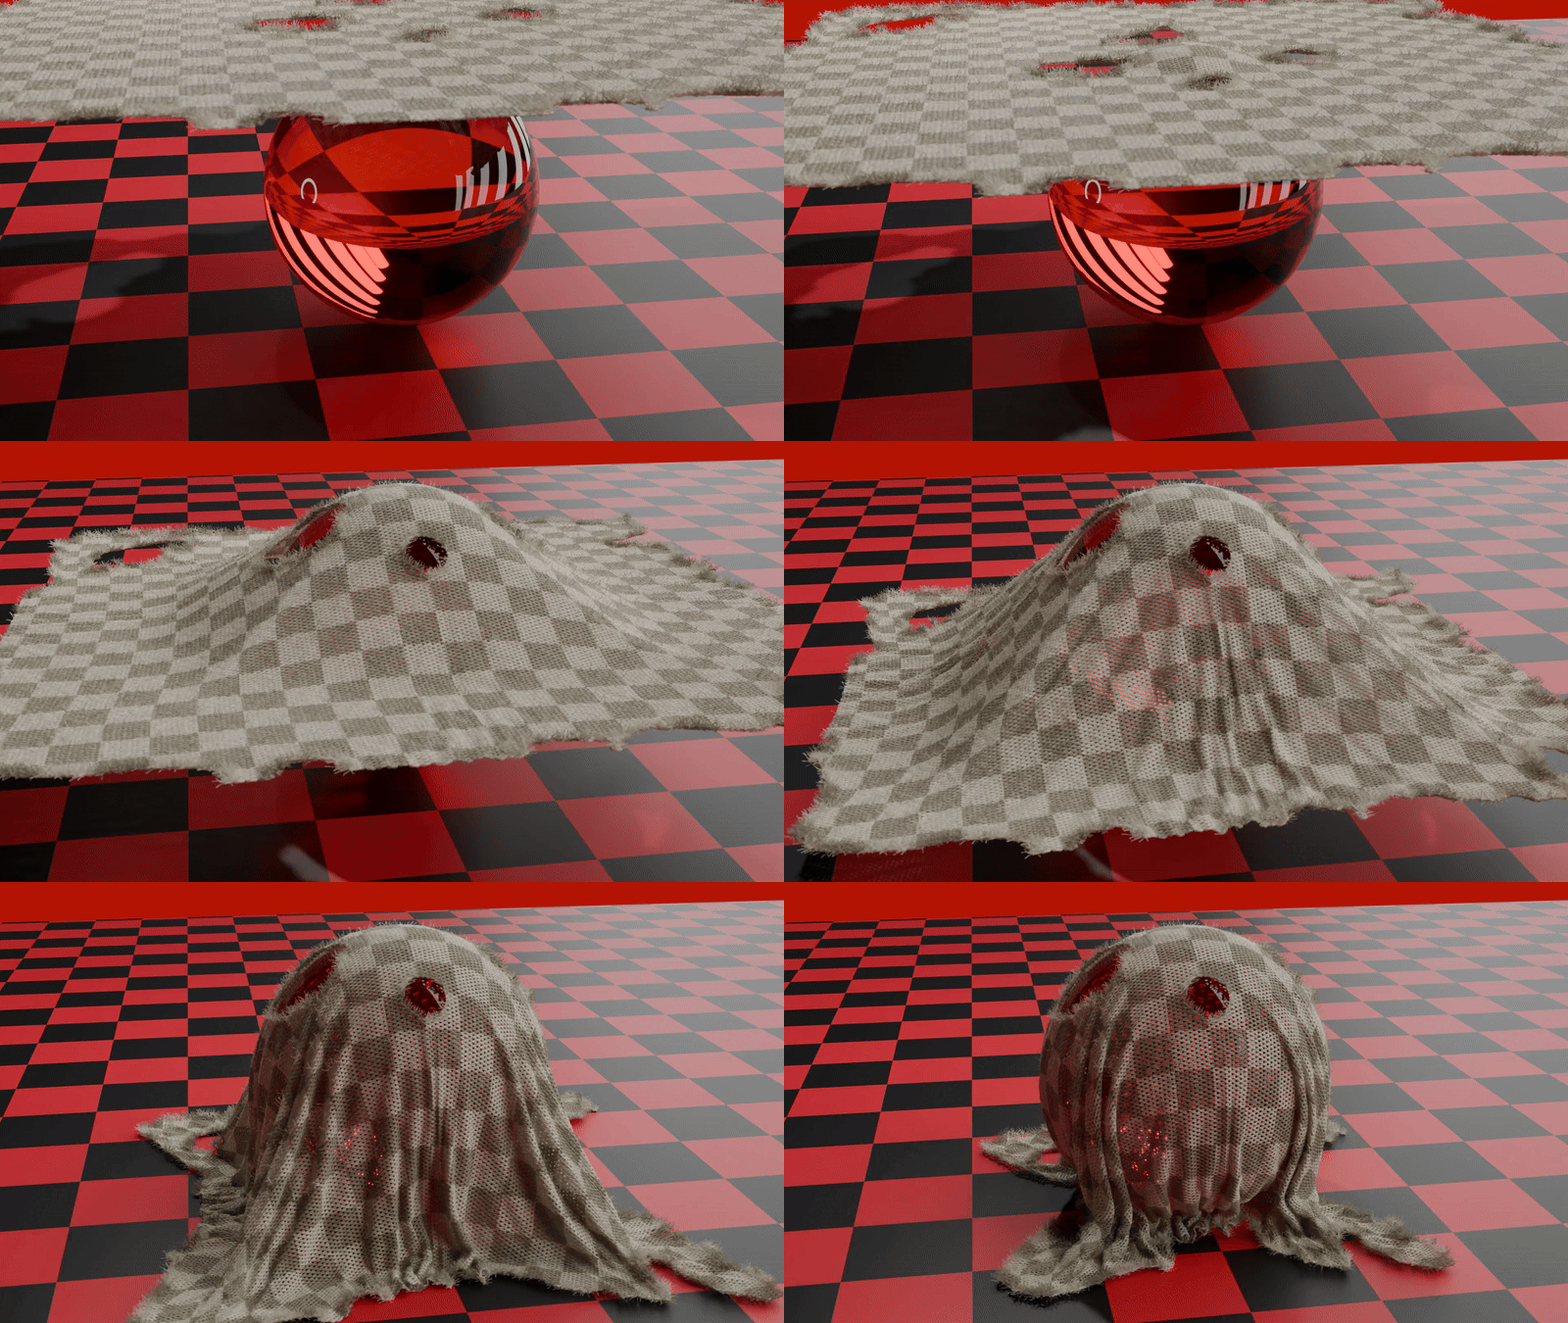
For ultra-realistic results, the tool also adds a layer of fuzz to replicate fine fabric fibers. 
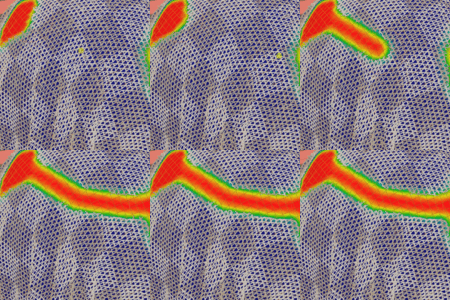
Additionally, you can simulate fabric tearing using a weight map, giving you even more creative control. 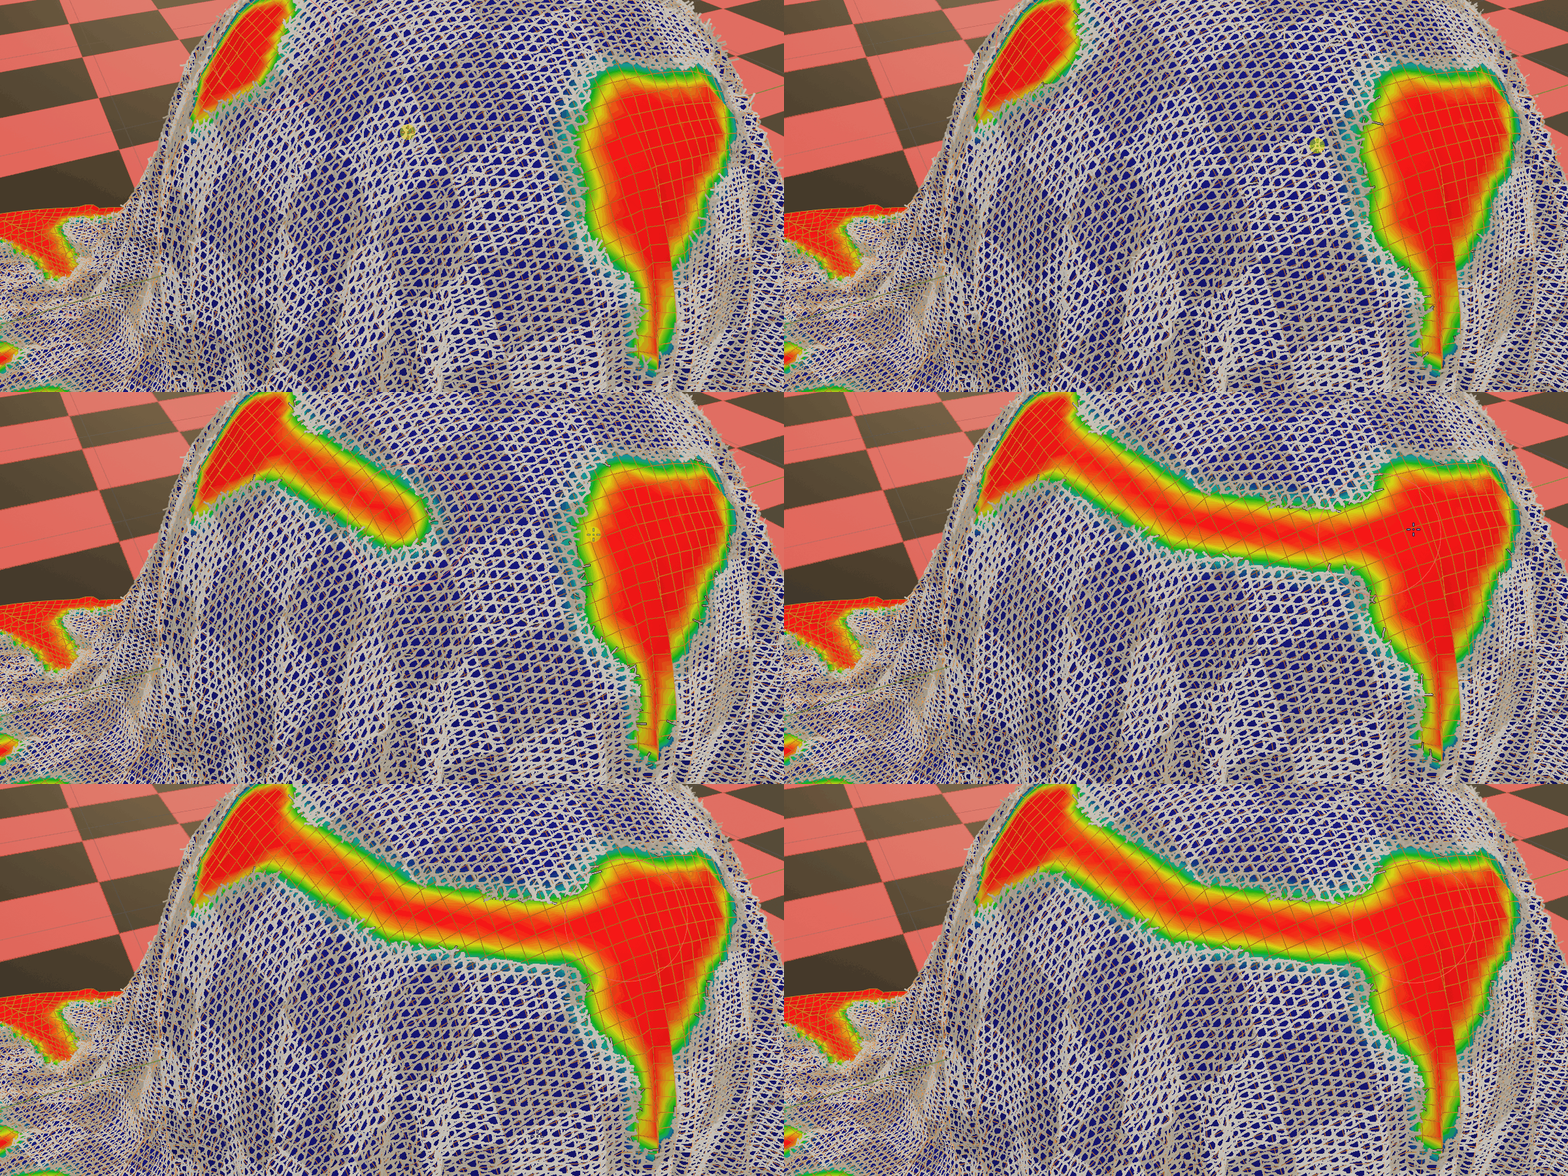
How to use the KnitGen:
To save the KnitGen.blend file to your Asset Library:
-
Place the
KnitGen.blendfile in your designated Asset Library folder.
(You can find or set this path in Edit > Preferences > File Paths > Asset Libraries.) -
Restart Blender or reload your Asset Browser.
The KnitGen assets will now appear in the Asset Browser under that library.
To use KnitGen, first add an Empty Hair object to your scene:
Select any object → Add > Curve > Empty Hair
Then, with the Empty Hair selected:
Go to the Modifiers tab → Click +Add Modifier → Under "Unassigned", select KnitGen
You can watch the video bellow to learn how to use it!