 Skava
Skava

Install
- Keep the archive zipped. Do not unpack it.
- In Blender open Edit > Preferences > Add-ons.
- Press the arrow button in the top right corner of that window and choose Install from Disk.
- Pick the archive from your purchase page and tick the checkbox next to LeakProof.
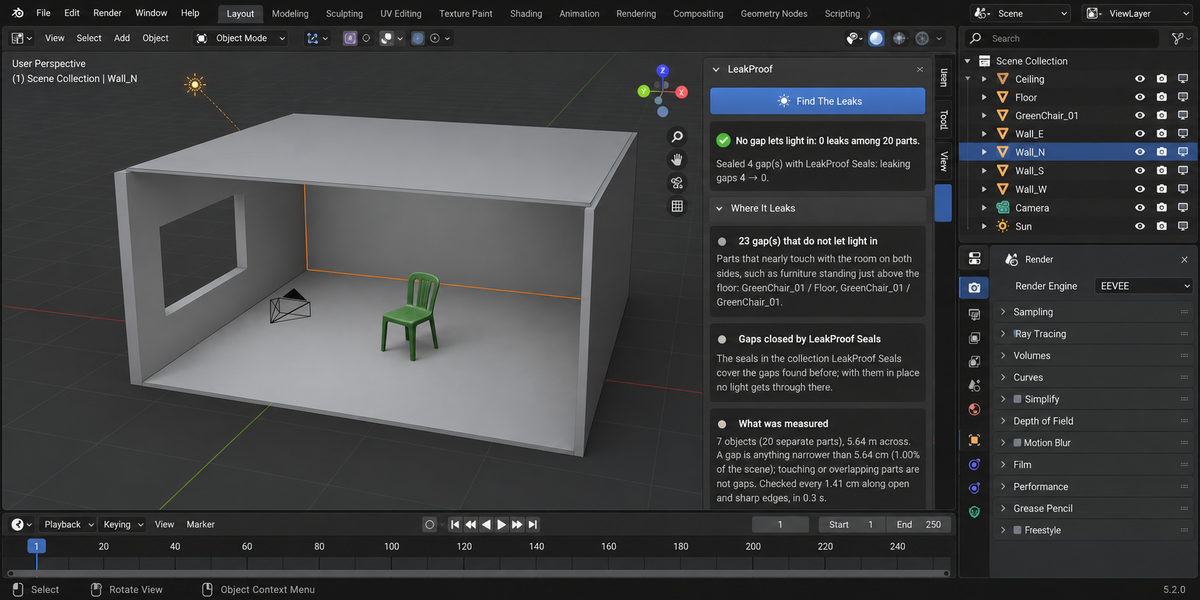
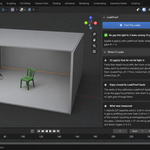
Press N in the 3D Viewport; the sidebar tab is called LeakProof. Nothing is downloaded and no external Python packages are installed.
Find the leaks
- Put a camera where your shot is. Without one, a gap counts as leaking when one side sees the sky and the other side is closed, and there is no shot to prove on — the panel says so.
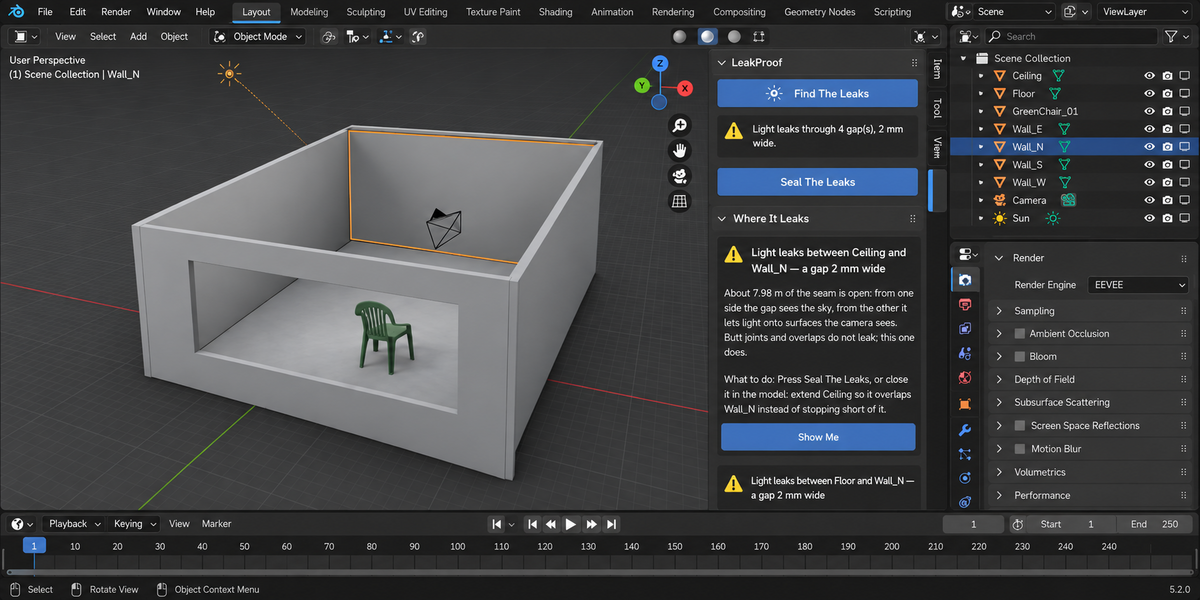
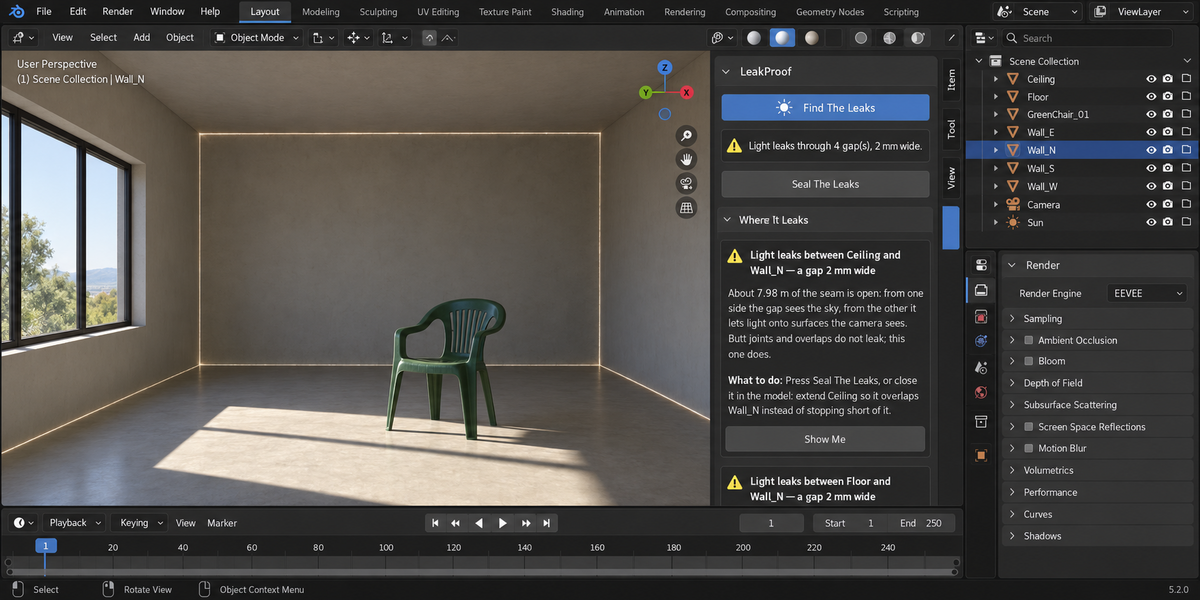
- Press Find The Leaks. Every visible, renderable mesh is checked as it renders, modifiers included.
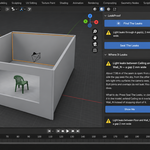
- Read the first line: how many gaps let light in, and how wide they are. Where It Leaks lists each one with the two parts on either side; Show Me selects them and puts the 3D cursor on the gap.
Seal and prove
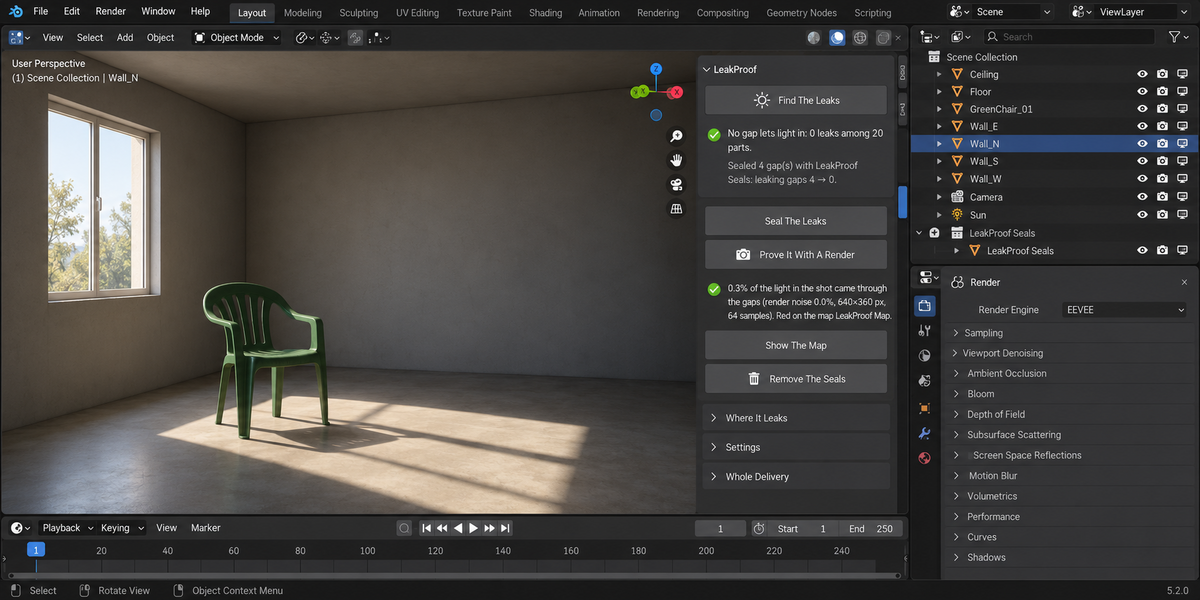
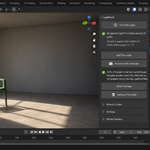
- Press Seal The Leaks. Each leaking gap gets a seal in the material of the wall beside it. The seals are one object in a collection called LeakProof Seals, and the gaps are measured again with them in place: the panel shows leaking gaps before → after.
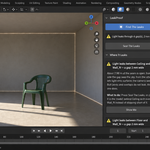
- Press Prove It With A Render. Your camera shot is rendered twice — without the seals and with them — at the size and samples in Settings. The panel says what share of the light in the shot came through the gaps, next to the render noise. Show The Map shows where the light came in, in red.
- Remove The Seals deletes the seals LeakProof made, and nothing else.
Reading the findings
- Light leaks between A and B (must look at) — a gap narrower than your gap line, with the sky on one side and a surface your camera sees on the other.
- Gaps that do not let light in (for the record) — parts that nearly touch with the room on both sides, such as furniture standing just above the floor.
- Treated as scatter, not walls (for the record) — an object made of thousands of separate pieces, such as foliage. It blocks light in the measurement, but gaps inside it are not looked for.
- No camera (worth a look) — judged by the sky alone.
- What was measured — objects, separate parts, scene size, your gap line in scene units, the spacing of the checks and the time.
Report To Text writes the whole result to a text block named LeakProof. Clear forgets the measurement; the seals stay.
Settings
- Call it a gap below — an opening narrower than this share of the scene size is a gap; wider is a window or a door. The panel shows what it is in your units.
- Prove at and Samples — size and samples of the two proof renders. The share of leaked light does not depend on the size.
What is changed in your file
Finding the leaks changes nothing. Seal The Leaks adds one object in its own collection; Remove The Seals takes it away; both can be undone with Ctrl+Z. The proof renders put your render settings back as they were and leave one image, LeakProof Map. An image or text of yours with the same name is never overwritten.
Pipeline mode
LeakProof also runs from the Whole Delivery panel in the same tab and from the command line with the rest of the Proof line.
Limits
- LeakProof measures gaps in geometry, which is how light leaks in Cycles. Shadow-map light bleeding in EEVEE is a different effect and is not measured.
- A wall of zero thickness with no gaps does not leak in Cycles and is not reported.
Requirements
Blender 4.2 or newer. Checked on 4.2.9, 5.1.0, 5.2.0, 5.2.1 and 5.2.2.
Have questions about this product?
Login to message
| Published | 9 days ago |
| Blender Version | 4.2 - 5.2 |
| Extension Type | N/A |
| Render Engine Used | Cycles |
| License | GPL |
Discover more products like this
Lighting proof light leak Render validation ArchViz Scene gaps architecture walls Interior Cycles