 GilaDDD
How to Use
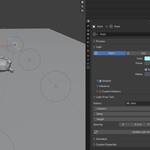
1. Add a Light
Start by adding any light to your scene (Point, Spot, Area, etc.).
2. Select the Light
Click on the light you want to use as the base for the array.
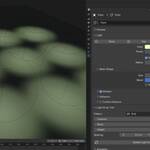
3. Open the Light Tab
Go to the Light Properties Tab (with the light bulb icon in the Properties panel).
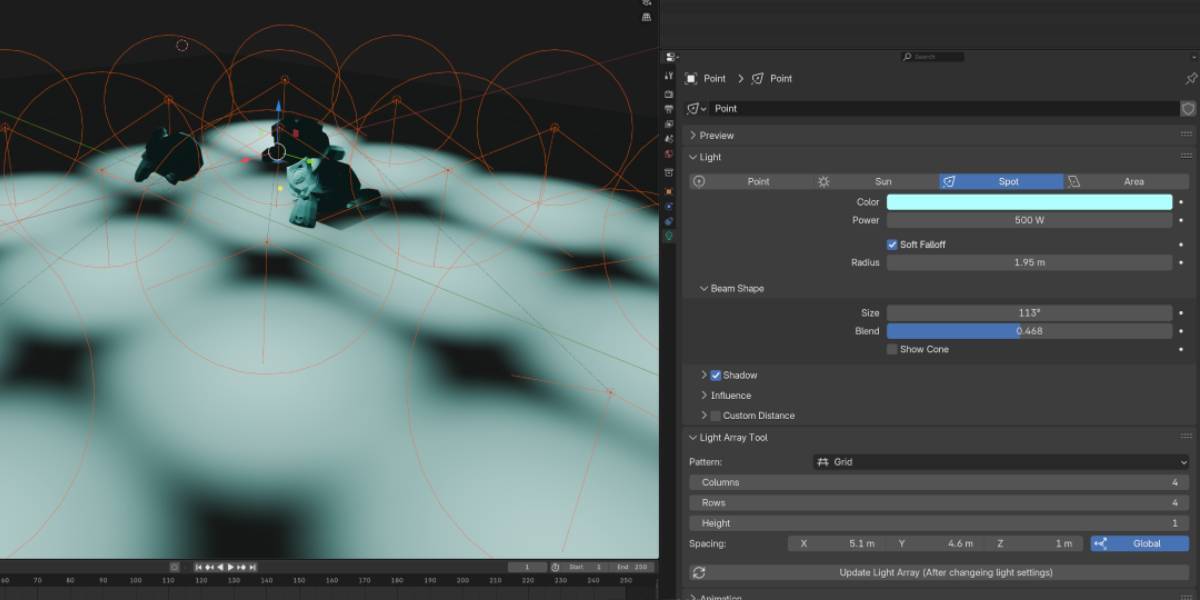
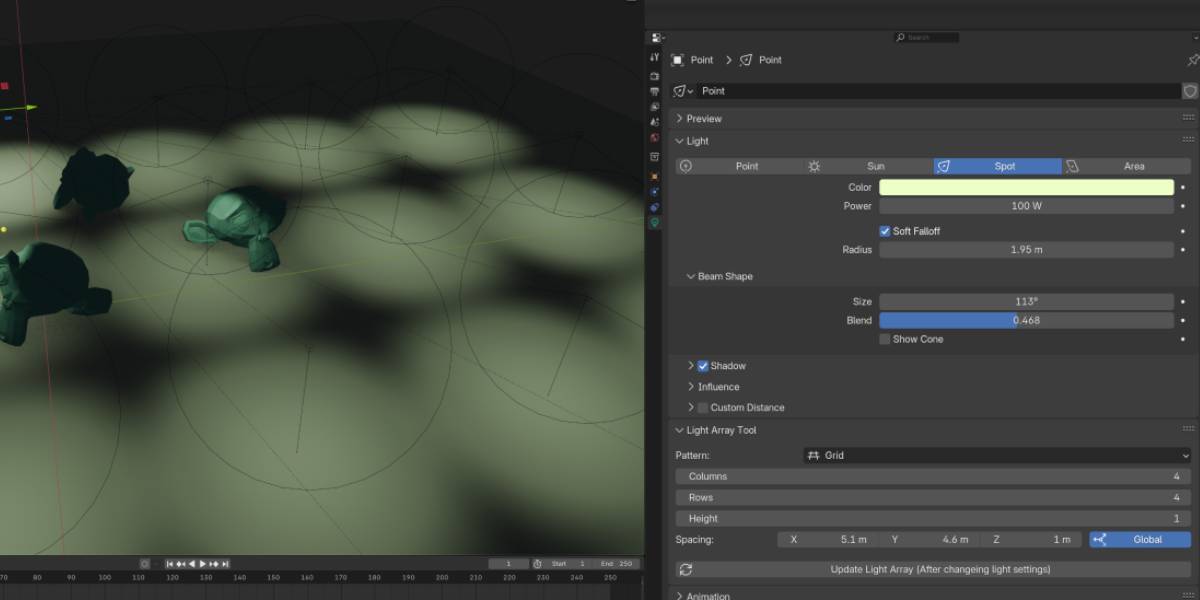
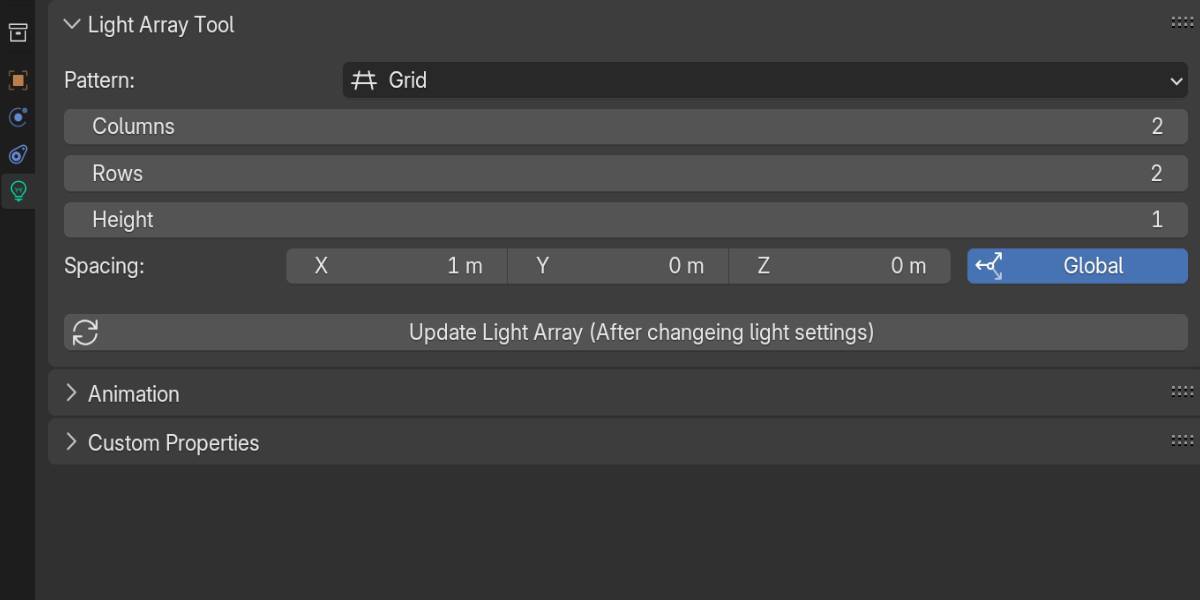
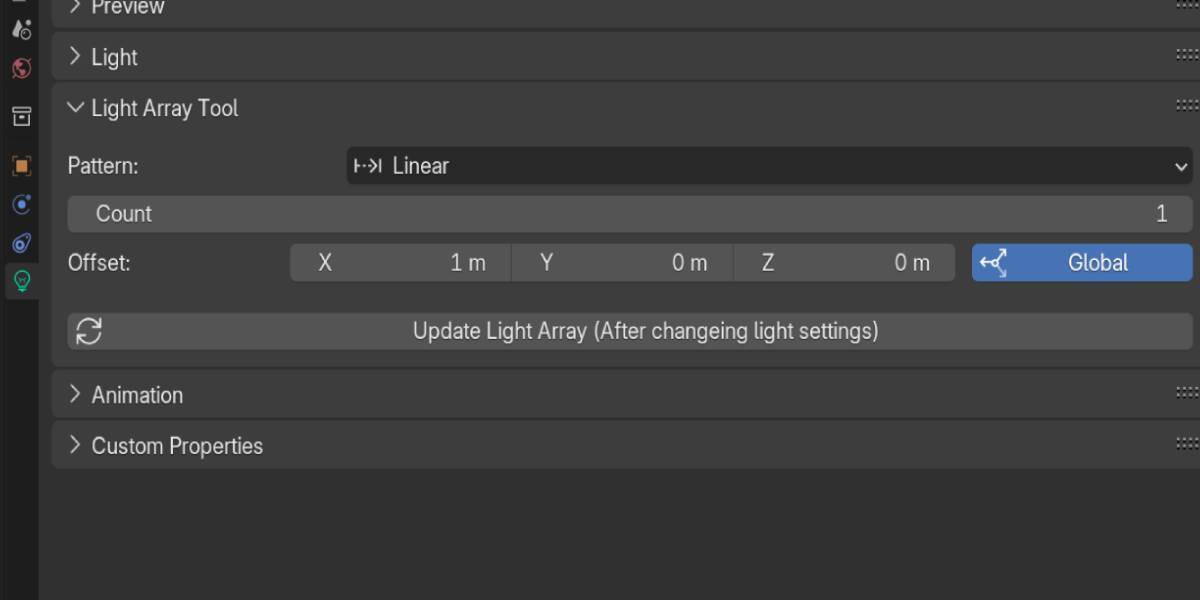
4. Find the “Light Array Tool” Panel
Scroll down to the Light Array Tool panel. This panel will only appear when a light is selected.
🔧 Settings
-
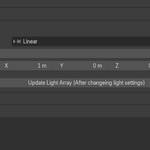
Pattern – Choose between:
-
Linear – Lights arranged in a line
-
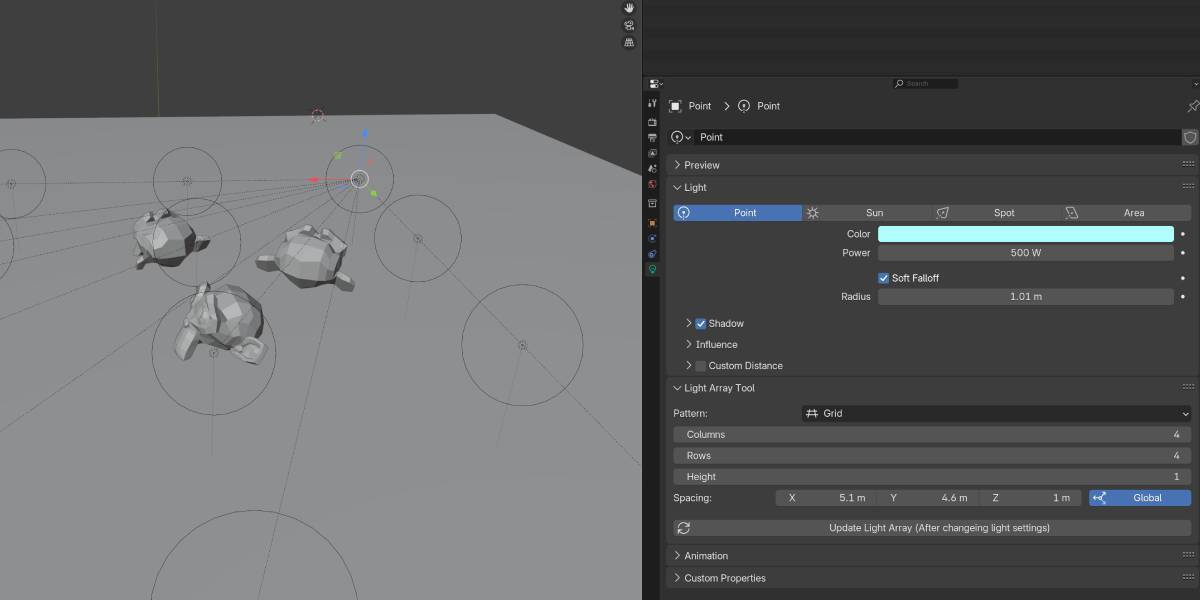
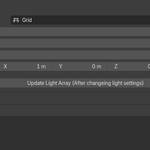
Grid – 3D grid array (columns, rows, height)
-
-
Columns – Number of lights along the X axis
-
Rows – Number of lights along the Y axis
-
Height – Number of lights along the Z axis
-
Spacing – Control how far apart the lights are on each axis
-
Coordinates – Switch between Local and Global placement:
-
Local: Array follows the light’s rotation and direction
-
Global: Array stays aligned to the world axes
-
⚙️ How It Works
-
Lights are generated as copies of the selected light.
-
All generated lights are parented to the base light for easy organization.
🧽 Removing Lights
-
Lights created by the array are named like:
YourLight_Array_1,YourLight_Array_2, etc. -
When you change settings, old array lights are automatically cleaned up.
💡 Tips
-
Works great with Area Lights for studio setups
-
Use Point Lights in a 3D grid for LED-style effects
-
Combine with collections or light linking for more advanced workflows
Have questions about this product?
Login to message
| Dev Fund Contributor | |
| Published | 12 days ago |
| Software Version | 4.4, 4.3, 4.2, 4.1, 4.0, 3.6 |
| Extension Type | N/A |
| Render Engine Used | Blender-Internal, Blender-Game-Engine, Cycles, Eevee |
| License | GPL |
Discover more products like this
light-array 3D-art-lighting Array modifier array advanced array tool advanced lights light